


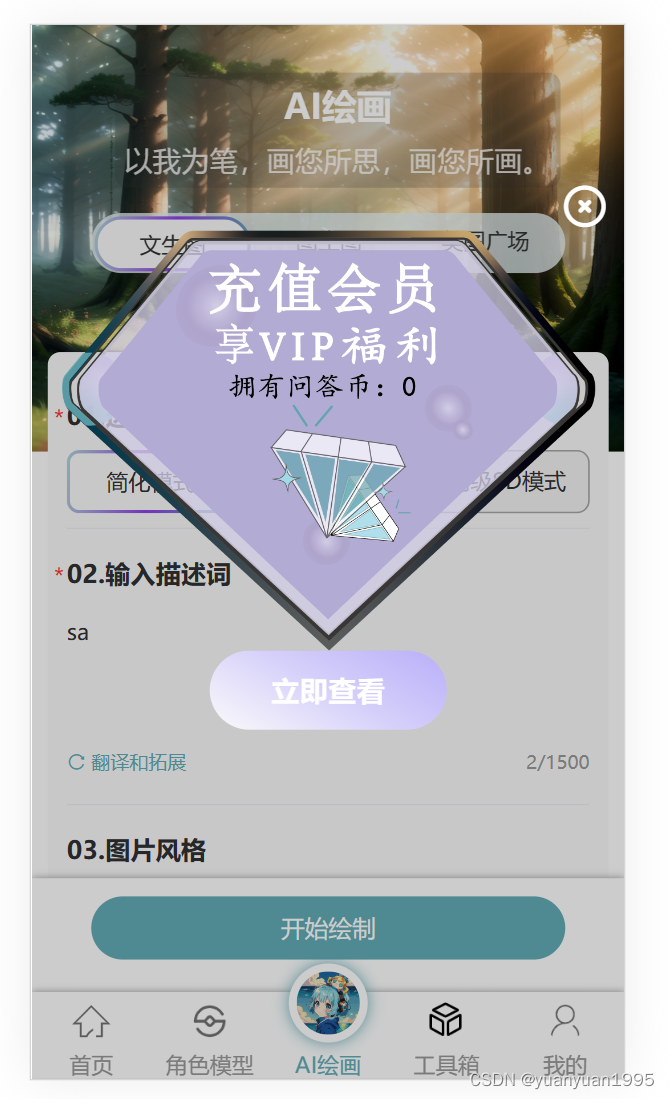
最开始想写一个自定义背景的弹窗,因为要用到项目的好几个地方,不希望每个地方都需要引入。而且只需要放张图片,加个关闭按钮和功能按钮就行,类似这种效果:
开始写的时候找了一篇博客,写的很详细,但是这个是Vue2的,uniapp实现自定义弹窗组件,可以在app全局任意地方使用,很多地方都需要改造。
改造完发现其实完全不需要这么复杂,在uniapp项目里面,很简单的代码就能实现。
先说一下写代码的逻辑,写这个组件,实际上只需要写三个部分,一个是dom显示,放在components目录下,一个是Vuex的store进行状态管理,最后一个是实际使用的时候对store状态进行修改从而控制组件的显隐和内容。
Vuex进行状态管理
uni-app 内置了 Vuex,可以直接使用。
新建js文件,用来单独管理Vuex。
// state.js
import {
	createStore
} from 'vuex'
const store = createStore({
	state: {
	  //存放状态
	  modal: {
	    // 控制modal的显隐
		show: false,
		confirmText: "确定",
		confirmColor: "#333333",
		confirmBackgroundColor: "#FFBB24",
		// 按钮跳转的url
		url: '',
		// 背景图的地址
		backgroundImage: '',
	  },
	},
	mutations: {
		hideModal(state) {
			state.modal.show = false
		},
		showModal(state, value) {
			state.modal = Object.assign(state.modal, value)
			state.modal.show = true
		},
	},
})

export default store
main.js引入状态管理
// main.js
import store from './state/state.js'
export function createApp() {
  const app = createSSRApp(App)
  app.use(store)
  // ...
  return {
    app
  }
}
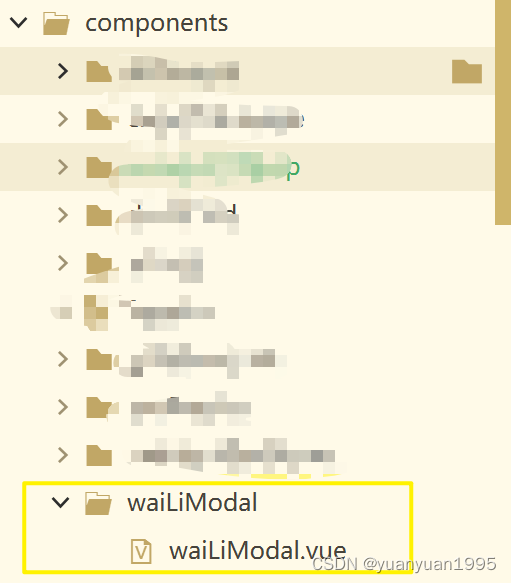
在components里面新建组件
使用HBuilder 进行开发的uniapp项目,只要组件安装在项目的components目录下或uni_modules目录下,并符合components/组件名称/组件名称.vue目录结构。就可以不用引用、注册,直接在页面中使用。
<!-- waiLiModal.vue -->
<template>
	<view class="mask-box" v-show="modal.show">
		<view class="mask-content">
			<view class="mask-title flex-row flex-end mr-20">
				<u-icon name="close-circle" size="60" @click="hideModal" style="color: #fff; float: right;"></u-icon>
			</view>
			<view class="mask-bg flex-row flex-center" v-if="modal.backgroundImage">
				<image :lazy-load="true" class="img" :src="modal.backgroundImage" mode="widthFix"></image>
			</view>
			<view class="flex-row flex-center">
				<view class="mask-footer-btn" @click="navTo(modal.url)">{{modal.confirmText}}</view>
			</view>
		</view>
	</view>
</template>
<script>
	import {
		navTo
	} from '@/utils/tools.js'
	import {
		mapState,
		mapMutations,
	} from 'vuex';

	export default {
		name: "waiLiModal",
		data() {
			return {
				navTo,
			};
		},
		computed: {
			...mapState(['modal']),
		},
		methods: {
			...mapMutations(['hideModal']),
		},
	}
</script>

<style scoped lang="scss">
	.mask-box {
		width: 100vw;
		height: 100vh;
		position: fixed;
		background-color: rgba(0, 0, 0, .2);
		top: 0;
		right: 0;

		.mask-content {
			width: 100%;
			position: absolute;
			top: 15%;
		}

		.mask-bg {
			.img {
				width: 90%;
			}
		}

		.mask-footer-btn {
			width: 150px;
			height: 50px;
			border-radius: 200px;
			background: linear-gradient(30deg, #fff, #d6d1fa, #b9aff9);
			text-align: center;
			line-height: 50px;
			font-size: 18px;
			color: #fff;
			font-weight: bold;
		}
	}
</style>
这样写好之后,就能直接在pages里面使用了。接下来,把写好的组件在需要显示的页面写好。因为要想控制显隐,肯定要全局加载,这里我放在了我自己写的tabbar里面。不然的话,就要在使用的页面里面引入。
<template>
	<view>
		<waiLiModal></waiLiModal>
	</view>
</template>
控制modal
store.commit('showModal', {
	backgroundImage: 'https://wailikeji.oss-cn-beijing.aliyuncs.com/chatgpt/sys/chatgpt/87681689927681_.pic.jpg',
	confirmText: "立即查看",
	// 按钮需要跳转的url
	url: '/pages/user/recharge/recharge'
})
如果有帮助的话,麻烦点个免费的赞或者关注吧~。
如果有需要作者帮忙的,可以查看链接联系作者和查看作者是如何使用uniapp和uview组件哒。


 1062
1062


 被折叠的 条评论
为什么被折叠?
被折叠的 条评论
为什么被折叠?
 到【灌水乐园】发言


