


一、 引入头文件
#include "stm32f10x.h" // Device header
二、操作GPIO的三步:
(一)RCC开启GPIO时钟
RCC_APB2PeriphClockCmd(RCC_APB2Periph_GPIOA,ENABLE);
(二)初始化GPIO
- GPIO引脚定义
GPIO_InitTypeDef GPIO_InitStructure;
- GPIO输出模式定义
GPIO_InitStructure.GPIO_Mode=GPIO_Mode_Out_PP;


- GPIO引脚赋值
GPIO_InitStructure.GPIO_Pin=GPIO_Pin_0 ;
- GPIO频率选择
GPIO_InitStructure.GPIO_Speed =GPIO_Speed_50MHz;
- GPIO初始化
GPIO_Init(GPIOA,&GPIO_InitStructure);
由于使用的是GPIOA 0号引脚,故有3和5中的定义
(三)四种输出函数控制GPIO
- GPIO_ResetBits()(将指定引脚设置为低电平)
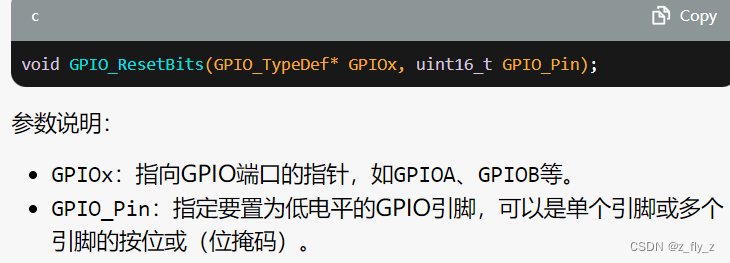
GPIO_ResetBits (GPIOA,GPIO_Pin_0);
- GPIO_SetBits()(将指定引脚设置为高电平)
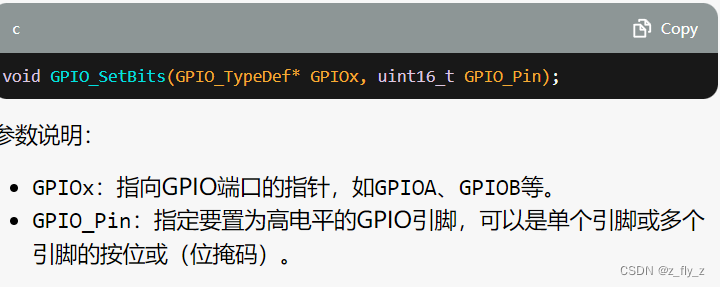
GPIO_SetBits (GPIOA,GPIO_Pin_0);
- GPIO_WriteBit()(对指定引脚写入高或低)
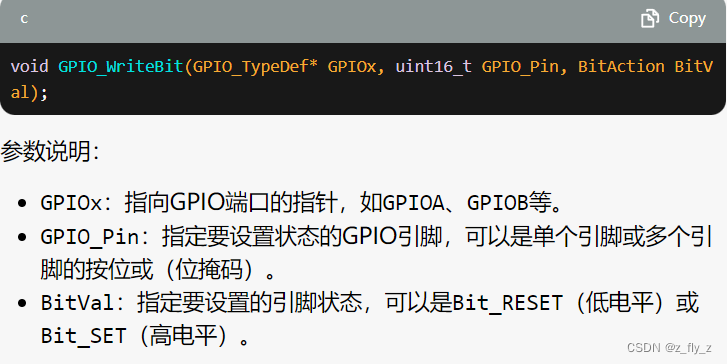
GPIO_WriteBit(GPIOA,GPIO_Pin_0,Bit_RESET);
上代码块中 Bit_RESET=(BitAcition)0。Bit_SET=(BitAction)1。
- GPIO_Write()(写入GPIO端口的值)
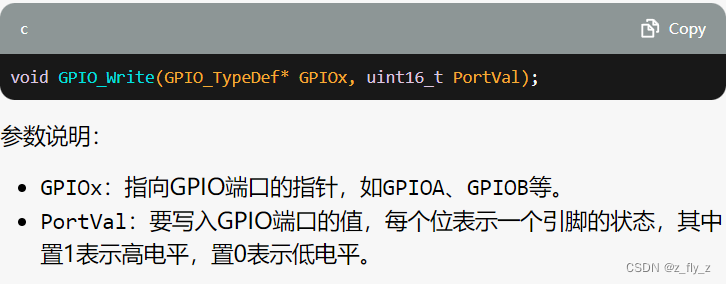
GPIO_Write(GPIOA,~0x0001);
低电平点亮,因此有~取反。
三、引入Delay函数(闪烁,流水灯可用)
在Target下新建System文件夹,将Delay.h,Delay.c存放在里面。
#include "Delay.h"
delay_ms(100)
四、合并代码
#include "stm32f10x.h"                  // Device header

int main(void)
{
	RCC_APB2PeriphClockCmd(RCC_APB2Periph_GPIOA,ENABLE);
	GPIO_InitTypeDef GPIO_InitStructure;
	GPIO_InitStructure.GPIO_Mode=GPIO_Mode_Out_PP;
	GPIO_InitStructure.GPIO_Pin=GPIO_Pin_0 ;
	GPIO_InitStructure.GPIO_Speed =GPIO_Speed_50MHz;
	GPIO_Init(GPIOA,&GPIO_InitStructure);
    GPIO_ResetBits (GPIOA,GPIO_Pin_0);
	while(1){

	}
}
五、连接电路
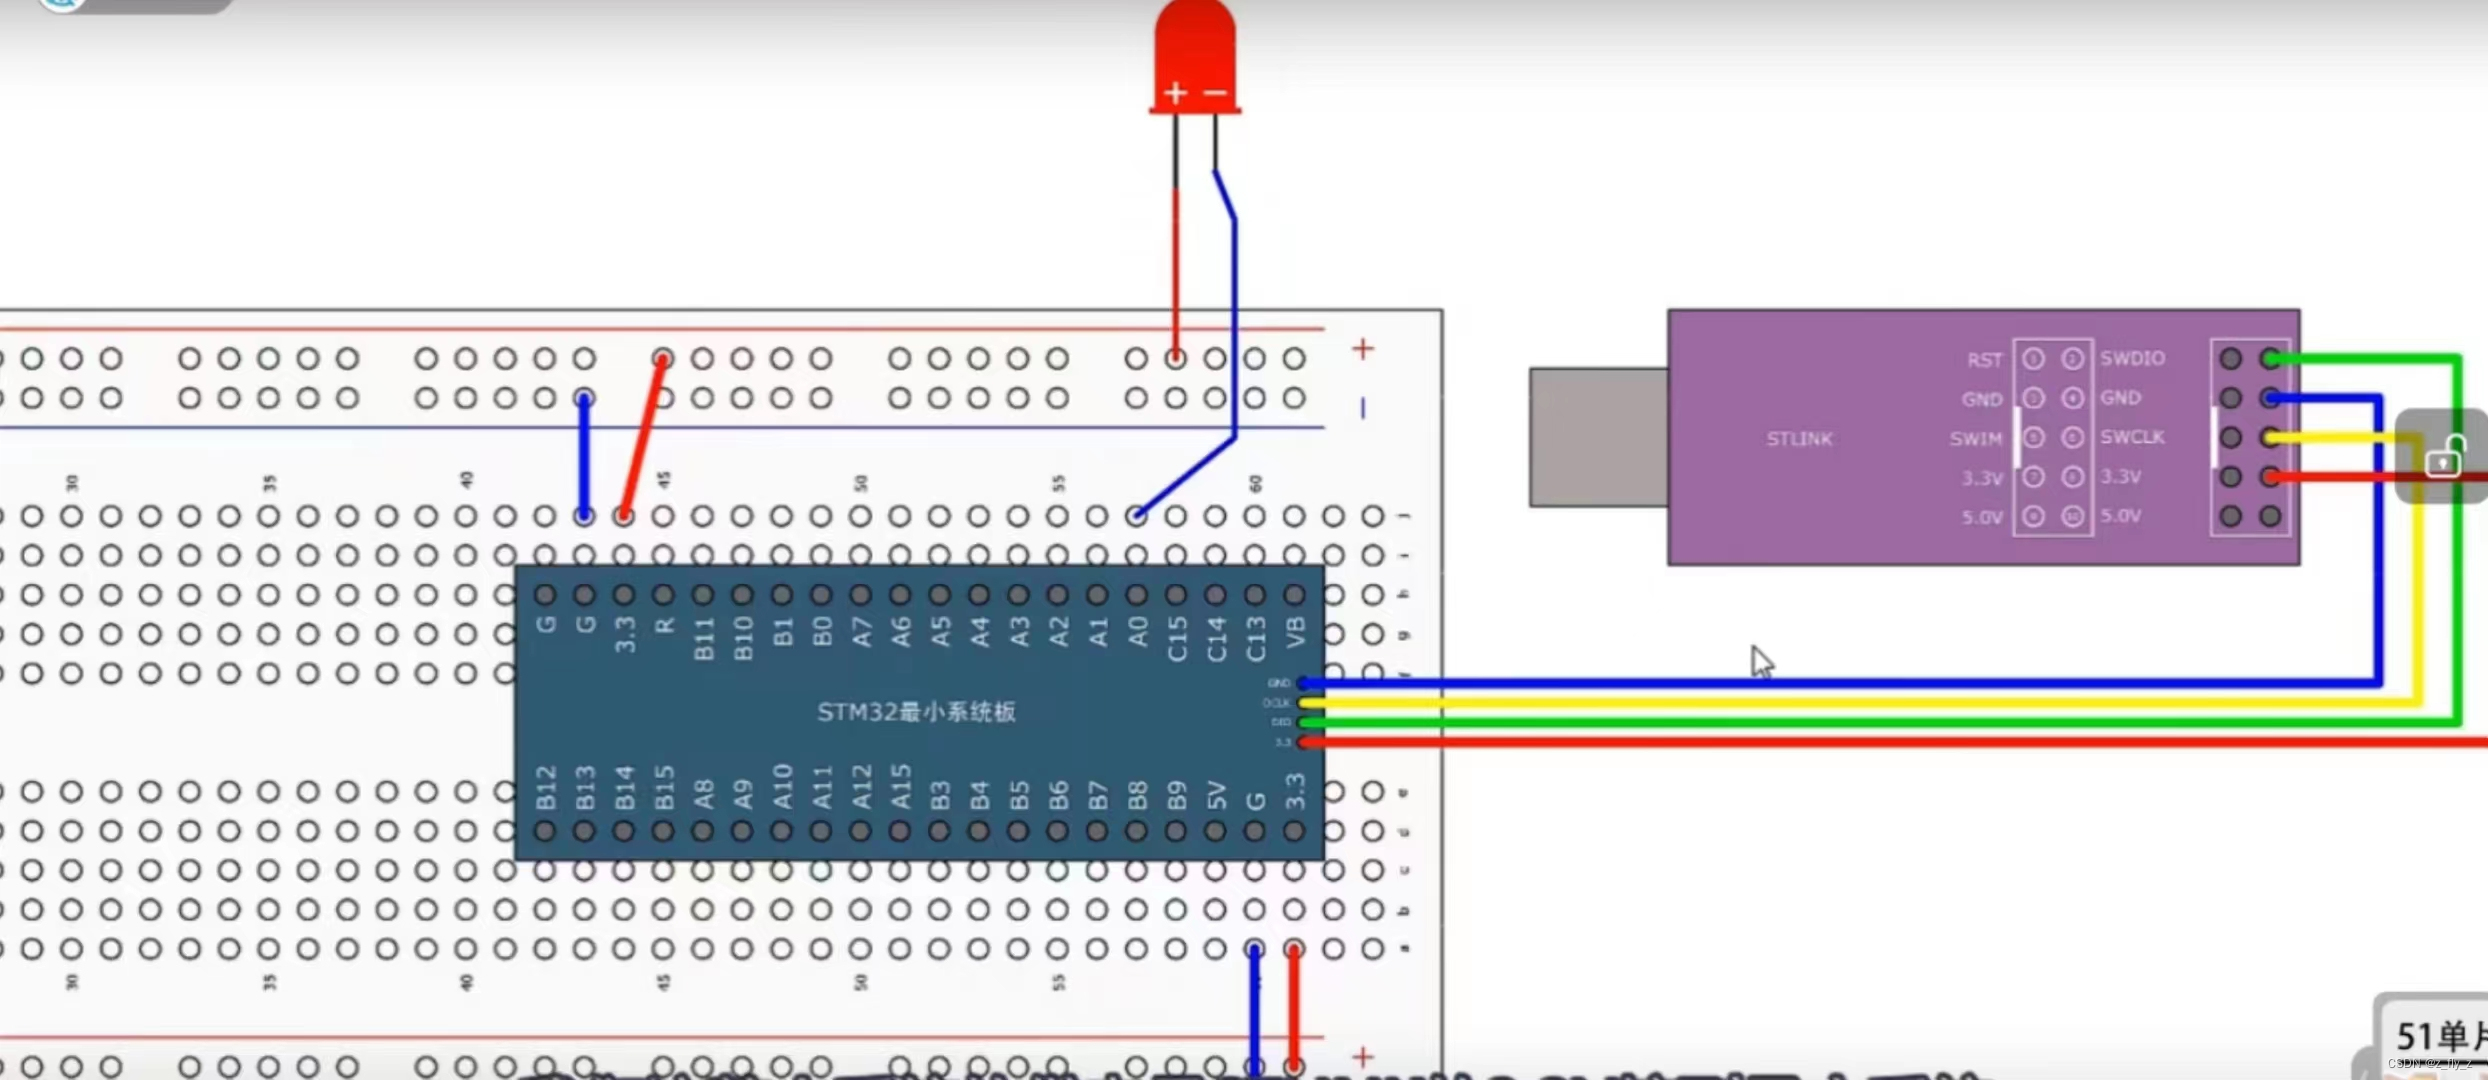
至此,就完成了点灯


 1768
1768


 被折叠的 条评论
为什么被折叠?
被折叠的 条评论
为什么被折叠?
 到【灌水乐园】发言


