


 本文档详细介绍了如何利用DeOldify项目进行图片和视频的色彩恢复。首先,从GitHub克隆DeOldify代码库,接着下载预训练模型并放入指定文件夹。对于图片上色,通过Python代码加载模型并逐张处理图片。对于视频上色,同样利用预训练模型,对视频文件进行色彩恢复。整个过程在GPU上运行,提供了一种自动化的方法来为黑白影像增添色彩。
目录
一、拉取Deoldify项目代码
git地址:https://github.com/jantic/DeOldify
二、下载预训练模型
2.1、步骤
1)在项目根目录创建models文件夹
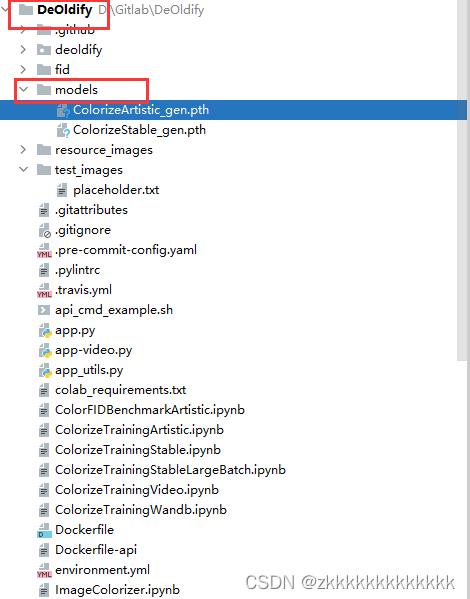
2)下载预训练模型文件,将三个文件上传至models目录
三、图片上色
from deoldify import device
from deoldify.device_id import DeviceId
from deoldify.visualize import *
from pathlib import Path
import os
os.environ['KMP_DUPLICATE_LIB_OK'] = "TRUE"

import warnings
warnings.filterwarnings("ignore", category=UserWarning, message=".*?Your .*? set is empty.*?")


#choices:  CPU, GPU0...GPU7
device.set(device=DeviceId.GPU0)
plt.style.use('dark_background')
torch.backends.cudnn.benchmark=True


render_factor=35
result_path = None


p = Path('D:\\Gitlab\\DeOldify\\test_images')
all_file_path = []
count = 0
for file_name in p.rglob('*.jpg'):
    all_file_path.append(file_name)
    count+=1
for file_name in p.rglob('*.png'):
    all_file_path.append(file_name)
    count+=1
for file_name in p.rglob('*.jppeg'):
    all_file_path.append(file_name)
    count+=1

print(f"遍历待上色文件夹结束,共有{count}个图片文件\n")


# 遍历图片,上色
for img_file_path in all_file_path:
    # arctan
    colorizer = get_image_colorizer(artistic=True)
    img_file_name = str(img_file_path).split('\\')[-1]
    print(f"开始处理{img_file_name}")
    colorizer.plot_transformed_image(path=img_file_path, render_factor=render_factor, compare=True)
    print(f"{img_file_name}处理结束")
    print("\n")

# 结束
print("图片上色程序结束")
四、视频上色
from deoldify import device
from deoldify.device_id import DeviceId

from deoldify.visualize import *
plt.style.use('dark_background')

import warnings
warnings.filterwarnings("ignore", category=UserWarning, message=".*?Your .*? set is empty.*?")


#choices:  CPU, GPU0...GPU7
device.set(device=DeviceId.GPU0)
colorizer = get_video_colorizer()

#NOTE:  Max is 44 with 11GB video cards.  21 is a good default
render_factor=21
result_path = None

file_name_ext =  'D:\\Gitlab\\DeOldify\\test_video\\test1.mp4'


colorizer.colorize_from_file_name(file_name_ext, render_factor=render_factor)


 927
927

 被折叠的 条评论
为什么被折叠?
被折叠的 条评论
为什么被折叠?
 到【灌水乐园】发言


