


        fval.write(name)
else:
    ftest.write(name)
ftrainval.close()
ftrain.close()
fval.close()
ftest.close()
### data/**init**.py


注释 第3行`from .coco import COCODetection, COCOAnnotationTransform, COCO_CLASSES, COCO_ROOT, get_label_map`


### data/config.py


第15行的 `num_classes`改成`自己设定的类别数+1`;
 设置`max_iter`最大迭代数


### data/voc0712.py


第20行的`VOC_CLASSES =`改成自己的类别名;
 第93行改为 `image_sets=[('2007', 'trainval')]`


### layers/modules/multibox\_loss.py


第97行的`loss_c[pos] = 0`前面加上一句`loss_c = loss_c.view(num, -1)`


### ssd.py


把所有的`num_classes`的数量(第32、198行)都改为`类别数+1`


### train.py


parser `batch_size`,`learning-rate`根据自己电脑情况修改(batchsize=16);
 `basenet` 预训练模型,`start_iter`迭代起始点,`save_folder`模型保存地址
 搜索这里面的`data[0]`,全部替换为`item()`;
 第84、85行注释掉;
if args.dataset_root == COCO_ROOT:
parser.error(‘Must specify dataset if specifying dataset_root’)
第198行`iteration % 5000 == 0`,意味着每5000次保存一次模型,可改为200。后两行可改保存的模型名。


可以在第195行创建txt记录loss值:
with open(‘loss.txt’, ‘a’) as f:
f.write(str(loss.item()) + ‘\n’)
165行的`images, targets = next(batch_iterator)`改成:
try:
images, targets = next(batch_iterator)
except StopIteration:
batch_iterator = iter(data_loader)
images, targets = next(batch_iterator)
### 预训练文件vgg16\_reducedfc.pth


开始训练时需要一个预训练文件 `vgg16_reducedfc.pth`


>
> [链接]( )
>
>
>


下载之后放在SSD项目下新建的weights文件夹下,然后就可以进行训练了。
 注:训练中途遇到 loss=nan 的现象,将`train.py`中,`parser.add_argument('--lr', '--learning-rate', default=1e-3, type=float,`中的 `default=1e-3`改为`default=1e-4`。\*~~直到loss降低到1左右时即可~~ \*


### eval.py


`trained_model`评估的模型路径,`save_folder` 评估保存路径


### demo.py


新建`test_image`,在文件夹中放置几张待测图片(四处修改 20220106更新)
import os
import sys
import torch
from torch.autograd import Variable
import numpy as np
import cv2
from ssd import build_ssd
from data import VOC_CLASSES as labels
from matplotlib import pyplot as plt
------ 初始化 libiomp5md.dll 报错修改 ------
os.environ[“KMP_DUPLICATE_LIB_OK”] = “TRUE”
-----------------------------------------
module_path = os.path.abspath(os.path.join(‘…’))
if module_path not in sys.path:
sys.path.append(module_path)
if torch.cuda.is_available():
torch.set_default_tensor_type(‘torch.cuda.FloatTensor’)
net = build_ssd(‘test’, 300, 5) # 第一处修改:类别+1
将预训练的权重加载到数据集上
net.load_weights(‘weights/ssd300_VOC_1995.pth’) # 第二处修改:使用自己训练好的文件
加载多张图像
imgs = ‘test_image/’# 第三处修改:改成你自己的文件夹
img_list = os.listdir(imgs)
for img in img_list:
# 对输入图像进行预处理
current_img = imgs + img
image = cv2.imread(current_img)
rgb_image = cv2.cvtColor(image, cv2.COLOR_BGR2RGB)
x = cv2.resize(image, (300, 300)).astype(np.float32)
x -= (104.0, 117.0, 123.0)
x = x.astype(np.float32)
x = x[:, :, ::-1].copy()
x = torch.from_numpy(x).permute(2, 0, 1)

# 把图片设为变量
xx = Variable(x.unsqueeze(0))
if torch.cuda.is_available():
    xx = xx.cuda()
y = net(xx)

# 解析 查看结果

top_k = 10

plt.figure(figsize=(6, 6))
colors = plt.cm.hsv(np.linspace(0, 1, 21)).tolist()
currentAxis = plt.gca()

detections = y.data
scale = torch.Tensor(rgb_image.shape[1::-1]).repeat(2)
for i in range(detections.size(1)):
    j = 0
    while detections[0, i, j, 0] >= 0.6:     # 第四处修改:置信度修改
        score = detections[0, i, j, 0]
        label_name = labels[i-1]
        display_txt = '%s: %.2f'%(label_name, score)
        print(display_txt)
        pt = (detections[0,i,j,1:]\*scale).cpu().numpy()
        coords = (pt[0], pt[1]), pt[2]-pt[0]+1, pt[3]-pt[1]+1
        color = colors[i]
        currentAxis.add_patch(plt.Rectangle(\*coords, fill=False, edgecolor=color, linewidth=2))
        currentAxis.text(pt[0], pt[1], display_txt, bbox={'facecolor':color, 'alpha':0.5})
        j += 1
plt.imshow(rgb_image)
plt.show()
### demo/live.py


摄像头识别 (没试)
 第10行用…/找到上一级目录
parser.add_argument(‘–weights’, default=‘…/weights/xxxxxx.pth’,
第78行 类别+1


## 遇到的问题


报错顺序不记得了,下面是遇到的大部分错误


### train.py


#### TypeError: unsupported operand type(s) for /=: ‘Tensor’ and ‘builtin\_function\_or\_method’…


*loss\_l /= N这句错误*


因为一些教程里还改了`layers/modules/multibox_loss.py`程序:
 第115行`N = num_pos.data.sum()`改为
N = num_pos.data.sum().double
loss_l = loss_l.double()
loss_c = loss_c.double()
会出现这个问题.


#### 找不到数据集里的文件夹/文件


VOC数据集名字错了 注意名称 和 大小写


#### FileNotFoundError: [Errno 2] No such file or directory: ‘C:\Users\Administrator\data/coco/coco\_labels.txt’


`train.py` 第二行如果有 `from data.coco import COCO_ROOT, COCODetection`注释掉


#### RuntimeError: Legacy autograd function with non-static forward method is deprecated. Please use new-style autograd function with static forward method.


版本问题。 [参考]( )
 改 `detection.py`为(更新 注释部分已翻译)
“”"
Copyright © 2017 Max deGroot, Ellis Brown
Released under the MIT license
https://github.com/amdegroot/ssd.pytorch
Updated by: Takuya Mouri
“”"
import torch
from torch.autograd import Function
from …box_utils import decode, nms
from data import voc as cfg
class Detect(Function):
“”“At test time, Detect is the final layer of SSD. Decode location preds,
apply non-maximum suppression to location predictions based on conf
scores and threshold to a top_k number of output predictions for both
confidence score and locations.
“””
# PyTorch1.5.0 support new-style autograd function
#def __init__(self, num_classes, bkg_label, top_k, conf_thresh, nms_thresh):
# self.num_classes = num_classes
# self.background_label = bkg_label
# self.top_k = top_k
# # Parameters used in nms.
# self.nms_thresh = nms_thresh
# if nms_thresh <= 0:
# raise ValueError(‘nms_threshold must be non negative.’)
# self.conf_thresh = conf_thresh
# self.variance = cfg[‘variance’]
#def forward(self, loc\_data, conf\_data, prior\_data):
@staticmethod
def forward(self, num_classes, bkg_label, top_k, conf_thresh, nms_thresh, loc_data, conf_data, prior_data):
    self.num_classes = num_classes
    self.background_label = bkg_label
    self.top_k = top_k
    # Parameters used in nms.
    self.nms_thresh = nms_thresh
    if nms_thresh <= 0:
        raise ValueError('nms\_threshold must be non negative.')
    self.conf_thresh = conf_thresh
    self.variance = cfg['variance']
# PyTorch1.5.0 support new-style autograd function
    """
Args:
loc_data: (tensor) Loc preds from loc layers
Shape: [batch,num_priors*4]
conf_data: (tensor) Shape: Conf preds from conf layers
Shape: [batch*num_priors,num_classes]
prior_data: (tensor) Prior boxes and variances from priorbox layers
Shape: [1,num_priors,4]
“”"
自我介绍一下,小编13年上海交大毕业,曾经在小公司待过,也去过华为、OPPO等大厂,18年进入阿里一直到现在。
深知大多数Linux运维工程师,想要提升技能,往往是自己摸索成长或者是报班学习,但对于培训机构动则几千的学费,着实压力不小。自己不成体系的自学效果低效又漫长,而且极易碰到天花板技术停滞不前!
因此收集整理了一份《2024年Linux运维全套学习资料》,初衷也很简单,就是希望能够帮助到想自学提升又不知道该从何学起的朋友,同时减轻大家的负担。


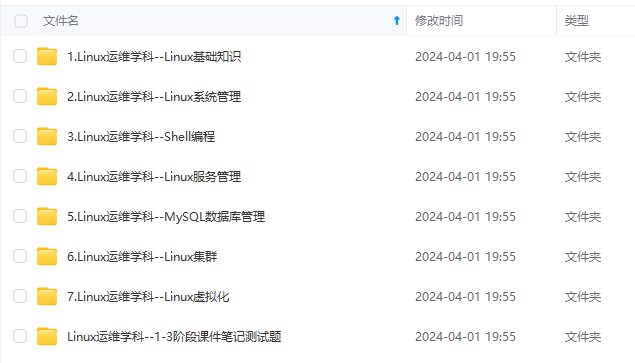
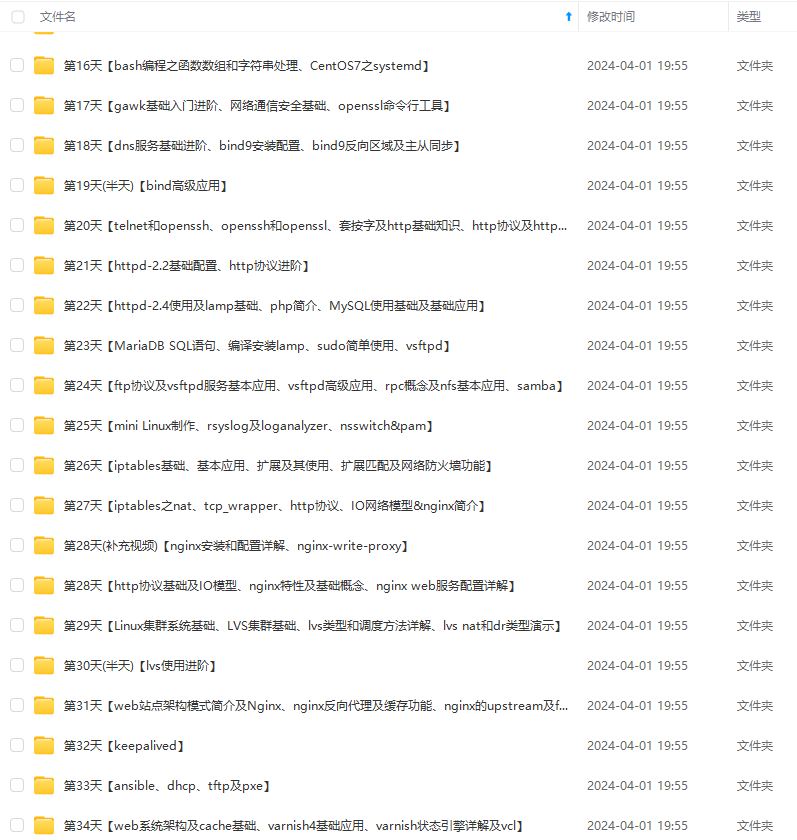
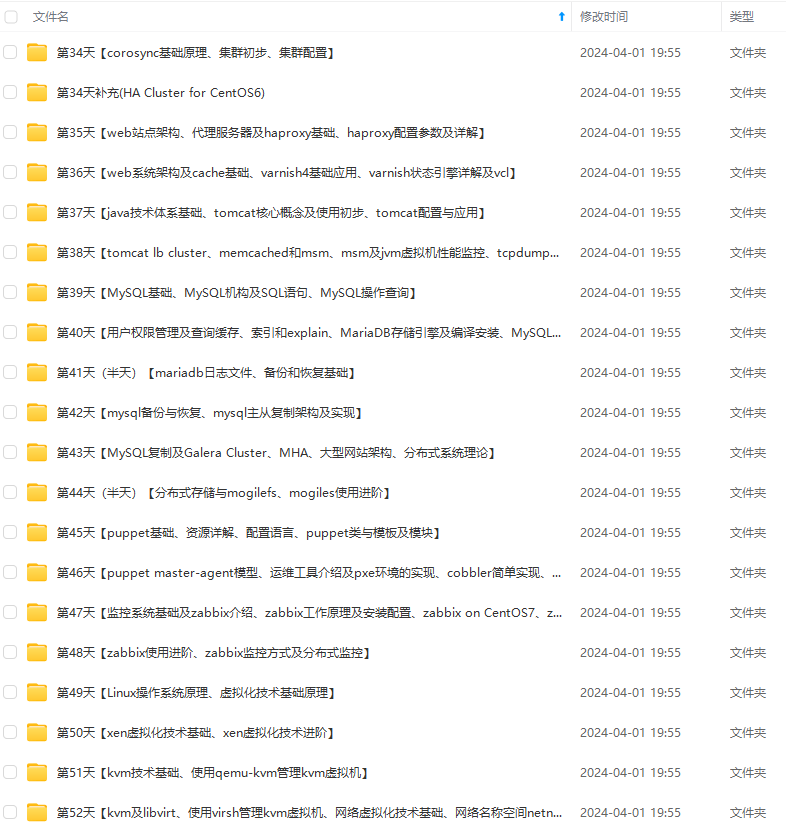
既有适合小白学习的零基础资料,也有适合3年以上经验的小伙伴深入学习提升的进阶课程,基本涵盖了95%以上Linux运维知识点,真正体系化!
由于文件比较大,这里只是将部分目录大纲截图出来,每个节点里面都包含大厂面经、学习笔记、源码讲义、实战项目、讲解视频,并且后续会持续更新
如果你觉得这些内容对你有帮助,可以添加VX:vip1024b (备注Linux运维获取)

最后的话
最近很多小伙伴找我要Linux学习资料,于是我翻箱倒柜,整理了一些优质资源,涵盖视频、电子书、PPT等共享给大家!
资料预览
给大家整理的视频资料:

给大家整理的电子书资料:

如果本文对你有帮助,欢迎点赞、收藏、转发给朋友,让我有持续创作的动力!
一个人可以走的很快,但一群人才能走的更远。不论你是正从事IT行业的老鸟或是对IT行业感兴趣的新人,都欢迎扫码加入我们的的圈子(技术交流、学习资源、职场吐槽、大厂内推、面试辅导),让我们一起学习成长!

源,涵盖视频、电子书、PPT等共享给大家!
资料预览
给大家整理的视频资料:
[外链图片转存中…(img-DPrs5iFZ-1712718651935)]
给大家整理的电子书资料:
[外链图片转存中…(img-Z5oOqaUJ-1712718651935)]
如果本文对你有帮助,欢迎点赞、收藏、转发给朋友,让我有持续创作的动力!
一个人可以走的很快,但一群人才能走的更远。不论你是正从事IT行业的老鸟或是对IT行业感兴趣的新人,都欢迎扫码加入我们的的圈子(技术交流、学习资源、职场吐槽、大厂内推、面试辅导),让我们一起学习成长!
[外链图片转存中…(img-VgLhZ1OU-1712718651936)]


 2945
2945


 被折叠的 条评论
为什么被折叠?
被折叠的 条评论
为什么被折叠?
 到【灌水乐园】发言


