


2024.4.10 Wednesday
Contents
- 10.JDBC
- 10.1.Database Drivers
- 10.1.1.Driver
- 10.1.2.JDBC
- 10.1.3.The First JDBC Program
- 10.1.3.1.Creating a Standard Project
- 10.1.3.2.Importing the Database Driver
- 10.1.3.3.Writing Test Code
- 10.1.3.4.DriverManager
- 10.1.3.5.URL
- 10.1.3.6.Connection
- 10.1.3.7.Statement for executing SQL
- 10.1.3.8.ResultSet, the result set of the query, encapsulates all the query results
- 10.1.3.9.Releasing Resources
10.JDBC
10.1.Database Drivers
10.1.1.Driver
To operate databases with Java, JDBC (drivers) are required. Analogous to other drivers: the premise for using sound cards, graphics cards is having drivers.
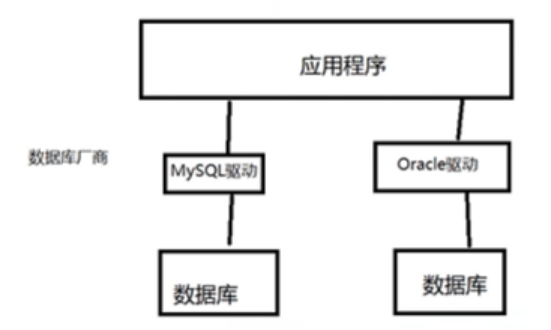
(Database vendors provide drivers)
The program interacts with the database through database drivers.
10.1.2.JDBC
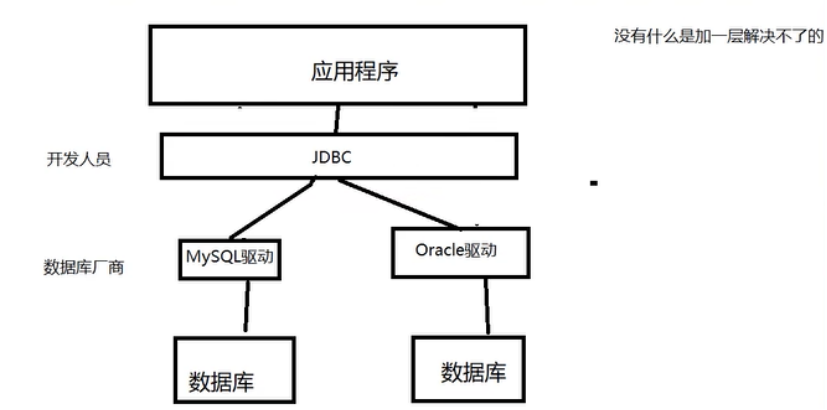
10.1.2.1.To simplify the operations of developers (uniform operations on databases), SUN Company provided a standard—Java operation database standard: JDBC
10.1.2.2.The implementation of these standards is carried out by specific manufacturers
10.1.2.3.Developers only need to master the operation of JDBC interfaces
10.1.3.The First JDBC Program
Create a test database
CREATE DATABASE `p37jdbc` CHARACTER SET utf8 COLLATE utf8_general_ci;

USE `p37jdbc`;

CREATE TABLE `users`(
 `id` INT PRIMARY KEY,
 `NAME` VARCHAR(40),
 `PASSWORD` VARCHAR(40),
 `email` VARCHAR(60),
 birthday DATE
);

INSERT INTO `users`(`id`,`NAME`,`PASSWORD`,`email`,`birthday`)
VALUES('1','zhangsan','123456','zs@sina.com','1980-12-04'),
('2','lisi','123456','lisi@sina.com','1981-12-04'),
('3','wangwu','123456','wangwu@sina.com','1979-12-04')
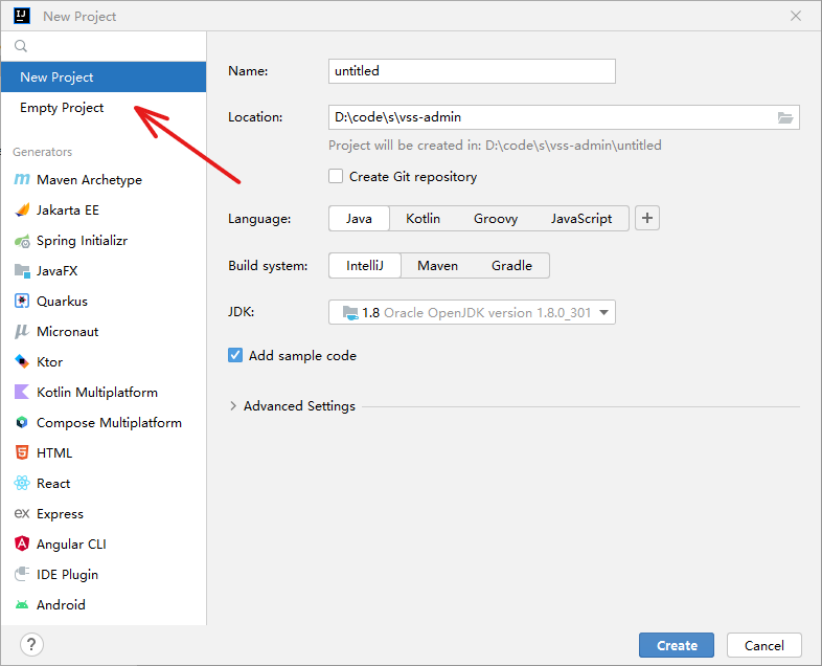
10.1.3.1.Creating a Standard Project
Open IDEA and create a new project (without using any pre-defined type)

10.1.3.2.Importing the Database Driver
-
How to choose a jar package and its download address: https://blog.csdn.net/m0_62085973/article/details/132740542
(jar package higher versions are compatible with lower versions of mysql) -
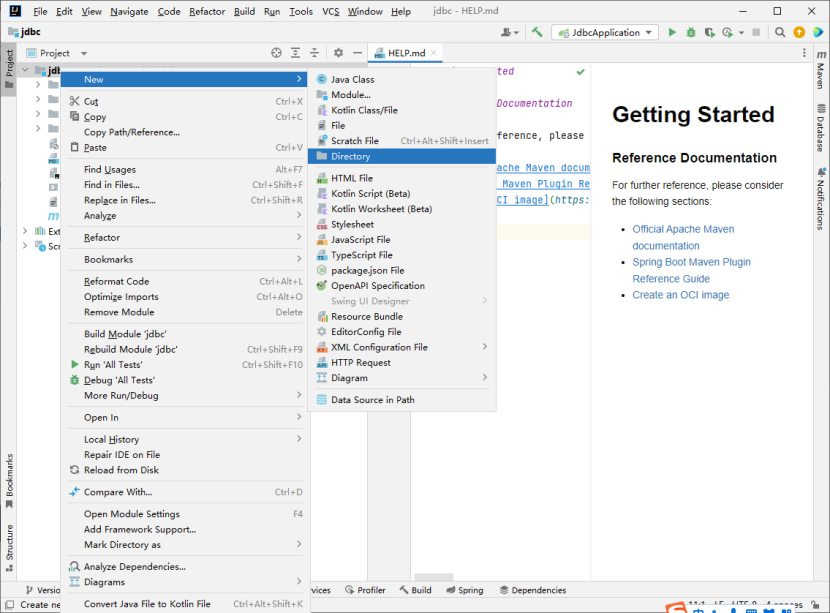
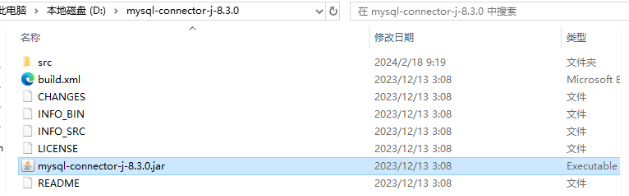
Create a new directory (as shown below)
-
Copy and paste the corresponding jar package into the folder you just created
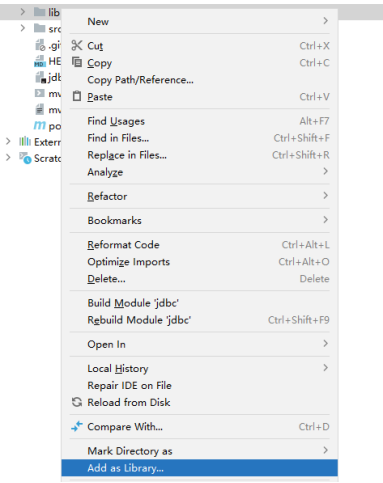
-
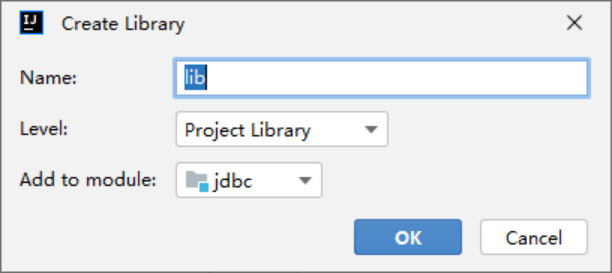
Set as a library
A dialog box will pop up, click OK to see multiple files generated in the lib folder
10.1.3.3.Writing Test Code
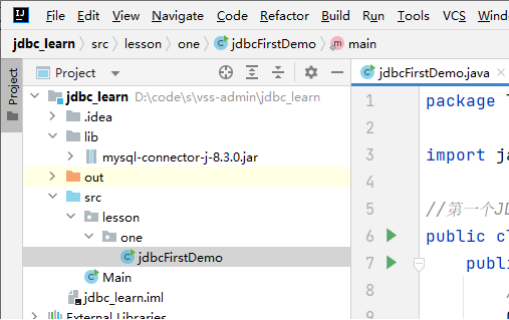
- Choose the appropriate file storage location
To solve the inability to create multi-level folders:
Click the gear icon and uncheck the option for compact Middle Packages. This will allow creating folders within folders
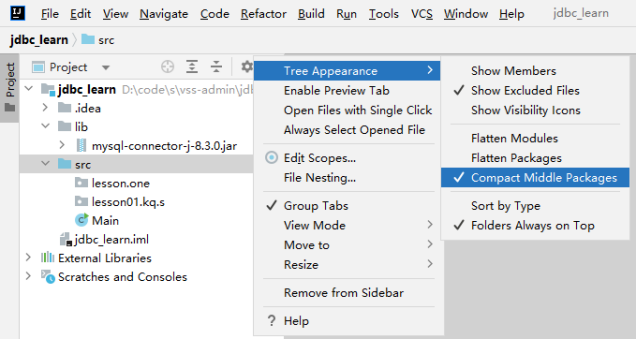
Then create a new class in lesson->one-> named jdbcFirstDemo (naming it as such), which will contain the next small module’s code to query and display information like id, name, password, etc., from the database ‘p37jdbc’.
Modified storage address:
- Code
package lesson.one;
import java.sql.*;
// The first JDBC program
public class jdbcFirstDemo {
public static void main(String[] args) throws ClassNotFoundException, SQLException {
//1. Load driver
Class.forName("com.mysql.cj.jdbc.Driver"); //Fixed writing: load driver
//2. User info and URL
String url = "jdbc:mysql://localhost:3306/p37jdbc?useUnicode=true & characterEncoding=utf8 & useSSL=true";
//jdbc:mysql://localhost:3306/ is the fixed format, p37jdbc is the database name, ? is used for connection parameters,
// useUnicode=true indicates support for Chinese encoding, & connects, characterEncoding=utf8 sets Chinese characters to utf-8, useSSL=true uses a secure connection
String username = "root";
String password = "123456";
//3. Connection successful, returns a database object, Connection represents the database
Connection connection = DriverManager.getConnection(url, username, password);
//4. The object for executing SQL, Statement is the object for executing SQL
Statement statement = connection.createStatement();
//5. (Using 4) Execute SQL, may have results -> review the returned results
String sql = "SELECT * FROM users";
//Use the object that executes SQL to execute
//Executing statement.executeQuery(sql): Query. It returns a result set, which encapsulates all the queried results
ResultSet resultSet = statement.executeQuery(sql); //The returned result set (in the form of a list)
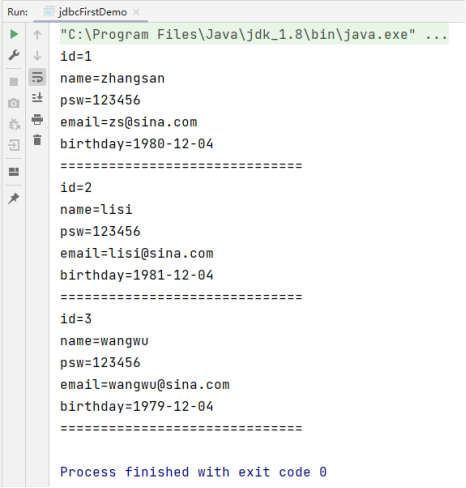
while(resultSet.next()){ //Assuming there is content next
System.out.println("id=" + resultSet.getObject("id"));
System.out.println("name=" + resultSet.getObject("NAME"));
System.out.println("psw=" + resultSet.getObject("PASSWORD"));
System.out.println("email=" + resultSet.getObject("email"));
System.out.println("birthday=" + resultSet.getObject("birthday"));
System.out.println("==============================");
}
//6. Release connection (reverse release according to the acquisition order)
resultSet.close();
statement.close();
connection.close();
}
}
- Results
- Steps Summary
- Load the driver
- Connect to the database with DriverManager
- Obtain the object for executing SQL commands, Statement
- Obtain the returned result set
- Release the connection
Below is a detailed explanation of the jdbcFirstDemo file
10.1.3.4.DriverManager
//Not using this line will result in registering twice        DriverManager.registerDriver(new com.mysql.jdbc.Driver());
Class.forName("com.mysql.cj.jdbc.Driver"); //Fixed writing: load driver
(The source code of Driver is static determination, for more details, open Driver.class to view)
10.1.3.5.URL
//Fixed format template inside ""
//(jdbc):jdbc:mysql://host address:port number/database name?parameter1¶meter2¶meter3
//(oracle):jdbc:oracle:thin:@localhost:1521:sid
//Default port number: mysql is 3306, oracle is 1521
String url = "jdbc:mysql://localhost:3306/p37jdbc?useUnicode=true & characterEncoding=utf8 & useSSL=true";
//More detailed explanation: jdbc:mysql(protocol)://localhost:3306/ is the fixed format, p37jdbc is the database name, ? is used for connecting parameters, useUnicode=true indicates support for Chinese encoding, & connects, characterEncoding=utf8 sets Chinese characters to utf-8, useSSL=true uses a secure connection
10.1.3.6.Connection
//connection represents the database
connection.rollback();  //Transaction rollback
connection.commit();    //Transaction commit
connection.setAutoCommit(); //Set database to automatically commit
10.1.3.7.Statement for executing SQL
String sql = "SELECT * FROM users";

//statement for executing SQL & preparedStatement for executing SQL
statement.executeQuery(sql);   //Execute query operation, returns resultSet result set
statement.execute(sql);    //Execute any SQL statement
statement.executeUpdate(sql);  //Execute update (insertion, deletion), returns the number of affected rows
10.1.3.8.ResultSet, the result set of the query, encapsulates all the query results
- Obtain specified data type
//Used when column type is unknown, parentheses contain the statement being retrieved
resultSet.getObject(sql);
//After knowing the column type, use the following respective types
resultSet.getString(sql);
resultSet.getInt(...);
resultSet.getFloat(...);
resultSet.getDate(...);
- Iteration: Cursor
//Move cursor
resultSet.beforeFirst();    //To the very front
resultSet.afterLast();  //To the very end
resultSet.next();   //Move to the next data
resultSet.previous();   //Move to the previous row
resultSet.absolute(specific row number);   //Move to a specific row
10.1.3.9.Releasing Resources
resultSet.close();
statement.close();
connection.close(); //Resource intensive, close when done


 2501
2501


 被折叠的 条评论
为什么被折叠?
被折叠的 条评论
为什么被折叠?
 到【灌水乐园】发言


