


目录
1.数据加载以及数据增强
以室内数据NYU为例,txt文件可以在BTS的GitHub上下载,老版本的是csv文件,需用用pandas读取,过程类似
image_file = []
depth_file = []
data_file = r"F:\Datasets\nyu_depth_v2\offical_splits\train.txt"
with open(data_file, 'r') as f:
    listInTXT = [line.strip() for line in f]
print(len(listInTXT))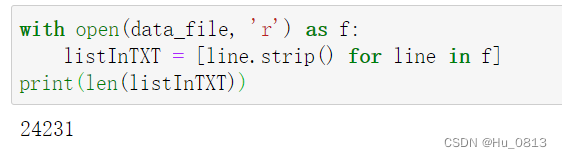
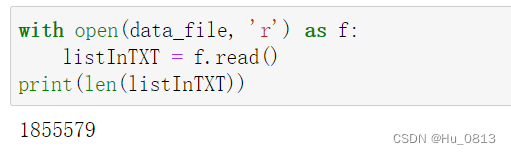
此时测试的数据读取是正确的,总共 image/depth/focal 一共24231条, line.strip()可以把当前str内的空格删除,这里的作用是为了划分一行一行的数据,否则直接用 f.read(data_file)得到的结果是1条集体数据中包含的字符数。
对于此时已经按照 image/depth/focal 划分好的数据路径,我们可以切片为image_file, depth_file。
import cv2
image_path = []
depth_path = []

for i in range(len(listInTXT)):
    image_file.append(listInTXT[i].split(' ')[0])
    depth_file.append(listInTXT[i].split(' ')[1])
    image_path.append("F:/Datasets/nyu_depth_v2/offical_splits/train" + image_file[i])
    depth_path.append("F:/Datasets/nyu_depth_v2/offical_splits/train" + depth_file[i])
上述路径根据绝对地址自行修改
测试图像是否正确读入
%matplotlib inline
import matplotlib.pyplot as plt
image = cv2.imread(image_path[0])
cv2.imshow("test",image)
cv2.waitKey()

也可以用PIL 读取
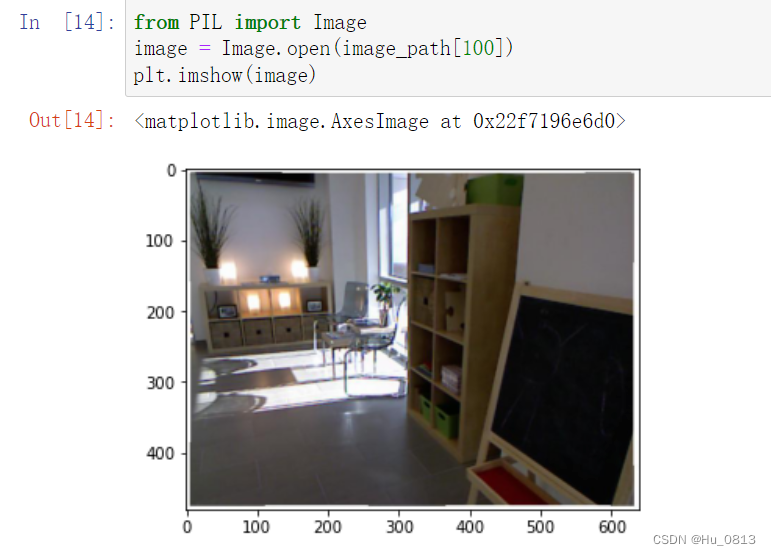
以上是拆解出的步骤,为了代码的可读性,我们定义一个读取数据的类,其实我们对于数据增强的方式是由albumentations 这个包实现的,这个包输入的数据是h,w,c形式, 所以需要将cv读取的图像进行转化(可以用PIL直接读取 避免了转换的步骤)
from torch.utils.data import Dataset, DataLoader
import albumentations as A
import torchvision.transforms as transforms

def gettxt(data_file):
    with open(data_file, 'r') as f:
            ListTxt = [line.strip() for line in f]
    return ListTxt


class GetData(Dataset):
    def __init__(self,data_file,data_path):
        super().__init__()
        self.data_file = data_file
        self.data_path = data_path
        self.file = gettxt(self.data_file)
        self.transform = A.Compose(
                            transforms=[
                            A.HorizontalFlip(),
                            A.RandomBrightnessContrast(),
                            A.RandomGamma(),
                                ]
                        )
        self.to_tensor = transforms.ToTensor()

    def __len__(self):
        return len(self.file)

    def __getitem__(self,idx):

        image_file = "F:/Datasets/nyu_depth_v2/offical_splits/train" + self.file[idx].split(' ')[0]
        depth_file = "F:/Datasets/nyu_depth_v2/offical_splits/train" + self.file[idx].split(' ')[1]

        image = cv2.imread(image_file)
        image = cv2.cvtColor(image, cv2.COLOR_BGR2RGB)
        depth = cv2.imread(depth_file, cv2.IMREAD_UNCHANGED).astype('float32')

        Augment = self.transform(image = image,depth=depth)
        image = Augment['image']
        depth = Augment['depth']

        image = self.to_tensor(image)
        depth = self.to_tensor(depth) / 1000.
        return {"image":image, "depth":depth}
类实例化
getData = GetData(data_file = r"F:\Datasets\nyu_depth_v2\offical_splits\train.txt",
                  data_path = r"F:\Datasets\nyu_depth_v2\offical_splits\train")
将实例化好的类放入Dataloader容器中
train_data = DataLoader(getData, batch_size=8, shuffle=True)测试数据读入是否正确
for i in train_data:
    image, depth = i['image'], i['depth']
    print(image.max(), image.min(),depth.max(),depth.min())
    print(image.size(),depth.size())
    break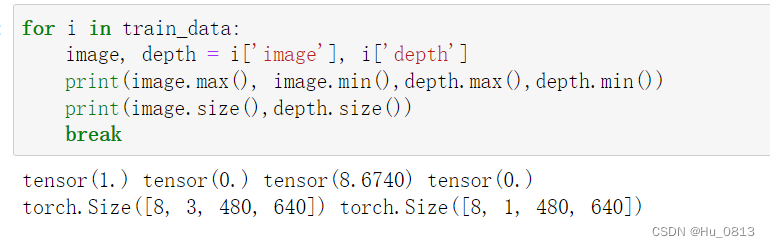
以上就是数据加载以及增强代码段
albumentations 增强图像可以参考 入坑单目深度估计
2.网络模型
为了方便起见,我们使用resnet50 作为我们的 Encoder 网络,使用timm封装好的model ,在这里我们就不预训练了 (正式训练肯定需要)
import timm
model = timm.create_model("resnet50", pretrained=False)
model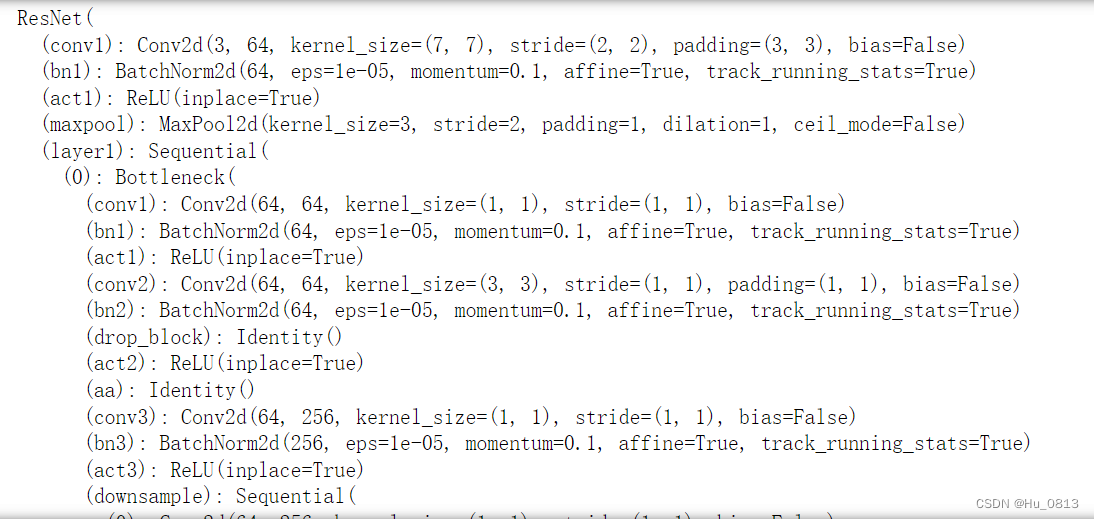
需要注意的是 这个网络是在imagenet上面训练的分类网络,我们需要把最后2层给替换掉作为回归任务
model.global_pool = nn.Identity()
model.fc = nn.Identity()
model
到此为止,Encoder 已经搭建完成,为了方便观察,我们堆叠几个上采样,用作解码部分,需要注意的是 我们没有对图像进行裁剪,在cv2里有对应的包进行处理,不裁剪训练的会很慢。
class Net(nn.Module):
    def __init__(self,encoder = model):
        super().__init__()
        self.encoder = encoder
        self.conv0 = nn.Conv2d(in_channels=2048,out_channels=64,kernel_size=3,stride=1,padding=1)
        self.bn = nn.BatchNorm2d(64)
        self.up1 = nn.Upsample(scale_factor = 2, mode = 'bilinear')
        self.up2 = nn.Upsample(scale_factor = 2, mode = 'bilinear')
        self.up3 = nn.Upsample(scale_factor = 2, mode = 'bilinear')
        self.up4 = nn.Upsample(scale_factor = 2, mode = 'bilinear')
        self.up5 = nn.Upsample(scale_factor = 2, mode = 'bilinear')
        self.conv = nn.Conv2d(in_channels=64,out_channels=1,kernel_size=3,stride=1,padding=1)
    def forward(self, image):
        features = self.encoder(image)
        out = self.up5(self.up4(self.up3(self.up2(self.up1(self.bn(self.conv0(features)))))))
        predict = self.conv(out)
        return predict
网络模块的搭建也已经完成。
3.训练网络
我们选择 Loss = nn.L1Loss() 作为我们的损失函数,回归任务的损失都可以作为损失函数
定义优化器
import torch.optim as optim
net = Net()
optimizer = optim.Adam(net.parameters(), lr = 0.0001)
Loss = nn.L1Loss()
开始训练
for epoch in range(20):
#     loss = AverageMeter()
    for i, sample in enumerate(train_data):
        image, depth = sample['image'], sample['depth']
        predict = net(image)
        optimizer.zero_grad()
        loss = Loss(predict,depth)
        loss.backward()
        optimizer.step()
        print('epoch:{} Batch:{},  loss:{}'.format(epoch,i,loss))
可以看到网络训练的是正确的,有显卡的可以测试一个epoch 可以看到明显效果。但是这个代码很粗糙。没有学习率调节函数,权重保存损失函数。
优化版本
def save_checkpoint(state, filename='checkpoint.pth.tar'):
    torch.save(state, filename)

def adjust_learning_rate(optimizer, epoch):
    lr = 0.0001 * (0.1 ** (epoch // 5))
    for param_group in optimizer.param_groups:
        param_group['lr'] = lr

class AverageMeter(object):
    def __init__(self):
        self.reset()

    def reset(self):
        self.val = 0
        self.avg = 0
        self.sum = 0
        self.count = 0

    def update(self, val, n=1):
        self.val = val
        self.sum += val * n
        self.count += n
        self.avg = self.sum / self.count

for epoch in range(20):
    adjust_learning_rate(optimizer, epoch)
    losses = AverageMeter()

    for i, sample in enumerate(train_data):
        image, depth = sample['image'], sample['depth']
        predict = net(image)
        optimizer.zero_grad()
        loss = Loss(predict,depth)
        loss.backward()
        losses.update(loss.item(), image.size(0))
        optimizer.step()
        print('epoch:{} Batch:{},  loss:{}'.format(epoch,i,loss))
    save_checkpoint({'state_dict': net.state_dict()})
以上就是基于编解码的单目深度网络的搭建以及训练,网络很粗糙,没有跳跃连接,没有空间通道注意力,上采样模块的构建,没有特殊的损失函数。


 1749
1749


 被折叠的 条评论
为什么被折叠?
被折叠的 条评论
为什么被折叠?
 到【灌水乐园】发言


