


一、opecv,opencv_contrib下载以及配置
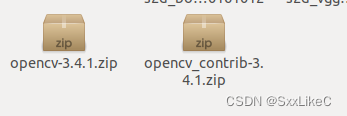
(1)将文件夹中的两个压缩文件解压
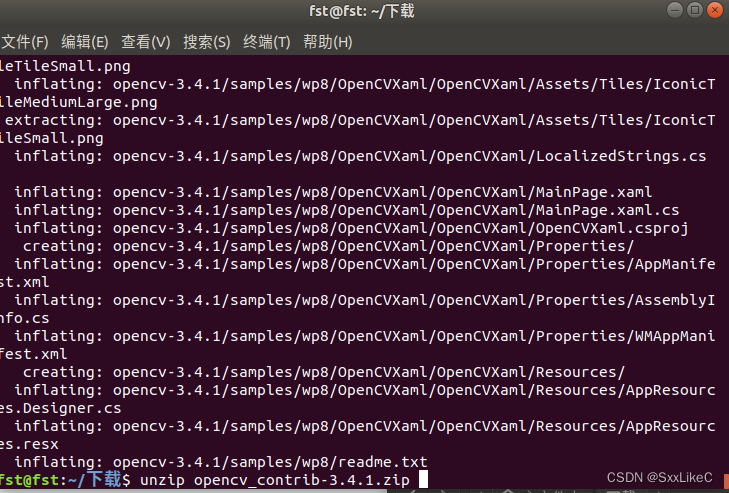
得到两个文件:opencv-3.4.1,opencv_contrib-3.4.1
(2)更新软件列表:sudo apt-get update
补充:所用的镜像源为:
sudo gedit /etc/apt/sources.list将以下内容复制到.list中
deb http://mirrors.aliyun.com/ubuntu/ bionic main restricted universe multiverse
deb http://mirrors.aliyun.com/ubuntu/ bionic-proposed main restricted universe multiverse
deb-src http://mirrors.aliyun.com/ubuntu/ bionic main restricted universe multiverse
deb-src http://mirrors.aliyun.com/ubuntu/ bionic-proposed main restricted universe multiverse
# deb cdrom:[Ubuntu 18.04.5 LTS _Bionic Beaver_ - Release amd64 (20200806.1)]/ bionic main restricted
# See http://help.ubuntu.com/community/UpgradeNotes for how to upgrade to
# newer versions of the distribution.
# deb http://mirrors.aliyun.com/ubuntu/ bionic main restricted
# deb-src http://cn.archive.ubuntu.com/ubuntu/ bionic main restricted
## Major bug fix updates produced after the final release of the
## distribution.
# deb-src http://cn.archive.ubuntu.com/ubuntu/ bionic-updates main restricted
## N.B. software from this repository is ENTIRELY UNSUPPORTED by the Ubuntu
## team. Also, please note that software in universe WILL NOT receive any
## review or updates from the Ubuntu security team.
# deb http://mirrors.aliyun.com/ubuntu/ bionic universe
# deb-src http://cn.archive.ubuntu.com/ubuntu/ bionic universe
# deb-src http://cn.archive.ubuntu.com/ubuntu/ bionic-updates universe
## N.B. software from this repository is ENTIRELY UNSUPPORTED by the Ubuntu
## team, and may not be under a free licence. Please satisfy yourself as to
## your rights to use the software. Also, please note that software in
## multiverse WILL NOT receive any review or updates from the Ubuntu
## security team.
# deb http://mirrors.aliyun.com/ubuntu/ bionic multiverse
# deb-src http://cn.archive.ubuntu.com/ubuntu/ bionic multiverse
# deb-src http://cn.archive.ubuntu.com/ubuntu/ bionic-updates multiverse
## N.B. software from this repository may not have been tested as
## extensively as that contained in the main release, although it includes
## newer versions of some applications which may provide useful features.
## Also, please note that software in backports WILL NOT receive any review
## or updates from the Ubuntu security team.
# deb-src http://cn.archive.ubuntu.com/ubuntu/ bionic-backports main restricted universe multiverse
## Uncomment the following two lines to add software from Canonical's
## 'partner' repository.
## This software is not part of Ubuntu, but is offered by Canonical and the
## respective vendors as a service to Ubuntu users.
# deb http://archive.canonical.com/ubuntu bionic partner
# deb-src http://archive.canonical.com/ubuntu bionic partner
# deb-src http://security.ubuntu.com/ubuntu bionic-security main restricted
# deb-src http://security.ubuntu.com/ubuntu bionic-security universe
# deb-src http://security.ubuntu.com/ubuntu bionic-security multiverse
deb http://security.ubuntu.com/ubuntu xenial-security main
# deb-src http://security.ubuntu.com/ubuntu xenial-security main
(3)更新软件:sudo apt-get upgrade
(4)添加依赖项:
①sudo apt-get install build-essential
②sudo apt-get install cmake git libgtk2.0-dev pkg-config libavcodec-dev libavformat-dev libswscale-dev
③sudo apt-get install python-dev python-numpy libtbb2 libtbb-dev libjpeg-dev libpng-dev libtiff-dev libjasper-dev libdc1394-22-dev
(5)sudo apt install cmake-qt-gui
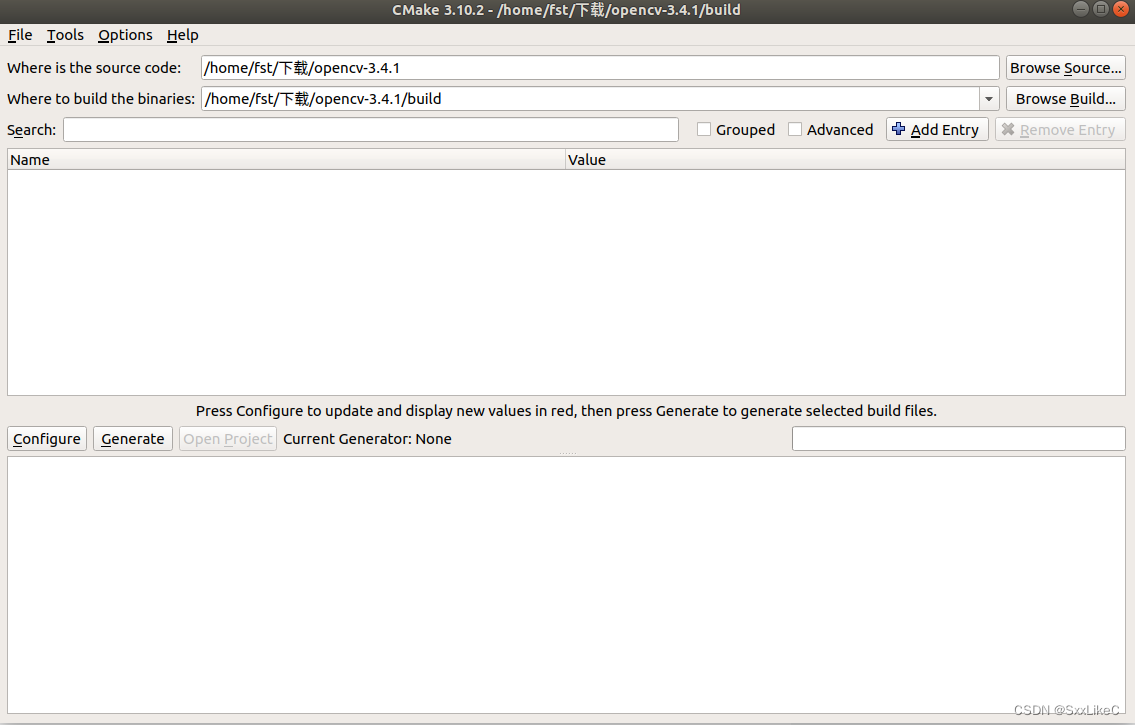
(6)进入opencv-3.4.1创建一个文件夹build,用来放置生成的代码

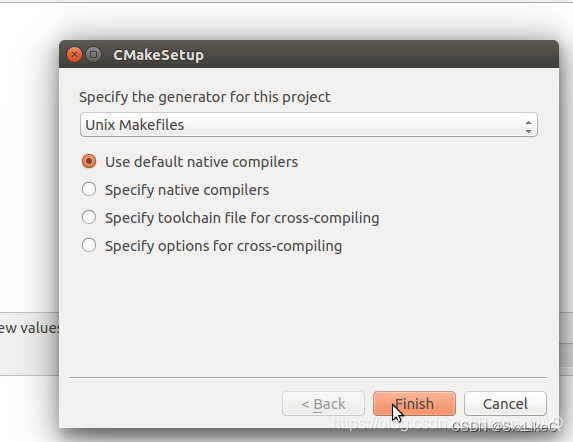
(7)cmke-gui ..
选择对应的正确路径

重点:提前解决编译过程中下载失败、cuda冲突问题
下载失败问题解决:
依次打开
/home/fst/下载/opencv-3.4.1/3rdparty/ippicv/ippicv.cmake
/home/fst/下载/opencv-3.4.1/3rdparty/ffmpeg/ffmpeg.cmake
/home/fst/下载/opencv_contrib-3.4.1/modules/xfeatures2d/cmake/download_boostdesc.cmake
/home/fst/下载/opencv_contrib-3.4.1/modules/xfeatures2d/cmake/download_vgg.cmake
/home/fst/下载/opencv_contrib-3.4.1/modules/face/CMakeLists.txt
以face为例,在以下连接前
https://raw.githubusercontent.com/opencv/opencv_3rdparty/${__commit_hash}/"加入代理
https://ghproxy.com/cuda冲突问题解决:
opencv CMakeList.txt中搜cuda include Nvidia cuda runtime support "ON"改为“OFF”
ccmake 禁用所有与cuda有关
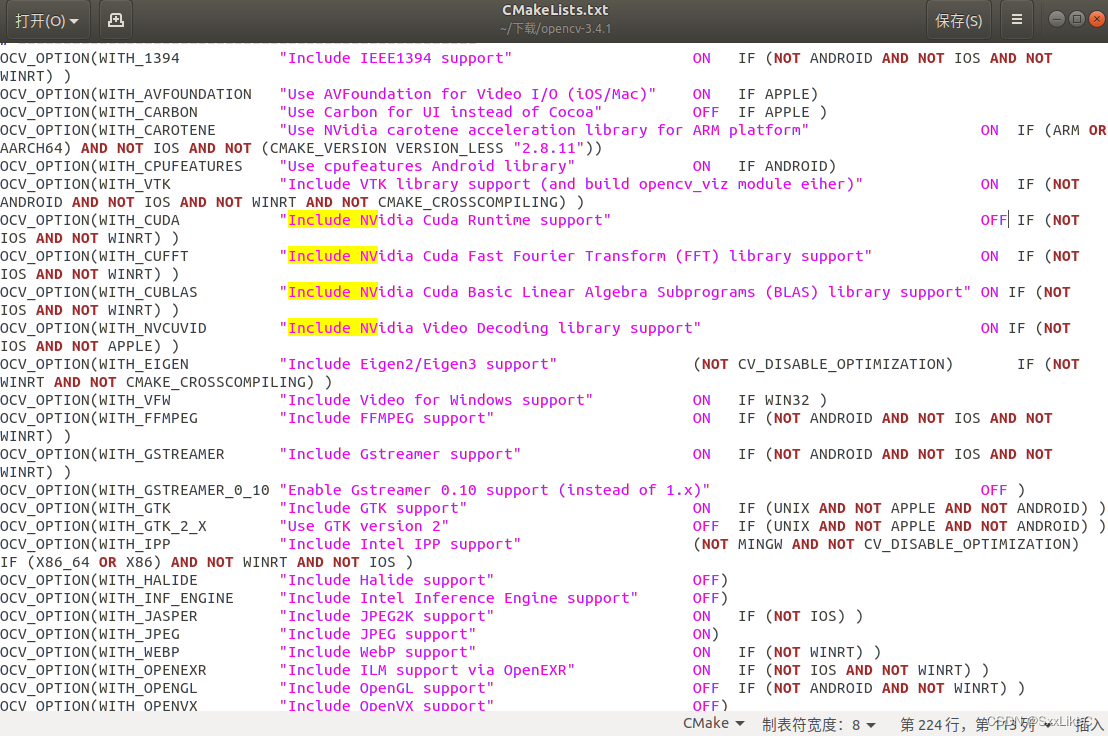
上述问题解决完成后
(8)点击Configure
因为前期加了下载代理,所以中途涉及到下载的环节稍等一下就会完成~

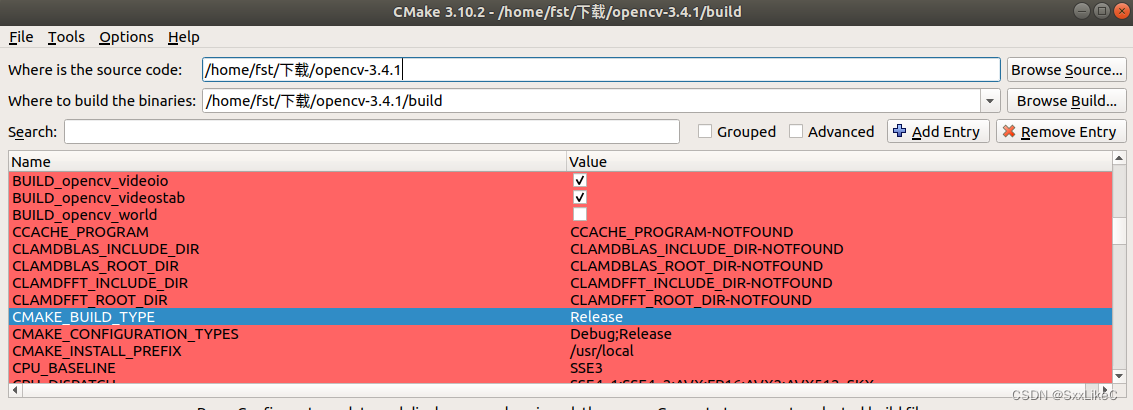
(9)添加:CMAKE_BUILD_TYPE : Release
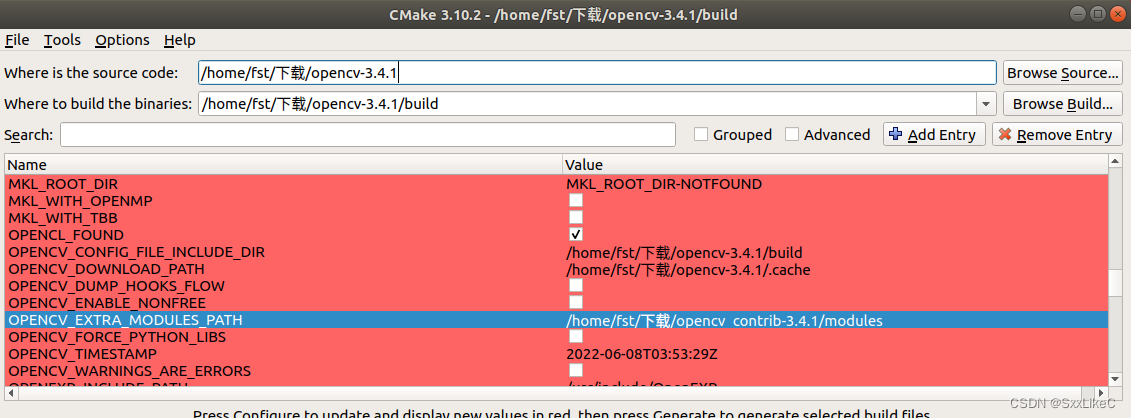
(10)添加:OPENCV_EXTRA_MODULES_PATH:opencv_contrib-3.4.1/modules
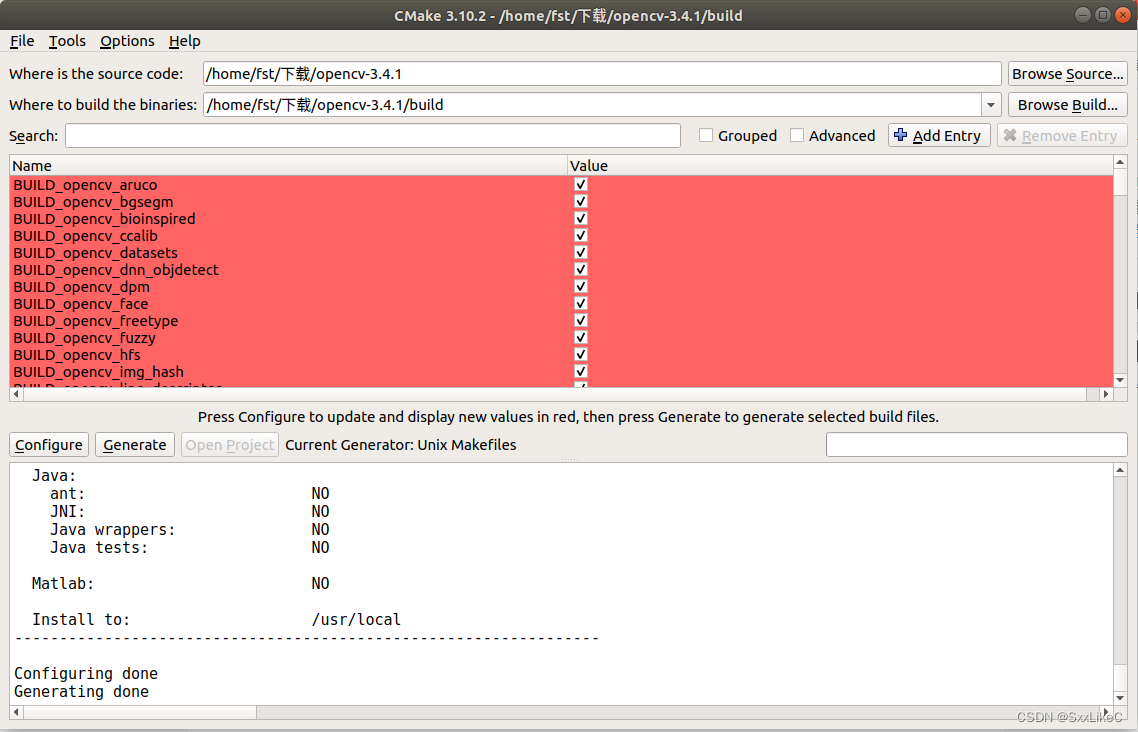
(11) 再次点击Configure ,配置踩过坑的小伙伴应该都清楚下载过程中出现time out,因为在配置之前对一些比较费劲的安装包加了代理链接下载,因此很快就完成啦!

(12) 点击Generate,出现Generate Done
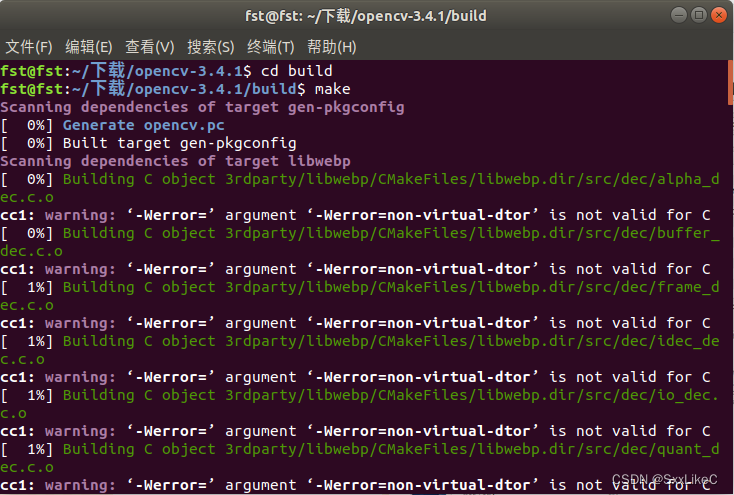
(13) 在build目录下执行make,过程需要久一点~

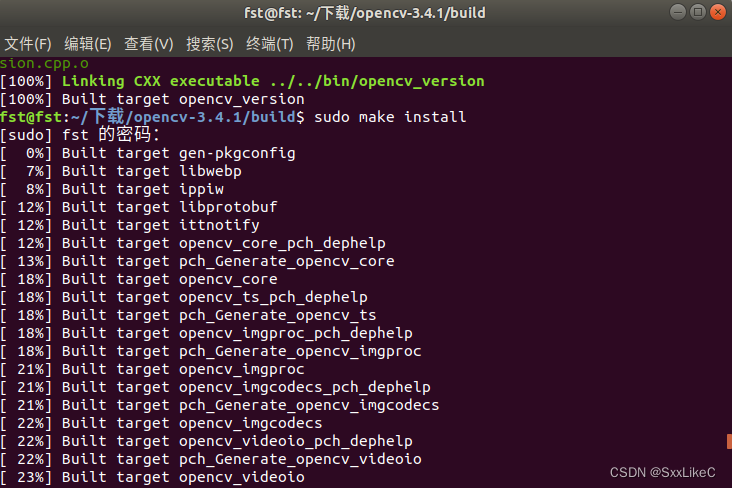
(14) 执行 sudo make install
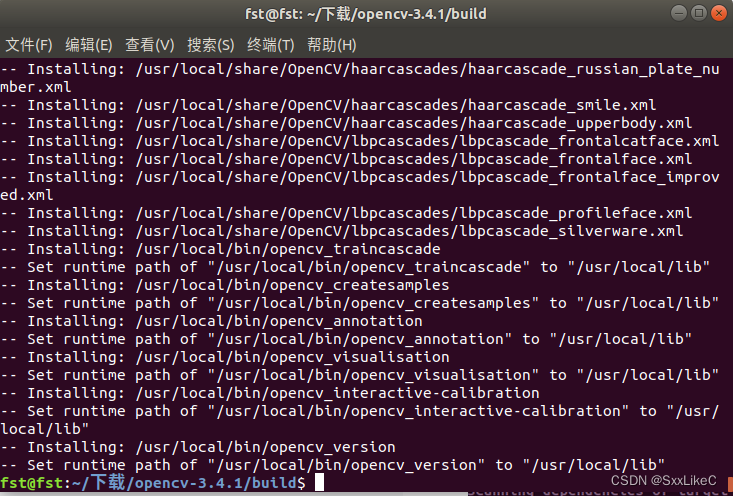
这样opencv3就安装好了,查看opencv安装的版本和库

二、opencv环境配置
(1) sudo gedit /etc/ld.so.conf.d/opencv.conf
输入:/usr/local/lib

(2) 执行命令使其生效:sudo ldconfig ![]()
(3) sudo /etc/bash.bashrc
末尾添加
PKG_CONFIG_PATH=$PKG_CONFIG_PATH:/usr/local/lib/pkgconfig
export PKG_CONFIG_PATH

(4) source /etc/bash.bashrc
(5) 重启一下就ok了
![]()
三、测试opencv配置
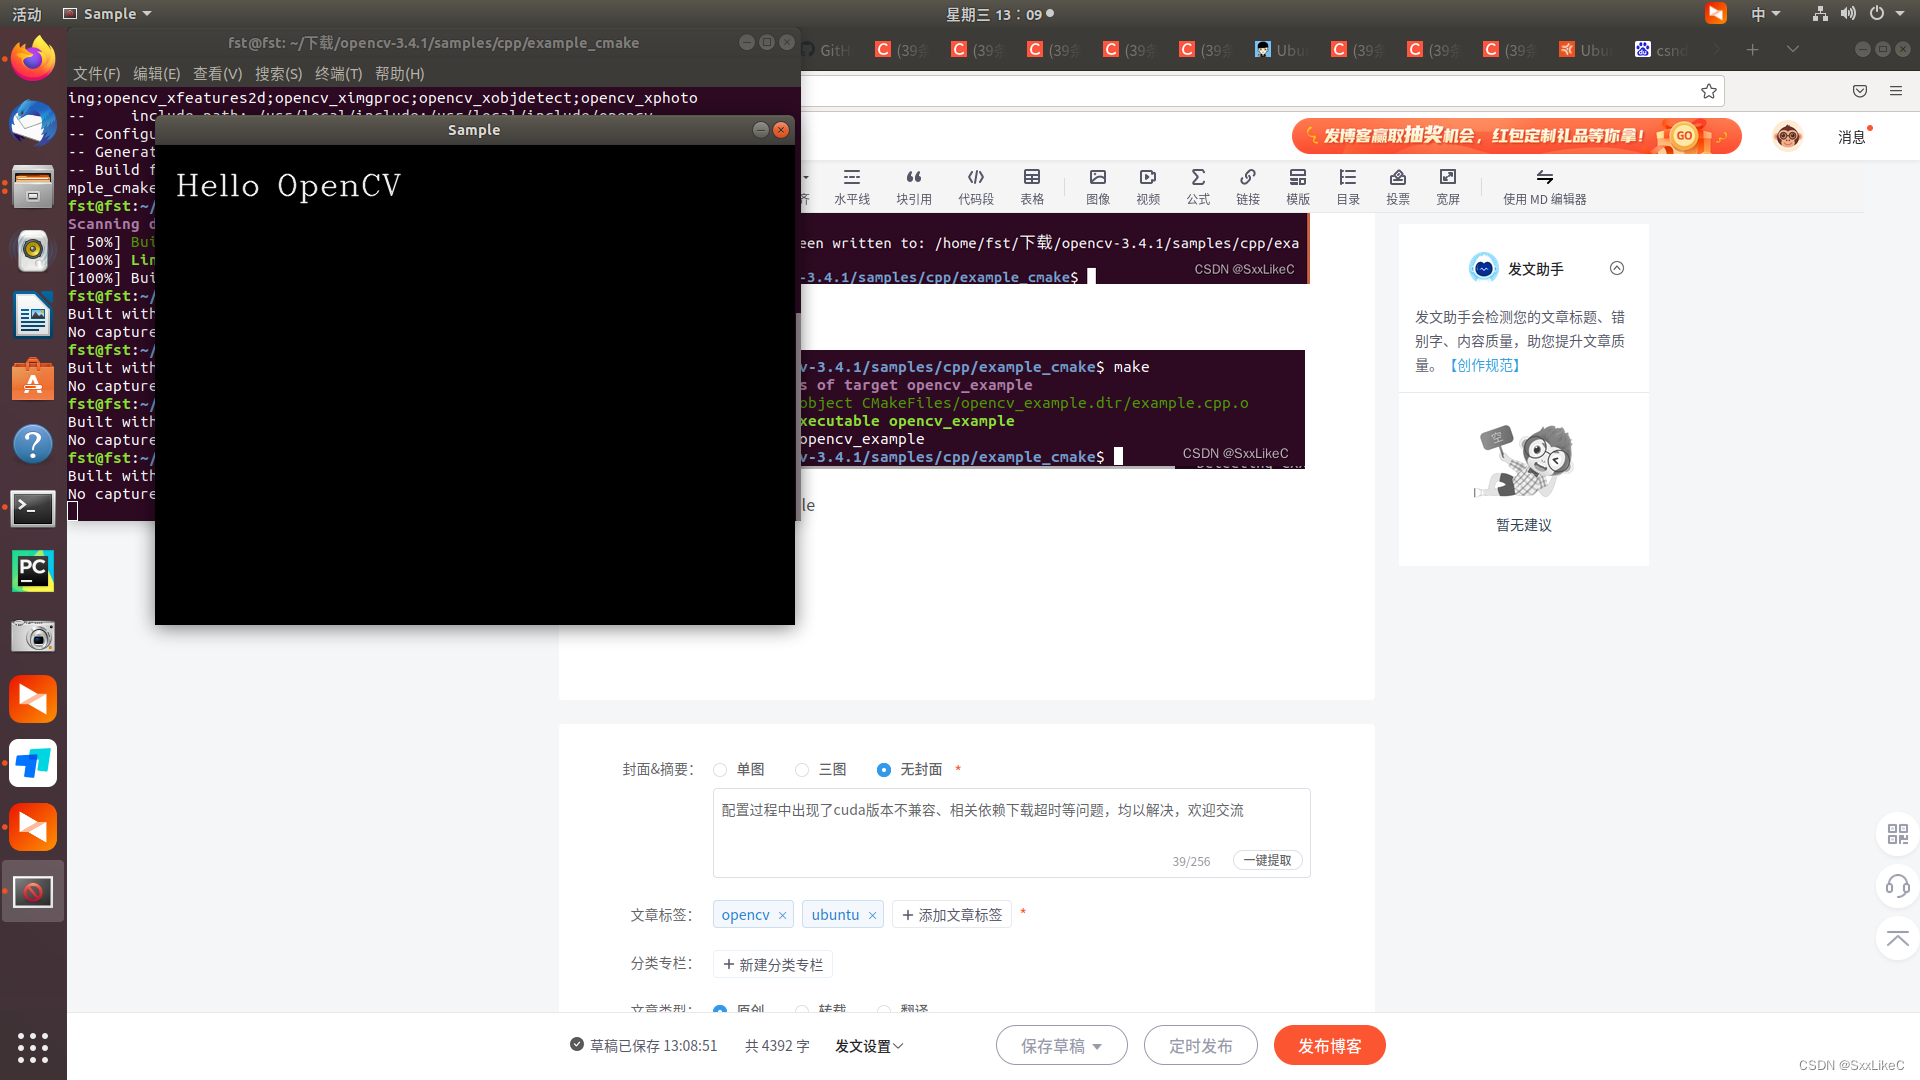
(1) cd到opencv-3.4.1/samples/cpp/example_cmake目录下
终端输入cmake .
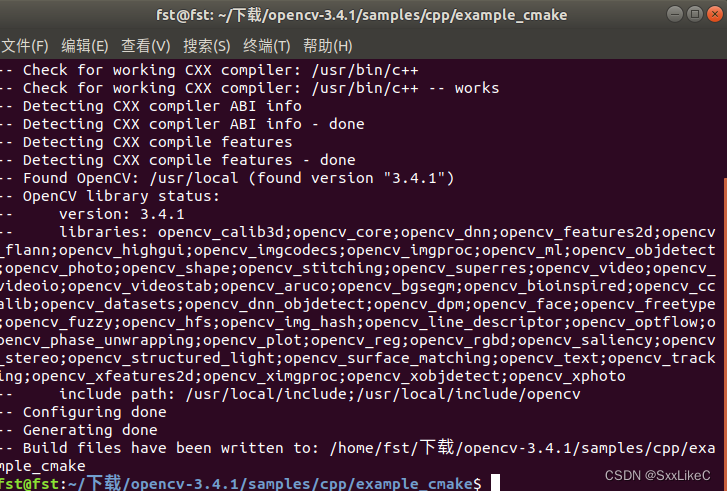
(2) 输入make

(3) 输入./opencv_example
demo测试完毕!


 699
699


 被折叠的 条评论
为什么被折叠?
被折叠的 条评论
为什么被折叠?
 到【灌水乐园】发言


