


一、搭建QWebApp服务器
1、下载QWebApp源码
http://www.stefanfrings.de/qtwebapp/QtWebApp.zip
2、搭建QWebApp服务器
QWebApp源码目录结构:
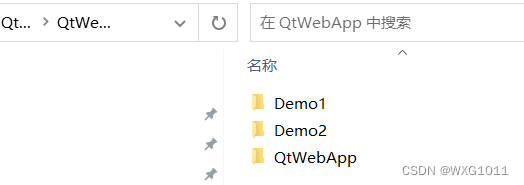
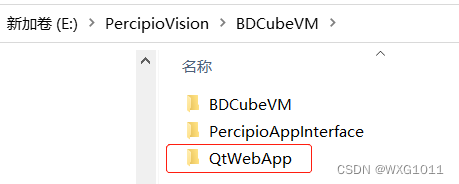
将QtWebApp文件夹拷贝到工程目录下:
在BDCubeVM目录下创建etc文件夹,添加webapp.ini文件
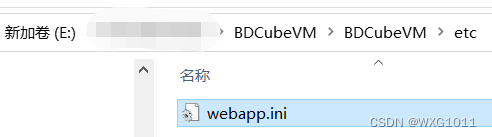
webapp.ini文件内容:
[listener]
;host=*.*.*.*
port=8080

readTimeout=60000
maxRequestSize=16000
maxMultiPartSize=10000000

minThreads=4
maxThreads=100
cleanupInterval=60000

;sslKeyFile=ssl/server.key
;sslCertFile=ssl/server.crt
;caCertFile=ssl/ca.crt
;verifyPeer=true

[templates]
path=templates
suffix=.tpl
encoding=UTF-8
cacheSize=1000000
cacheTime=60000

[docroot]
path=docroot
encoding=UTF-8
maxAge=60000
cacheTime=60000
cacheSize=1000000
maxCachedFileSize=65536

[sessions]
expirationTime=3600000
cookieName=sessionid
cookiePath=/
cookieComment=Identifies the user
;cookieDomain=stefanfrings.de

[logging]
;The logging settings become effective after you comment in the related lines of code in main.cpp.
;fileName=../logs/demo1.log
minLevel=WARNING
bufferSize=100
maxSize=1000000
maxBackups=2
timestampFormat=dd.MM.yyyy hh:mm:ss.zzz
msgFormat={timestamp} {typeNr} {type} {thread} {msg}
;QT5 supports: msgFormat={timestamp} {typeNr} {type} {thread} {msg}\n  in {file} line {line} function {function}
在工程.pro文件中添加:
OTHER_FILES += etc / webapp.ini
include(../QtWebApp/httpserver/httpserver.pri)
三、示例代码
这里涉及到QT全局变量的使用
mainwindow.cpp
#include "mainwindow.h"
#include "helloworldcontroller.h"
#include "requestmapper.h"

using namespace stefanfrings;

QByteArray a = "ddhsiodhsodi";


...


a = "hhhahhahahhahaha";
// Load the configuration file
QSettings* listenerSettings = new QSettings("./etc/webapp.ini", QSettings::IniFormat, this);
listenerSettings->beginGroup("listener");
// Start the HTTP server
new HttpListener(listenerSettings, new HelloWorldController(this), this);
mainwindow.h
//创建全局变量
extern QByteArray a;
helloworldcontroller.cpp
#include "helloworldcontroller.h"
#include "mainwindow.h"


HelloWorldController::HelloWorldController(QObject* parent)
	: HttpRequestHandler(parent) {
	// empty
}

HelloWorldController::~HelloWorldController() {
	// empty
}

void HelloWorldController::service(HttpRequest &request, HttpResponse &response) {

	qDebug() << "**************************************";
	qDebug() << a;
	response.write(a);

}
helloworldcontroller.h
#ifndef HELLOWORLDCONTROLLER_H
#define HELLOWORLDCONTROLLER_H

#include "httprequesthandler.h"

using namespace stefanfrings;


class HelloWorldController : public HttpRequestHandler {
	Q_OBJECT
public:
	HelloWorldController(QObject* parent = 0);
	virtual ~HelloWorldController();

	virtual void service(HttpRequest& request, HttpResponse& response);
};

#endif // HELLOWORLDCONTROLLER_H
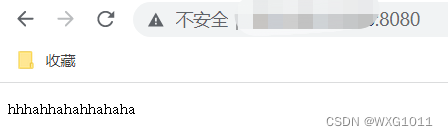
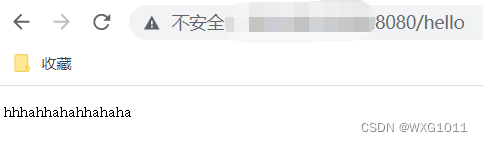
运行结果:

四、请求映射器
当我们的应用程序中有多个不同的控制器类,但一次只能使用一个。所以创建一个"RequestMapper"类,它将在两个控制器之间切换。
requestmapper.cpp
#include "requestmapper.h"

RequestMapper::RequestMapper(QObject* parent)
	: HttpRequestHandler(parent) {
	// empty
}

void RequestMapper::service(HttpRequest& request, HttpResponse& response) {
	QByteArray path = request.getPath();
	qDebug("RequestMapper: path=%s", path.data());

	if (path == "/" || path == "/hello") {
		helloWorldController.service(request, response);
	}
	else {
		response.setStatus(404, "Not found");
		response.write("The URL is wrong, no such document.");
	}

	qDebug("RequestMapper: finished request");
}
requestmapper.h
#pragma once

#ifndef REQUESTMAPPER_H
#define REQUESTMAPPER_H

#include "httprequesthandler.h"
#include "helloworldcontroller.h"


using namespace stefanfrings;

class RequestMapper : public HttpRequestHandler {
	Q_OBJECT
public:
	RequestMapper(QObject* parent = 0);
	void service(HttpRequest& request, HttpResponse& response);
private:
	HelloWorldController helloWorldController;

};

#endif // REQUESTMAPPER_H
mainwindow.cpp
将new HttpListener(listenerSettings, new HelloWorldController(this), this);改为
new HttpListener(listenerSettings, new RequestMapper(this), this);
a = "hhhahhahahhahaha";
// Load the configuration file
QSettings* listenerSettings = new QSettings("./etc/webapp.ini", QSettings::IniFormat, this);
listenerSettings->beginGroup("listener");

// Start the HTTP server
new HttpListener(listenerSettings, new RequestMapper(this), this);
运行结果:
访问ip:8080或ip:8080/hello返回
参考链接 QtWebApp的使用【在Qt中搭建HTTP服务器】(一)_jupeiii的博客-CSDN博客_qwebapp


 1313
1313


 被折叠的 条评论
为什么被折叠?
被折叠的 条评论
为什么被折叠?
 到【灌水乐园】发言


