


做过winform 的童鞋都知道,页面上有treeview时,控件切换光标后,选中状态就消失了,这就给人一种很迷惑的感觉,不知道之前选中的哪一个,有人说了,设置treeView.HideSelection为false就好了,事实真的如此吗?答案是No,设置为false后,选中的节点颜色太浅了,几乎看不清,事实上我们只需在DrawNode中对节点重绘就好了,详细代码如下:
 /// <summary>
 /// 构造函数
 /// </summary>
 public FormDevicesManagement()
 {
     this.TV_Devices.DrawMode = TreeViewDrawMode.OwnerDrawText;
     this.TV_Devices.DrawNode += new DrawTreeNodeEventHandler(treeView_DrawNode);
 }

 private void treeView_DrawNode(object sender, DrawTreeNodeEventArgs e)
 {
    Rectangle rectangle = Rectangle.Inflate(e.Bounds, 0, -5);
    rectangle.Width += 15;
    if ((e.State & TreeNodeStates.Selected) != 0)
    {
        e.Graphics.FillRectangle(Brushes.DodgerBlue, e.Node.Bounds);

        Font nodeFont = e.Node.NodeFont;
        if (nodeFont == null) nodeFont = ((System.Windows.Forms.TreeView)sender).Font;

        e.Graphics.DrawString(e.Node.Text, nodeFont, Brushes.White, rectangle);
    }
    else
    {
        Font nodeFont = e.Node.NodeFont;
        if (nodeFont == null) nodeFont = ((System.Windows.Forms.TreeView)sender).Font;

        e.Graphics.DrawString(e.Node.Text, nodeFont, Brushes.Black, rectangle);
    }
  }
其中这两句,决定了文字的绘制位置:
Rectangle rectangle = Rectangle.Inflate(e.Bounds, 0, -5);
rectangle.Width += 15;
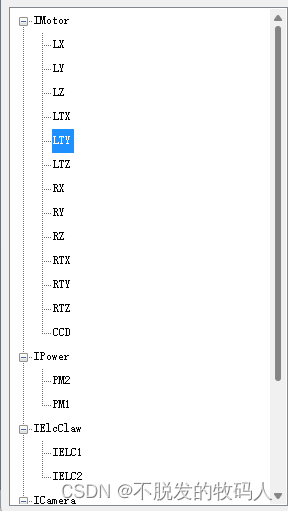
运行后,效果如下:


 2万+
2万+

 被折叠的 条评论
为什么被折叠?
被折叠的 条评论
为什么被折叠?
 到【灌水乐园】发言


