


本文分享自华为云社区 《重磅!【支持中文】stable-diffusion-3安装部署教程-SD3 来了》,作者:码上开花_Lancer。
正如承诺的那样,Stability AI在6月12日正式开源了Stable Diffusion 3(Medium版本)!不愧是AI生图领域的“开源英雄”。最近一段时间,正当所有人都在为OpenAI发布Sora狂欢时,Stability AI更是推出了Stable Diffusion 3的技术报告。这两项技术不约而同都采用了Diffusion Transformer的架构设计。
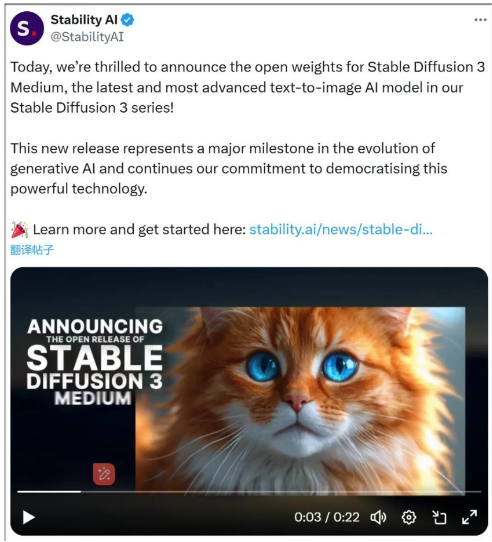
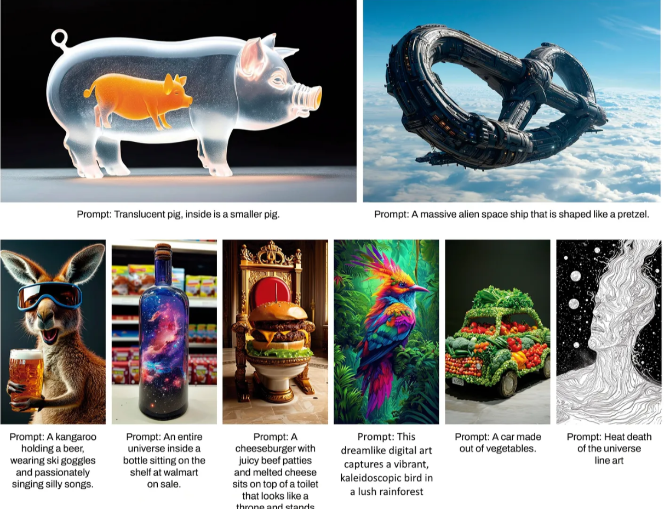
值得注意的是,Stable Diffusion 3的强大性能其实并不仅限于Diffusion Transformer在架构上所带来的增益,其在提示词、图像质量、文字拼写方面的能力都得到了极大的提升。那么究竟是什么让Stable Diffusion 3如此强大?今天我们就从Stable Diffusion 3的技术报告中解读stable diffusion 3强大背后的技术原理。
接下来就讲讲,怎么在本地部署最新的Stable Diffusion 3,大致分为以下几步(开始操作前,请确保你有“畅通”的网络):
一、前期准备
1.登录华为云官方账号:

点击右上角“控制台”,搜索栏输入“ModelArts”

点击“开发环境”-“notebook”,“创建”:

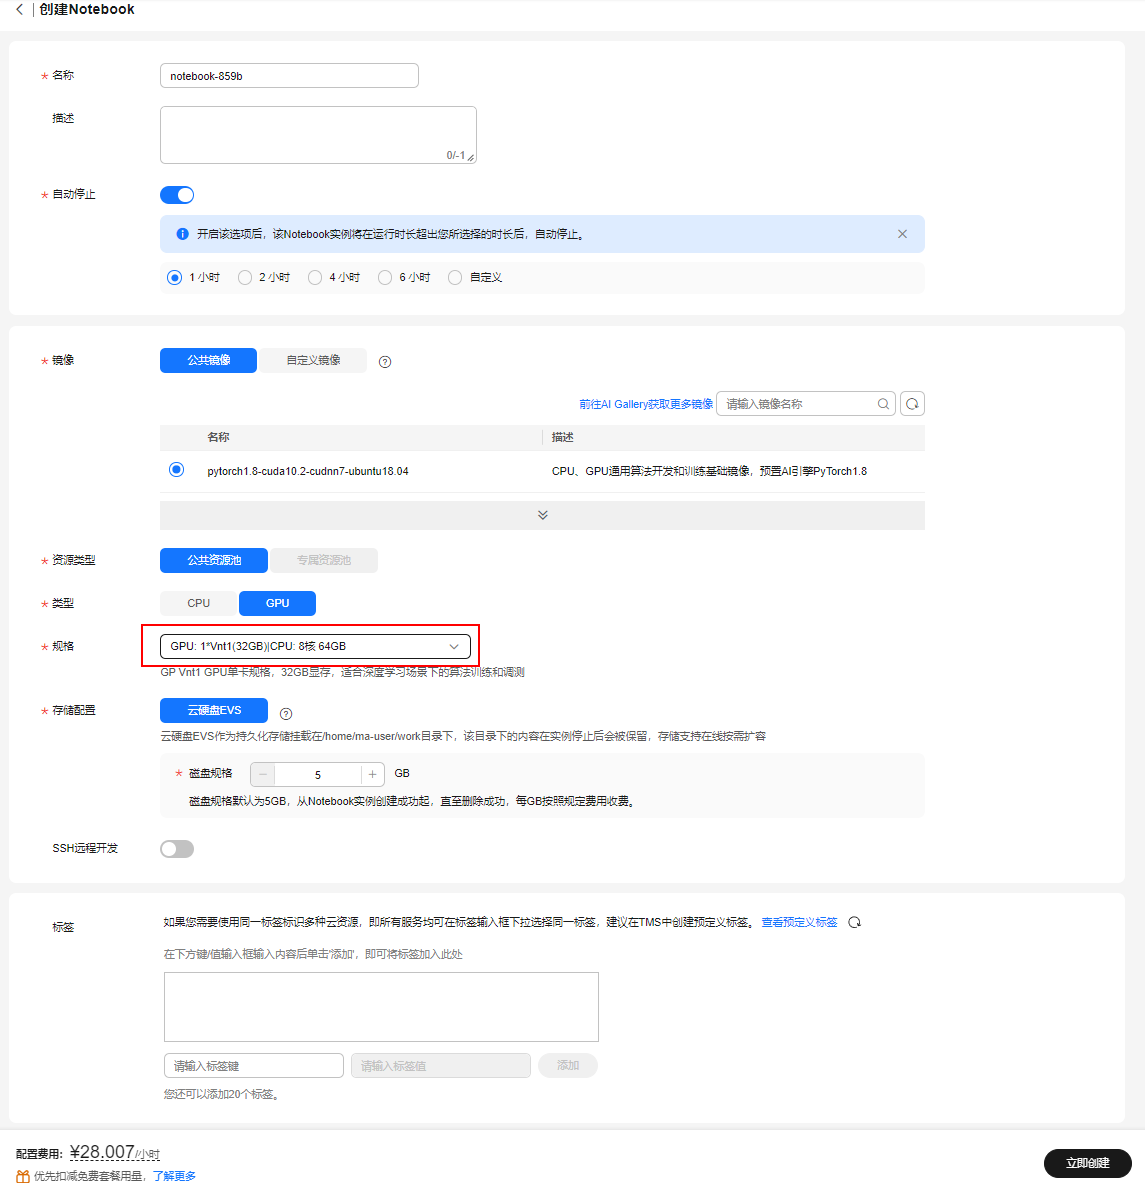
进入创建notebook,名称“notebook-LangChain”,选择GPU规格,“GPU: 1*T4(16GB)|CPU: 8核 32GB”,点击“立即创建”,磁盘规格选择“50G”,点击“创建”
点击返回“任务中心”,点击notebook进入

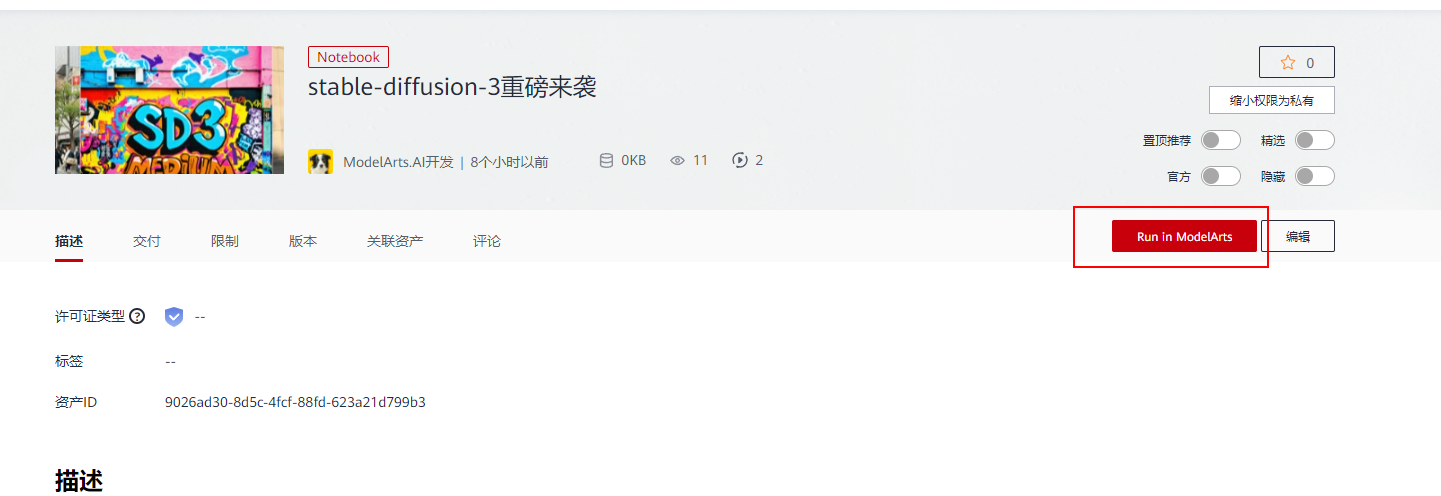
以上步骤是从ModelArts上自己创建notebook,也可以直接点击案例进入体验-- stable-diffusion-3重磅来袭。
二、下载模型
[Stable Diffusion 3 Medium](https://stability.ai/news/stable-diffusion-3-medium) 是一种多模态扩散转换器 (MMDiT) 文本到图像模型,其特点是在图像质量、排版、复杂提示理解和资源效率方面大大提高了性能。有关更多技术细节,请参阅[研究报告](https://stability.ai/news/stable-diffusion-3-research-paper)。

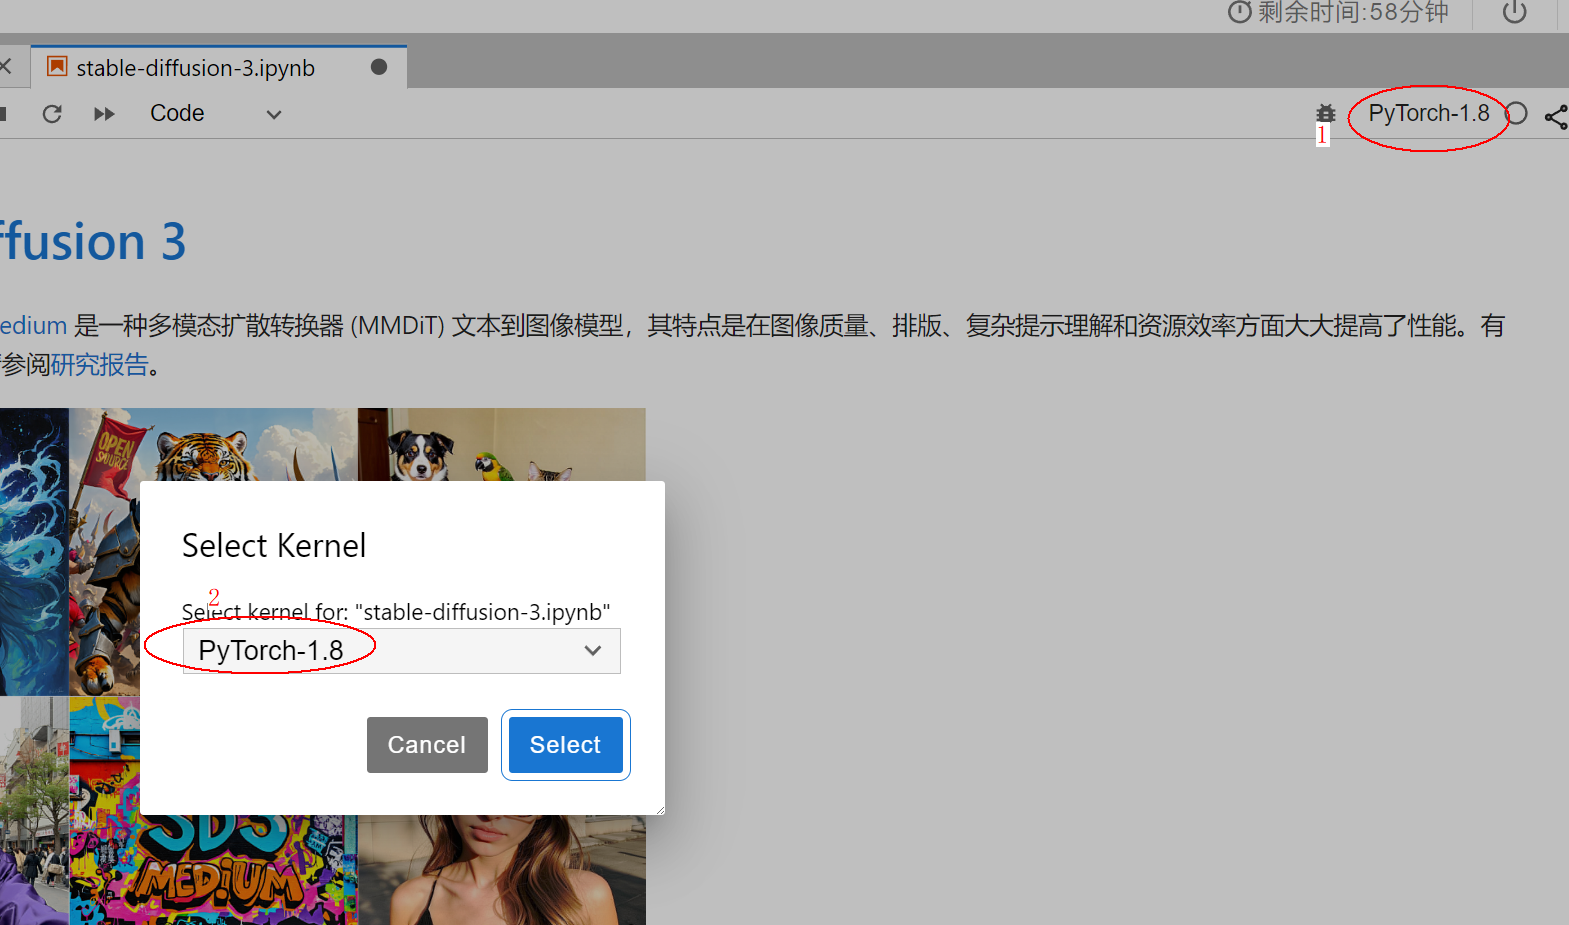
🔹 本案例需使用 Pytorch-2.0.1 GPU-V100 及以上规格运行
🔹 点击Run in ModelArts,将会进入到ModelArts CodeLab中,这时需要你登录华为云账号,如果没有账号,则需要注册一个,且要进行实名认证,参考[《如何创建华为云账号并且实名认证》](https://bbs.huaweicloud.com/blogs/427460) 即可完成账号注册和实名认证。 登录之后,等待片刻,即可进入到CodeLab的运行环境
🔹 出现 Out Of Memory ,请检查是否为您的参数配置过高导致,修改参数配置,重启kernel或更换更高规格资源进行规避❗❗❗
首先切换kernrl,
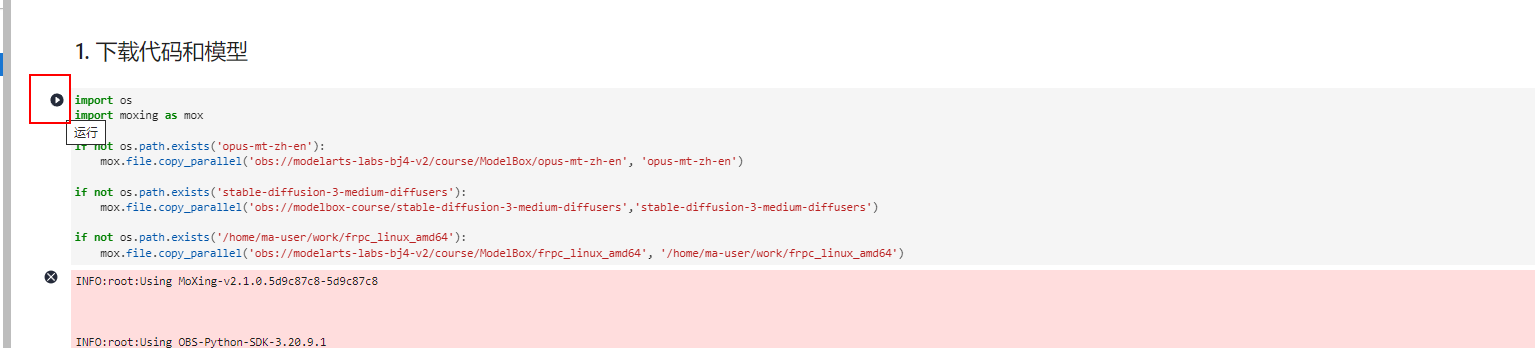
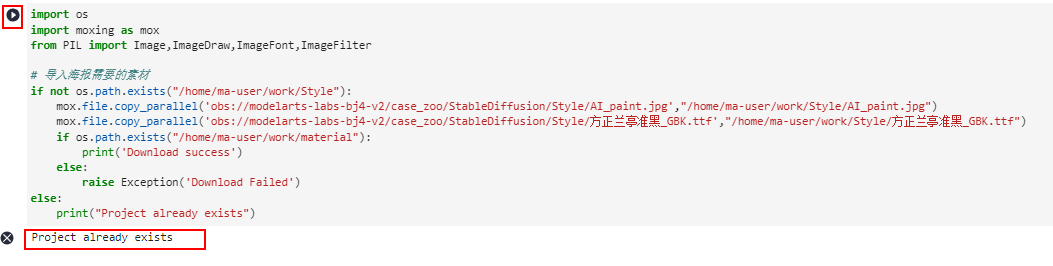
## 1. 下载代码和模型
2. 配置运行环境
本案例依赖Python-3.9.15及以上环境,因此我们首先创建虚拟环境:
创建完成后,稍等片刻,或刷新页面,点击右上角kernel选择python-3.9.15

查看Python版本
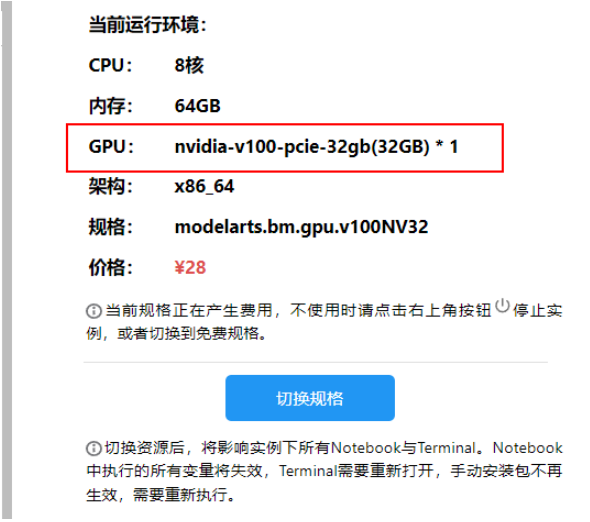
查看GPU型号,至少需要32GB显存
安装SD3依赖包
3. 生成单张图像
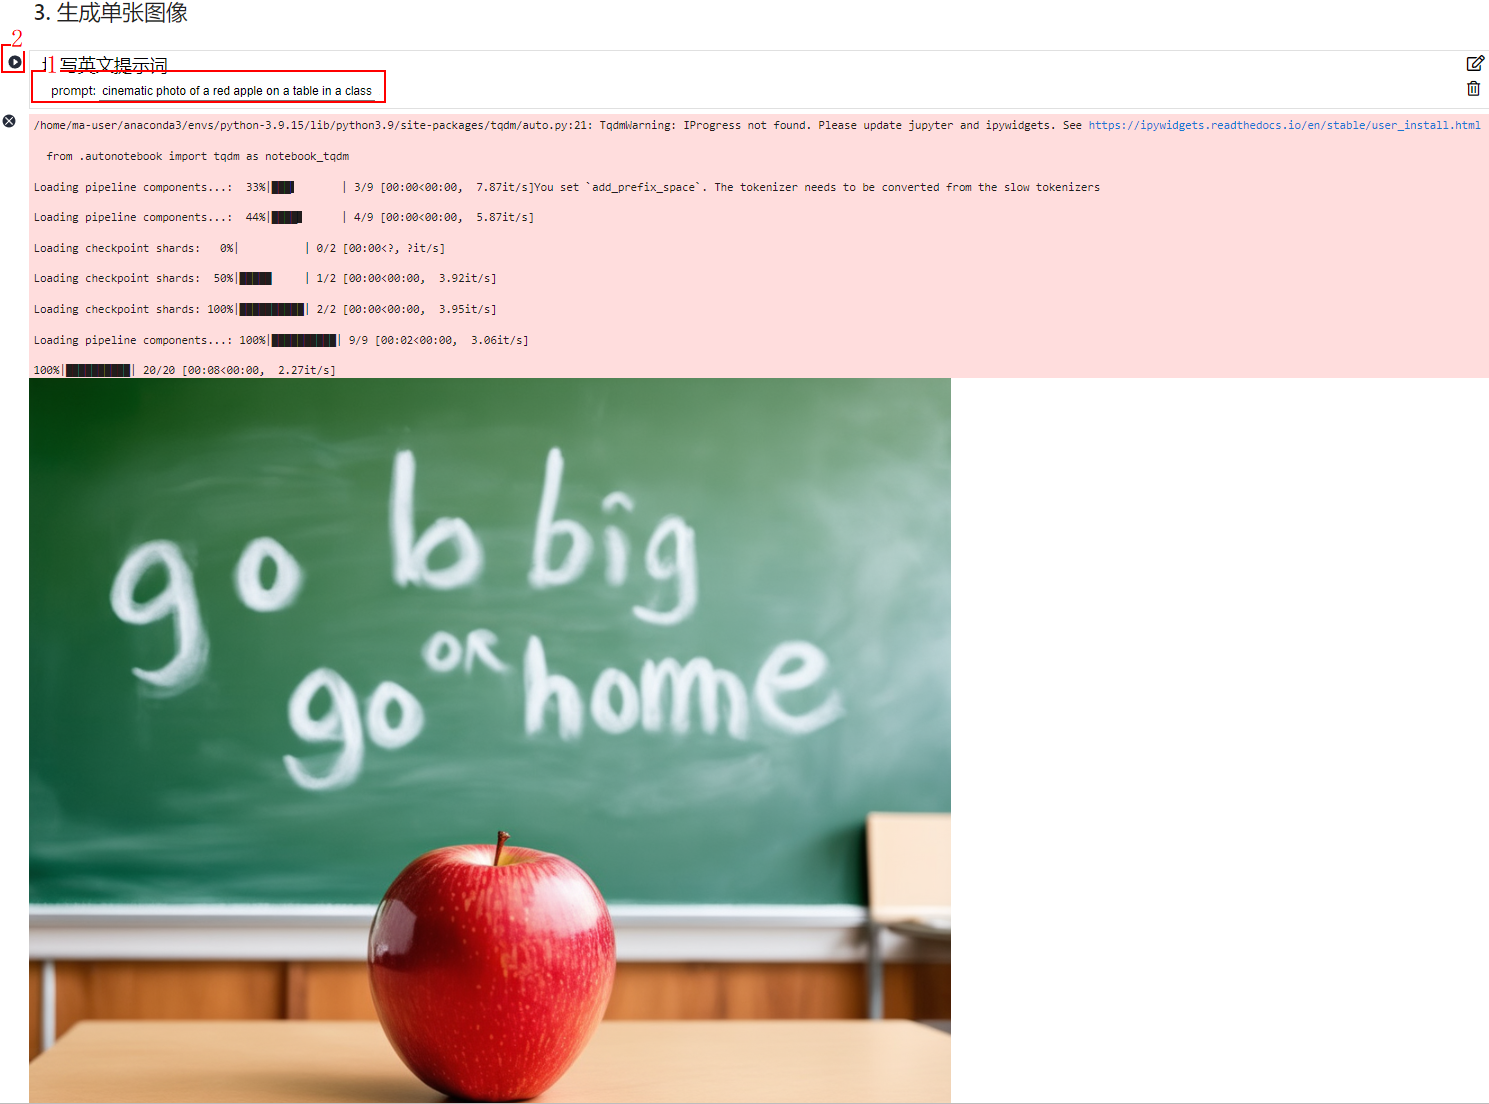
注意:
出现 Out Of Memory ,尝试重启 kernel 再次运行❗❗❗

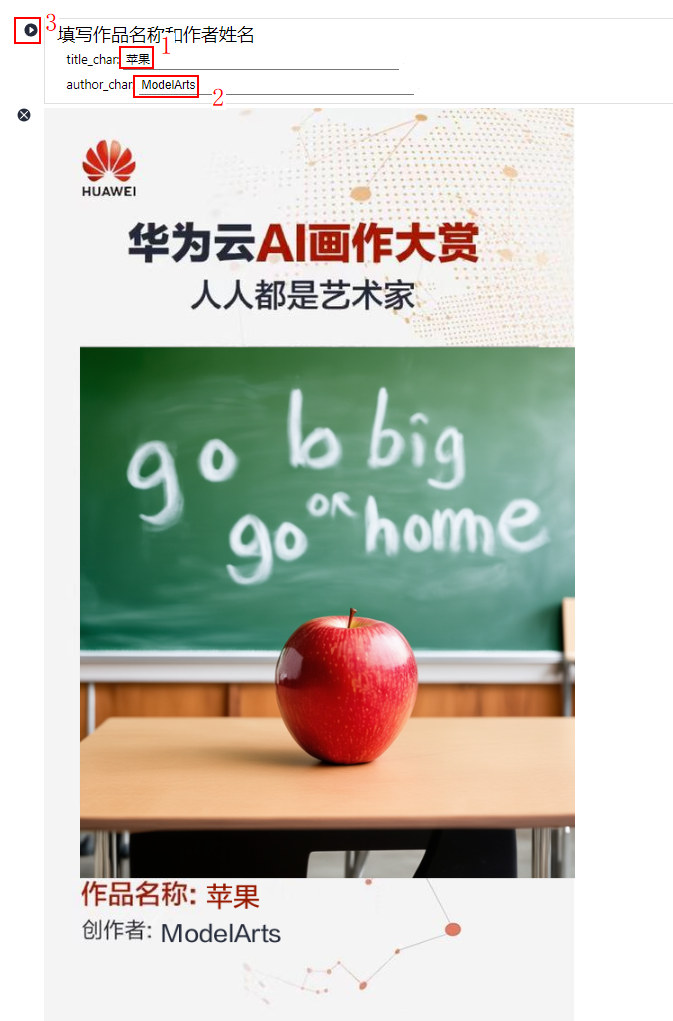
4.填写作品名称和作者姓名

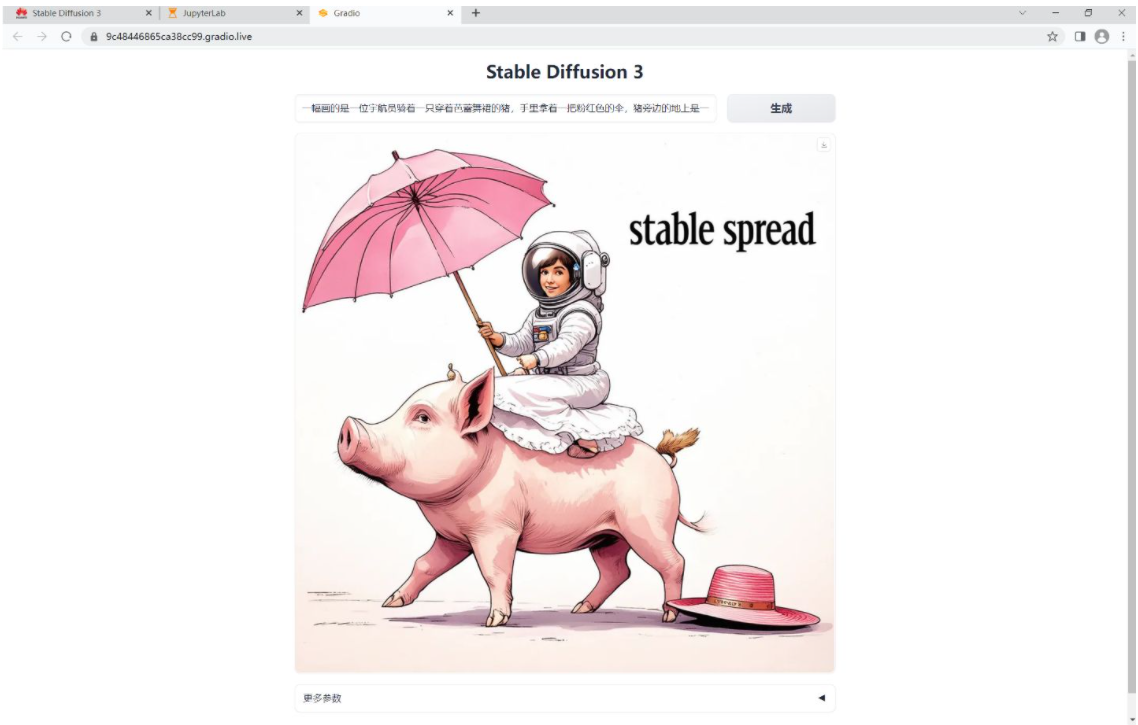
5. 运行Gradio应用
运行Gradio应用,运行成功后点击 Running on public URL后的网页链接即可体验!
This share link expires in 72 hours. For free permanent hosting and GPU upgrades, run `gradio deploy` from Terminal to deploy to Spaces (https://huggingface.co/spaces)
A picture of an astronaut riding on a pig in a ballet dress with a pink umbrella next to a big hat on the ground, with the word “stable spread” in the corner.
出现 Out Of Memory ,尝试重启 kernel 再次运行❗❗❗
浏览器打开local URL: http://127.0.0.1:7860 地址,
运行界面:
三、其他案例展示:
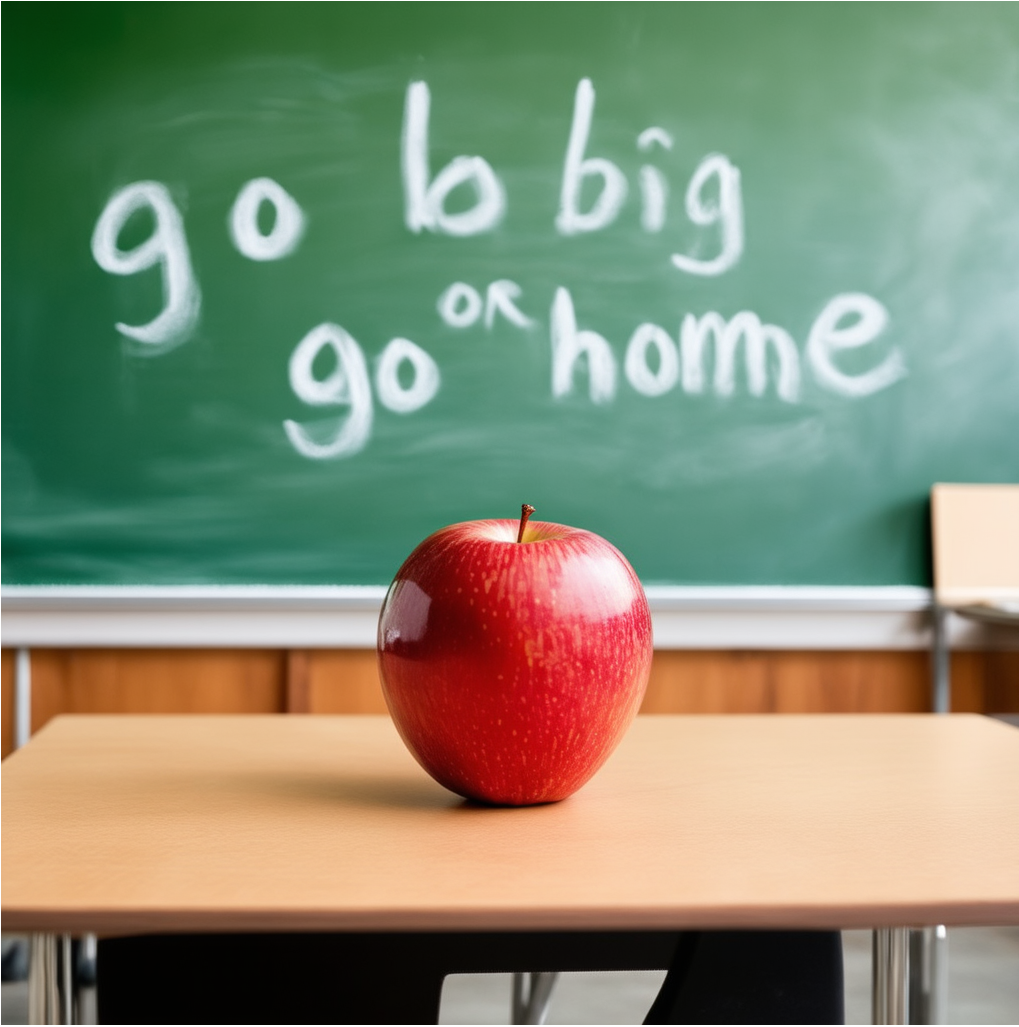
Prompt: cinematic photo of a red apple on a table in a classroom, on the blackboard are the words "go big or go home" written in chalk
提示:教室里的桌子上有一个红苹果的电影照片,黑板上用粉笔写着“要么做大,要么回家”

Prompt: a painting of an astronaut riding a pig wearing a tutu holding a pink umbrella, on the ground next to the pig is a robin bird wearing a top hat, in the corner are the words "stable diffusion"
提示:一幅画的是一位宇航员骑着一只穿着芭蕾舞裙的猪,手里拿着一把粉红色的伞,猪旁边的地上是一只戴着大礼帽的知更鸟,角落里写着“稳定扩散”的字样。

Prompt: Three transparent glass bottles on a wooden table. The one on the left has red liquid and the number 1. The one in the middle has blue liquid and the number 2. The one on the right has green liquid and the number 3.
提示:三个透明玻璃瓶放在木桌上。左边的是红色液体和数字1。中间有蓝色液体和数字2。右边的是绿色液体和数字3。

参考:
官网:Stable Diffusion 3 — Stability AI


 475
475

 被折叠的 条评论
为什么被折叠?
被折叠的 条评论
为什么被折叠?
 到【灌水乐园】发言


