


webgl动画
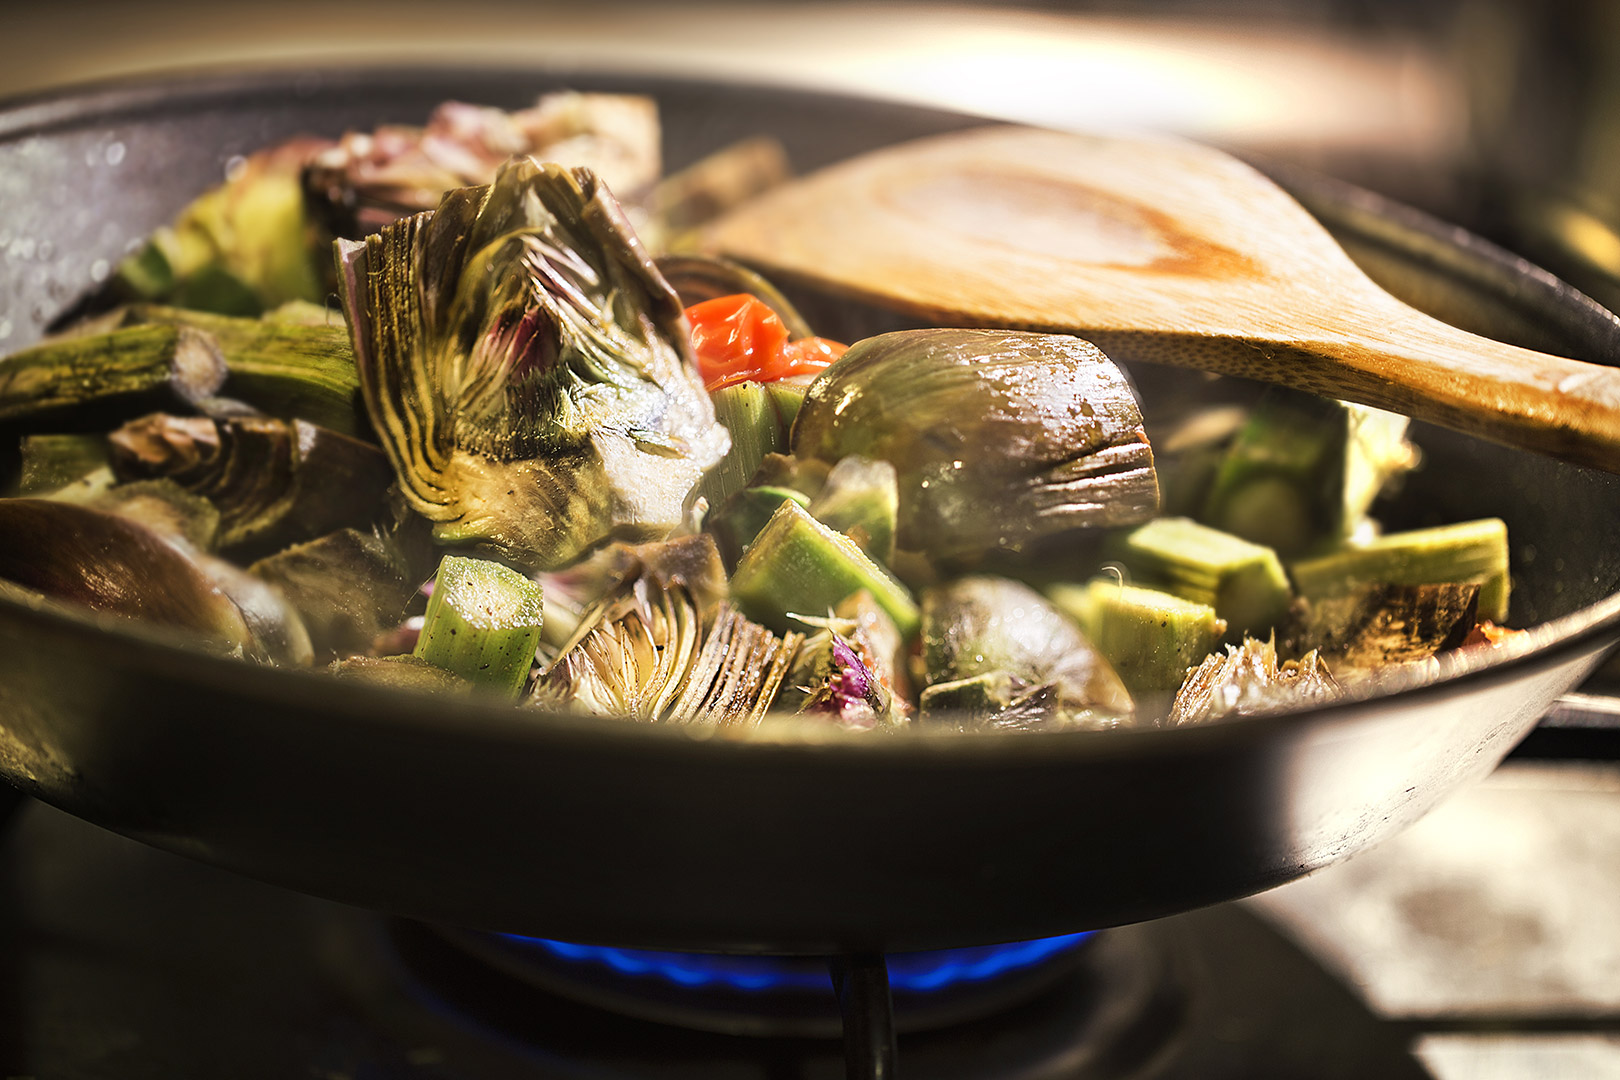

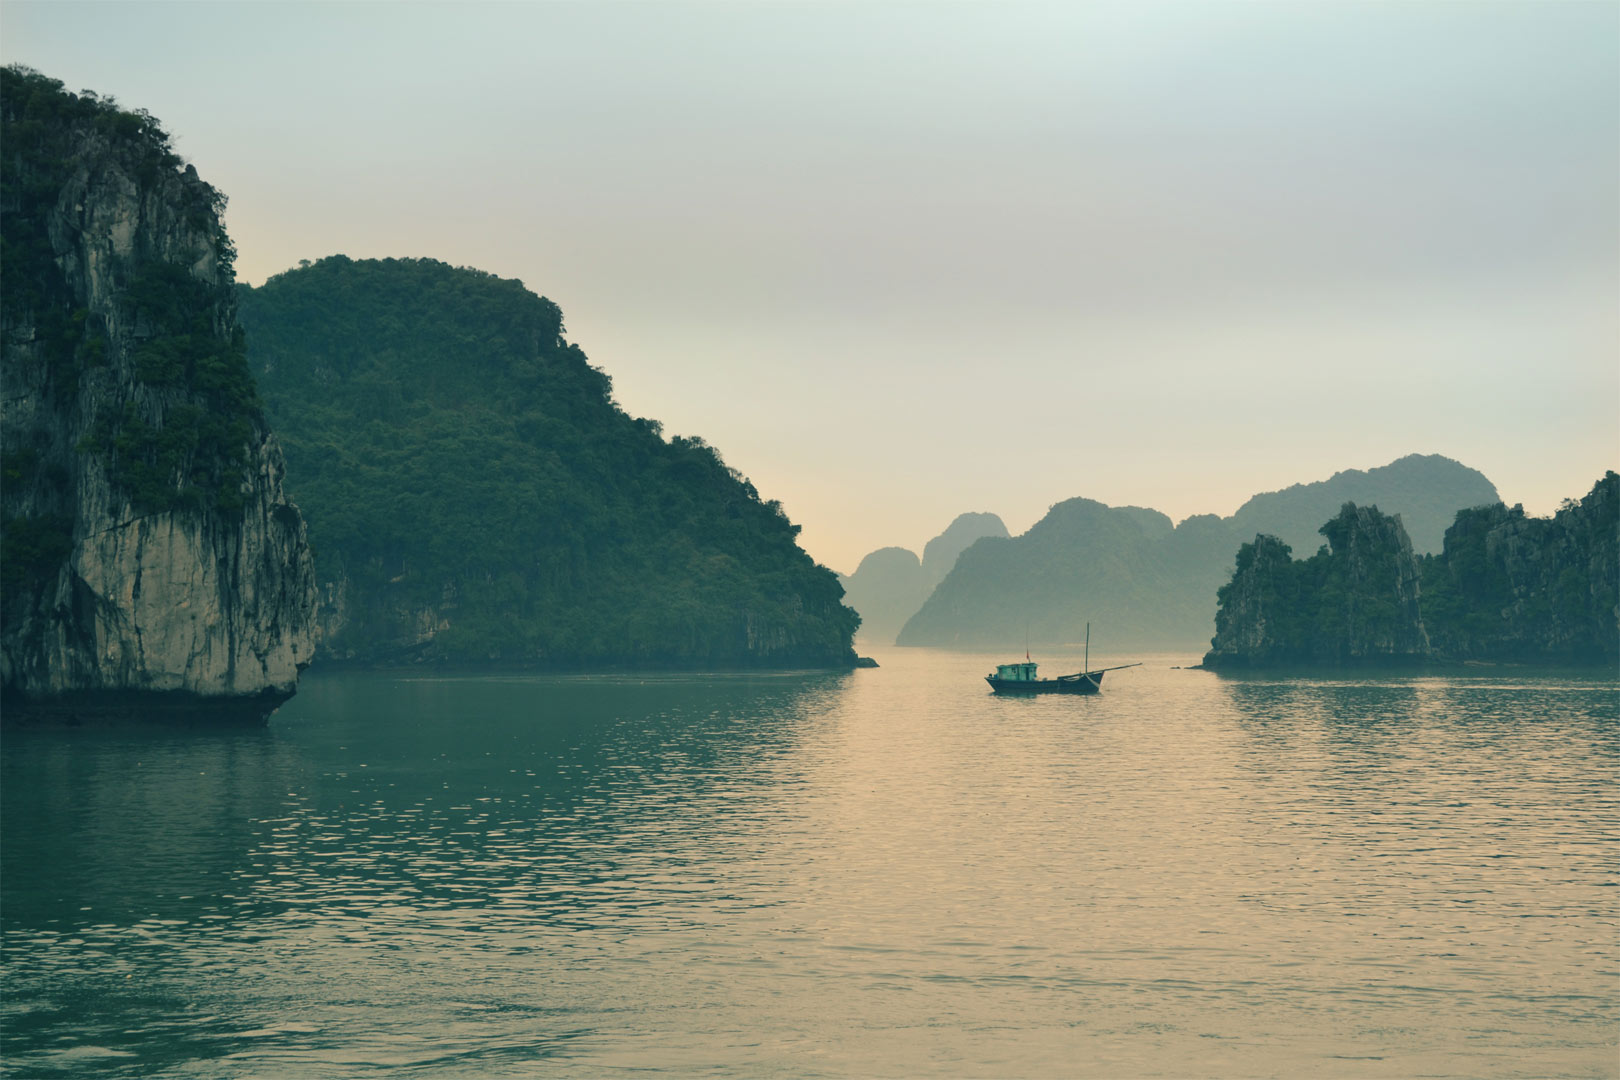
Today we want to show you how to create some realistic looking heat haze distortion effects using fragment shaders in WebGL. The idea is to add a subtle animated distortion to a static image and some text.
今天,我们想向您展示如何使用WebGL中的片段着色器创建一些逼真的热雾失真效果。 这个想法是给静态图像和一些文本添加细微的动画变形。
Please note that the current ZIP file is the compiled build of this project; source files can be found in the GitHub repo. See the link below.
请注意,当前的ZIP文件是该项目的编译版本。 源文件可以在GitHub存储库中找到。 请参阅下面的链接。
总览 (Overview)
For this article, we’ll pick apart one of the demos to give you an overview of how it works.
在本文中,我们将选择其中一个演示,以概述其工作原理。
This effect uses WebGL. We’ve already seen WebGL being used in some experiments posted here on Codrops. Here you can see an introduction on how it works. For a more in-depth explanation, take a look at the WebGL Fundamentals page, look into Learning WebGL, or start right away with three.js or pixi.js.
此效果使用WebGL 。 我们已经看到WebGL已在Codrops上发布的一些实验中使用。 在这里,您可以看到有关其工作原理的介绍。 要获得更深入的解释,请查看“ WebGL基础知识”页面,了解“学习WebGL” ,或者立即从three.js或pixi.js开始。
The important thing to have in mind for this effect is how fragment shaders, or pixel shaders, work: it runs a function for every pixel of the area that is being processed – in our case, the entire canvas – and returns a color, which will be set for the said pixel. In order to be able to do what we want with the shader, we can send information to it, such as the current pixel position, images (as textures), mouse position, etc.
要记住这种效果,重要的是片段着色器或像素着色器如何工作:它为要处理的区域的每个像素(在我们的情况下是整个canvas运行一个函数,并返回一种颜色,将为所述像素设置。 为了能够使用着色器执行我们想要的操作,我们可以向其发送信息,例如当前像素位置,图像(作为纹理),鼠标位置等。
Let’s look into a few aspects of the demo to get an idea of how we can use it.
让我们看一下该演示的几个方面,以了解如何使用它。
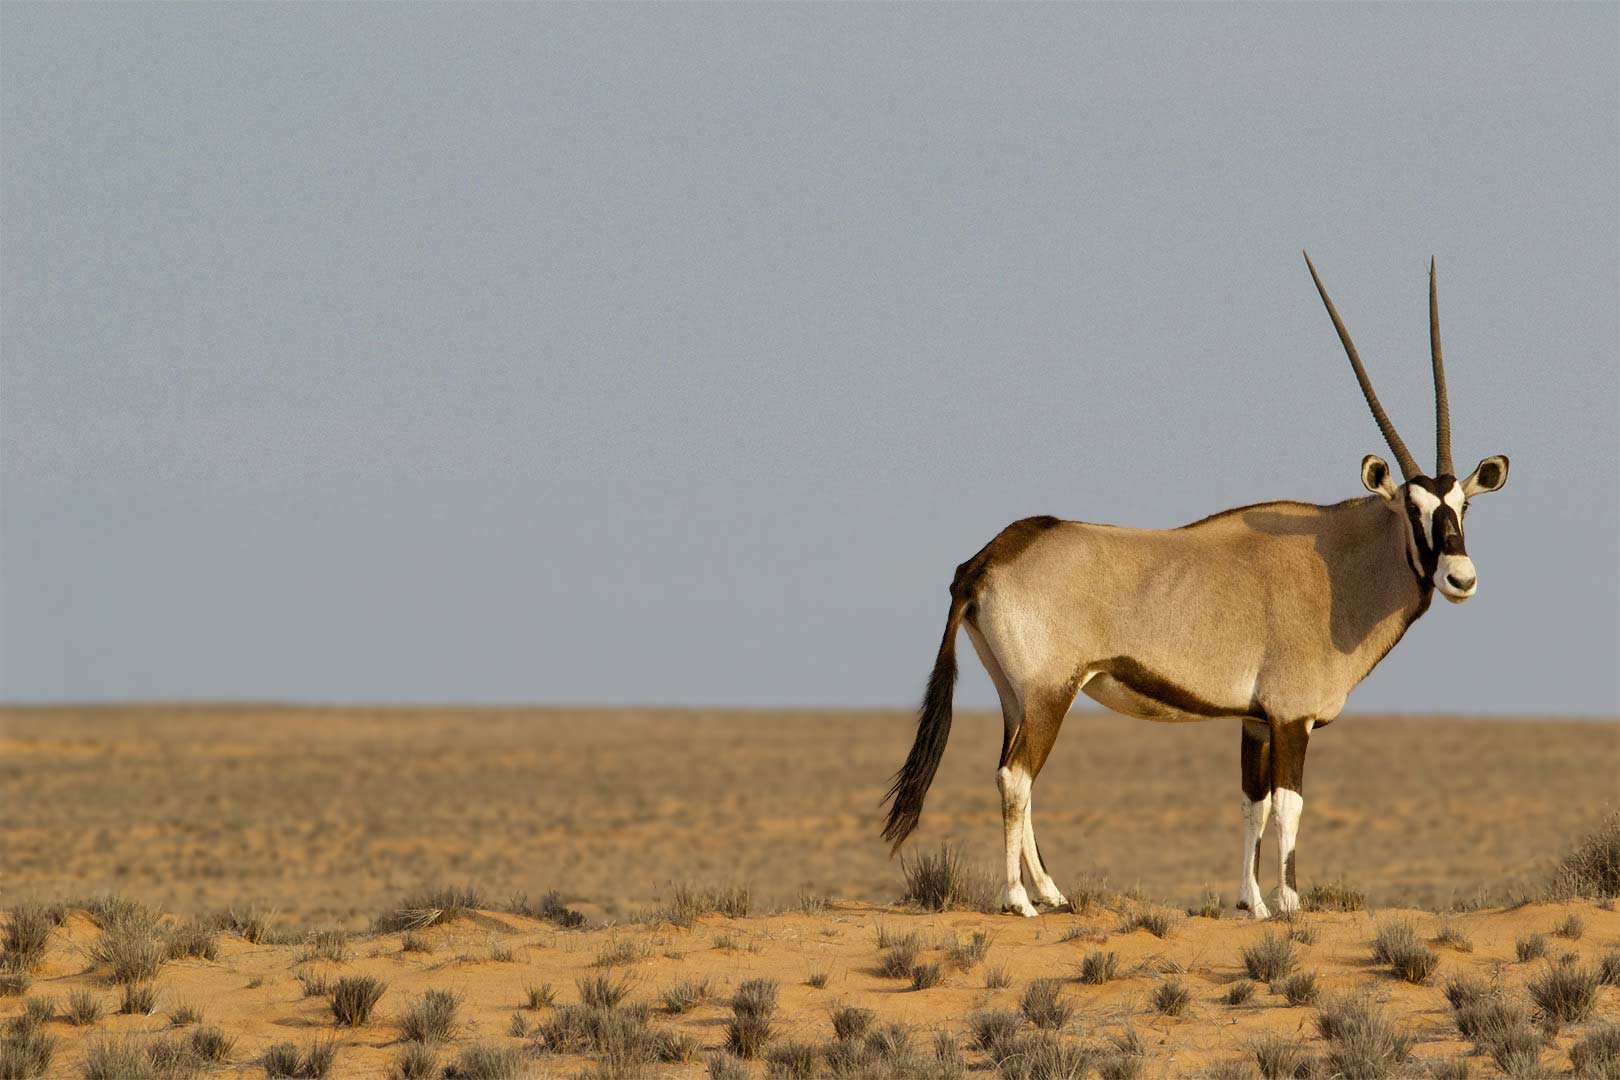
失真 (Distortion)
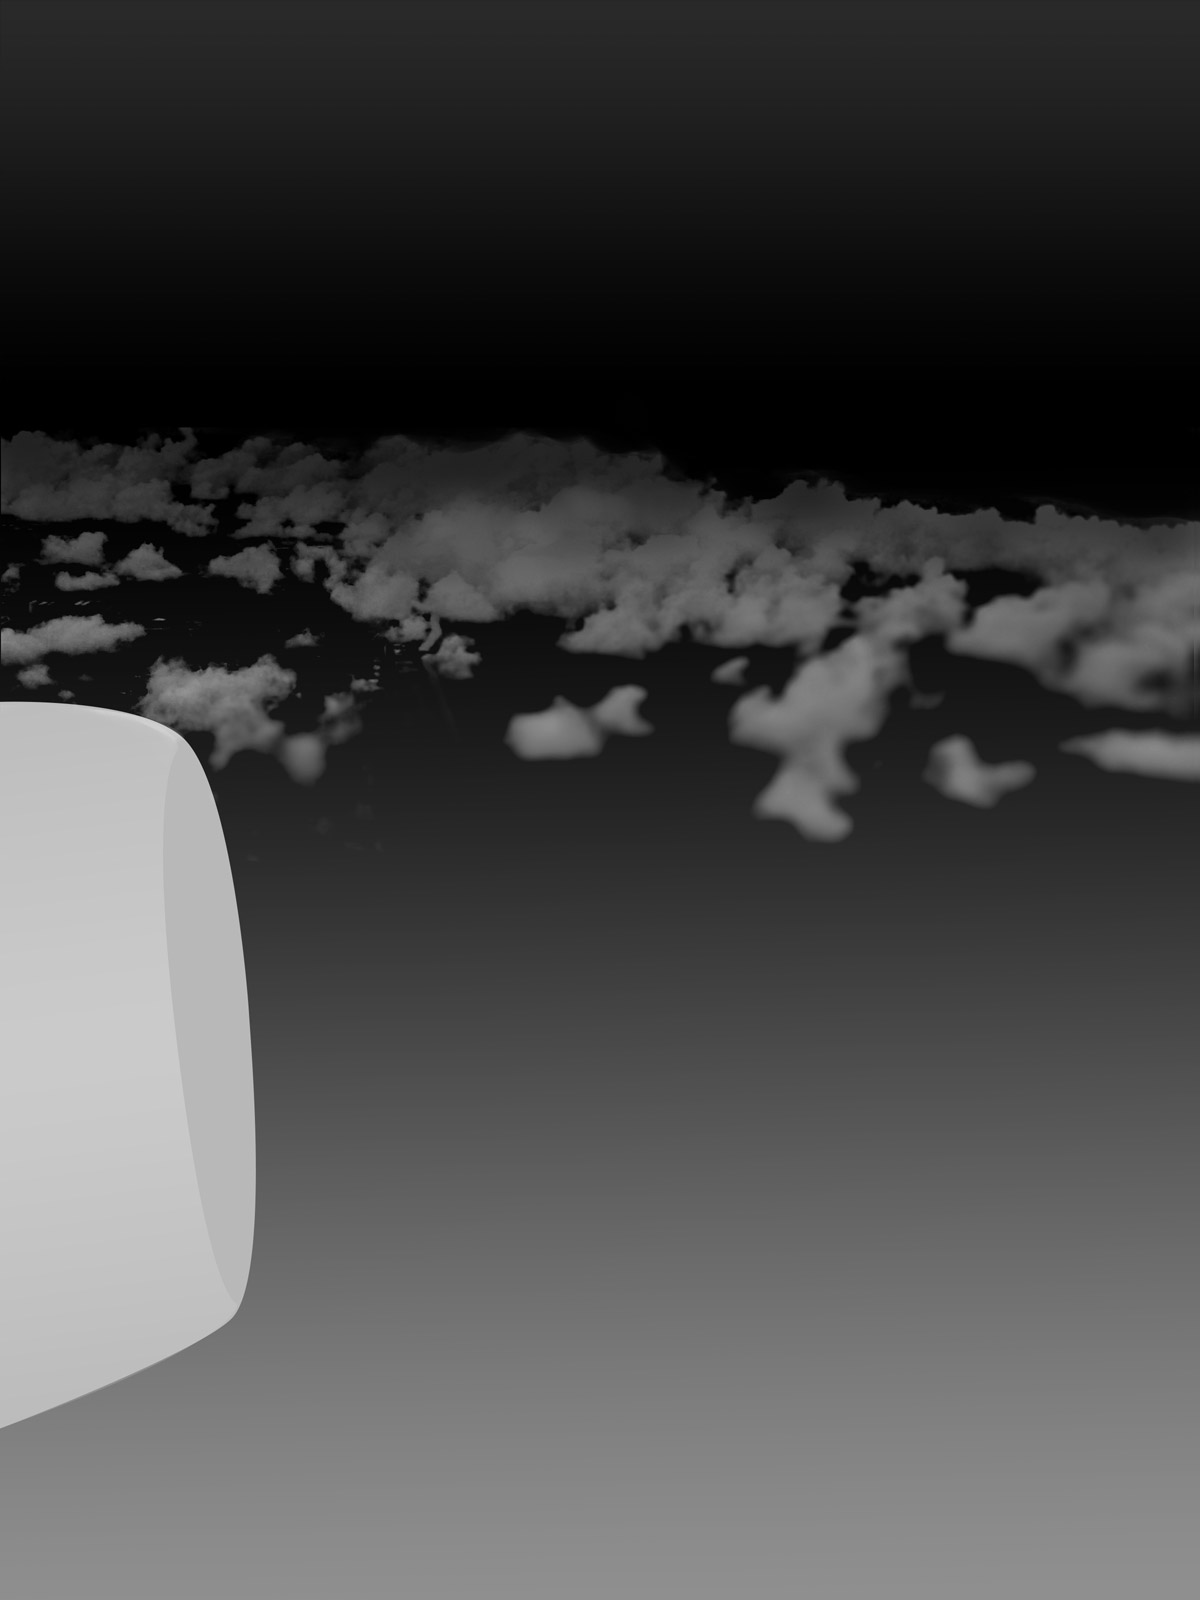
The heart of this effect is the heat haze distortion. First let’s have a look at how we can draw a regular image, and then we’ll look into how we can distort it.
这种影响的核心是热雾变形。 首先让我们看一下如何绘制规则图像,然后再研究如何使其变形。
This is how we can get the color of a pixel in a texture in the same position as the pixel being processed currently by the shader:
这是我们如何在纹理中获得与着色器当前正在处理的像素相同位置的像素颜色的方法:
// "attribute", "varying" and "uniform" variables are values passed down from
// other parts of the code: the program, the vertex shader, etc.
varying vec2 position;
uniform sampler2D texture;

void main(){
  // Get the color of the pixel at the current position
  vec4 color=texture2D(texture,position);

  gl_FragColor=color;
}
Instead of simply getting the pixel from the current position though, we can apply some transform the position value to get the pixel from a different position. For example:
但是,我们不仅可以简单地从当前位置获取像素,还可以应用一些变换position值来从其他位置获取像素。 例如:
...
float distortion=position.y*0.2;
vec4 color=texture2D(texture,vec2(position.x+distortion,position.y));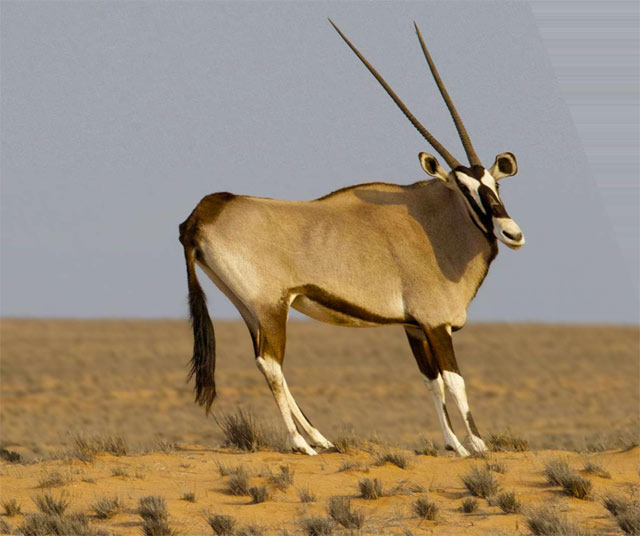
Now, to get a simple but interesting distortion, we could vary the position based on a sine wave.
现在,要获得简单但有趣的失真,我们可以基于正弦波来改变位置。

Here we will add to the x position a sine curve based on the y position.
在这里,我们将基于y位置的正弦曲线添加到x位置。
...
// Since the position usually goes from 0 to 1, we have to multiply the result
// of the sine by a small value so to not make the effect too harsh.
// For the same reason, we have to multiply the value inside the sine function
// by a large value if we want a higher frequency of the curves.
float frequency=100.0;
float amplitude=0.003;
float distortion=sin(position.y*frequency)*amplitude;
vec4 color=texture2D(texture,vec2(position.x+distortion, position.y));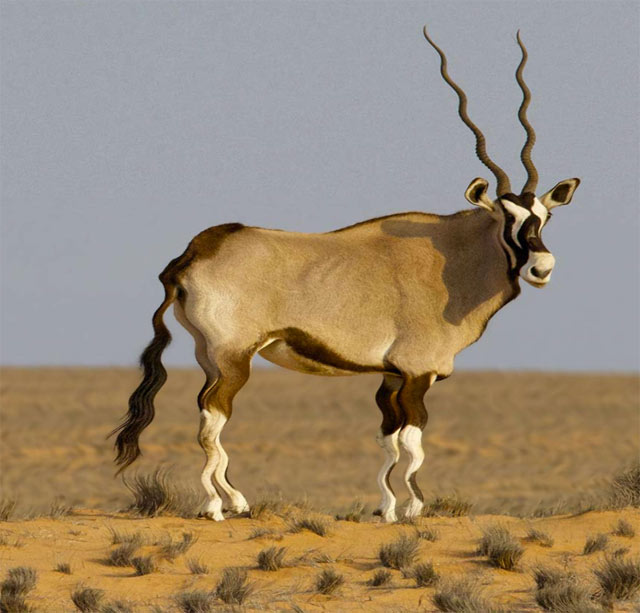
To animate it, we may do the following: send to the shader a value that increments every frame, and use that value in the sine function. To send a value every frame, we can use the JS function requestAnimationFrame:
要对其进行动画处理,我们可以执行以下操作:向着色器发送一个每帧递增的值,并在正弦函数中使用该值。 要每帧发送一个值,我们可以使用JS函数requestAnimationFrame :
(function draw(){
  // do something every frame
  requestAnimationFrame(draw);
}())
Now let’s step aside for a moment. One thing we have to keep in mind for animations in general: the frequency of updates, that is, frames per second, is often inconsistent and unpredictable. The device might hang for a moment, the device might be a bit slow – or, as sometimes is the case when one tries to run old games on modern hardware, far too fast – etc. So, a good way to compensate for that is to check how long it has been since the last frame has been drawn and take that into account when we draw the next frame. For example:
现在让我们搁置片刻。 通常,对于动画我们必须牢记一件事:更新频率(即每秒帧数)通常是不一致且不可预测的。 设备可能会挂起一会儿,设备可能会变慢-或有时尝试在现代硬件上运行旧游戏的情况太快了-等等。因此,对此进行补偿的一种好方法是检查绘制最后一帧以来已经有多长时间,并在绘制下一帧时将其考虑在内。 例如:
var fps=60; // target frame rate
var frameDuration=1000/fps; // how long, in milliseconds, a regular frame should take to be drawn
var time=0; // time value, to be sent to shaders, for example
var lastTime=0; // when was the last frame drawn
(function draw(elapsed){
  // how long ago has the last frame been rendered
  var delta=elapsed-lastTime;
  lastTime=elapsed;

  // how much of a frame did the last frame take
  var step=delta/frameDuration;
  // add it to the time counter
  time+=step;

  // now for example we can compensate the speed of an animation
  ball.x += 20*step;

  requestAnimationFrame(draw);
}(0));
So now we can send the time value to our shader every frame and use it to animate the sine wave.
因此,现在我们可以每帧将time值发送到我们的着色器,并使用它来制作正弦波动画。
In the JS file:
在JS文件中:
...
(function draw(elapsed){
  ...

  // get the location of the "time" variable in the shader
  var location=gl.getUniformLocation(program,"time");
  // send the time value
  gl.uniform1f(location,time);

  ...
})
… and in the shader:
…以及在着色器中:
...
float speed=0.03;
float distortion=sin(position.y*frequency+time*speed)*amplitude;
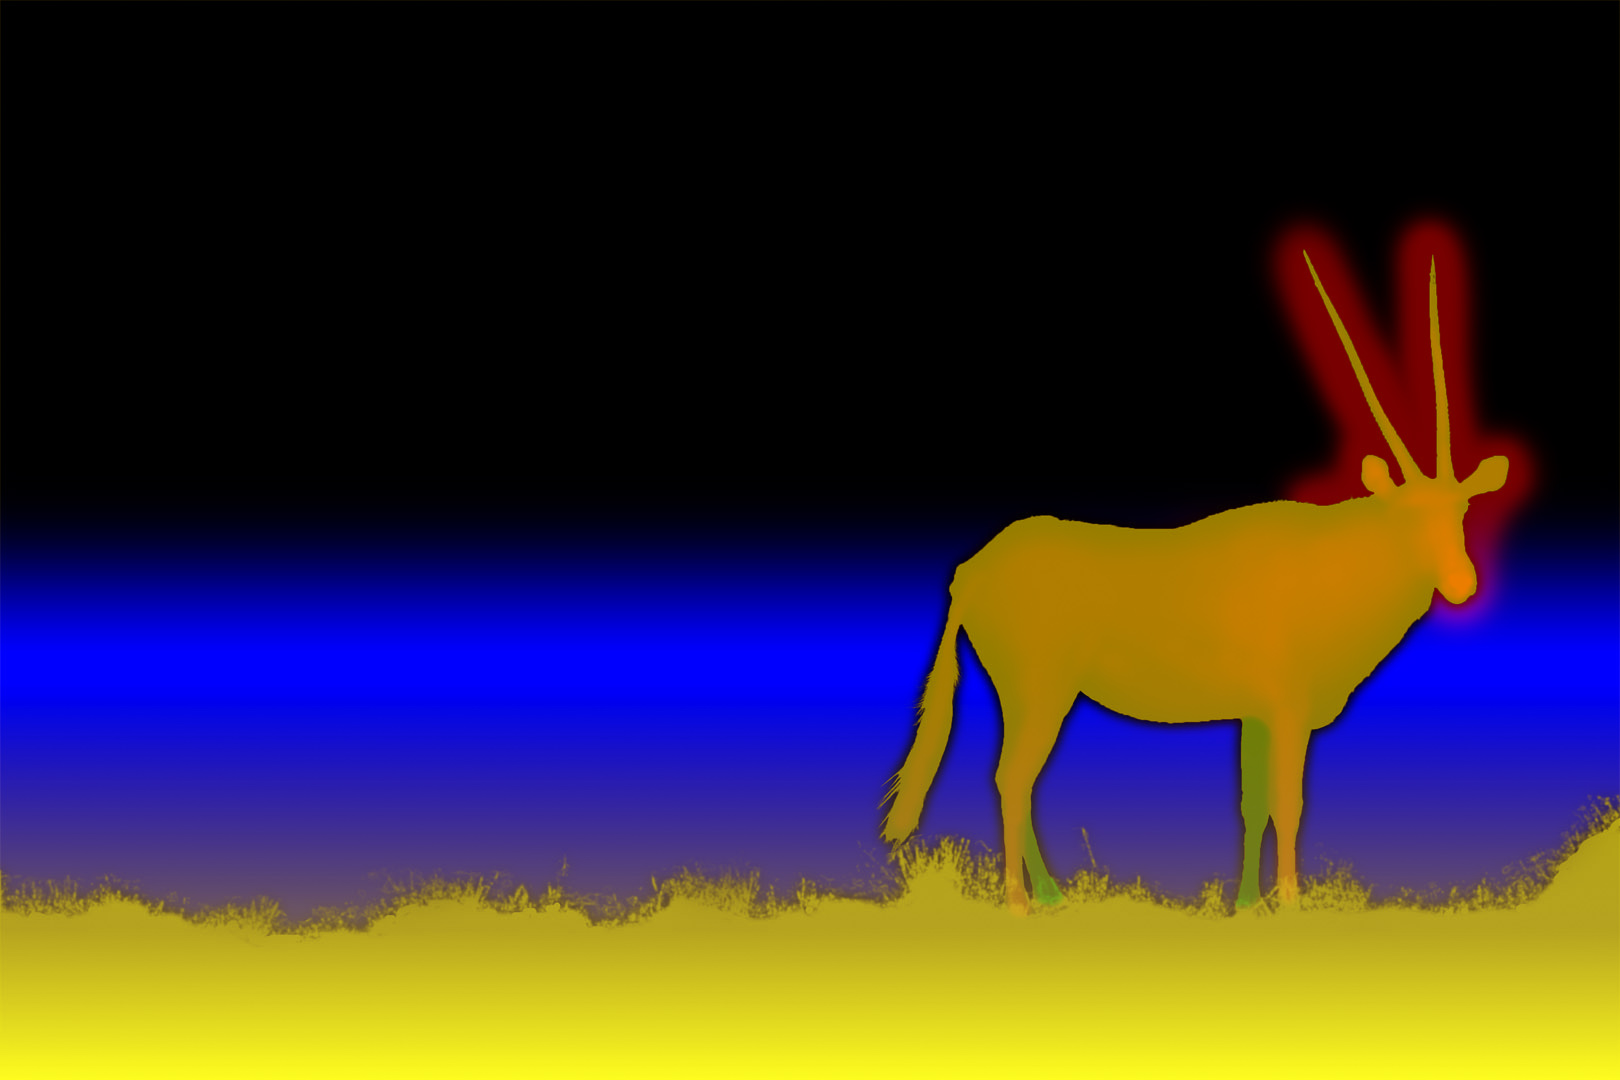
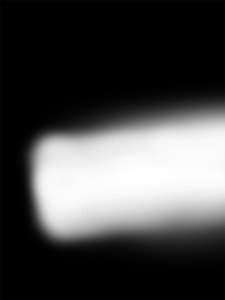
vec4 color=texture2D(texture,vec2(position.x+distortion, position.y));Notice though that the distortion is being applied to the entire image. One way to do so only on certain areas is to use another texture as a map, and paint areas brighter or darker proportionally to how strong or weak we want the distortion to be.
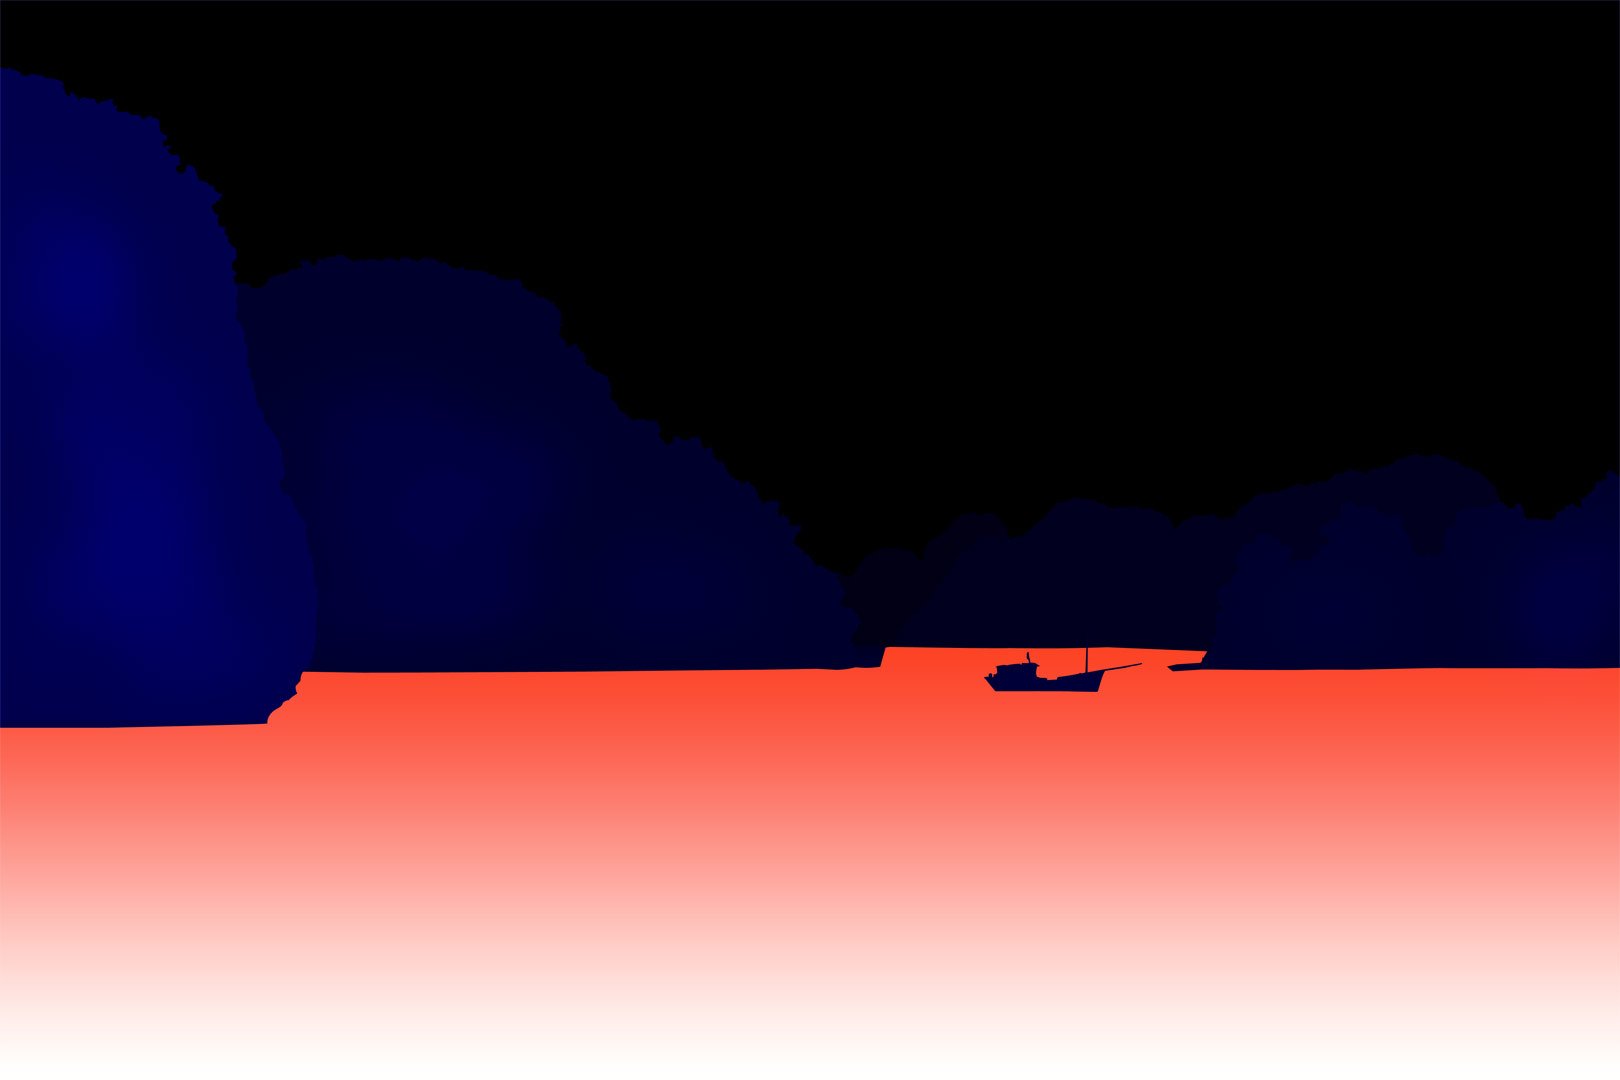
请注意,尽管失真已应用于整个图像。 仅在某些区域上执行此操作的一种方法是使用另一种纹理作为贴图,然后根据希望变形的强弱来按比例绘制较亮或较暗的区域。
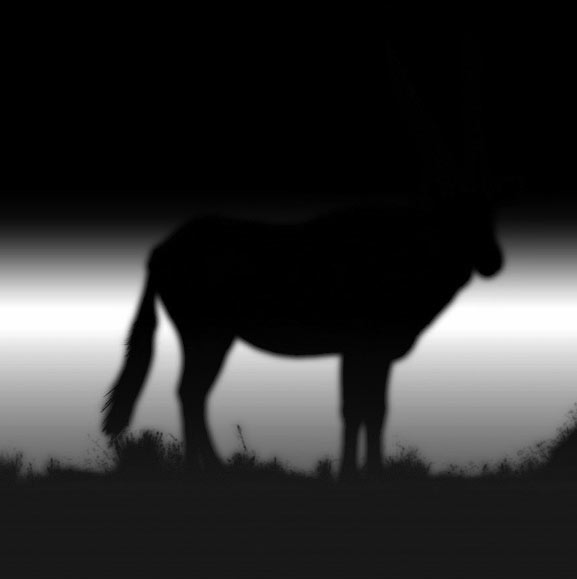
Note that the edges are blurry – this is to attenuate the effect and keep from distorting things we don’t want to.
请注意,边缘是模糊的–这是为了减弱效果并避免扭曲我们不想要的东西。
Then, we can multiply the amount of the distortion by the brightness of the current pixel of the map.
然后,我们可以将失真量乘以地图当前像素的亮度。
...
// if our map is grayscale, we only need to get the value of one channel
// (in this case, red) to get the brightness
float map=texture2D(map,position).r;
vec4 color=texture2D(texture,vec2(position.x+distortion*map, position.y));深度(Depth)
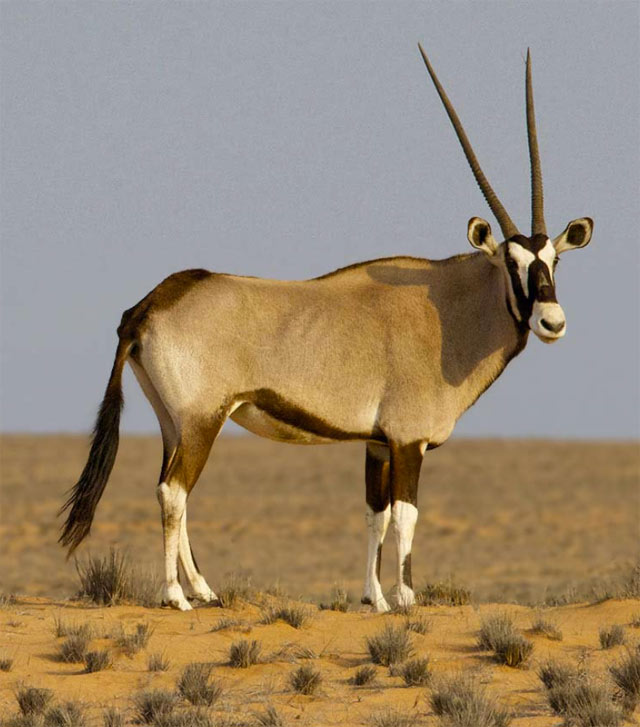
The depth/parallax effect works much the same way – get a color value from a slightly different position based on a map and some values. In this case, the values are the mouse x and y position.
深度/视差效果的工作方式大致相同-根据地图和一些值从稍微不同的位置获取颜色值。 在这种情况下,值是鼠标的x和y位置。
...
document.addEventListener('mousemove',function(event){
  var location=gl.getUniformLocation(program,"mouse");
  // send the mouse position as a vec2
  gl.uniform2f(location,event.clientX/canvas.width,event.clientY/canvas.height);
})
...
vec2 parallax=mouse*0.005;
vec2 distortedPosition=vec2(position.x+distortion*map, position.y);
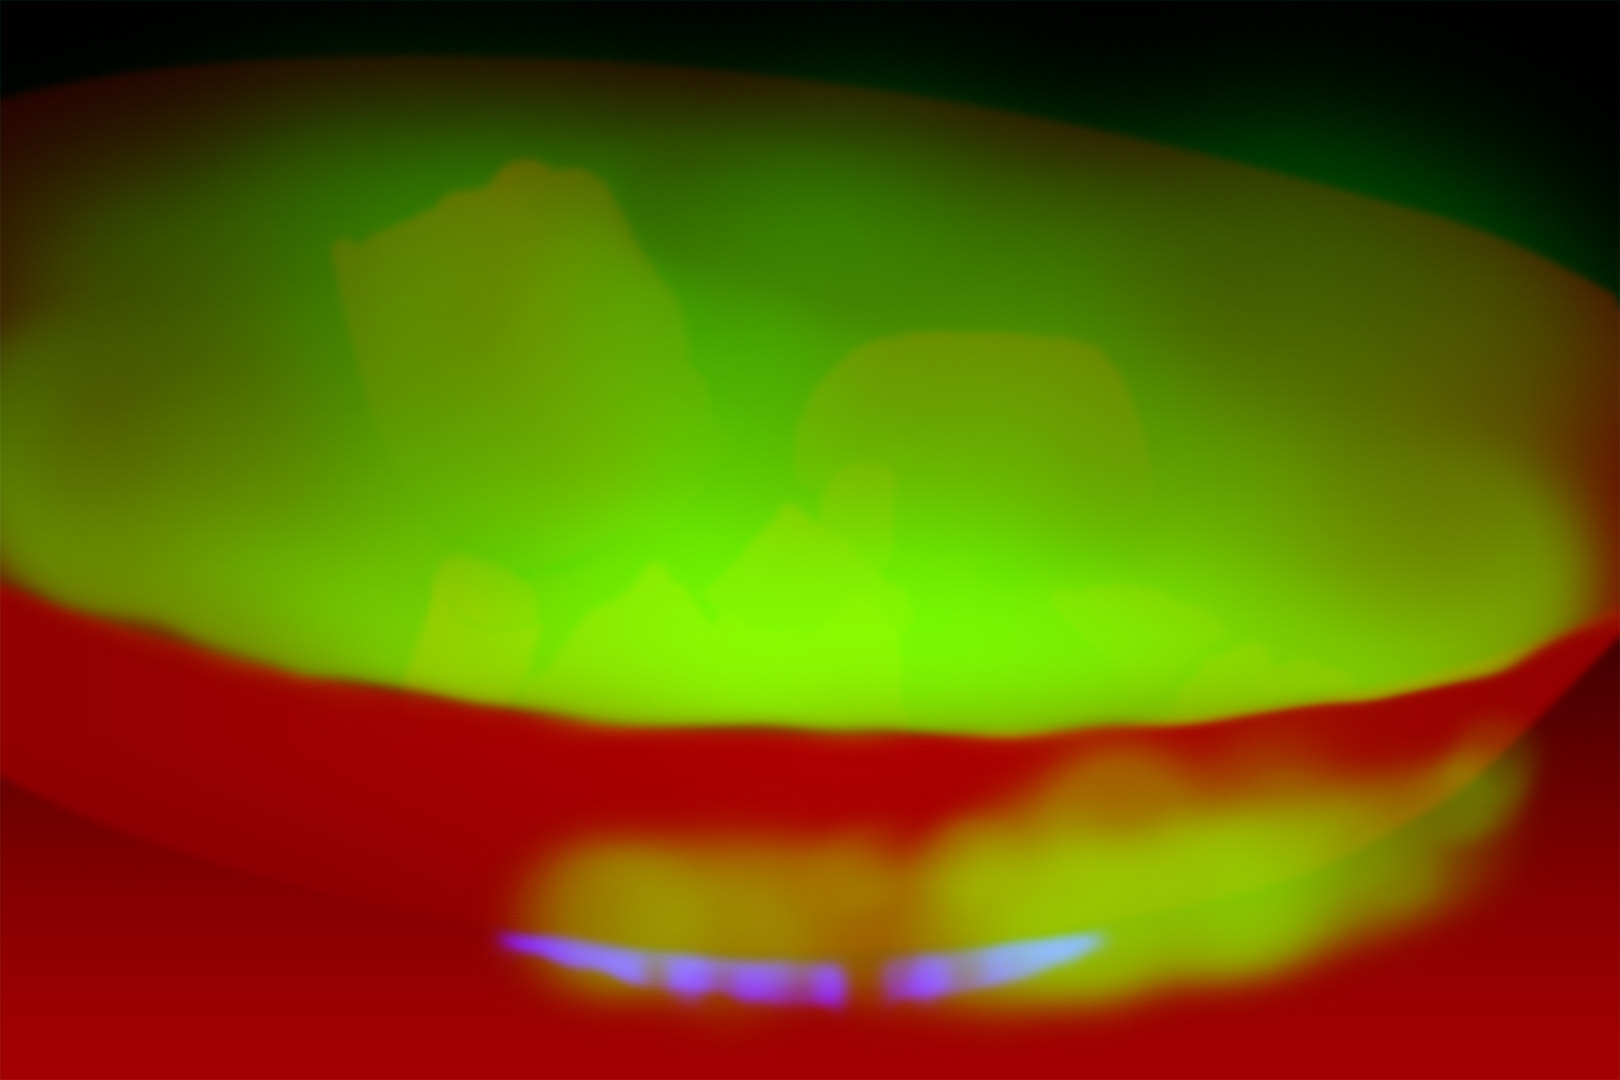
vec4 color=texture2D(texture,distortedPosition+parallax);Now we just need a depth map. This will probably be a different map than the one we used before. So, instead of loading two textures, one for each map, we can add both maps on the same image file, each in a separate channel – that is, one in the red channel and one in the green channel. This way we can save loading time and system memory.
现在我们只需要一个深度图。 这可能与我们之前使用的地图不同。 因此,无需加载两个纹理(每个地图一个),我们可以将两个地图添加到同一图像文件中,每个都在一个单独的通道中-即一个在红色通道中,一个在绿色通道中。 这样我们可以节省加载时间和系统内存。
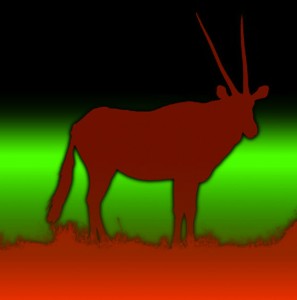
In the code, we refer to each one of them by their respective channels:
在代码中,我们通过各自的通道引用其中的每个:
...
// get the current map pixel
vec4 maps=texture2D(mapsTexture,pos);

// get each map value
float depthMap=maps.r;
float distortionMap=maps.g;
...

vec2 distortedPosition=vec2(position.x+distortion*distortionMap, position.y);
vec4 color=texture2D(texture,distortedPosition+parallax*depthMap);Keep in mind though that this is a quick and dirty way to do the depth effect. As such, it should be kept subtle, otherwise artifacts will soon be very apparent.
请记住,尽管这是进行深度效果的快速而肮脏的方法。 因此,它应该保持微妙,否则假象很快就会很明显。
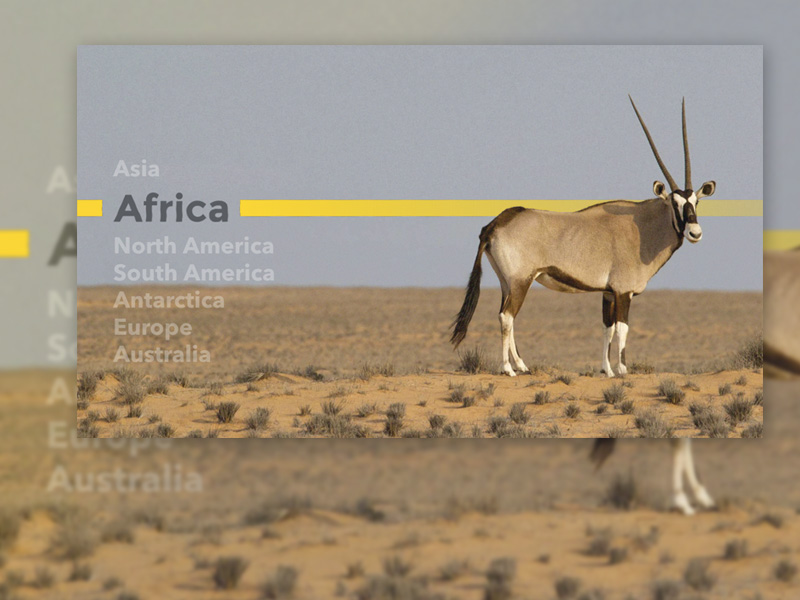
内容 (Content)
So far, we’ve seen that we can use images and do pretty much anything we like with them. So what about adding text to it?
到目前为止,我们已经看到我们可以使用图像并对它们执行几乎所有需要的操作。 那么添加文本呢?
We can’t draw HTML content to a canvas object – neither in WebGL nor in its 2d context. Creating text on canvas is tricky, and while loading a bitmap containing the text is possible, it has its problems: limited resolution, file size, harder to author, etc.
我们既不能在WebGL中也不可以在其2d上下文中将HTML内容绘制到canvas对象。 在canvas上创建文本非常棘手,虽然可以加载包含文本的位图,但它存在以下问题:分辨率有限,文件大小,难以编写等。
A solution is to use SVG – we can draw externally loaded SVG files to a canvas object, and then use that canvas as a texture. SVG files are easier to maintain, are light when compared to bitmaps and are resolution independent, and could even possibly be generated by the server on the fly.
一种解决方案是使用SVG –我们可以将外部加载的SVG文件绘制到canvas对象,然后将该canvas用作纹理。 SVG文件更易于维护,与位图相比更轻巧,并且与分辨率无关,甚至可能由服务器动态生成。
This is a quick way to load an SVG and paint it on a canvas:
这是加载SVG并将其绘制在canvas上的快速方法:
var canvas=document.createElement('canvas');
  loadSVG('file.svg',canvas);

  function loadSVG(file,canvas){
    var svg=new Image();
    svg.addEventListener('load',function(){
      var ctx=canvas.getContext('2d');
      canvas.width=svg.width;
      canvas.height=svg.height;
      ctx.drawImage(svg,0,0);
    })
    svg.src=file;
  }
Now we can use that canvas just like any other texture.
现在我们可以像使用其他任何纹理一样使用该canvas了。
A trick to facilitate the positioning of the texture we just created into the WebGL container is to create and position the canvas just like any other element – that is, with HTML and CSS – and get its final position with getBoundingClientRect, and then send it to the shader.
有助于将刚刚创建的纹理定位到WebGL容器中的一个技巧是,像其他任何元素一样(即使用HTML和CSS)创建和定位canvas ,并使用getBoundingClientRect获取其最终位置,然后将其发送到着色器。
var title=document.querySelector('canvas');
var bounds=title.getBoundingClientRect();
var location=gl.getUniformLocation(program,"contentPosition");
gl.uniform2f(location,bounds.left,bounds.top);
var location=gl.getUniformLocation(program,"contentSize");
gl.uniform2f(location,bounds.width,bounds.height);
Then, when drawing the text, we can use yet another map to determine if anything goes over the text:
然后,在绘制文本时,我们可以使用另一个地图来确定文本上是否有任何内容:
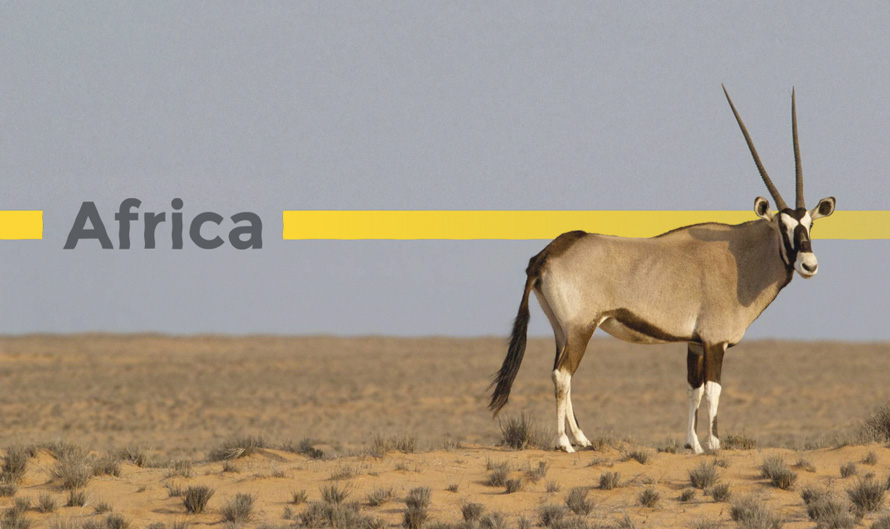
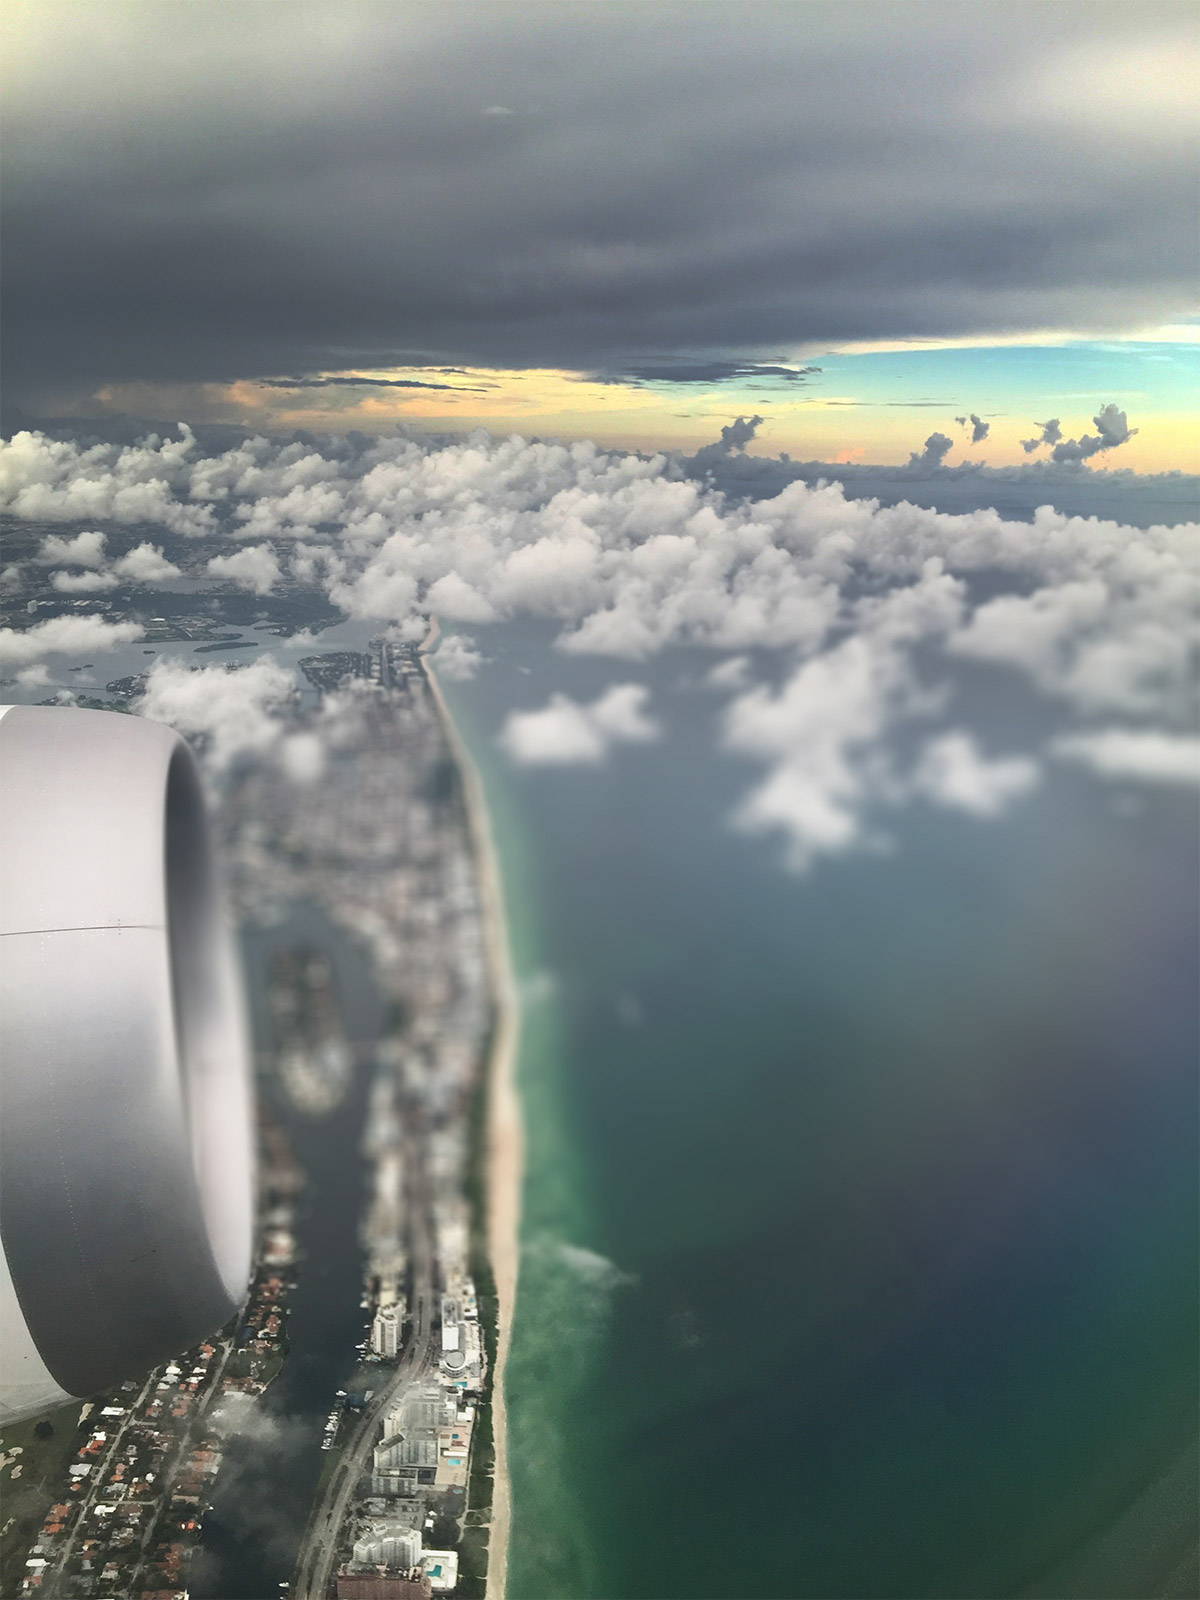
And that’s our final result. We’ve take this first example and explained it in detail, but there are many more possibilities, including distortion effects for water, like you can see in the last demo.
这就是我们的最终结果。 我们已经采用了第一个示例并对其进行了详细说明,但是还有更多的可能性,包括水的失真效果,就像您在上一个演示中看到的那样。
And that’s it! Hope you enjoyed this effect and find it inspiring!
就是这样! 希望您喜欢这种效果并找到启发!
翻译自: https://tympanus.net/codrops/2016/05/03/animated-heat-distortion-effects-webgl/
webgl动画


 513
513

 被折叠的 条评论
为什么被折叠?
被折叠的 条评论
为什么被折叠?
 到【灌水乐园】发言


