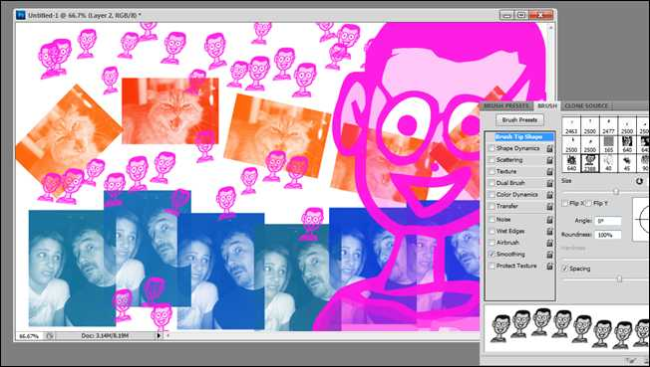
If you’ve ever wanted to relive your Mario Paint days, scatter stars all over a picture, or draw with cats, today you’re in luck. Here’s a simple how-to and video that will show you how to make custom Photoshop brushes.
如果您想重温Mario Paint的日子,在图片上散布星星或与猫一起画画,那么今天您很幸运。 这是一个简单的方法和视频,将向您展示如何制作自定义的Photoshop笔刷。
Even if this isn’t the most useful method for most readers, we can definitely use it in a fun way. Keep reading to see how easy it is to make custom Photoshop brushes, and decipher the onerous Brush Panel to create fun effects.
即使对于大多数读者而言,这不是最有用的方法,我们也绝对可以以一种有趣的方式使用它。 继续阅读以了解制作自定义Photoshop笔刷有多么容易,并解密繁琐的笔刷面板以创建有趣的效果。
最简单的方法 (The Simplest of Simple Methods)
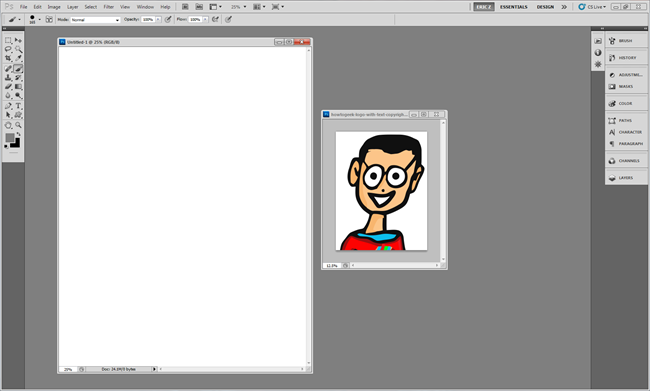
This technique is Photoshop only. Begin with any image you want to use as a brush, as well as a blank page or image you want to doodle on.
此技术仅适用于Photoshop。 首先要使用任何要用作画笔的图像,以及要在其上进行涂鸦的空白页或图像。
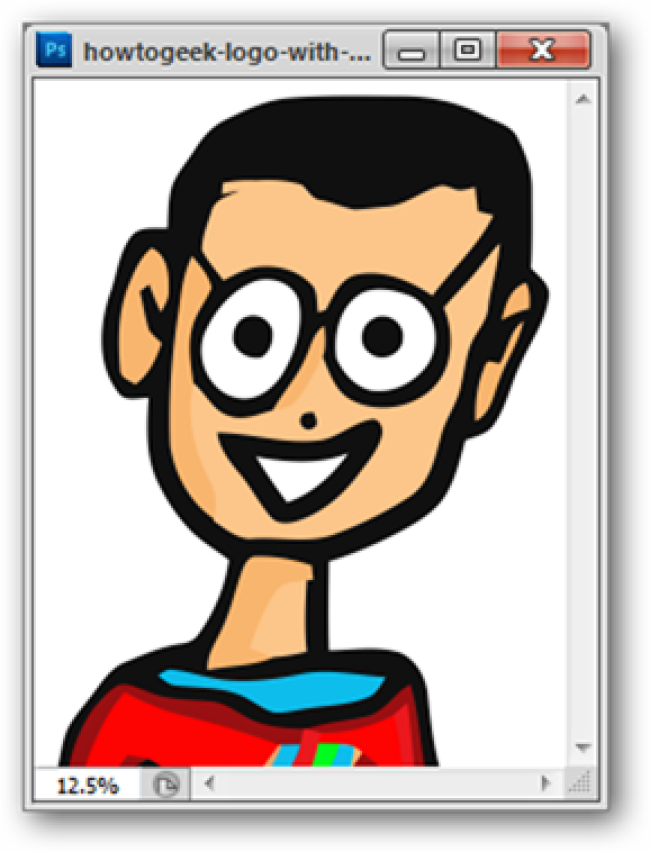
Regardless of the colors in your image, Photoshop will treat it as if it was a grayscale image. Your light colors are going to be lightest, while your darkest colors are going to be the most opaque. (This will make more sense momentarily.)
无论图像中的颜色如何,Photoshop都会将其视为灰度图像。 您的浅色将是最亮的,而最暗的颜色将是最不透明的。 (这将立即变得更有意义。)
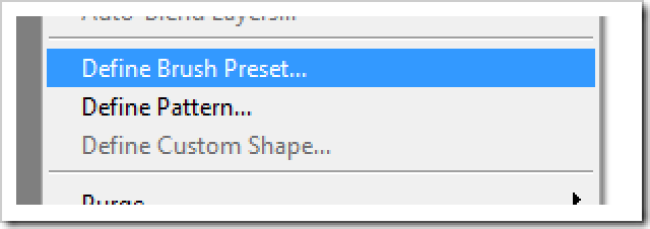
With your chosen image open, navigate to Edit > Define Brush Preset. If you only want to use part of the image, you can use the lasso or rectangular marquee tool to select the most important parts.
打开所选图像后,导航至“编辑”>“定义画笔预设”。 如果只想使用图像的一部分,则可以使用套索或矩形选框工具选择最重要的部分。

Photoshop turns the image into a brush in one step.
Photoshop一步将图像变成画笔。
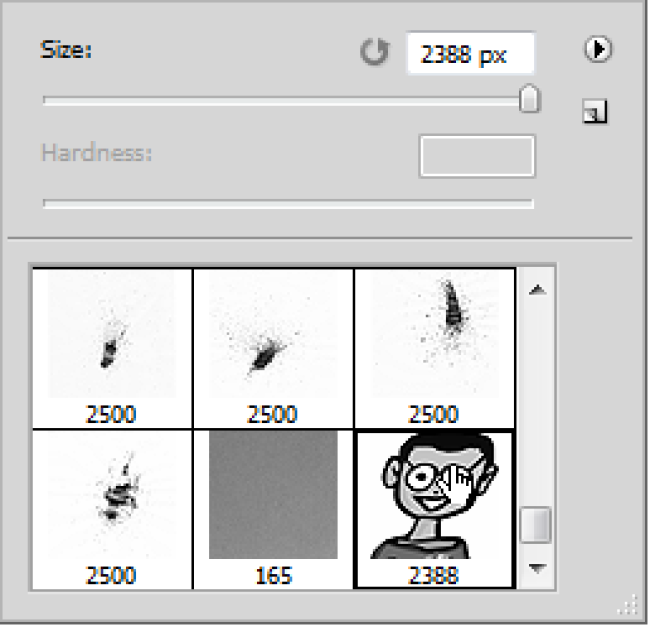
Press to get the brush too. By right clicking in your blank document, you can open the contextual brush menu and find your new brush.
按下也获得画笔。 通过右键单击空白文档,可以打开上下文画笔菜单并找到新的画笔。
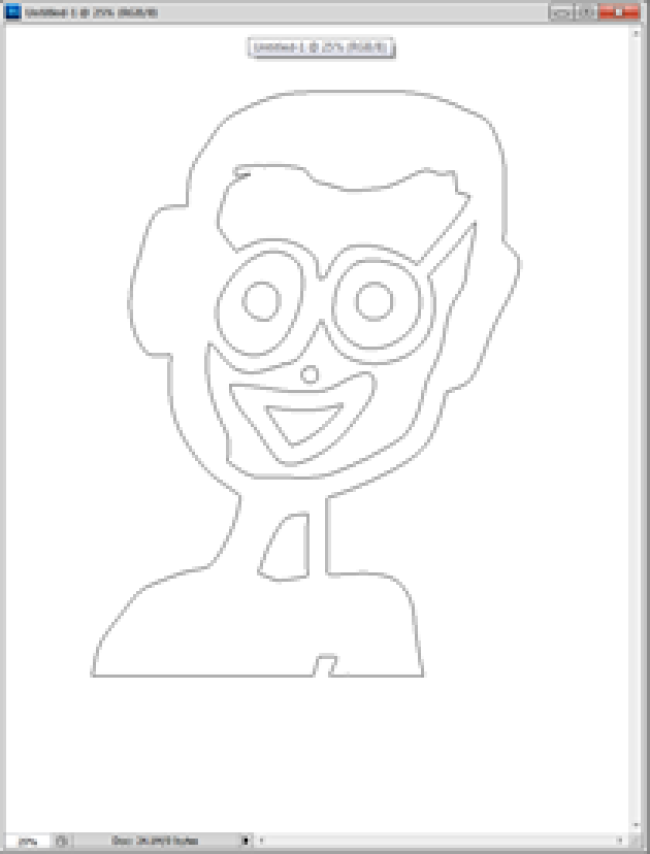
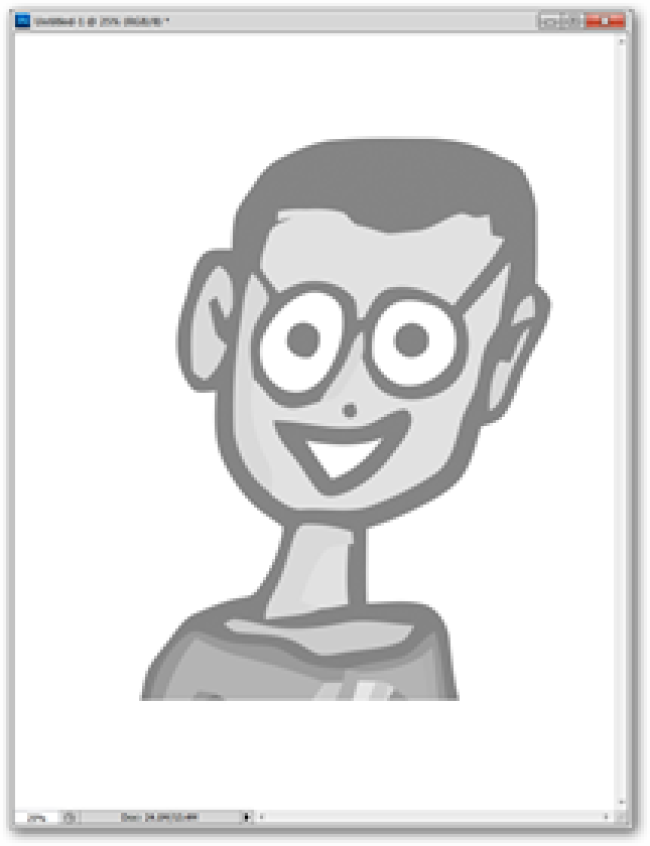

You can now draw with your brush. The cursor is now shaped like your image, as shown right, and as shown middle and left, it takes on the color of whatever you’ve put in the foreground color.
您现在可以用画笔绘制。 现在,光标的形状像图像一样,如右图所示,如左,右图所示,它呈现的颜色与您放置在前景色中的颜色相同。
好吧,那很酷……现在我该怎么办? (Alright, That’s Cool… Now What Can I Do With It?)

It doesn’t end with simply transforming an image into a nearly useless brush. With some clever thinking, you can turn any picture or symbol into a scatterbrush that you might enjoy using.
它不仅以简单地将图像转换为几乎无用的笔刷结束。 通过一些聪明的思考,您可以将任何图片或符号变成您可能会喜欢使用的分散画笔。
Author’s Note: If you’re not following along, or haven’t used the brush tool much, this part may be a little confusing. If you prefer, you can jump straight to the end and watch the video, which will clear a lot of things up for you.
作者注意:如果您不遵循或未使用画笔工具,则此部分可能会引起混淆。 如果愿意,可以直接跳到最后观看视频,这将为您解决很多问题。

Use the marquee tool, then navigate to Edit > Define Brush Preset to create a brush out of a segment of your image. Let’s see if we can make this heart brush more exciting.
使用选取框工具,然后导航到“编辑”>“定义画笔预设”,以从图像的一部分创建画笔。 让我们看看是否可以使这种心脏刷更加令人兴奋。
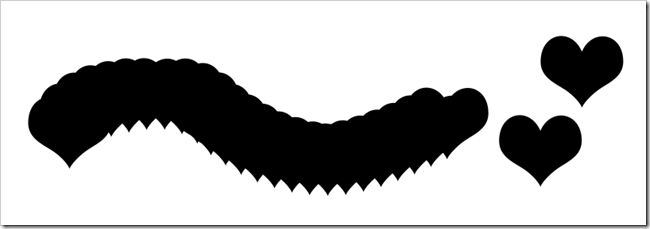
By itself, the brush is not terribly great. But let’s take a look through the monsterous Brush panel and see how we can improve on our new tool.
就其本身而言,刷子并不是很大。 但是,让我们浏览一下怪异的“画笔”面板,看看如何改进我们的新工具。
找出强大的画笔面板 (Figuring Out The Mighty Brush Panel)
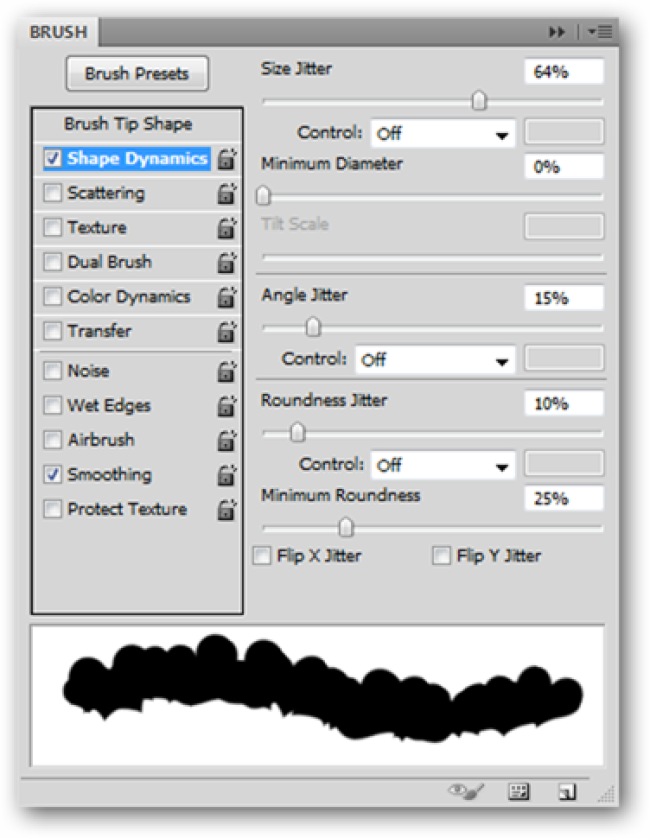
Shape Dynamics allows you to adjust the size of the individual hearts (Size Jitter), change their angle (Angle Jitter), and make them more irregularly shaped (Roundness Jitter).
Shape Dynamics允许您调整单个心形的大小(“ 大小抖动” ),更改其角度(“ 角度抖动” )并使它们的形状更不规则(“ 圆度抖动” )。
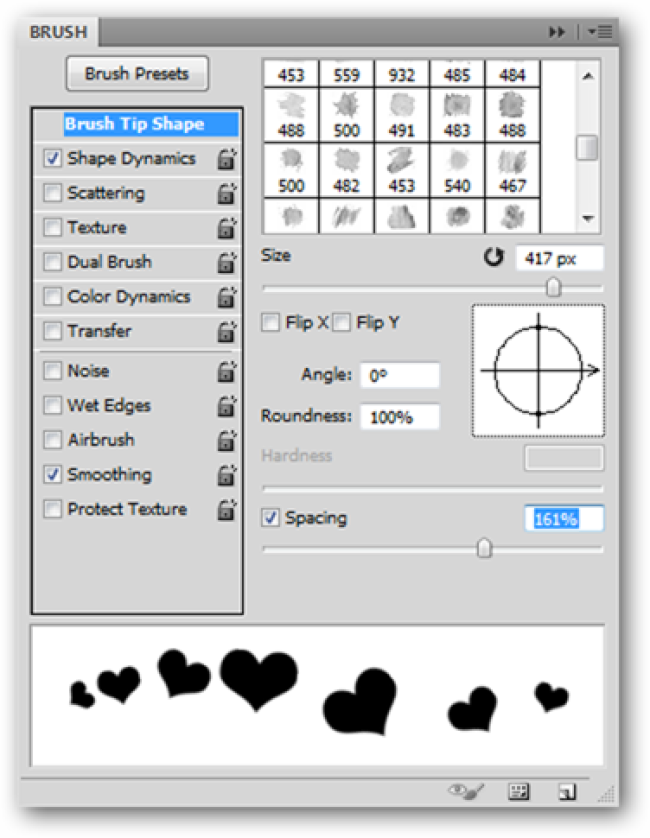
Brush Tip Shape allows you to change the Spacing and create a brush that isn’t as jumbled up.
笔刷笔尖形状允许您更改间距并创建不那么混乱的笔刷。
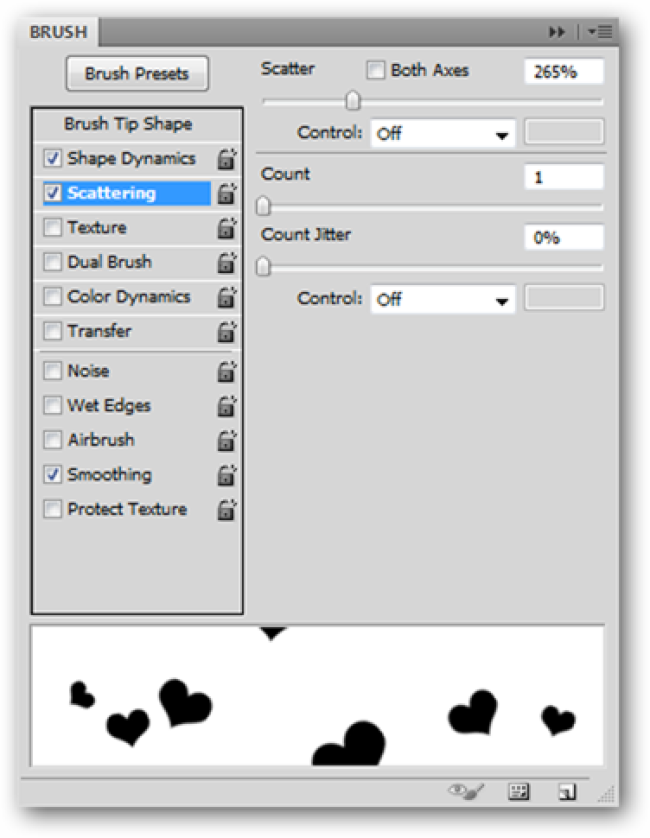
And finally, Scattering will allow you to make the hearts move around more erratically in the vertical and horizonal axes.
最后, 散射可以使您的心脏在垂直和水平轴上更不规则地运动。
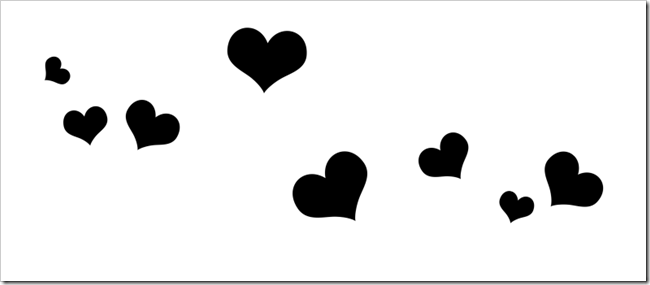
The result is a much more useful tool; these hearts, complete with the angling, were created with a single brush stroke. Watch the video below to better understand the process.
结果是一个更有用的工具。 这些带有垂钓角度的心是通过单个笔触创建的。 观看下面的视频,以更好地了解该过程。
视频教程:制作画笔,实际操作中 (Video Tutorial: Make A Brush, See It In Action)
This video should make it more obvious what these complicated scatterbrushes are for. We walk through the same options we discussed above, and paint with them, to illustrate how they work. As a bonus, watch it through to the end to see how easily images are made into brushes.
该视频应该使这些复杂的分散画笔的用途更加明显。 我们遍历上面讨论的相同选项,并对其进行绘画,以说明它们如何工作。 作为奖励,请一直观看到最后,以查看将图像制作成画笔的难易程度。
奖励:下载并安装(更有用)共享画笔 (Bonus: Download and Install (More Useful) Shared Brushes)
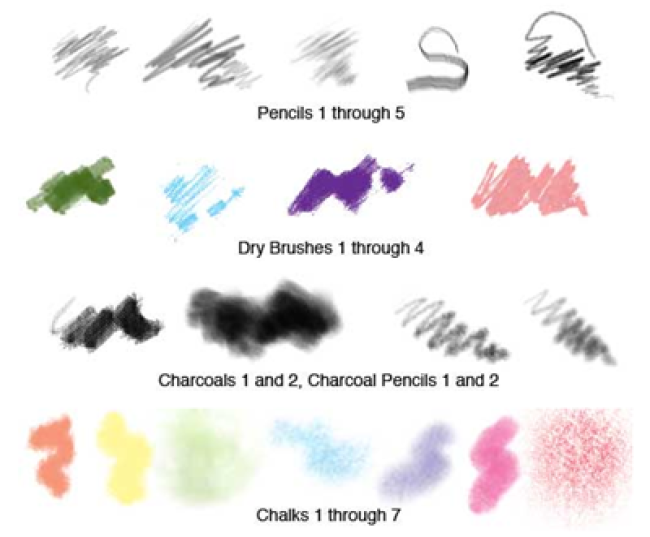
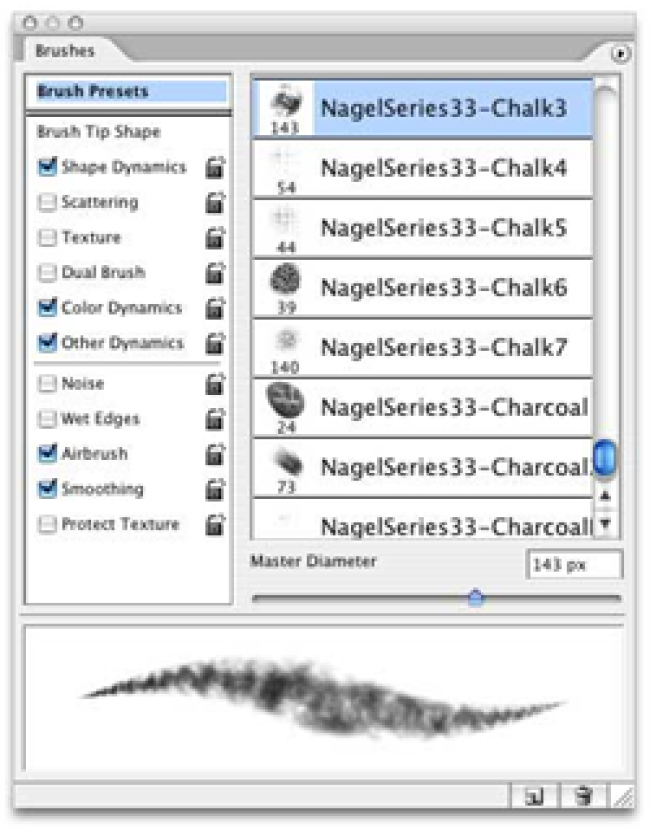
In addition to the brushes you create yourself, a simple Google search for Photoshop Brushes will bring up dozens of websites, all begging you to download their custom brushes. The Nagel Series, in particular, is an old Photoshop favorite, and there are dozens of them available for download, compatible as far back as the original Creative Suite version of Photoshop. Enjoy!
除了您自己创建的画笔之外,对Google Photoshop Brushes的简单搜索也会带出许多网站,所有这些都希望您下载其自定义画笔。 尤其是Nagel系列 ,是旧版Photoshop的最爱,其中有数十种可供下载,可与Photoshop的原始Creative Suite版本兼容。 请享用!
Have questions or comments concerning Graphics, Photos, Filetypes, or Photoshop? Send your questions to ericgoodnight@howtogeek.com, and they may be featured in a future How-To Geek Graphics article.
对图形,照片,文件类型或Photoshop有疑问或意见吗? 将您的问题发送到ericgoodnight@howtogeek.com ,它们可能会在以后的How-To Geek Graphics文章中介绍。
翻译自: https://www.howtogeek.com/71345/paint-with-your-face-how-to-create-custom-photoshop-brushes/


 1799
1799

 被折叠的 条评论
为什么被折叠?


