


deepseek强化学习训练大模型复现-openr1——本地篇(2)
这里记录如何通过官方的教程来实现的训练一个数学运算的推理大模型
安装conda
官方说的是uv环境,但是我比较习惯conda,安装conda时,先下载安装包
https://www.anaconda.com/download/success

直接下载x86的sh,然后运行
./Anaconda3-2024.06-1-Linux-x86_64.sh
安装完后创建一个虚拟环境,官方使用的3.11,最新的支持torch全套的python版本
conda create -n python=3.11
安装相关依赖,为了避免大家碰到问题,我这里直接将我的环境打包到requirement.txt中:
absl-py==2.1.0
accelerate==1.5.2
actionlib==1.14.0
aenum==3.1.15
aiohappyeyeballs==2.6.1
aiohttp==3.11.13
aiohttp-cors==0.7.0
aiosignal==1.3.2
airportsdata==20250224
angles==1.9.13
annotated-types==0.7.0
antlr4-python3-runtime==4.13.2
anyio==4.8.0
astor==0.8.1
attrs==25.3.0
base_local_planner==1.17.3
bitsandbytes==0.45.3
blake3==1.0.4
blis==0.7.11
bondpy==1.8.6
cachetools==5.5.2
camera-calibration==1.17.0
camera-calibration-parsers==1.12.0
catalogue==2.0.10
catkin==0.8.10
certifi==2025.1.31
chardet==5.2.0
charset-normalizer==3.4.1
click==8.1.8
cloudpathlib==0.16.0
cloudpickle==3.1.1
colorama==0.4.6
colorful==0.5.6
colorlog==6.9.0
compressed-tensors==0.9.1
confection==0.1.5
controller-manager==0.20.0
controller-manager-msgs==0.20.0
cv-bridge==1.16.2
cymem==2.0.11
DataProperty==1.1.0
datasets==3.4.0
deepspeed==0.15.4
depyf==0.18.0
diagnostic-analysis==1.11.0
diagnostic-common-diagnostics==1.11.0
diagnostic-updater==1.11.0
dill==0.3.8
diskcache==5.6.3
distilabel==1.5.3
distlib==0.3.9
distro==1.9.0
docker-pycreds==0.4.0
dynamic-reconfigure==1.7.3
e2b==1.1.0
e2b-code-interpreter==1.1.0
einops==0.8.1
fastapi==0.115.11
filelock==3.18.0
flake8==7.1.2
flash_attn==2.7.4.post1
frozenlist==1.5.0
fsspec==2024.12.0
gazebo_plugins==2.9.3
gazebo_ros==2.9.3
gencpp==0.7.0
geneus==3.0.0
genlisp==0.4.18
genmsg==0.6.0
gennodejs==2.0.2
genpy==0.6.15
gguf==0.10.0
gitdb==4.0.12
GitPython==3.1.44
google-api-core==2.24.2
google-auth==2.38.0
google-auth-oauthlib==1.0.0
googleapis-common-protos==1.69.1
grpcio==1.71.0
h11==0.14.0
hf_transfer==0.1.9
hjson==3.1.0
httpcore==1.0.7
httptools==0.6.4
httpx==0.28.1
huggingface-hub==0.29.3
idna==3.10
image-geometry==1.16.2
importlib_metadata==8.6.1
iniconfig==2.0.0
inquirerpy==0.3.4
interactive-markers==1.12.0
interegular==0.3.3
isort==6.0.1
Jinja2==3.1.6
jiter==0.9.0
joblib==1.4.2
joint-state-publisher==1.15.1
joint-state-publisher-gui==1.15.1
jsk-recognition-msgs==1.2.17
jsk-recognition-utils==1.2.17
jsk_rviz_plugins==2.1.10
jsk_topic_tools==2.2.15
jsonschema==4.23.0
jsonschema-specifications==2024.10.1
langcodes==3.5.0
langdetect==1.0.9
language_data==1.3.0
lark==1.2.2
laser_geometry==1.6.7
latex2sympy2_extended==1.0.6
liger_kernel==0.5.3
-e git+https://github.com/huggingface/lighteval.git@ed084813e0bd12d82a06d9f913291fdbee774905#egg=lighteval # 如果出问题,那么请手动安装
lm-format-enforcer==0.10.11
lxml==5.3.1
marisa-trie==1.2.1
Markdown==3.7
markdown-it-py==3.0.0
MarkupSafe==3.0.2
math-verify==0.5.2
mbstrdecoder==1.1.4
mccabe==0.7.0
mdurl==0.1.2
message-filters==1.17.0
mistral_common==1.5.3
mpmath==1.3.0
msgpack==1.1.0
msgspec==0.19.0
multidict==6.1.0
multiprocess==0.70.16
murmurhash==1.0.12
nest-asyncio==1.6.0
networkx==3.4.2
ninja==1.11.1.3
nltk==3.9.1
numpy==1.26.4
nvidia-cublas-cu12==12.4.5.8
nvidia-cuda-cupti-cu12==12.4.127
nvidia-cuda-nvrtc-cu12==12.4.127
nvidia-cuda-runtime-cu12==12.4.127
nvidia-cudnn-cu12==9.1.0.70
nvidia-cufft-cu12==11.2.1.3
nvidia-curand-cu12==10.3.5.147
nvidia-cusolver-cu12==11.6.1.9
nvidia-cusparse-cu12==12.3.1.170
nvidia-ml-py==12.570.86
nvidia-nccl-cu12==2.21.5
nvidia-nvjitlink-cu12==12.4.127
nvidia-nvtx-cu12==12.4.127
oauthlib==3.2.2
# -e git+https://github.com/huggingface/open-r1.git@5dcfae89795829c602495e2bc360a024212dcd92#egg=open_r1 不能直接安装,后面再安装
openai==1.66.3
opencensus==0.11.4
opencensus-context==0.1.3
opencv-python-headless==4.11.0.86
orjson==3.10.15
outlines==0.1.11
outlines_core==0.1.26
packaging==24.2
pandas==2.2.3
parameterized==0.9.0
partial-json-parser==0.2.1.1.post5
pathvalidate==3.2.3
peft==0.14.0
pfzy==0.3.4
pillow==11.1.0
platformdirs==4.3.6
pluggy==1.5.0
portalocker==3.1.1
preshed==3.0.9
prometheus-fastapi-instrumentator==7.0.2
prometheus_client==0.21.1
prompt_toolkit==3.0.50
propcache==0.3.0
proto-plus==1.26.1
protobuf==3.20.3
psutil==7.0.0
py-cpuinfo==9.0.0
py-spy==0.4.0
pyarrow==19.0.1
pyasn1==0.6.1
pyasn1_modules==0.4.1
pycodestyle==2.12.1
pycountry==24.6.1
pydantic==2.10.6
pydantic_core==2.27.2
pyflakes==3.2.0
Pygments==2.19.1
pytablewriter==1.2.1
pytest==8.3.5
python-dateutil==2.9.0.post0
python-dotenv==1.0.1
python-qt-binding==0.4.4
pytz==2025.1
PyYAML==6.0.2
pyzmq==26.3.0
qt-dotgraph==0.4.2
qt-gui==0.4.2
qt-gui-cpp==0.4.2
qt-gui-py-common==0.4.2
ray==2.43.0
referencing==0.36.2
regex==2024.11.6
requests==2.32.3
requests-oauthlib==2.0.0
resource_retriever==1.12.8
rich==13.9.4
rosbag==1.17.0
rosboost-cfg==1.15.8
rosclean==1.15.8
roscreate==1.15.8
rosgraph==1.17.0
roslaunch==1.17.0
roslib==1.15.8
roslint==0.12.0
roslz4==1.17.0
rosmake==1.15.8
rosmaster==1.17.0
rosmsg==1.17.0
rosnode==1.17.0
rosparam==1.17.0
rospy==1.17.0
rospy_message_converter==0.5.9
rosservice==1.17.0
rostest==1.17.0
rostopic==1.17.0
rosunit==1.15.8
roswtf==1.17.0
rouge-score==0.1.2
rpds-py==0.23.1
rqt-console==0.4.12
rqt-image-view==0.4.17
rqt-logger-level==0.4.12
rqt-moveit==0.5.11
rqt-reconfigure==0.5.5
rqt-robot-dashboard==0.5.8
rqt-robot-monitor==0.5.15
rqt-runtime-monitor==0.5.10
rqt-rviz==0.7.0
rqt-tf-tree==0.6.4
rqt_action==0.4.9
rqt_bag==0.5.1
rqt_bag_plugins==0.5.1
rqt_dep==0.4.12
rqt_graph==0.4.14
rqt_gui==0.5.3
rqt_gui_py==0.5.3
rqt_launch==0.4.9
rqt_msg==0.4.10
rqt_nav_view==0.5.7
rqt_plot==0.4.13
rqt_pose_view==0.5.11
rqt_publisher==0.4.10
rqt_py_common==0.5.3
rqt_py_console==0.4.10
rqt_robot_steering==0.5.12
rqt_service_caller==0.4.10
rqt_shell==0.4.11
rqt_srv==0.4.9
rqt_top==0.4.10
rqt_topic==0.4.13
rqt_web==0.4.10
rsa==4.9
ruff==0.11.0
rviz==1.14.25
sacrebleu==2.5.1
safetensors==0.5.3
scikit-learn==1.6.1
scipy==1.15.2
sensor-msgs==1.13.1
sentencepiece==0.2.0
sentry-sdk==2.22.0
setproctitle==1.3.5
six==1.17.0
smach==2.5.3
smach-ros==2.5.3
smart-open==6.4.0
smclib==1.8.6
smmap==5.0.2
sniffio==1.3.1
sound-play==0.3.18
spacy==3.7.2
spacy-legacy==3.0.12
spacy-loggers==1.0.5
srsly==2.5.1
starlette==0.46.1
sympy==1.13.1
tabledata==1.3.4
tabulate==0.9.0
tblib==3.0.0
tcolorpy==0.1.7
tensorboard==2.13.0
tensorboard-data-server==0.7.2
termcolor==2.3.0
tf==1.13.2
tf-conversions==1.13.2
tf2-geometry-msgs==0.7.7
tf2-kdl==0.7.7
tf2-py==0.7.7
tf2-ros==0.7.7
thinc==8.2.5
threadpoolctl==3.6.0
tiktoken==0.9.0
tokenizers==0.21.1
topic-tools==1.17.0
torch==2.5.1
torchaudio==2.5.1
torchvision==0.20.1
tqdm==4.67.1
transformers==4.49.0
triton==3.1.0
trl @ git+https://github.com/huggingface/trl.git@69ad852e5654a77f1695eb4c608906fe0c7e8624 # 如果出问题,那么请手动安装
typepy==1.3.4
typer==0.9.4
typing_extensions==4.12.2
tzdata==2025.1
universal_pathlib==0.2.6
urdfdom-py==0.4.6
urllib3==2.3.0
uvicorn==0.34.0
uvloop==0.21.0
virtualenv==20.29.3
vllm==0.7.2
wandb==0.19.8
wasabi==1.1.3
watchfiles==1.0.4
wcwidth==0.2.13
weasel==0.3.4
websockets==15.0.1
Werkzeug==3.1.3
wrapt==1.17.2
xacro==1.14.19
xformers==0.0.28.post3
xgrammar==0.1.15
xxhash==3.5.0
yarl==1.18.3
zipp==3.21.0
{‘’'如果直接安装好了,那这里可以不需要管
以上的环境这里特殊说明一下,首先如果flash_attn有问题的一般降低一下setuptools即可
setuptools==58.0 (安装flash_attn用)
对于那些比较特殊的git版本,我们可以先下载到本地:
先装到本地
git clone https://github.com/huggingface/lighteval.git
然后切换分支
cd lighteval
git checkout ed084813e0bd12d82a06d9f913291fdbee774905
最后安装即可
pip install -e .
最后一点注意,那就是对应的scipy等库的版本需要对应一下,我直接采取的是更新相关的库:
pip install --upgrade scipy transformers accelerate scikit-learn
‘’'如果直接安装好了,那这里可以不需要管
}
这样基本的环境就配置完毕了,其中openr1之后再安装。
cuda安装
官方使用的cuda-12.4,所以我们直接去下载安装即可:
https://developer.nvidia.cn/cuda-downloads?target_os=Linux&target_arch=x86_64&Distribution=Ubuntu&target_version=20.04&target_type=runfile_local
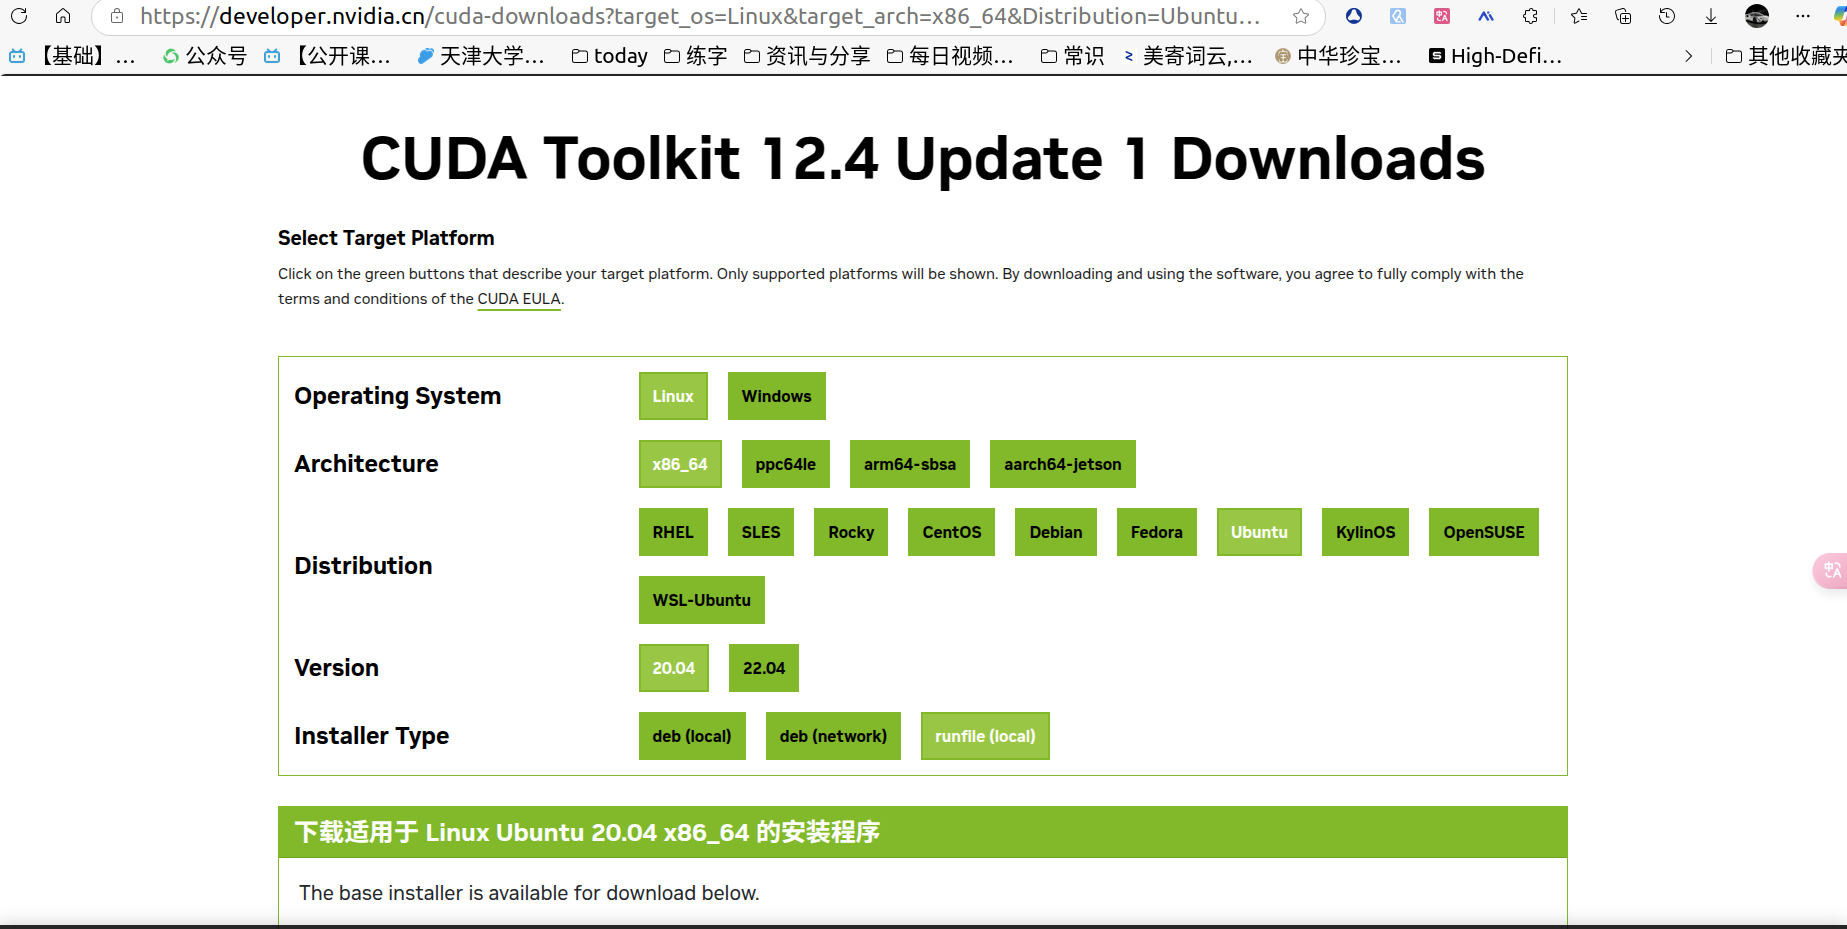
即:
wget https://developer.download.nvidia.com/compute/cuda/12.4.1/local_installers/cuda_12.4.1_550.54.15_linux.run
sudo sh cuda_12.4.1_550.54.15_linux.run
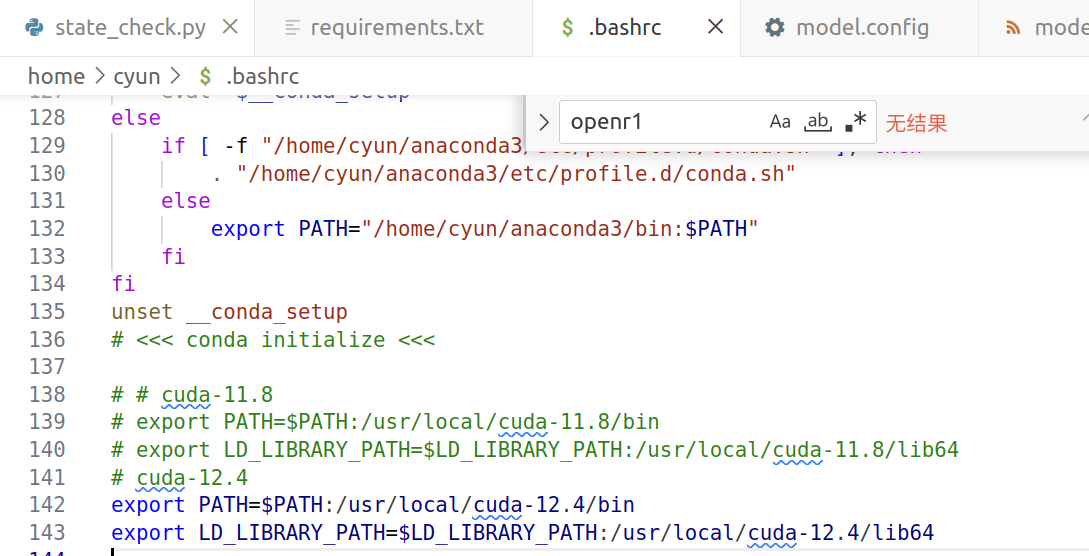
安装完后需要配置一下环境变量:
gedit .bashrc
添加
# cuda-12.4
export PATH=$PATH:/usr/local/cuda-12.4/bin
export LD_LIBRARY_PATH=$LD_LIBRARY_PATH:/usr/local/cuda-12.4/lib64
源文件下载
首先去下载openr1:
git clone https://github.com/huggingface/open-r1.git
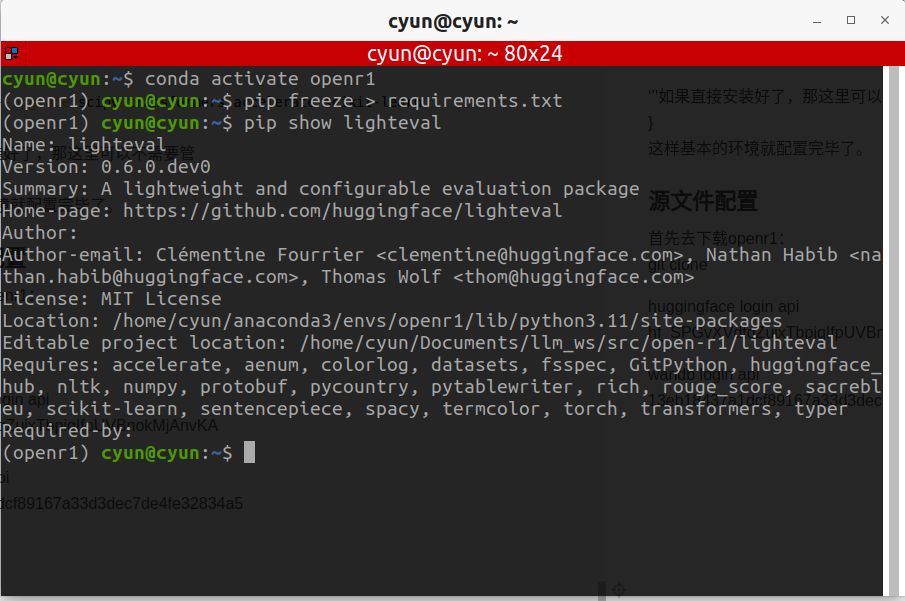
这里需要先把openr1的环境加入到python环境,所以:
conda activate openr1
cd open-r1
GIT_LFS_SKIP_SMUDGE=1 pip install -e ".[dev]"
由于训练时需要连接huggingface和wandb,所以我们要先登录一下。可以直接先进入官网进行登录
首先是huggingface:https://huggingface.co/
登录后创建access tokens:
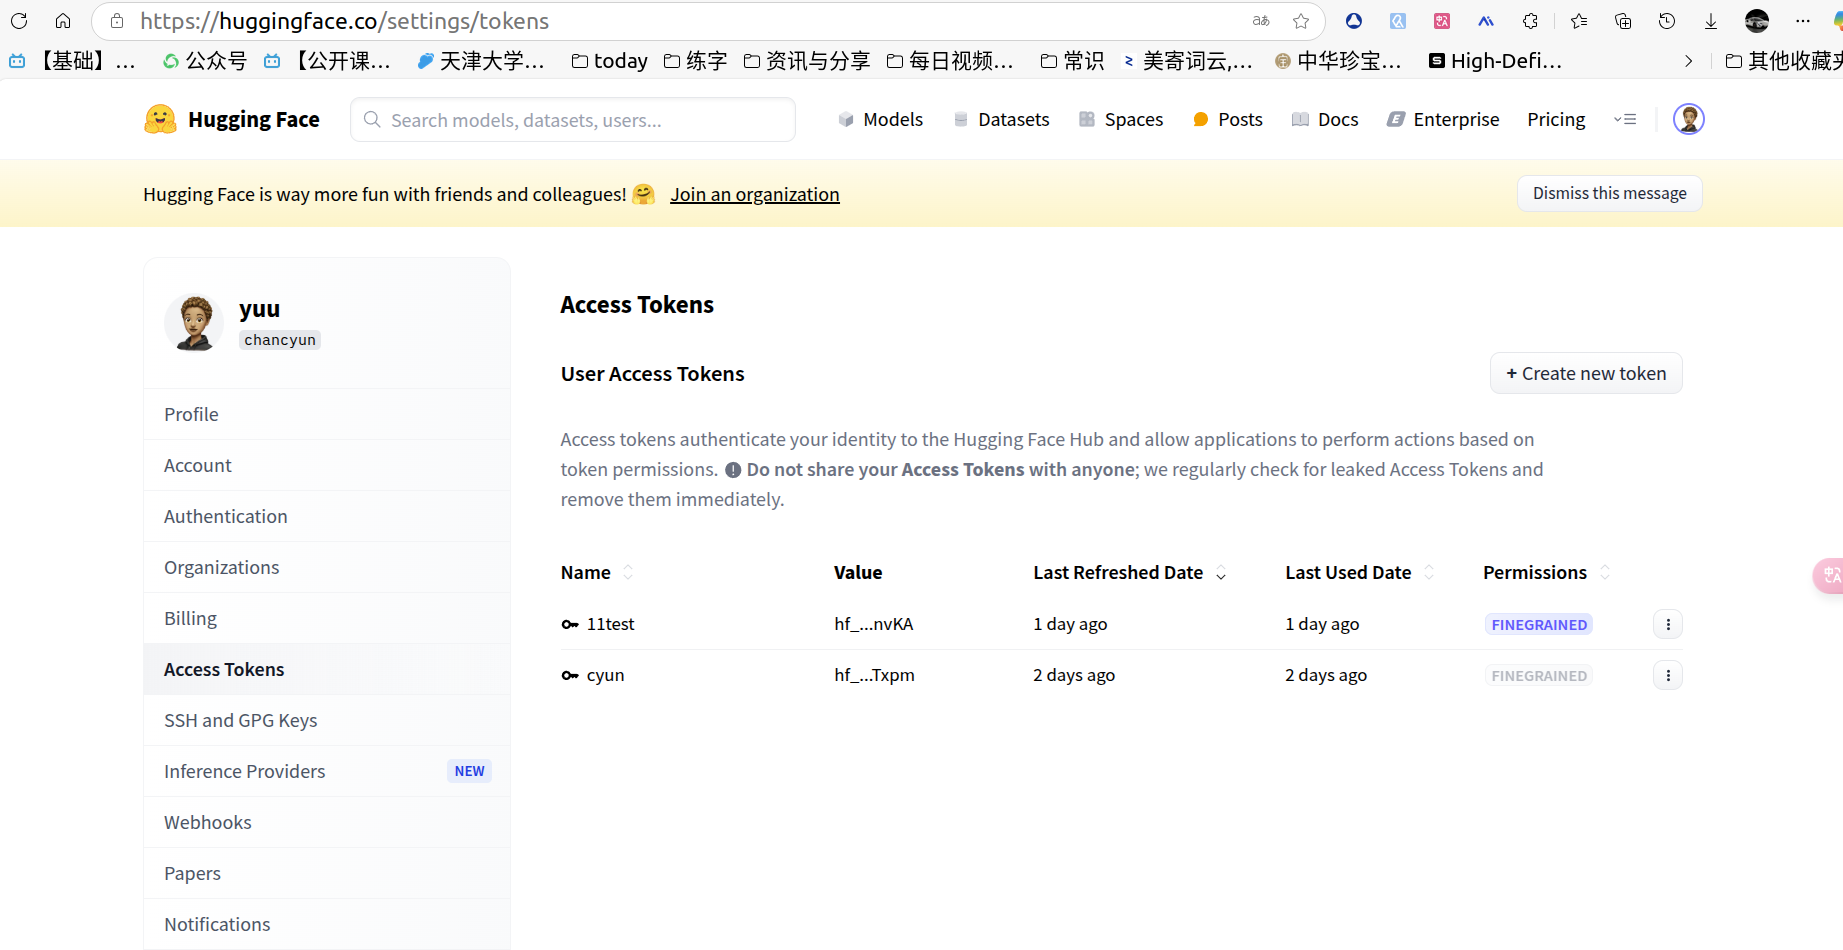
创建好之后复制一下,然后进行登录
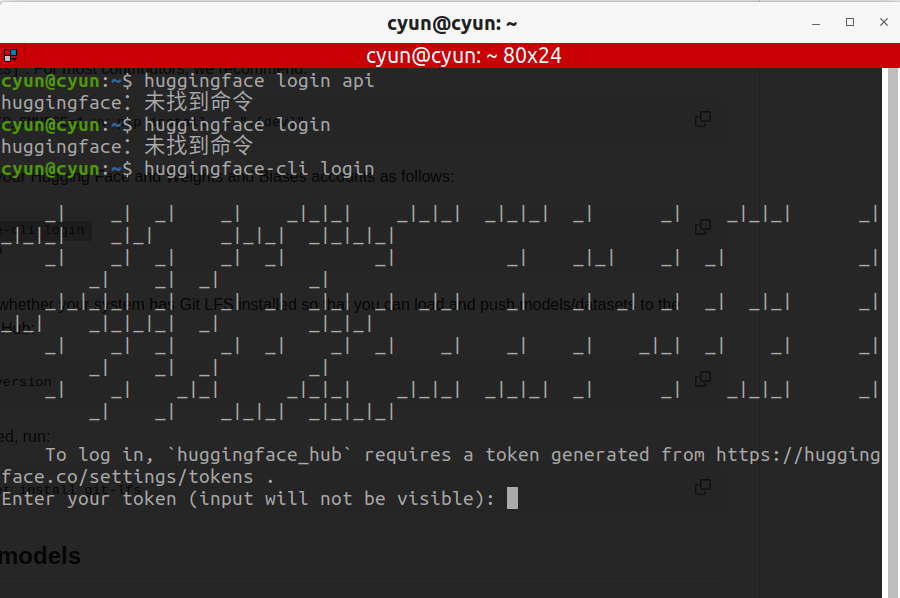
huggingface-cli login
输入对应的tokens:
hf_S
接着是wandb,这是一个训练用的记录网站,可以记录训练过程中的各种信息https://wandb.ai/site
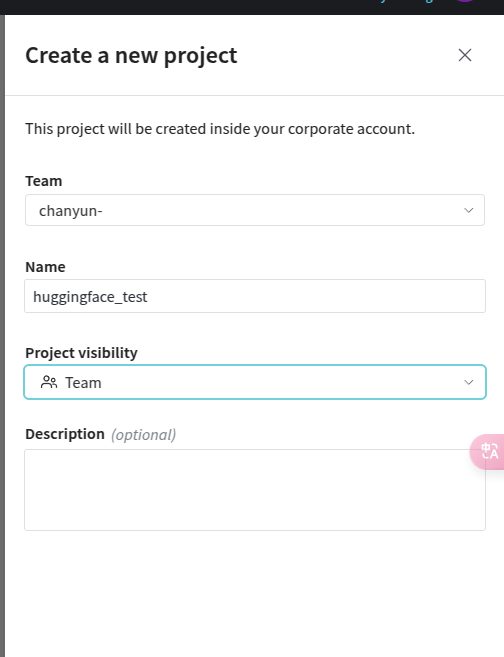
登录进去过后我们创建一个
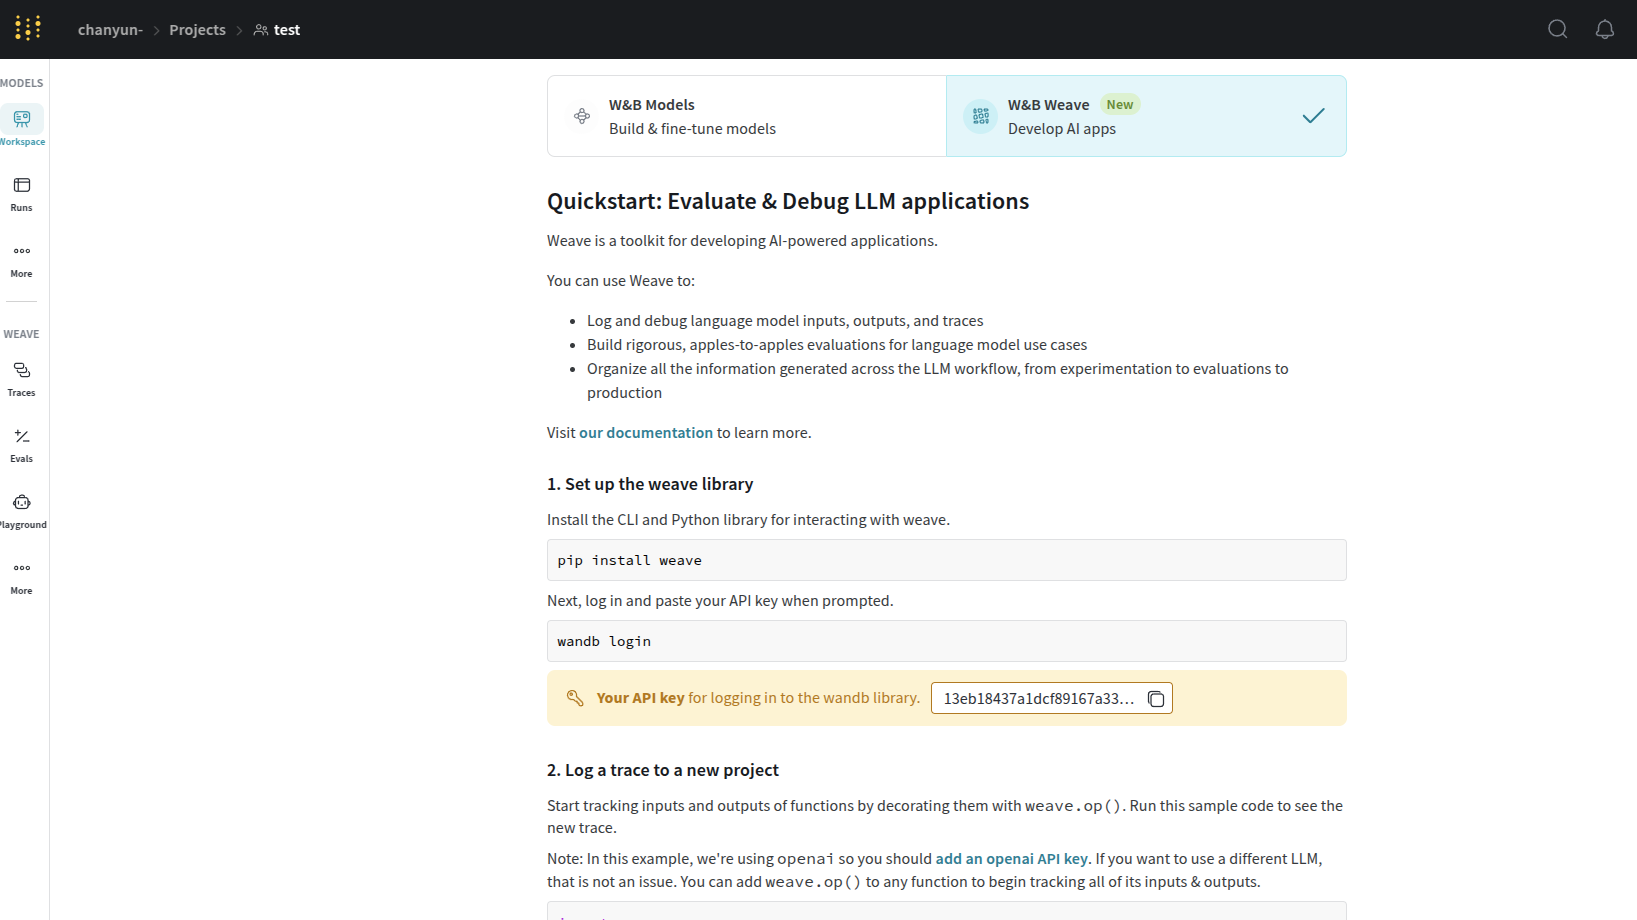
wandb login
登录后输入对应的key
13eb1
这样就能成功登录了。
下载模型与数据集
由于当前我们无法通过大部分方式连接huggingface,尤其是使用python接口,就算挂vpn也无法访问,所以可以直接先将模型和数据集下载好。数据集是OpenR1-Math-220k
https://huggingface.co/datasets/open-r1/OpenR1-Math-220k
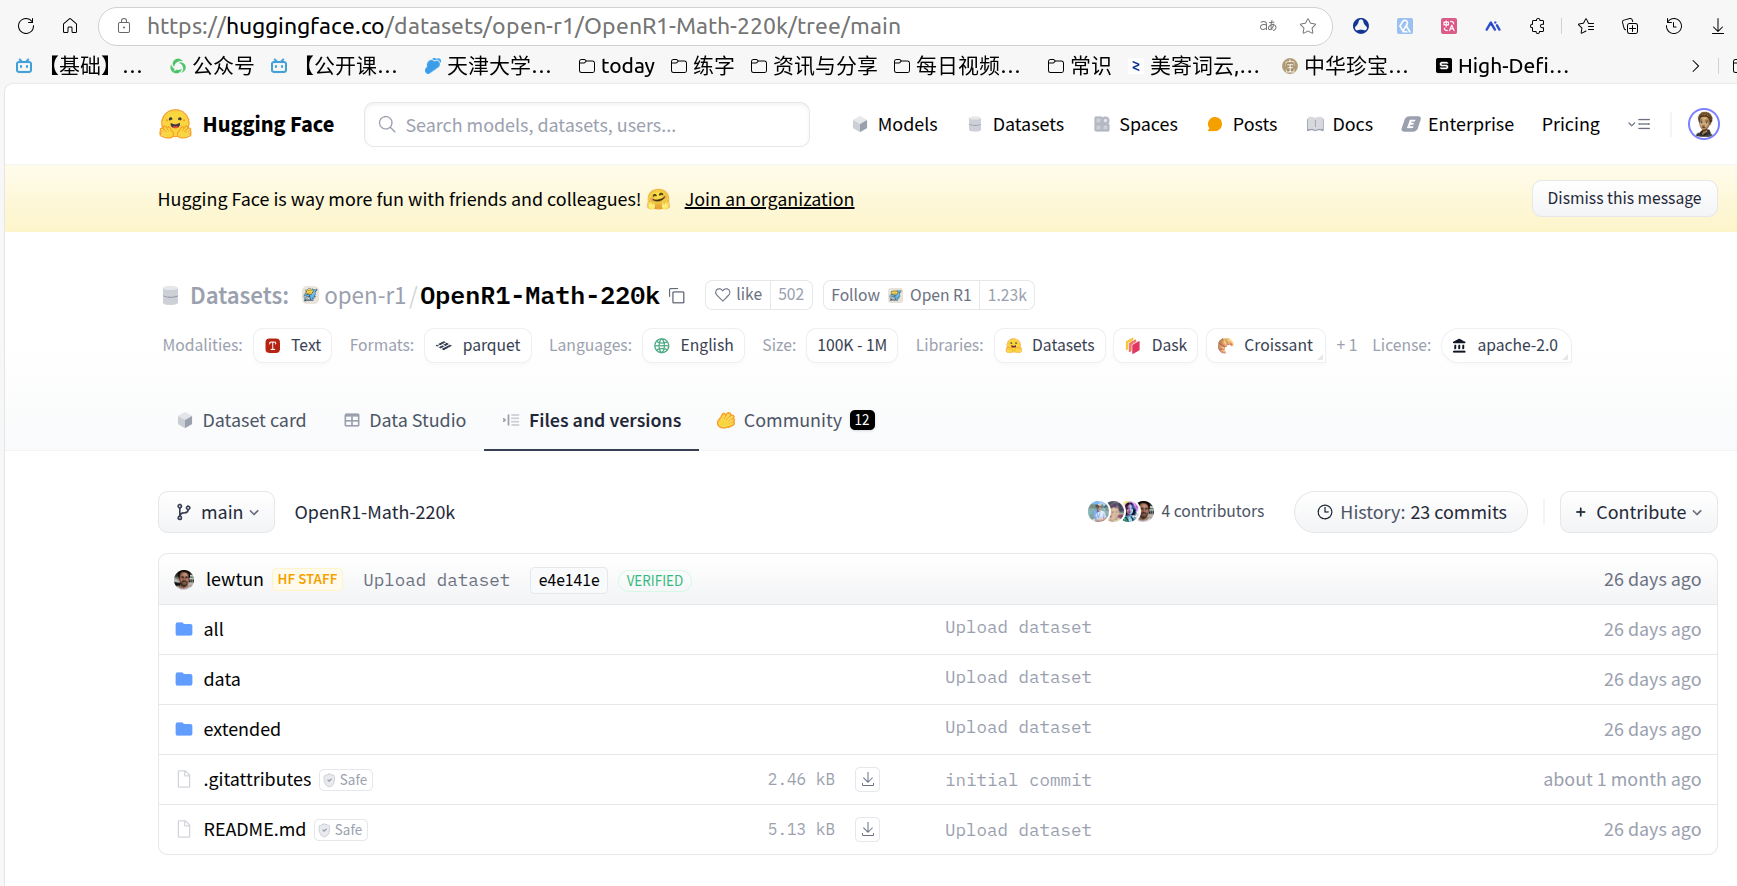
请下载所有的文件
模型是DeepSeek-R1-Distill-Qwen-1.5B
https://huggingface.co/deepseek-ai/DeepSeek-R1-Distill-Qwen-1.5B
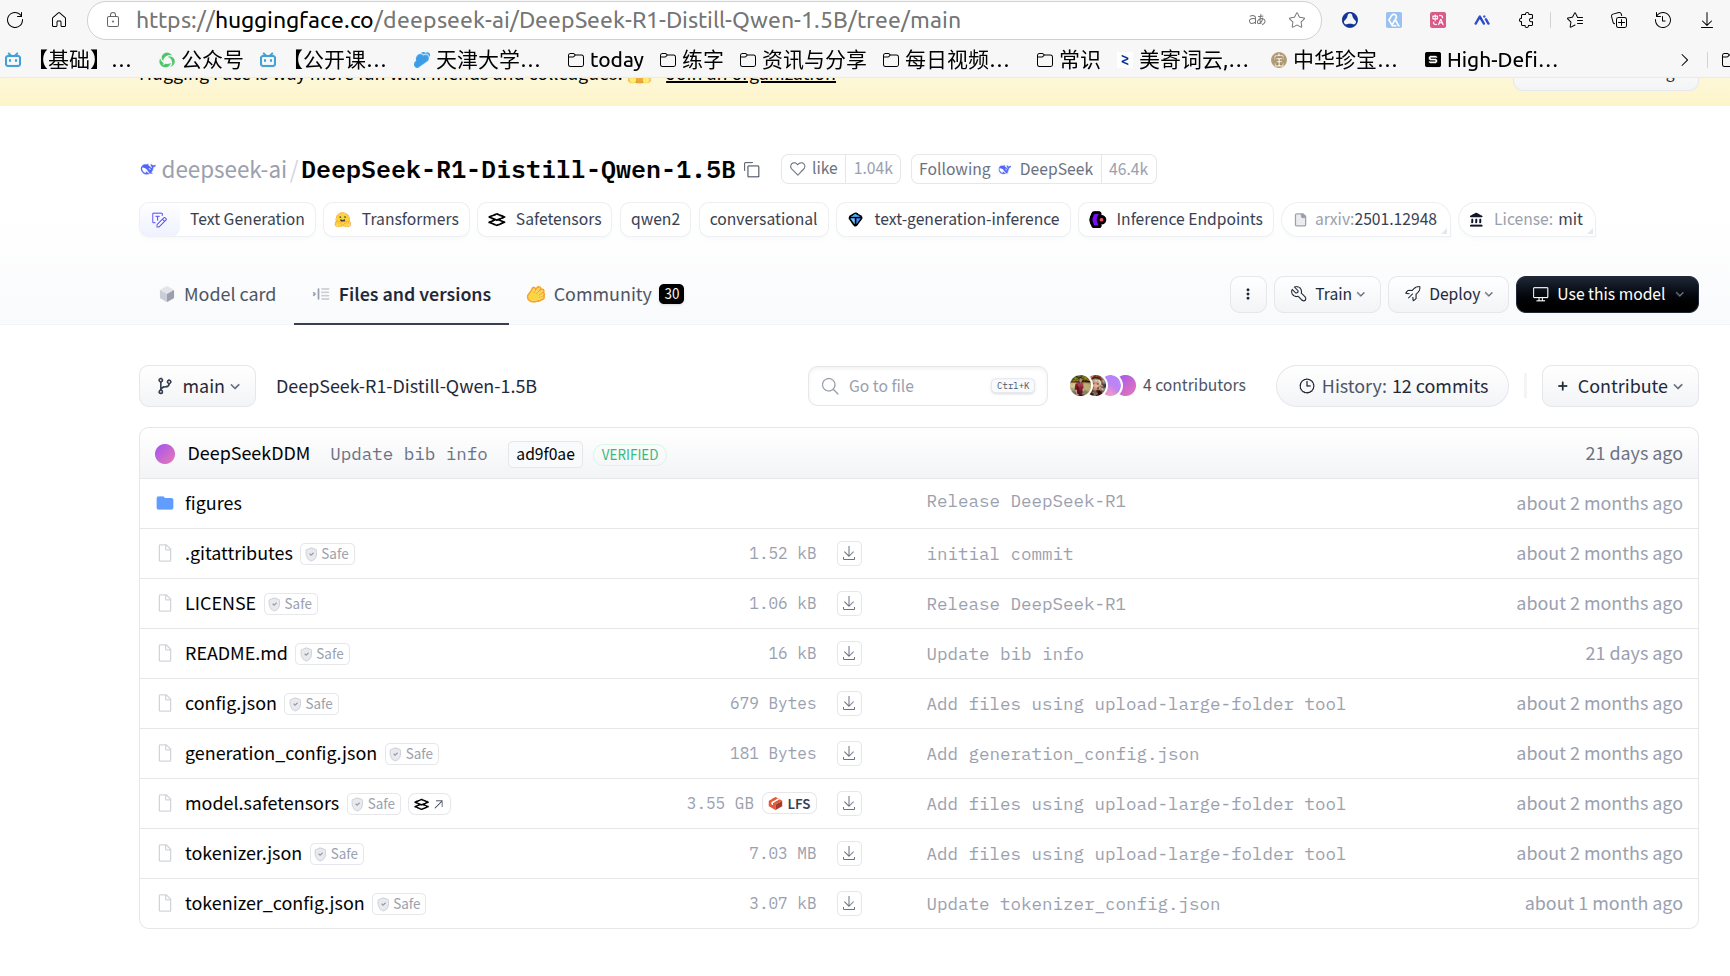
下载所有的模型文件
注:如果比较麻烦可以试试国内的魔塔社区,可以更方便的下载这些模型。
修改配置文件
这里需要修改recipes文件夹下的yaml文件,进入对应模型的文件夹中,修改config_demo.yaml:
# Model arguments
model_name_or_path: /home/cyun/.cache/huggingface/deep-ai # deepseek-ai/DeepSeek-R1-Distill-Qwen-1.5B
model_revision: main
torch_dtype: bfloat16
attn_implementation: flash_attention_2

# Data training arguments
# We edit the DeepSeek chat template to ensure (a) the reasoning block within <think> and </think> is included in the completion and (b) the <think> tag is not part of the prefill so that the format reward works
chat_template: "{% if not add_generation_prompt is defined %}{% set add_generation_prompt = false %}{% endif %}{% set ns = namespace(is_first=false, is_tool=false, is_output_first=true, system_prompt='') %}{%- for message in messages %}{%- if message['role'] == 'system' %}{% set ns.system_prompt = message['content'] %}{%- endif %}{%- endfor %}{{bos_token}}{{ns.system_prompt}}{%- for message in messages %}{%- if message['role'] == 'user' %}{%- set ns.is_tool = false -%}{{'<|User|>' + message['content']}}{%- endif %}{%- if message['role'] == 'assistant' and message['content'] is none %}{%- set ns.is_tool = false -%}{%- for tool in message['tool_calls']%}{%- if not ns.is_first %}{{'<|Assistant|><|tool▁calls▁begin|><|tool▁call▁begin|>' + tool['type'] + '<|tool▁sep|>' + tool['function']['name'] + '\\n' + '```json' + '\\n' + tool['function']['arguments'] + '\\n' + '```' + '<|tool▁call▁end|>'}}{%- set ns.is_first = true -%}{%- else %}{{'\\n' + '<|tool▁call▁begin|>' + tool['type'] + '<|tool▁sep|>' + tool['function']['name'] + '\\n' + '```json' + '\\n' + tool['function']['arguments'] + '\\n' + '```' + '<|tool▁call▁end|>'}}{{'<|tool▁calls▁end|><|end▁of▁sentence|>'}}{%- endif %}{%- endfor %}{%- endif %}{%- if message['role'] == 'assistant' and message['content'] is not none %}{%- if ns.is_tool %}{{'<|tool▁outputs▁end|>' + message['content'] + '<|end▁of▁sentence|>'}}{%- set ns.is_tool = false -%}{%- else %}{% set content = message['content'] %}{{'<|Assistant|>' + content + '<|end▁of▁sentence|>'}}{%- endif %}{%- endif %}{%- if message['role'] == 'tool' %}{%- set ns.is_tool = true -%}{%- if ns.is_output_first %}{{'<|tool▁outputs▁begin|><|tool▁output▁begin|>' + message['content'] + '<|tool▁output▁end|>'}}{%- set ns.is_output_first = false %}{%- else %}{{'\\n<|tool▁output▁begin|>' + message['content'] + '<|tool▁output▁end|>'}}{%- endif %}{%- endif %}{%- endfor -%}{% if ns.is_tool %}{{'<|tool▁outputs▁end|>'}}{% endif %}{% if add_generation_prompt and not ns.is_tool %}{{'<|Assistant|>'}}{% endif %}"
dataset_name: /home/cyun/.cache/huggingface/datasets/OpenR1-Math-220k  #open-r1/OpenR1-Math-220k
system_prompt: "You are a helpful AI Assistant that provides well-reasoned and detailed responses. You first think about the reasoning process as an internal monologue and then provide the user with the answer. Respond in the following format: <think>\n...\n</think>\n<answer>\n...\n</answer>"

# GRPO trainer config
bf16: true
use_vllm: true
vllm_device: auto
vllm_gpu_memory_utilization: 0.7 # 0.3
do_eval: false
gradient_accumulation_steps: 32 #4
gradient_checkpointing: true
gradient_checkpointing_kwargs:
  use_reentrant: false
hub_model_id: DeepSeek-R1-Distill-Qwen-1.5B-GRPO
hub_strategy: every_save
learning_rate: 1.0e-06
log_completions: true
log_level: info
logging_first_step: true
logging_steps: 1
logging_strategy: steps
lr_scheduler_type: cosine_with_min_lr
lr_scheduler_kwargs:
  min_lr_rate: 0.1
max_prompt_length: 512
max_completion_length: 2048
max_steps: -1
num_generations: 2 #16
num_train_epochs: 1
output_dir: data/DeepSeek-R1-Distill-Qwen-1.5B-GRPO
overwrite_output_dir: true
per_device_eval_batch_size: 2 #16
per_device_train_batch_size: 2 #16
push_to_hub: false #true
report_to:
- wandb
reward_funcs:
- accuracy
- format
- tag_count
reward_weights:
- 1.0
- 1.0
- 1.0
save_strategy: "epoch"
save_total_limit: 1
seed: 42
temperature: 0.7
warmup_ratio: 0.1
几个关键修改分别是:
model_name_or_path,请使用下载好的模型文件夹
dataset_name,请使用下载好的数据集文件夹
push_to_hub,由于无法连接huggingface,所以这里必须要false
运行命令
ACCELERATE_LOG_LEVEL=info accelerate launch --config_file recipes/accelerate_configs/zero2.yaml \
    --num_processes=7 src/open_r1/grpo.py \
    --config recipes/DeepSeek-R1-Distill-Qwen-1.5B/grpo/config_demo.yaml
这里我用的是八卡,所以num_processes=7,然后显存需求比较大,租用了8个80G训练:
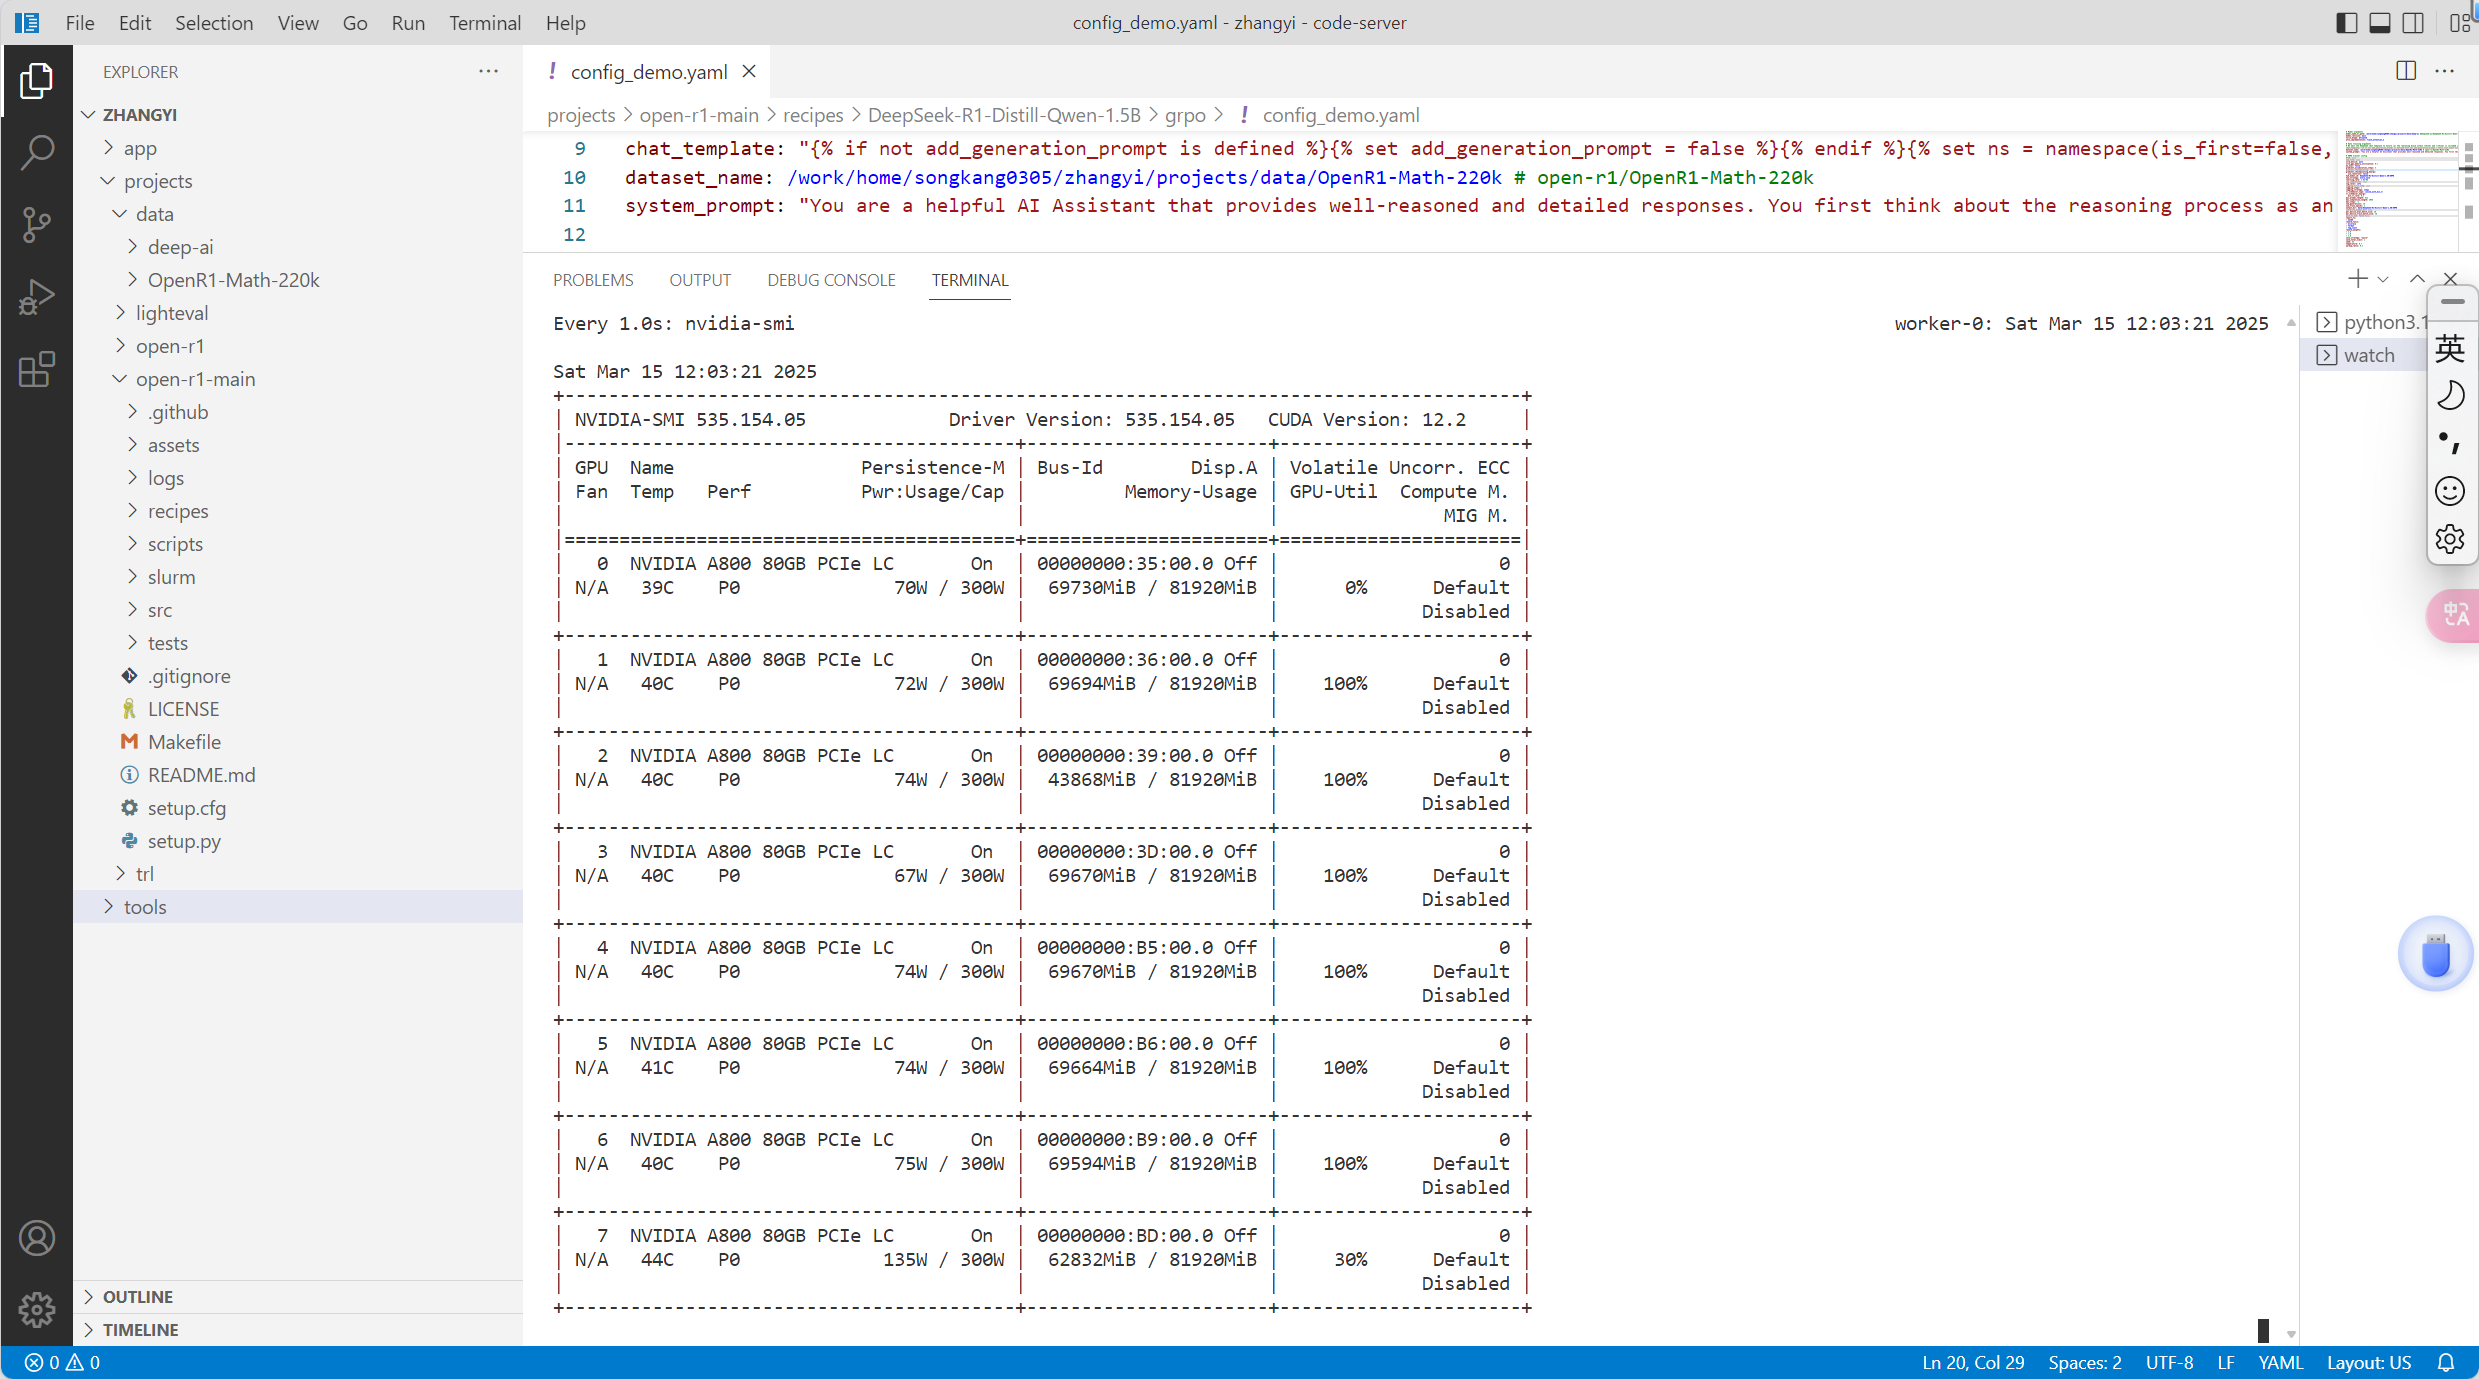
训练过程

可以看到输入的prompt,输出的completion内容,以及获得的reward。写到这里,基本就完成了本地复现openr1的过程了。
下次我们将从代码层面去理解整个训练过程,包括这里面的状态空间,动作空间和奖励设计。
add 2025,4,1
状态空间
状态定义:
状态由输入提示(prompt)和模型当前生成的 token 序列组成。
在 GRPO 中,状态可以看作是 dataset 中的 prompt(例如数学问题或代码任务的描述)加上模型已经生成的文本(completions)。
Prompt: "Solve 2x + 3 = 7"
Current generation: "Let’s solve this step by step. First, subtract 3 from both sides:"
隐式表示:
GRPOTrainer 使用语言模型的内部表示(如 Transformer 的隐藏状态)来编码状态,因此状态空间是高维的连续空间,而不是离散的状态集合。
状态空间的大小取决于 max_seq_length(例如 4096 个 token,见 SFT 脚本)。
动态性:
状态是动态变化的,每生成一个 token,状态都会更新。这种设计与传统的马尔可夫决策过程(MDP)一致,但由于语言生成是序列任务,状态具有很强的时序依赖性。
动作空间
动作空间定义了模型在每个时间步可以采取的操作。在语言模型的强化学习中,动作空间通常与词汇表相关。
动作定义:
动作是模型在当前状态下生成的下一个 token。
动作空间的大小等于模型的词汇表大小(vocabulary size),通常由 tokenizer 定义(例如 Qwen2.5-1.5B 的词汇表大小)。
例如,假设词汇表包含 50,000 个 token,那么在每个时间步,模型从这 50,000 个可能的 token 中选择一个。
连续性:
虽然动作空间是离散的(选择某个 token),但模型通过 softmax 输出概率分布来表示对每个 token 的倾向性,因此可以看作是对离散动作的软选择。
约束:
动作空间受到生成长度限制(generation_size,如 32768,见 LightevalTaskConfig)和停止条件(stop_sequence 或 EOS token)的约束。
奖励函数
(1) accuracy_reward
目的: 评估生成答案是否与标准答案(ground truth)一致。
计算方式:
提取生成文本中的答案(使用 LatexExtractionConfig 解析 LaTeX 格式)。
与标准答案进行比较(通过 verify 函数)。
返回值:1.0(正确)或 0.0(错误),如果无法解析则返回 None(跳过该样本)。
例子:
输入: “Solve 2x + 3 = 7”
生成: “Therefore, the final answer is:
2
\boxed{2}
2”
标准答案: “2”
奖励: 1.0
(2) format_reward
目的: 确保生成文本遵循特定格式(如 和 标签)。
计算方式:
使用正则表达式检查文本是否匹配模式:^\n.?\n\n\n.?\n$。
返回值:1.0(符合格式)或 0.0(不符合)。
例子:
生成: “\nLet’s solve this.\n\n\n2\n”
奖励: 1.0
(3) tag_count_reward
目的: 检查标签的数量是否正确。
计算方式:
计算 、、、 各出现一次的得分,每项占 0.25。
返回值:范围 [0.0, 1.0]。
例子:
生成: “\nReasoning\n\n\n2\n”
奖励: 1.0
(4) reasoning_steps_reward
目的: 鼓励生成清晰的逐步推理。
计算方式:
使用正则表达式匹配推理步骤标志(如 Step 1:、 numbered lists 或过渡词)。
奖励基于步骤数量,最多为 1.0(至少 3 个步骤)。
例子:
生成: “Step 1: Subtract 3. Step 2: Divide by 2.”
奖励: 0.67(2/3)
(5) len_reward
目的: 鼓励简洁的正确答案,惩罚冗长的错误答案。
计算方式:
根据生成长度和正确性计算:
正确答案:0.5 - (len - min_len)/(max_len - min_len)
错误答案:min(0, 0.5 - (len - min_len)/(max_len - min_len))
例子:
生成长度短且正确:奖励接近 0.5。
生成长度长且错误:奖励接近 0 或负值。
(6) cosine_scaled_reward
目的: 根据生成长度和正确性进行余弦缩放奖励。
计算方式:
正确答案:奖励从 min_value_correct(默认 0.5)到 max_value_correct(默认 1.0)缩放。
错误答案:奖励从 min_value_wrong(默认 0.0)到 max_value_wrong(默认 -0.5)缩放。
使用余弦函数:reward = min_value + 0.5 * (max_value - min_value) * (1.0 + cos(progress * π))。
例子:
短且正确:奖励接近 1.0。
长且错误:奖励接近 -0.5。
(7) repetition_penalty_reward
目的: 惩罚文本中的重复模式(如 n-gram 重复)。
计算方式:
计算 n-gram 的重复率,奖励为 scaling * max_penalty(默认 max_penalty = -1.0)。
例子:
无重复:奖励 0.0。
高重复:奖励接近 -1.0。
(8) code_reward 和 binary_code_reward
目的: 评估代码生成的正确性。
计算方式:
使用 E2B 沙盒执行代码并运行测试用例。
code_reward: 返回成功率([0.0, 1.0])。
binary_code_reward: 如果成功率 > 0.99,则为 1.0,否则为 0.0。
例子:
生成代码通过所有测试:奖励 1.0。
(9) ioi_code_reward
目的: 评估 IOI 竞赛格式的代码。
计算方式:
使用 Piston 客户端运行代码并验证测试用例。
返回值:测试通过的得分([0.0, 1.0])。
(10) code_format_reward
目的: 确保代码答案的格式正确。
计算方式:
检查是否包含 和 标签以及代码块(如 python)。
返回值:1.0(符合)或 0.0(不符合)。
奖励组合
GRPO 允许通过 reward_funcs 参数组合多个奖励函数(见 GRPOScriptArguments)。
例如,默认配置为 [“accuracy”, “format”, “tag_count”],最终奖励可能是这些函数的加权和或平均值(具体组合逻辑由 GRPOTrainer 实现,未在代码中明确定义,可能依赖 trl 的默认行为)。
总结
GRPO 的强化学习设计如下:
强化学习训练库: trl(transformer网络的强化学习训练)
状态空间: 输入提示 + 当前生成序列(高维连续空间)。
动作空间: 词汇表中的 token 选择(离散空间)。
奖励函数: 多目标组合,包括正确性(accuracy_reward)、格式(format_reward)、简洁性(len_reward)、代码执行(code_reward)等。
训练目标: 通过 GRPOTrainer 优化模型生成策略,使其在给定任务上获得更高的综合奖励。


 510
510

 被折叠的 条评论
为什么被折叠?
被折叠的 条评论
为什么被折叠?
 到【灌水乐园】发言


