一、函数简介
1、threshold—图像简单阈值化处理
函数原型:threshold(src, thresh, maxval, type, dst=None)
src:图像矩阵
thresh:阈值
maxVal:像素最大值
type:阈值化类型
2、adaptiveThreshold—图像自适应阈值化处理
函数原型:adaptiveThreshold(src, maxValue, adaptiveMethod, thresholdType, blockSize, C, dst=None)
src:图像矩阵
maxValue:像素最大值
adaptiveMethod:自适应方法
thresholdType:阈值化类型
blockSize:窗口尺寸
C:为一整数,减去该整数来对阈值进行微调
3、thresholding.otsu—图像最大类间方差阈值化处理
函数原型:thresholding.otsu(src)
src:图像矩阵
4、thresholding.rc—图像Riddler-Calvard阈值化处理
函数原型:thresholding.rc(src)
src:图像矩阵
二、实例演练
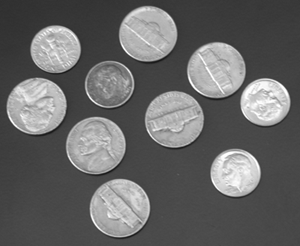
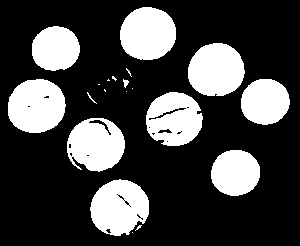
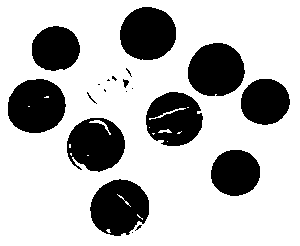
1、图像二值化及反转
代码如下:
#encoding:utf-8

#
#图像二值化及反转
#

import numpy as np
import cv2

image = cv2.imread("H:\\img\\coins.bmp")
image = cv2.cvtColor(image, cv2.COLOR_BGR2GRAY)#将图像转为灰色
blurred = cv2.GaussianBlur(image, (5, 5), 0)#高斯滤波
cv2.imshow("Image", image)#显示图像
(T, thresh) = cv2.threshold(blurred, 155, 255, cv2.THRESH_BINARY)#阈值化处理,阈值为:155
cv2.imshow("Threshold Binary", thresh)

(T, threshInv) = cv2.threshold(blurred, 155, 255, cv2.THRESH_BINARY_INV)#反阈值化处理,阈值为:155
cv2.imshow("Threshold Binary Inverse", threshInv)

#cv2.imshow("Coins", cv2.bitwise_and(image, image, mask =threshInv))
cv2.waitKey(0)
结果如下:
原图像:
二值化图像:
二值化反转图像:
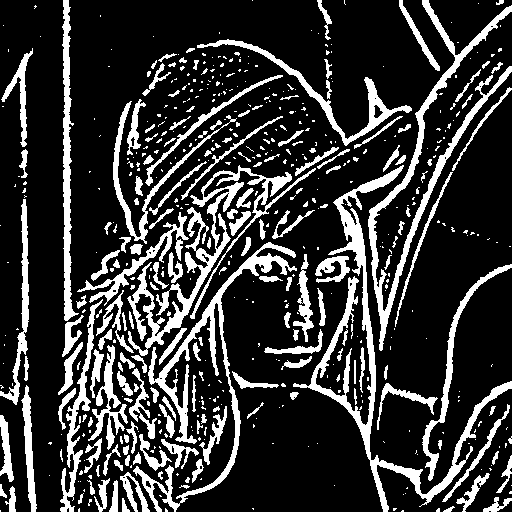
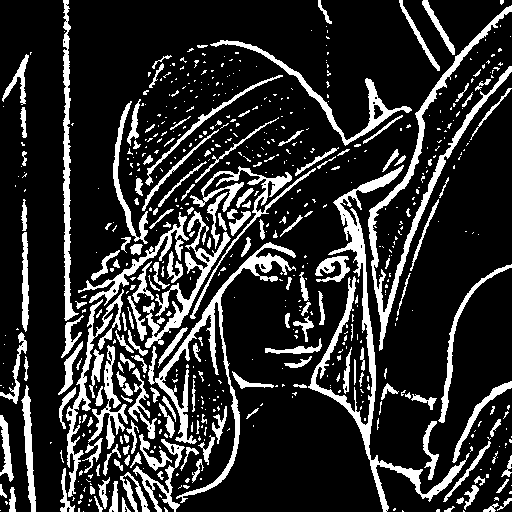
2、图像自适应阈值化
代码如下:
#encoding:utf-8

#
#自适应阈值化处理
#

import numpy as np
import cv2

image = cv2.imread("H:\\img\\lena.jpg")#读取图像
image = cv2.cvtColor(image, cv2.COLOR_BGR2GRAY)#将图像转化为灰度
blurred = cv2.GaussianBlur(image, (5, 5), 0)#高斯滤波
cv2.imshow("Image", image)

#自适应阈值化处理
#cv2.ADAPTIVE_THRESH_MEAN_C:计算邻域均值作为阈值
thresh = cv2.adaptiveThreshold(blurred, 255,cv2.ADAPTIVE_THRESH_MEAN_C, cv2.THRESH_BINARY_INV, 11, 4)
cv2.imshow("Mean Thresh", thresh)
#cv2.ADAPTIVE_THRESH_GAUSSIAN_C:计算邻域加权平均作为阈值
thresh = cv2.adaptiveThreshold(blurred, 255,cv2.ADAPTIVE_THRESH_GAUSSIAN_C, cv2.THRESH_BINARY_INV, 15, 3)
cv2.imshow("Gaussian Thresh", thresh)
cv2.waitKey(0)
结果如下:
原图像:

自适应阈值—邻域均值:
自适应阈值—邻域加权平均:
3、最大类间方差阈值化
代码如下:
#encoding:utf-8

#
#最大类间方差法
#
import numpy as np
import cv2
import mahotas
#载入图像
image = cv2.imread("H:\\img\\lena.jpg") #读入图像
cv2.imshow("Original",image)#显示原图像
cv2.waitKey()#程序暂停

#对图像进行高斯滤波
image = cv2.cvtColor(image,cv2.COLOR_BGR2GRAY)#将原图像转化为灰度图像
blurred = cv2.GaussianBlur(image,(5,5),0)#高斯滤波
cv2.imshow("Image",image)#显示图像
cv2.waitKey()

#Otsu's threshold法
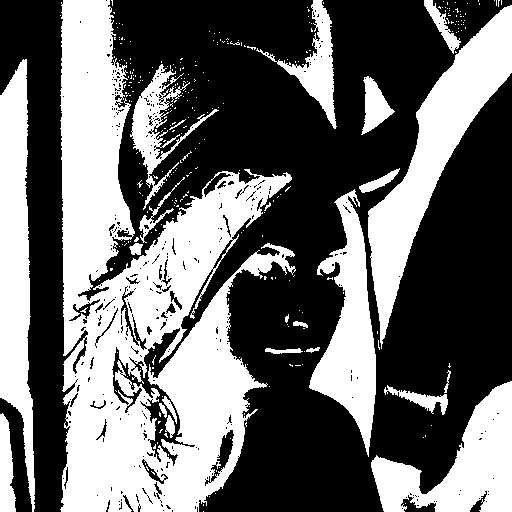
T = mahotas.thresholding.otsu(blurred)##最大类间方差法求阈值,T为阈值
print "Otsu's threshold:%d" %(T)#打印阈值
thresh = image.copy()#复制图像:image(矩阵)
thresh[thresh >T] = 255#矩阵thresh中>T的值赋值为255
thresh[thresh < 255] = 0#矩阵thresh中<255的值赋值为0
thresh = cv2.bitwise_not(thresh)#thresh取反
cv2.imshow("Otsu",thresh)#显示图像
cv2.waitKey()
结果如下:
原图像:

最大类间方差阈值化:
4、Riddler-Calvard方法
代码如下:
#encoding:utf-8

#
#最大类间方差法
#

import numpy as np
import cv2
import mahotas

#载入图像
image = cv2.imread("H:\\img\\lena.jpg") #读入图像
cv2.imshow("Original",image)#显示原图像
cv2.waitKey()#程序暂停

#对图像进行高斯滤波
image = cv2.cvtColor(image,cv2.COLOR_BGR2GRAY)#将原图像转化为灰度图像
blurred = cv2.GaussianBlur(image,(5,5),0)#高斯滤波
cv2.imshow("Image",image)#显示图像
cv2.waitKey()

#Riddler-Calvard方法
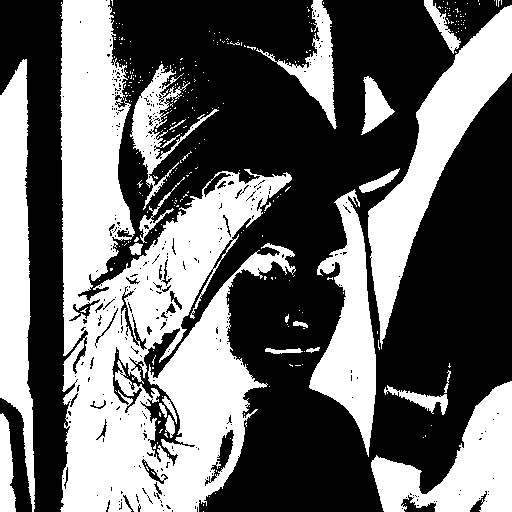
T = mahotas.thresholding.rc(blurred)#用Riddler-Calvard法求阈值
print "Riddler-Calvard:%d" %(T)#打印阈值
thresh = image.copy()#复制图像:image(矩阵)
thresh[thresh >T] = 255#矩阵thresh中>T的值赋值为255
thresh[thresh < 255] = 0#矩阵thresh中<255的值赋值为0
thresh = cv2.bitwise_not(thresh)#thresh取反
cv2.imshow("Riddler-Calvard",thresh)#显示图像
cv2.waitKey()
结果如下:
原图像:

Riddler-Calvard方法:


 975
975

 被折叠的 条评论
为什么被折叠?


