


目的是为了视频孪生,将视频放到三维里面,如果使用自己写的插件,有更好的灵活性,同时断线重连等等都更好控制了。
1、矫正算法和硬件解码
最好使用opencv制作,可以使用opencv的cuda加速,opencv的编译,必须用cuda cudnn, 都装好,再编译。硬件解码写在插件里面。
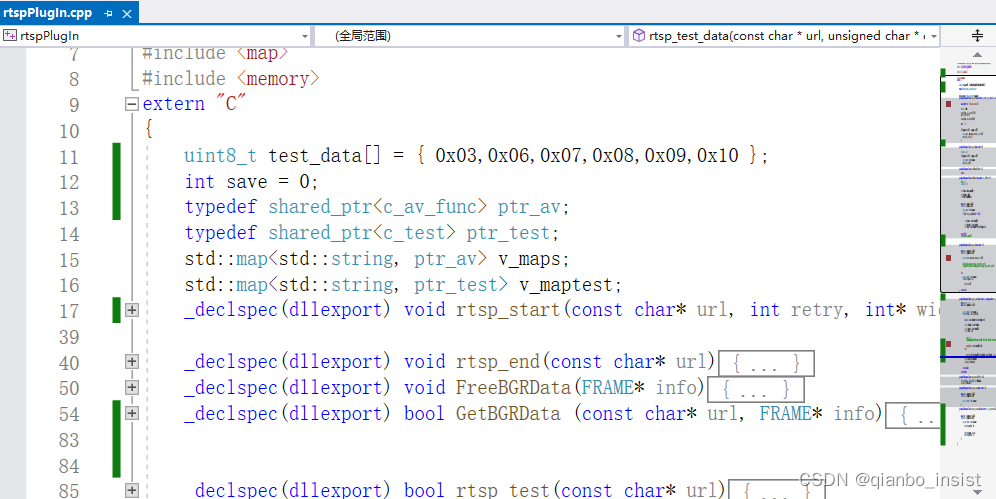
dll插件使用extern “C” 方式。使用_declspec(dllexport) 将函数输出。
2、gb28181 和 rtsp 流 插件
如果多线程?不要在插件里面使用多线程,插件里面保证简单,只是函数,使用unity c# 的多线程启动多个线程去拉流。尽量将插件做到简单的函数封装,不要封装过多的操作。gb28181 使用网络接收推流的方式接收数据,demux使用c++ 解封装,在插件里面解码。
2.1、rtsp 断线重连
还是使用ffmpeg制作,包含断线重连功能,这个必须有,生成unity的可执行程序的时候,一旦rtsp 链接断掉,就必须使用断线重连。否则unity 播放的部分就白了。
2.2、gb28181 接收
这个使用sip协议和流媒体协议,网内尽量使用udp,简单,单个线程接收所有输送的流, 接收到数据以后分流,unity中在update 函数里面去拉自己想要的流。
2.3 多路
界面
拉好场景,使用两个plane,每一个plane使用一个rtsp或者gb28181 链接,同时序列化结构体,使得c++和c# 能够使用结构体进行参数传递。
using System;
using System.Text;
using System.Threading;
using System.Collections;
using UnityEngine;
using System.Runtime.InteropServices;

[StructLayout(LayoutKind.Sequential)]
public struct FRAME
{
    public int width;
    public int height;
    public int len;
    public IntPtr Frame ;
    public IntPtr data;
    //public byte[] data;
    //[MarshalAs(UnmanagedType.LPArray)]
}
[StructLayout(LayoutKind.Sequential)]
public struct PARAM
{
    public double p1;
    public double p2;
    public double p3;
    public double p4;
    public double p5;
    public double p6;
    public double p7;
    public double p8;
    public double p9;
    public double c1;
    public double c2;
    public double c3;
    public double c4;
    public double c5;
}
接口定义
 [DllImport("rtspPlugin")]
 public static extern bool rtsp_test([MarshalAs(UnmanagedType.LPStr)] string url);

 [DllImport("rtspPlugin")]
 public static extern bool rtsp_test_data([MarshalAs(UnmanagedType.LPStr)] string url,
     [MarshalAs(UnmanagedType.LPArray)] byte[] data, ref FRAME frame);

 [DllImport("rtspPlugin")]
 public static extern void rtsp_test_stop([MarshalAs(UnmanagedType.LPStr)] string url);

 [DllImport("rtspPlugin")]
 public static extern void rtsp_test_setparam([MarshalAs(UnmanagedType.LPStr)] string url,ref PARAM param);
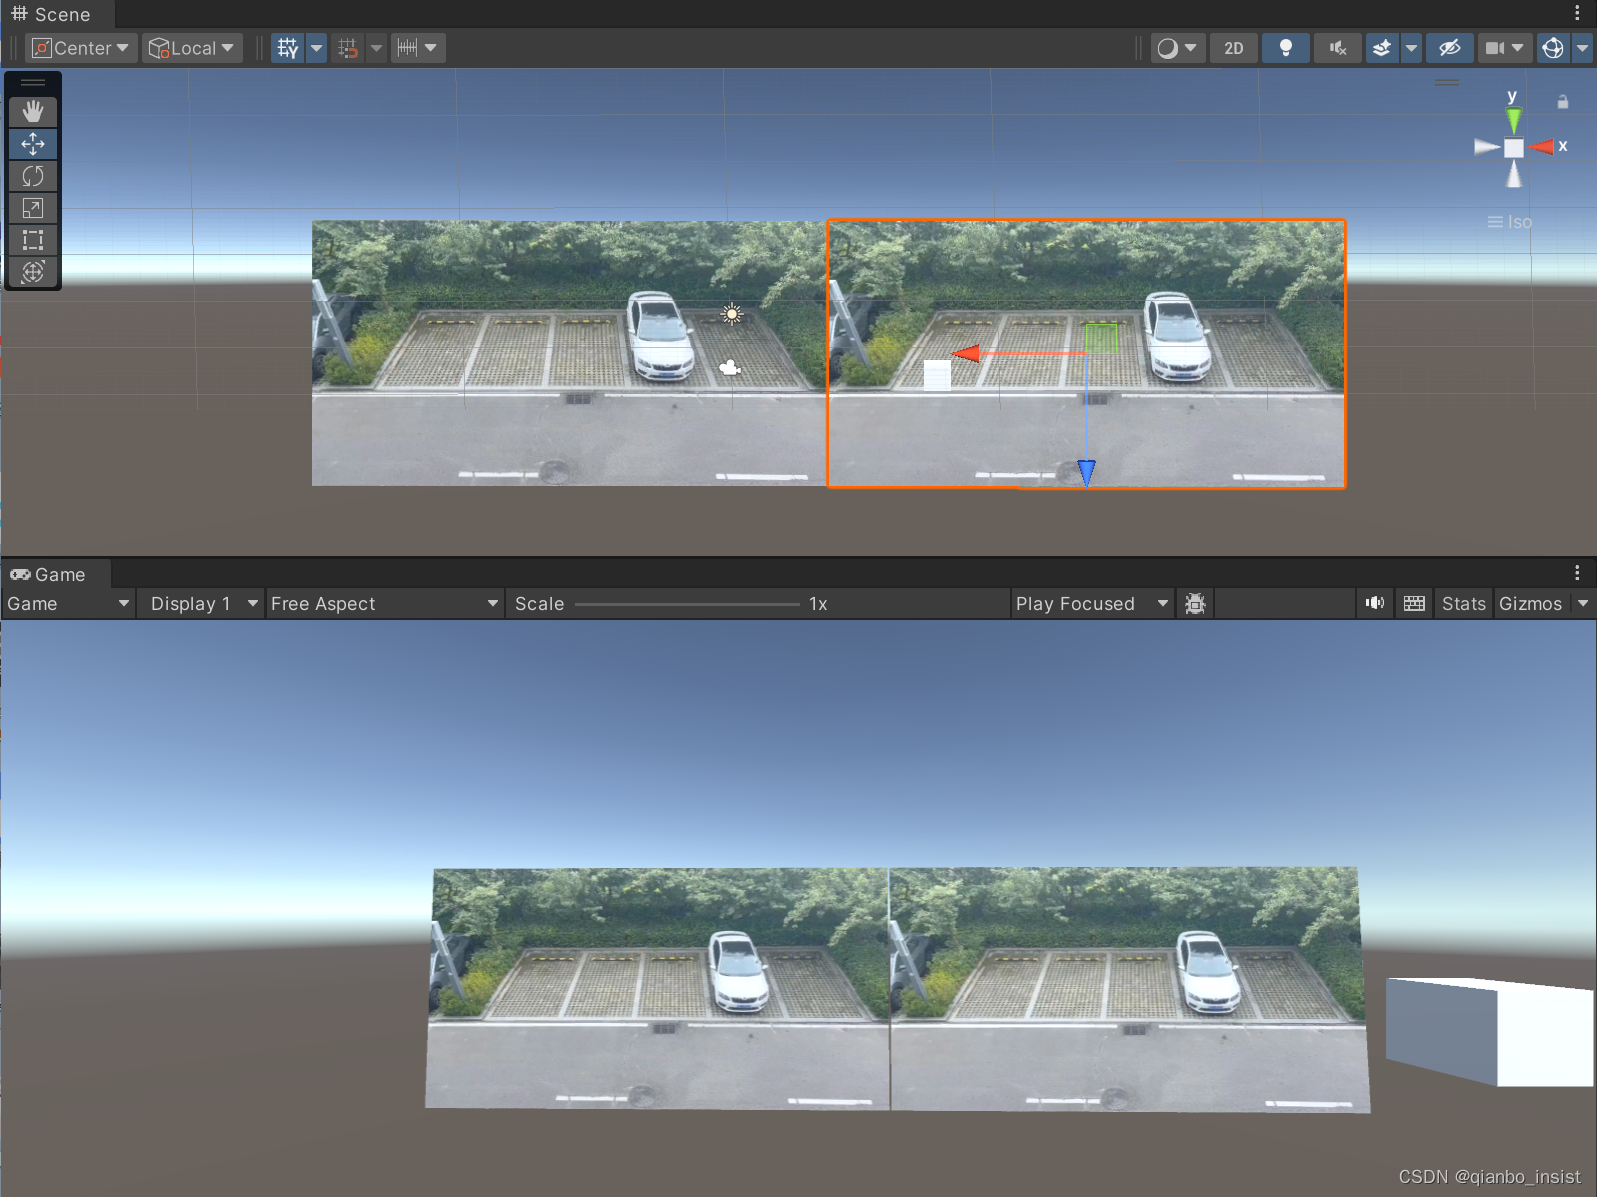
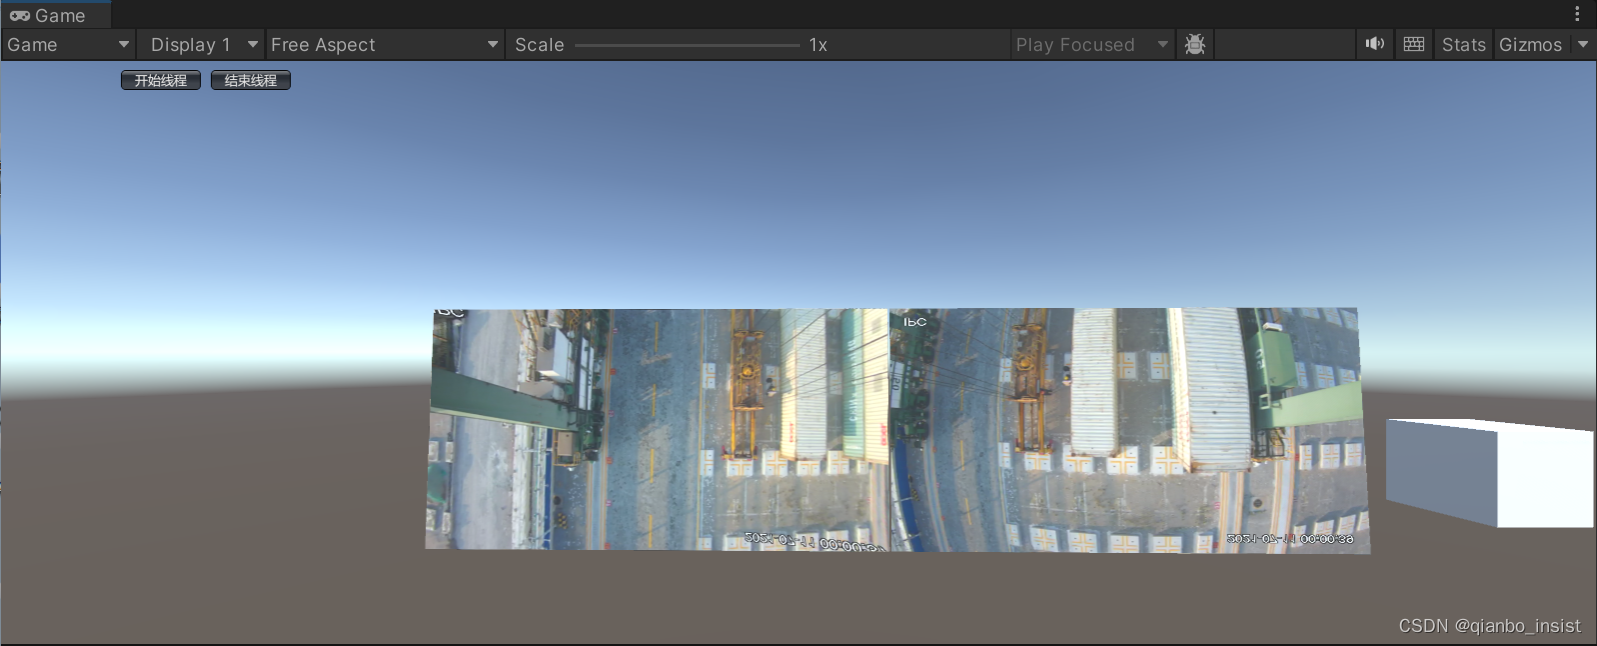
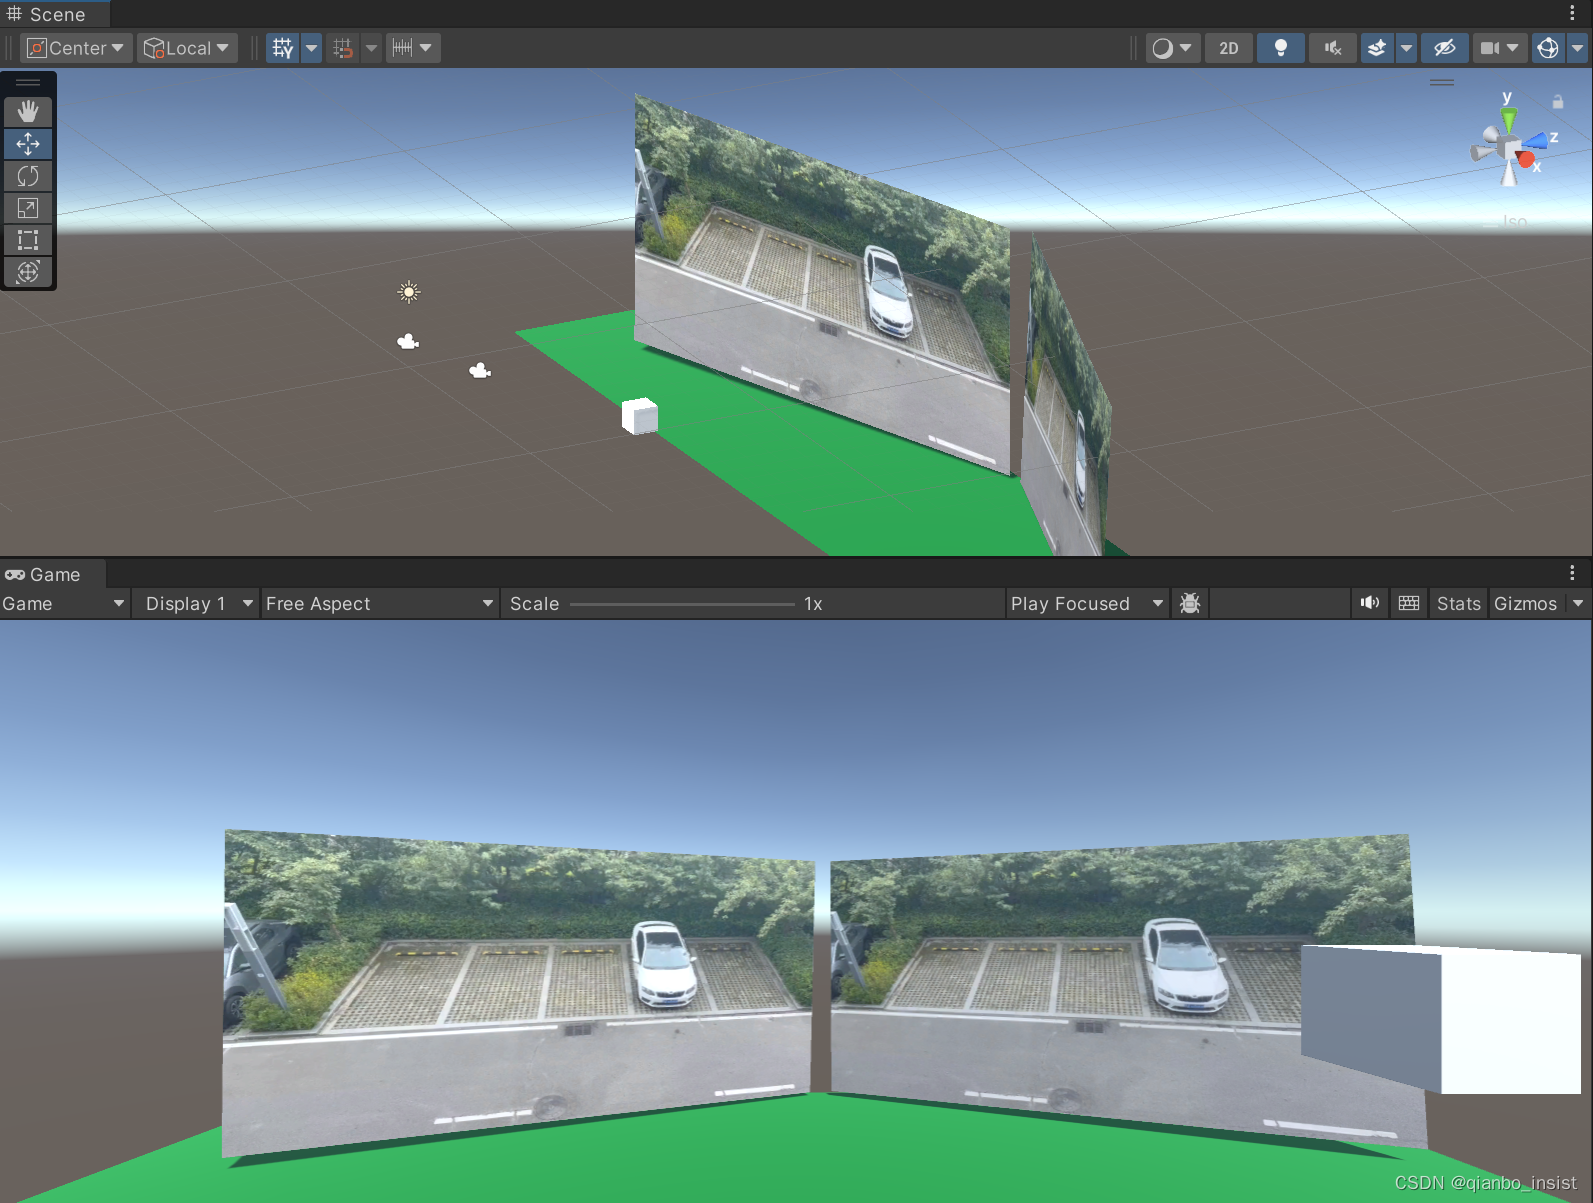
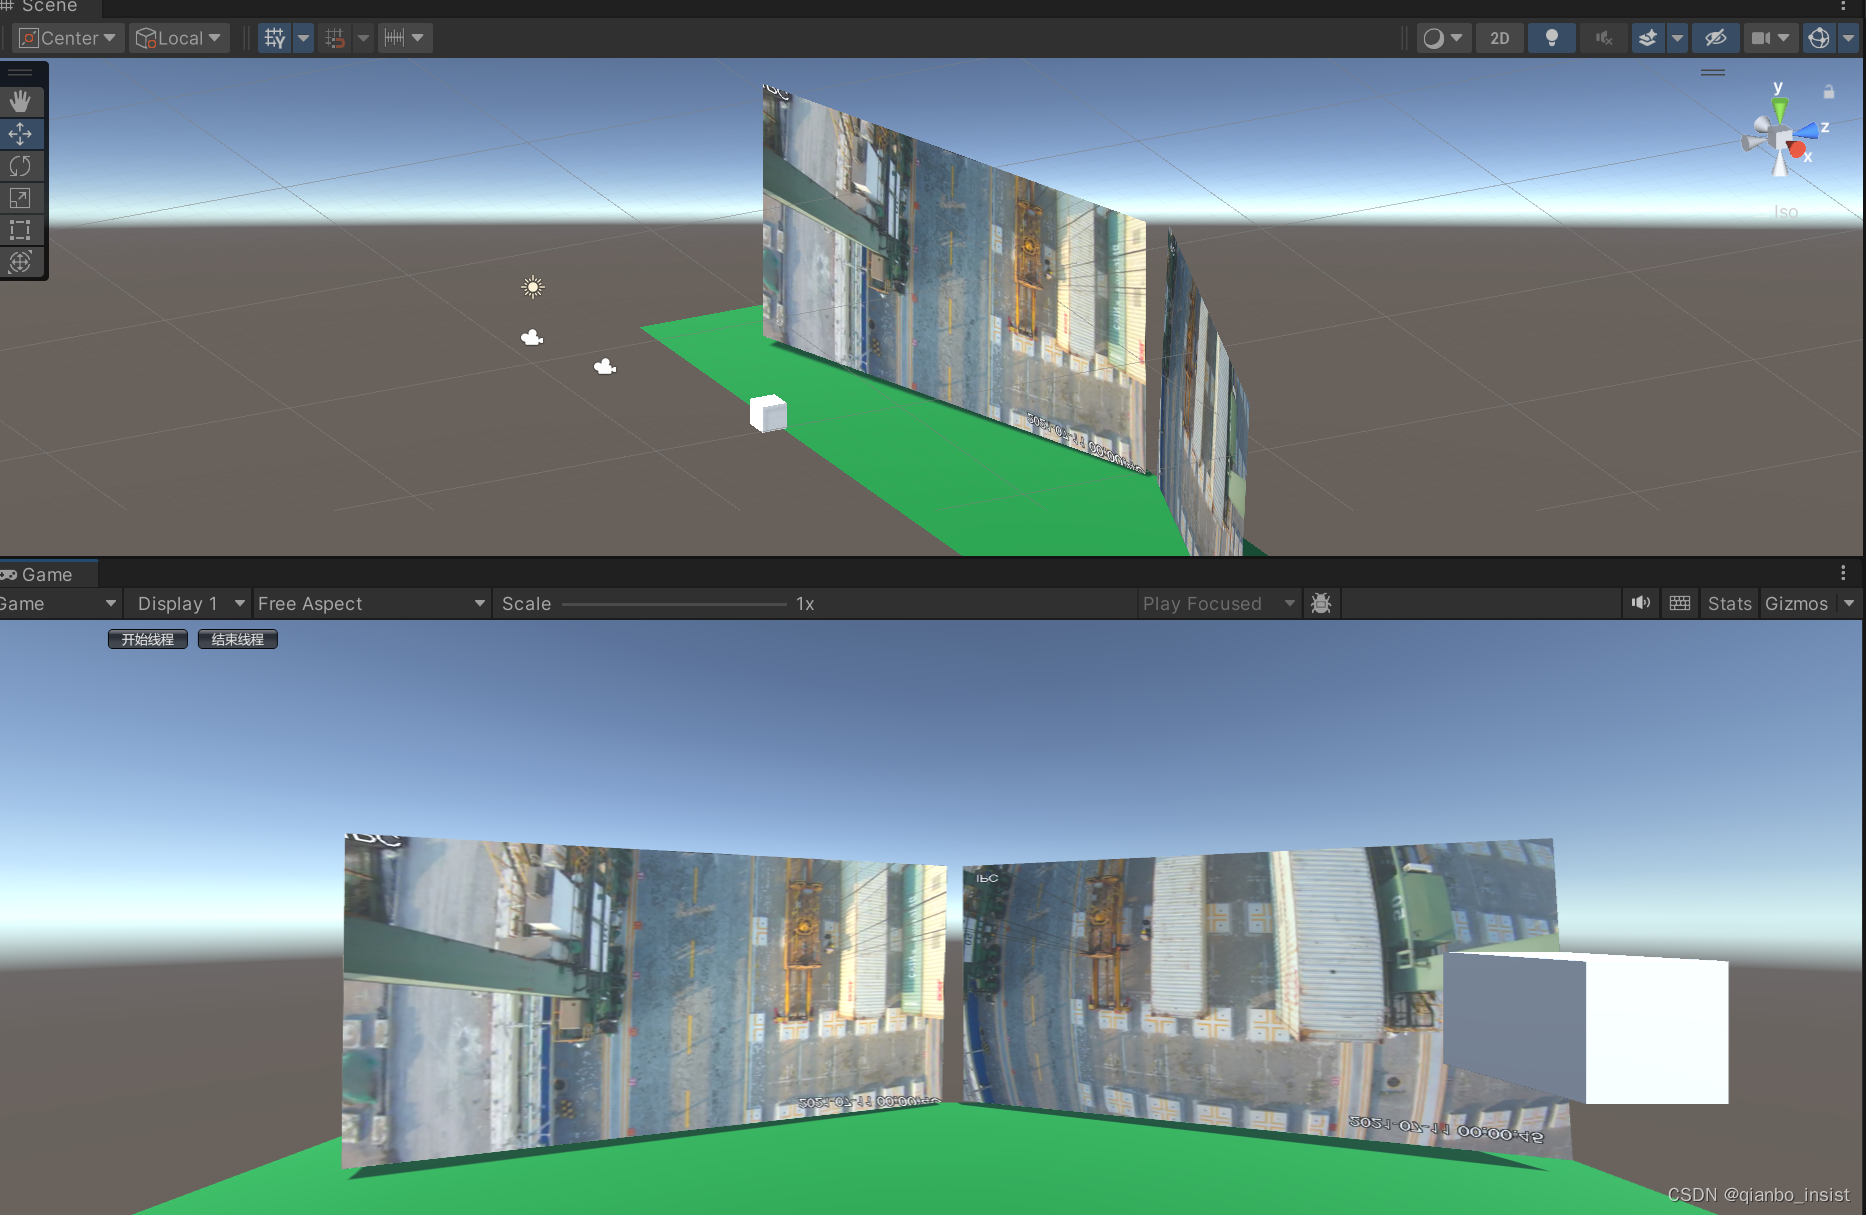
程序启动,界面上来两个控制按钮,开始线程和结束线程。
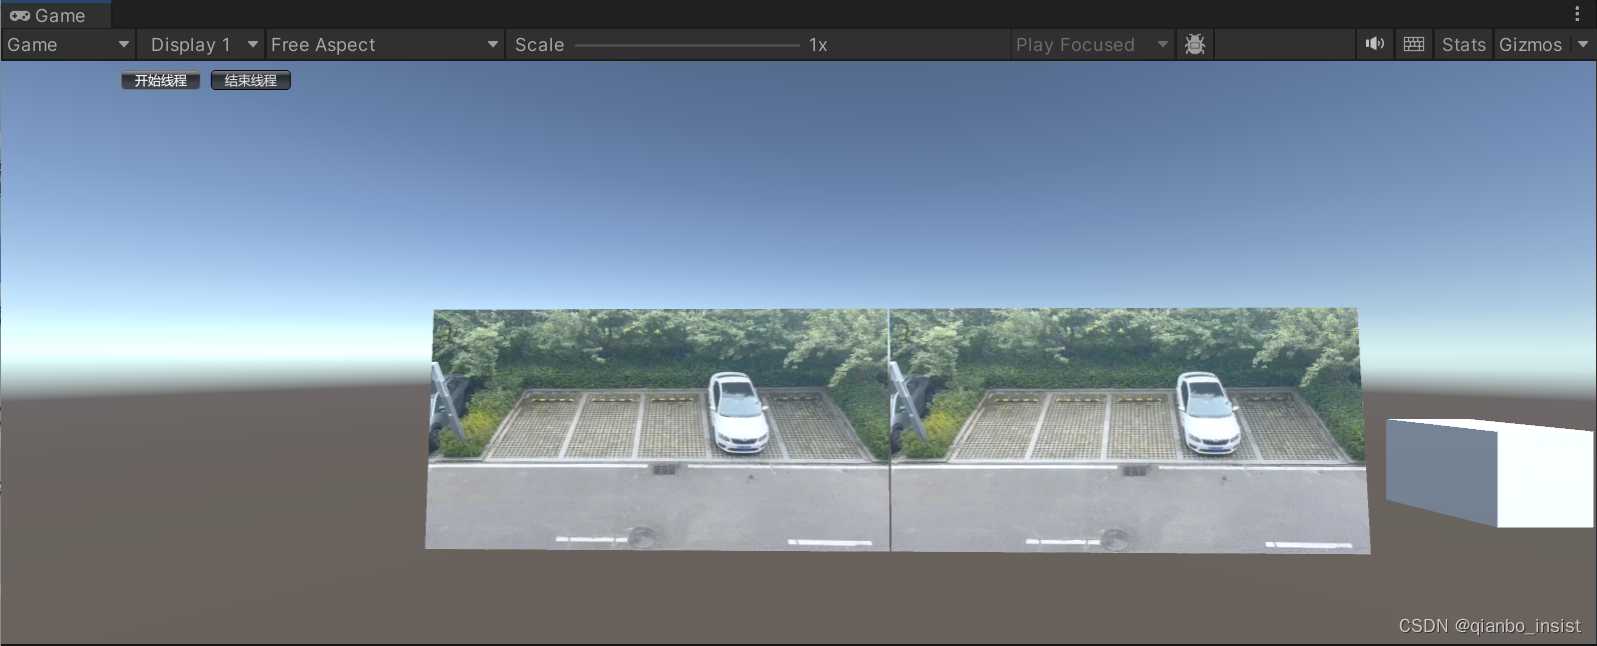
程序启动的时候启动两个按钮,一个使用矫正,一个不使用矫正,下图所示,左边的流已经经过矫正,图像被拉直,右图没有,以示区别。
增加一点三维的气氛
播放
视频贴图过程
由于使用了硬件解码,解码出来的是nv12格式,如果使用ffmpeg 的swscale,函数缩放和变成rgb24是可以的,效率不高, 也可以直接贴图nv12格式。
Texture2D tY = null,
Texture2D tU = null;
void trans_show(ref struct param)
{
 private Texture2D tY, tU;
 int w = param->width;
 int h = param->height;
 if(tY == null)
 {
 	tY = new Texture2D(w, h, TextureFormat.Alpha8, false);
 	tU = new Texture2D(w/2, h/2, TextureFormat.RG16, false);
 }
}

//在update里显示,y 和 uv 分别是 avframe 里面的y 数据指针和uv数据指针
tY.LoadRawTextureData(y);
tY.Apply();

 tU.LoadRawTextureData(uv);
 tU.Apply();

 rawImage.texture = tY;
 rawImage.material.SetTexture("_UTex", tU);
着色器代码显示
sampler2D _YTex;
sampler2D _UTex;
fixed4 frag (v2f i) : SV_Target
{
         fixed4  col;
         float  y = tex2D(_YTex, i.uv).a;
         fixed4  uvs = tex2D(_UTex, i.uv);
         float  u = uvs.r - 0.5;
         float  v = uvs.g - 0.5;
          float r = y + 1.403 * v;
          float g = y - 0.344  * u - 0.714 * v;
          float b = y + 1.770  * u;
          col.rgba = float4(r, g, b, 1.0f);
           return col;
}
不用shader 转换nv12
不用shader,使用cuda 直接转可以试试一下cuda函数
__global__ void YCrCb2RGBConver(uchar *pYdata, uchar *pUVdata,int stepY, int stepUV, uchar *pImgData, int width, int height, int channels)
{
    const int tidx = blockIdx.x * blockDim.x + threadIdx.x;
    const int tidy = blockIdx.y * blockDim.y + threadIdx.y;

    if (tidx < width && tidy < height)
    {
        int indexY, indexU, indexV;
        uchar Y, U, V;
        indexY = tidy * stepY + tidx;
        Y = pYdata[indexY];

        if (tidx % 2 == 0)
        {
            indexU = tidy / 2 * stepUV + tidx;
            indexV = tidy / 2 * stepUV + tidx + 1;
            U = pUVdata[indexU];
            V = pUVdata[indexV];
        }
        else if (tidx % 2 == 1)
        {
            indexV = tidy / 2 * stepUV + tidx;
            indexU = tidy / 2 * stepUV + tidx - 1;
            U = pUVdata[indexU];
            V = pUVdata[indexV];
        }

        pImgData[(tidy*width + tidx) * channels + 2] = uchar (Y + 1.402 * (V - 128));
        pImgData[(tidy*width + tidx) * channels + 1] = uchar (Y - 0.34413 * (U - 128) - 0.71414*(V - 128));
        pImgData[(tidy*width + tidx) * channels + 0] = uchar (Y + 1.772*(U - 128));
    }
}


 8114
8114


 被折叠的 条评论
为什么被折叠?
被折叠的 条评论
为什么被折叠?
 到【灌水乐园】发言


