


0. 环境
- win10 + python3
- pycharm
- esp32-cam http://192.168.4.1
1. 创建工程
File -> Create Project ->
-> Location: E:\Workspaces\PycharmProjects\esp32cam_opencv
-> Create
2. opencv hello
2.1 添加脚本
File -> New -> Python file -> opencv_hello.py
输入以下内容:
import cv2

image = cv2.imread('res00.jpg')  # 读取图片到内存,注意文件地址
cv2.imshow('Phuket Island', image)  # 在窗口中显示图片,第一个参数是窗口名称
cv2.waitKey()  # 按任意键继续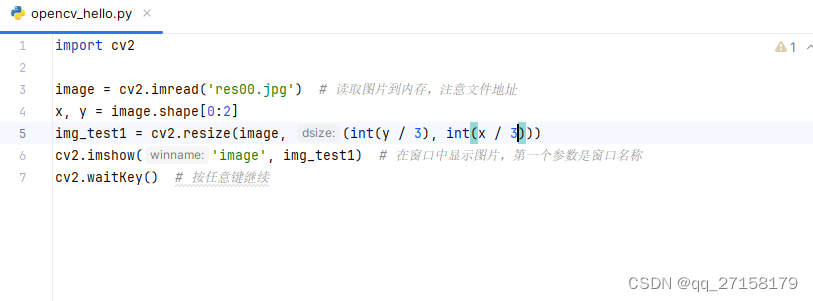
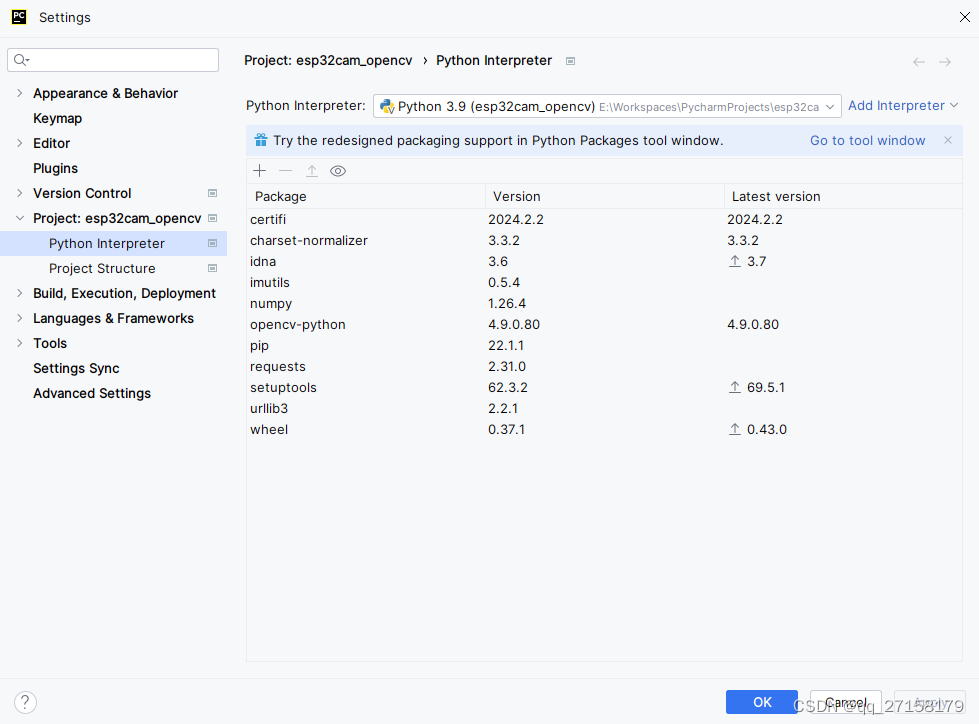
2.2 安装插件
File -> Settings -> Project: esp32cam_opencv -> Python Interpreter -> +
-> opencv-python -> Install Package
-> OK
2.3 运行测试
右键 opencv_hello.py -> Run 'opencv_hello' ->

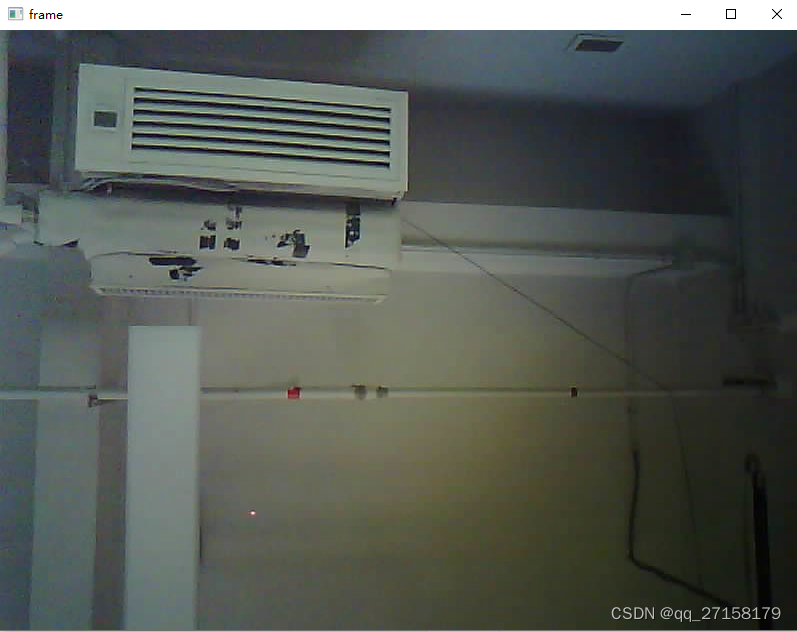
3. esp32 cam
3.1 修改 main.py
import cv2

url = "http://192.168.4.1:81/stream"

cap = cv2.VideoCapture(url)
while True:
    ret, frame = cap.read()
    cv2.imshow("frame", frame)
    if cv2.waitKey(1) & 0xFF == ord("q"):
        break
3.2 安装插件
File -> Settings -> Project: esp32cam_opencv -> Python Interpreter -> +
-> requests -> Install Package
-> OK
参考:
[1]【OpenCV-Python入门书】第一篇 HelloWorld,https://blog.csdn.net/lionguo0204/article/details/80717945
[2]ESP32-CAM 数据流的方法,https://blog.csdn.net/m0_49676146/article/details/120916227
[3]python使用opencv低延迟拉取rtsp流,https://blog.csdn.net/qq_23607397/article/details/127294588
[4]ESP32-CAM Video Streaming Web Server (works with Home Assistant),https://randomnerdtutorials.com/esp32-cam-video-streaming-web-server-camera-home-assistant/


 4750
4750

 被折叠的 条评论
为什么被折叠?
被折叠的 条评论
为什么被折叠?
 到【灌水乐园】发言


