


我的环境
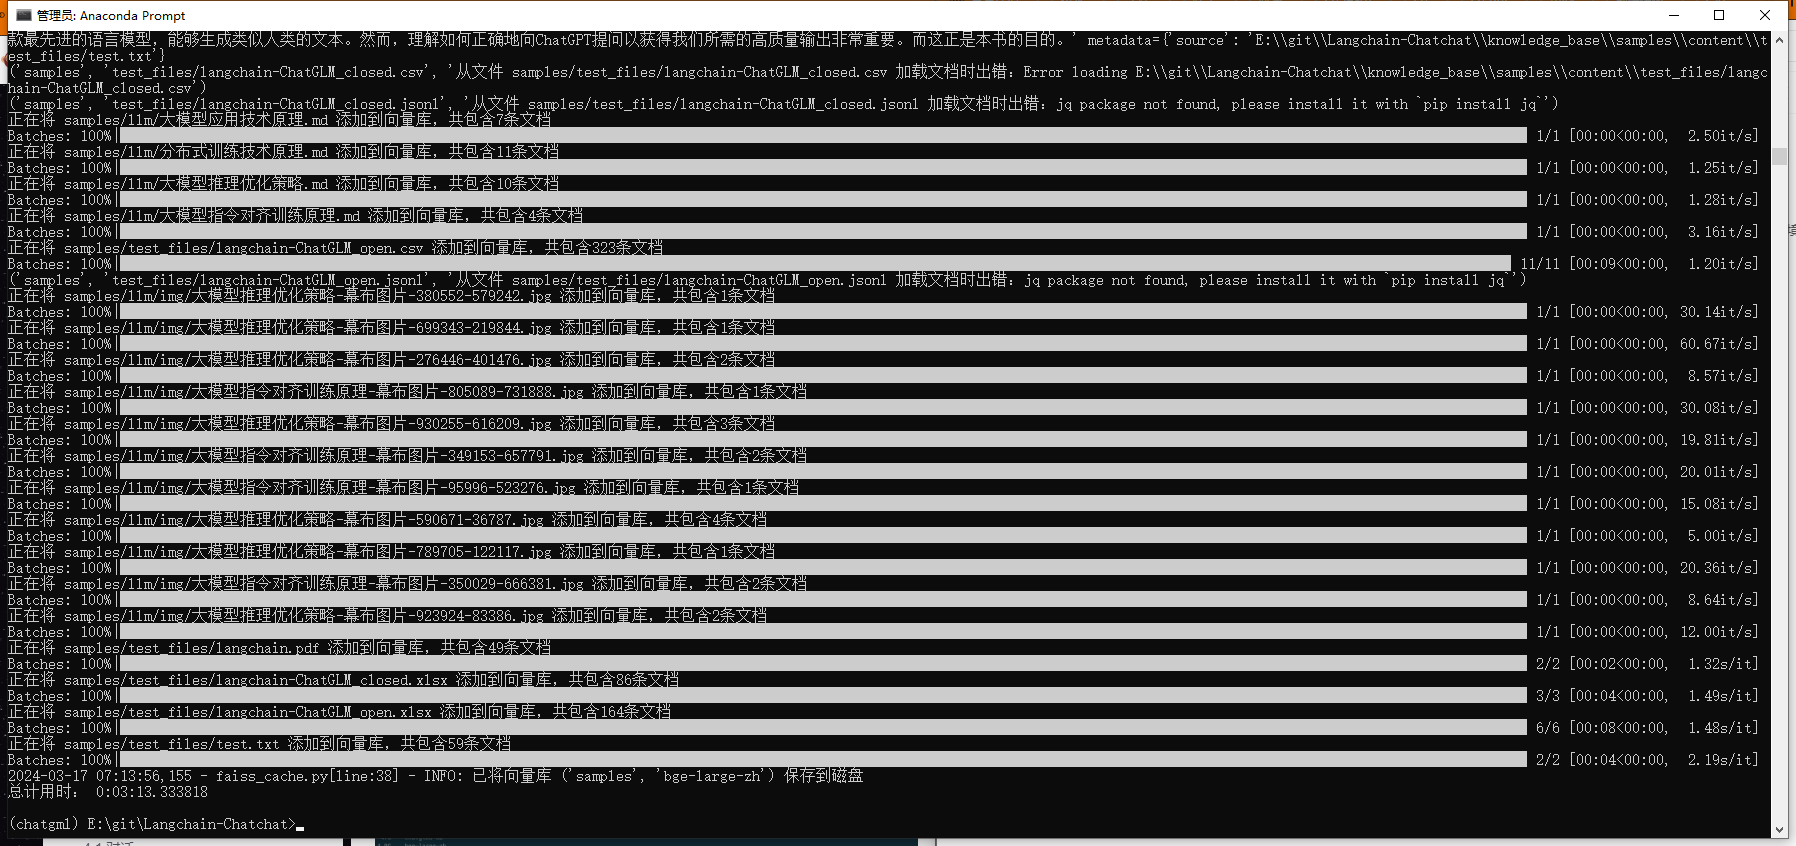
升级了下配置,加载知识库成功
内存:16GB 32B
显卡:GTX1060-6G RTX4080 Laptop-12G
1. 基础环境准备
1.1. 安装anaconda,创建环境python版本3.11
conda create -n chatglm3 python=3.11
conda activate chatglm3
1.2. 搭建cuda环境
# 查看cuda版本,版本是CUDA Version: 12.4
$ nvidia-smi
Sat Mar 16 19:22:23 2024
+-----------------------------------------------------------------------------------------+
| NVIDIA-SMI 551.76                 Driver Version: 551.76         CUDA Version: 12.4     |
|-----------------------------------------+------------------------+----------------------+
| GPU  Name                     TCC/WDDM  | Bus-Id          Disp.A | Volatile Uncorr. ECC |
| Fan  Temp   Perf          Pwr:Usage/Cap |           Memory-Usage | GPU-Util  Compute M. |
|                                         |                        |               MIG M. |
|=========================================+========================+======================|
|   0  NVIDIA GeForce GTX 1060 6GB  WDDM  |   00000000:08:00.0  On |                  N/A |
|  0%   34C    P8              2W /  130W |     688MiB /   6144MiB |     21%      Default |
|                                         |                        |                  N/A |
+-----------------------------------------+------------------------+----------------------+

+-----------------------------------------------------------------------------------------+
| Processes:                                                                              |
|  GPU   GI   CI        PID   Type   Process name                              GPU Memory |
|        ID   ID                                                               Usage      |
|=========================================================================================|
|    0   N/A  N/A      6992    C+G   ...oogle\Chrome\Application\chrome.exe      N/A      |
|    0   N/A  N/A      9680    C+G   C:\Windows\explorer.exe                     N/A      |
|    0   N/A  N/A     10764    C+G   E:\application\滴答清单\TickTick.exe        N/A      |
|    0   N/A  N/A     11636    C+G   ....Search_cw5n1h2txyewy\SearchApp.exe      N/A      |
|    0   N/A  N/A     13976    C+G   C:\Program Files\Tencent\QQNT\QQ.exe        N/A      |
|    0   N/A  N/A     16708    C+G   ....0_x64__8wekyb3d8bbwe\PhotosApp.exe      N/A      |
|    0   N/A  N/A     17136    C+G   ...CBS_cw5n1h2txyewy\TextInputHost.exe      N/A      |
|    0   N/A  N/A     21848    C+G   ...9\extracted\runtime\WeChatAppEx.exe      N/A      |
|    0   N/A  N/A     23156    C+G   ...6250\office6\promecefpluginhost.exe      N/A      |
+-----------------------------------------------------------------------------------------+
查看电脑是否安装cuda
CUDA Toolkit 12.4 Downloads | NVIDIA Developer
$ nvcc --version
# 命令不存在则去官网下载
nvcc: NVIDIA (R) Cuda compiler driver
Copyright (c) 2005-2024 NVIDIA Corporation
Built on Tue_Feb_27_16:28:36_Pacific_Standard_Time_2024
Cuda compilation tools, release 12.4, V12.4.99
Build cuda_12.4.r12.4/compiler.33961263_0
1.3. 搭建pytorch-cuda版,建议在pip install之后执行
更新pytorch版本,先去官网查询适配版本
Previous PyTorch Versions | PyTorch
# 需要以管理员权限运行conda
# CUDA 12.1
conda install pytorch==2.2.0 torchvision==0.17.0 torchaudio==2.2.0 pytorch-cuda=12.1 -c pytorch -c nvidia直接在上面这个网站下载cuda版本的pytorch,如果原先有非cuda版本的pytorch,可以先通过pip uninstall,再pip install
2. 下载项目
建议直接去git上下载最新的release,clone下来的可能是开发版
git clone https://github.com/chatchat-space/Langchain-Chatchat.git
cd Langchain-Chatchat
pip install -r requirements.txt
pip install -r requirements_api.txt
pip install -r requirements_webui.txt
# 默认依赖包括基本运行环境(FAISS向量库)。如果要使用 milvus/pg_vector 等向量库,请将 requirements.txt 中相应依赖取消注释再安装。
3. 下载模型
cd /Users/joseph.wang/llm/Langchain-Chatchat
git lfs install
git clone https://huggingface.co/THUDM/chatglm3-6b
git clone https://huggingface.co/BAAI/bge-large-zh
# 推荐下面的网站进行下载,无需翻墙
git clone https://www.modelscope.cn/ZhipuAI/chatglm3-6b.git
git clone https://www.modelscope.cn/AI-ModelScope/bge-large-zh.git
4. 初始化知识库
# 初始化配置文件
python copy_config_example.py
修改配置文件
# 路径为:Langchain-Chatchat\configs\model_config.py
# 选用的 Embedding 名称
EMBEDDING_MODEL = "bge-large-zh"
# Embedding 模型运行设备。设为 "auto" 会自动检测(会有警告),也可手动设定为 "cuda","mps","cpu","xpu" 其中之一。
EMBEDDING_DEVICE = "cuda"
LLM_MODELS = ["chatglm3-6b"]#, "zhipu-api", "openai-api"]
# LLM 模型运行设备。设为"auto"会自动检测(会有警告),也可手动设定为 "cuda","mps","cpu","xpu" 其中之一。
LLM_DEVICE = "cuda"
MODEL_PATH = {
    "embed_model": {
        "bge-large-zh": "E:\\git\\Langchain-Chatchat\\bge-large-zh"
    },
    "llm_model": {
        "chatglm3-6b": "E:\\git\\Langchain-Chatchat\\chatglm3-6b",
    }
}
运行
# 初始化知识库向量
python init_database.py --recreate-vs
4.1 可能遇到的报错
ModuleNotFoundError: No module named 'pwd'4.2 解决方案
在python环境变量库中创建一个pwd.py来替代引入的pwd
我的路径是F:\application\anaconda\Lib,文件内容如下
from os import *
from pwd import *

def get_username():
    return getpwuid(getuid())[0]
再次运行
python init_database.py --recreate-vs正常加载模型

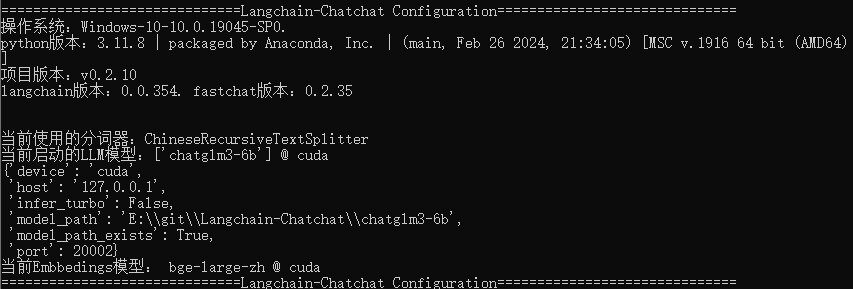
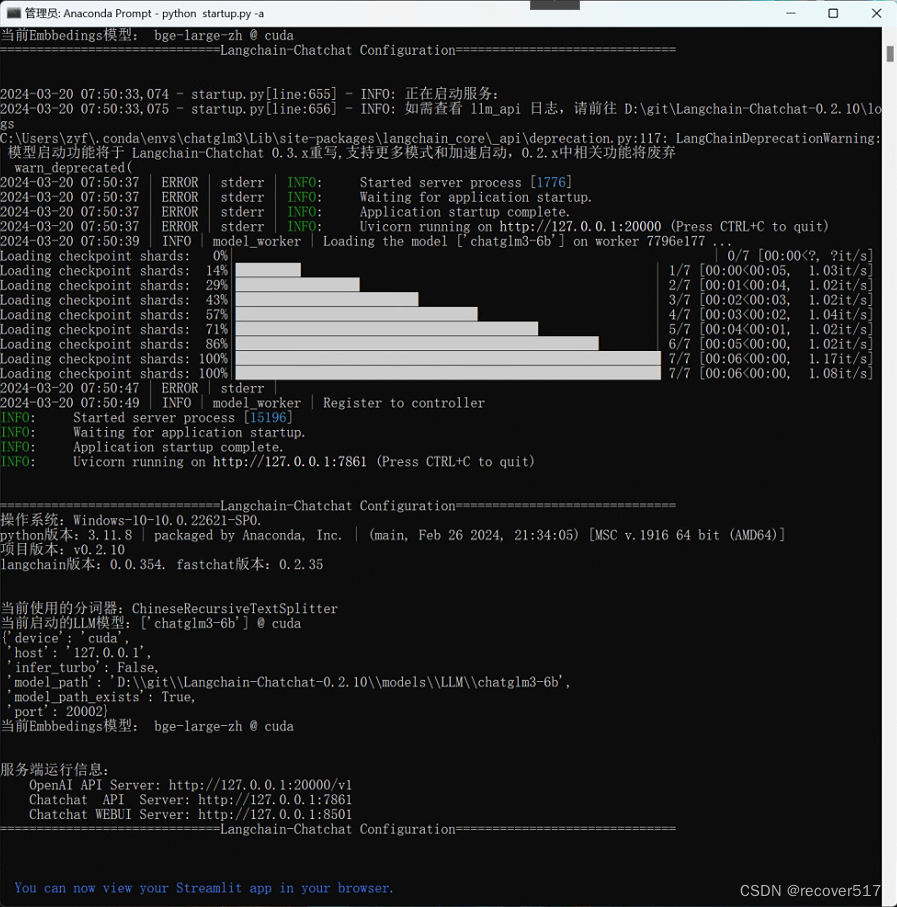
5. 启动项目
(chatgml) E:\git\Langchain-Chatchat>python startup.py -a成功运行界面如下:
5.1. 问题:启动卡住
重启
5.2. 问题:初始化知识库时报错
2024-03-17 18:11:02,192 - loader.py[line:54] - INFO: Loading faiss with AVX2 support.
2024-03-17 18:11:02,192 - loader.py[line:58] - INFO: Could not load library with AVX2 support due to:
ModuleNotFoundError("No module named 'faiss.swigfaiss_avx2'")
解决
使用txt解析
5.3. 问题:使用对话知识库时,出现API访问不了的问题
配置不够,监控显存,解析知识库时显存使用率达100%,怀疑是显存爆炸了,升级显存到12G后成功运行。
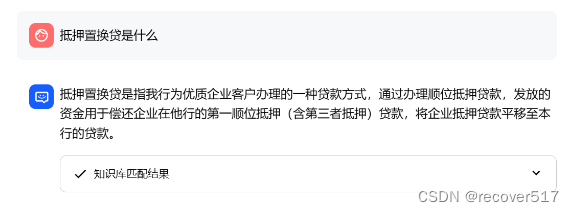
6. 运行结果

知识库问答如下:


 4280
4280


 被折叠的 条评论
为什么被折叠?
被折叠的 条评论
为什么被折叠?
 到【灌水乐园】发言


