


《Python抓取我的CSDN粉丝数,白嫖GithubAction自动抓取》
一.介绍
这段时间我想申请CSDN的博客专家认证,但是我发现我的总访问量不够(博客专家的总访问量要大于20万),所以我就想把我的CSDN每天的 【总访问量】,【原创】,【排名】,【粉丝】,【铁粉】这几个数据记录下来。

这里使用Python和GithubAction来实现我上面的需求。
二.实现
1.python爬取csdn主页数据
【这里我使用的IDE是PyCharm】
新建csdn_crawler.py文件用来抓取我的CSDN主页,具体代码如下:
import datetime
import requests
import bs4

if __name__ == '__main__':
    url = 'https://blog.csdn.net/qq_34035956'
    headers = {
        'User-Agent' : 'Mozilla/5.0 (Windows NT 6.1; WOW64) AppleWebKit/537.36(KHTHL, like Gecko) Chrome/45.0.2454.101 Safari/537.36',
    }
    html_file = requests.get(url, headers=headers)
    obj_soup = bs4.BeautifulSoup(html_file.text, 'lxml')

    result = []
    names = obj_soup.select('div .user-profile-statistics-name')
    numbers = obj_soup.select('div .user-profile-statistics-num')
    for i in range(len(numbers)):
      result.append("{}: {}".format(names[i].text, numbers[i].text))

    now_time = datetime.datetime.now()
    year = now_time.year
    month = now_time.month
    day = now_time.day
    hour = now_time.hour
    minute = now_time.minute
    second = now_time.second

    output = "\n{}_{}_{}_{}_{}_{}\t {}".format(year, month, day, hour, minute, second, result)
    with open("./csdn_data.txt", mode="a") as f:
      f.write(output)
运行后可以看到自动生成了csdn_data.txt文件,并且有以下内容:

可以看到,我们要的几个数据【[‘总访问量: 123,062’, ‘原创: 179’, ‘排名: 7,858’, ‘粉丝: 1,524’, ‘铁粉: 131’]】都在这里面了。
2.配置GithubAction
简单列一下步骤
- 新建Github仓库
- 新建.github目录,新建.github/workflow目录
- 在.github/workflow目录下新建craw.yml
craw.yml用来配置GitHub Action自动化工作流,内容如下:
name: 定时抓取

on:
  workflow_dispatch:
  schedule:
    - cron: '0 * * * *'   #Runs every hour, on the hour
    #- cron: '0 23 * * *'  #Runs at 23:00 UTC every day.

jobs:
  build:
    runs-on: ubuntu-latest

    steps:
      - uses: actions/checkout@v2

      - name: run start.sh
        run: |
          bash ./start.sh

      - name: GitHub Push
        uses: ad-m/github-push-action@v0.6.0
        with:
          github_token: $\{{ secrets.GITHUB_TOKEN }}
          branch: main
3.新建start.sh调用csdn_crawler.py
第2点的craw.yml中,我们调用了start.sh这个文件,现在我们就在仓库最外层新建start.sh这个文件,文件内容如下:
pip install beautifulsoup4
pip install lxml
python3 ./csdn_crawler.py

year=`date +%Y `
month=`date +%m `
day=`date +%d `
hour=`date +%H`
min=`date +%M`
now=$year-$month-$day-$hour-$min

git config --global user.email "13538898378@163.com"
git config --global user.name "hankangwen"

git add .
git commit -m "$now"
把上面git config的email和name改为你自己的名字。
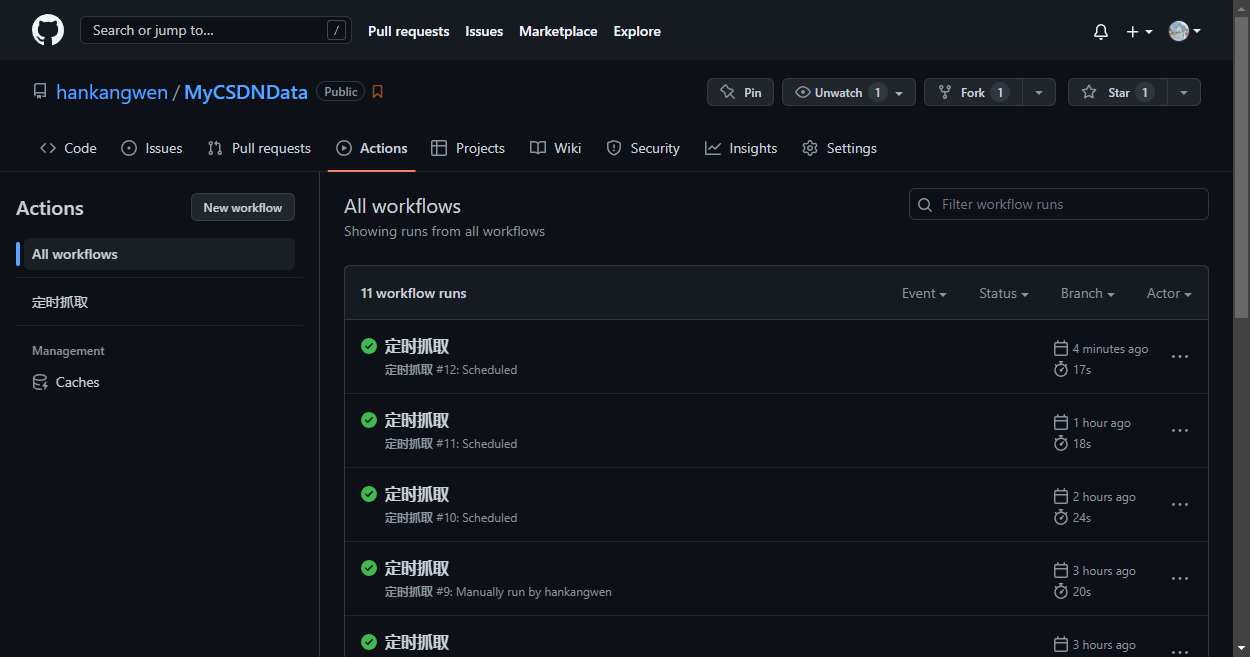
4.启用Github Action
在Actions下启用一个Workflows,可以看到我这里已经有一个名字为“定时抓取”的workflow了。
三.开源地址
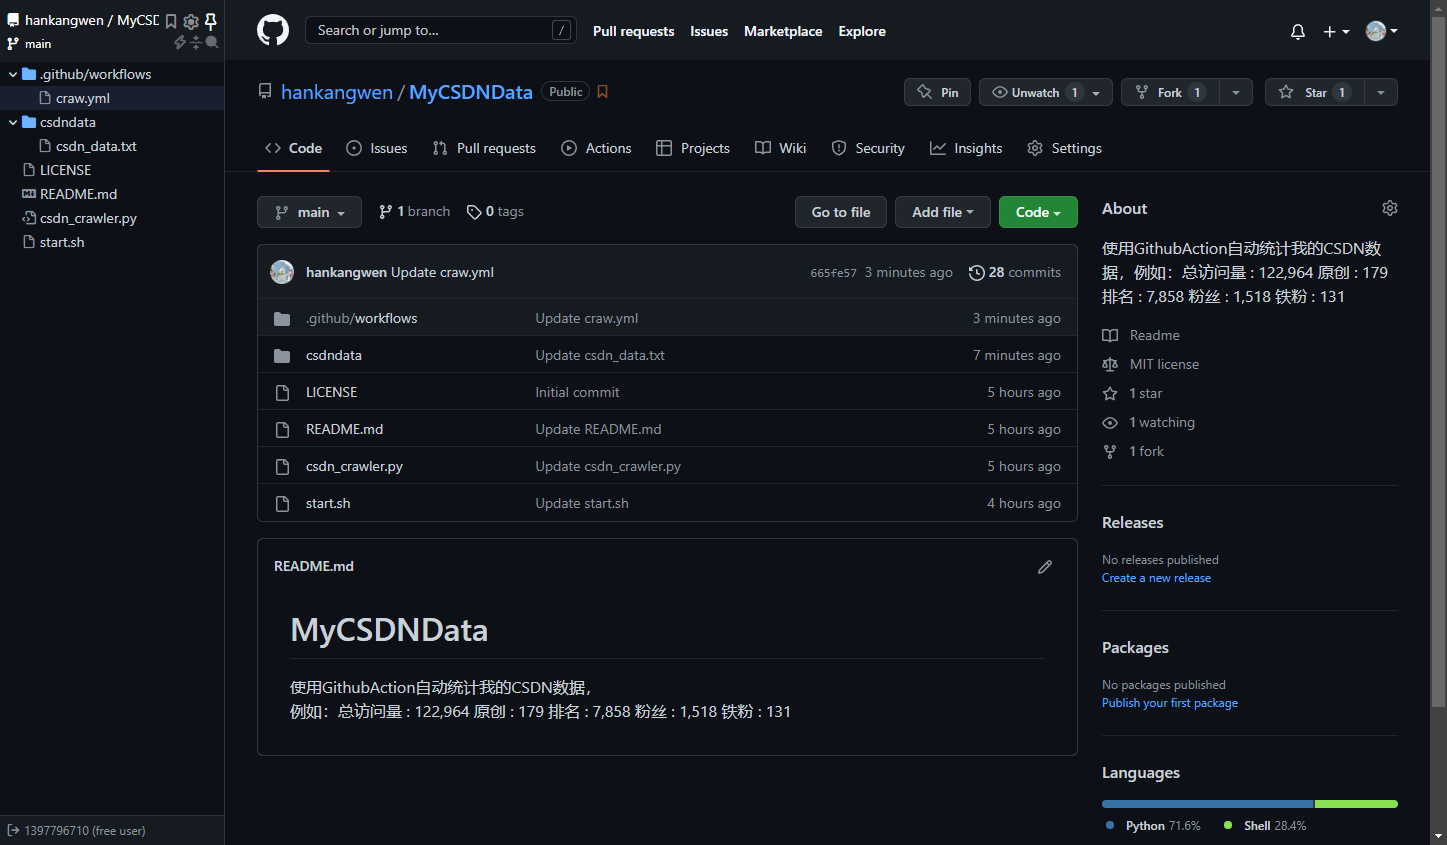
上面所有的代码都在下方这个开源仓库里,如果你没有成功配置可以fork我的仓库,改一下抓取的url地址,然后启用一下Github Action就可以了。
开源地址:https://github.com/hankangwen/MyCSDNData


 553
553


 被折叠的 条评论
为什么被折叠?
被折叠的 条评论
为什么被折叠?
 到【灌水乐园】发言


