 ESP32 - S3驱动1.3寸OLED屏完整方案


提示:文章写完后,目录可以自动生成,如何生成可参考右边的帮助文档
前言
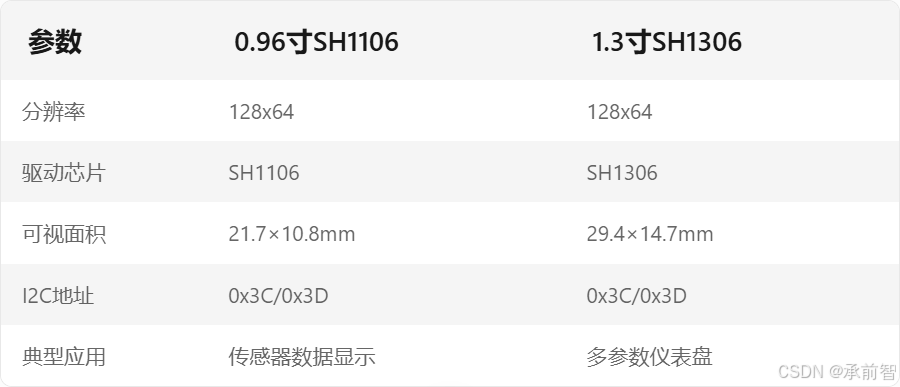
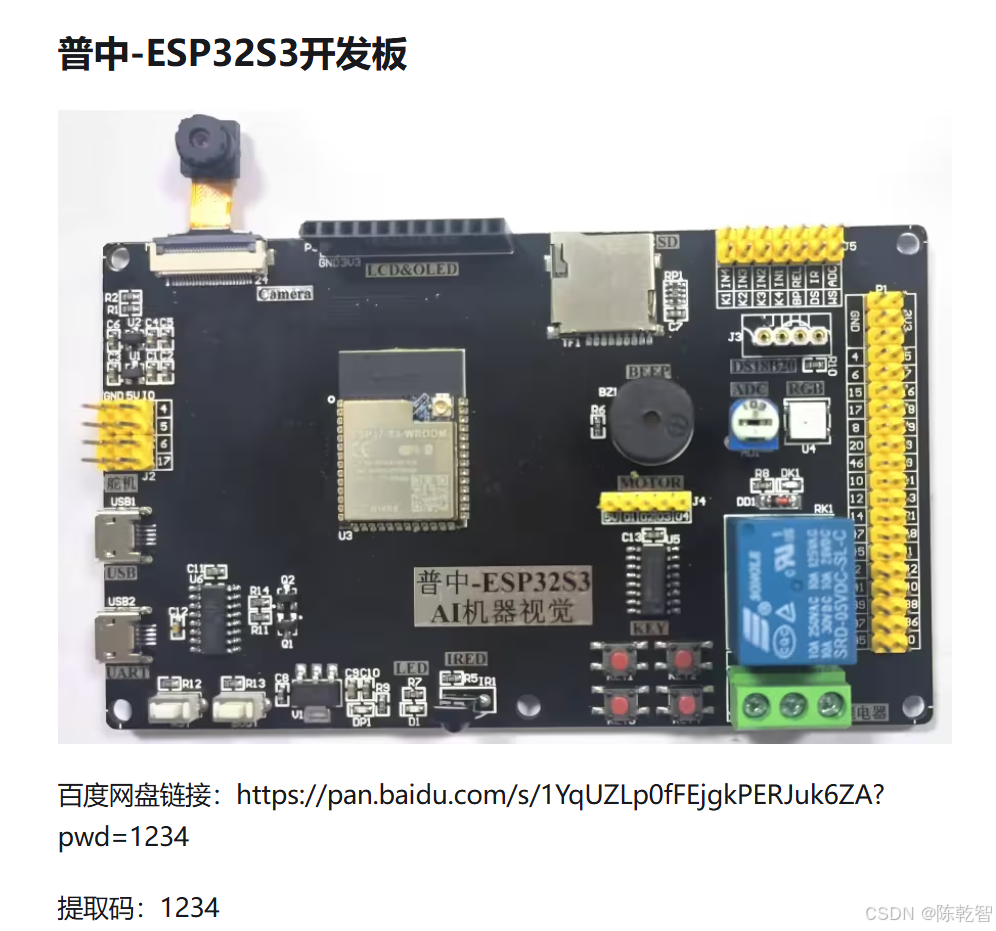
随着物联网技术的快速发展,OLED显示屏凭借其高对比度、低功耗等优势,在嵌入式开发中应用广泛。本文将以ESP32-S3-DevKitC-1开发板与1.3寸OLED屏(4pin,SH1306 )为例,详解从硬件连接到代码实现的完整驱动方案。相比常见的0.96寸SH1106方案,1.3寸版本在可视面积增大30%的同时保持相同分辨率(128x64),更适合显示更多的信息。
一、硬件准备
1.1 硬件对比
1.2 硬件连接方案
接线示意:
GND-------------GND
VCC-------------3.3V / 5V
SCL--------------21
SDA--------------47
二、驱动实现
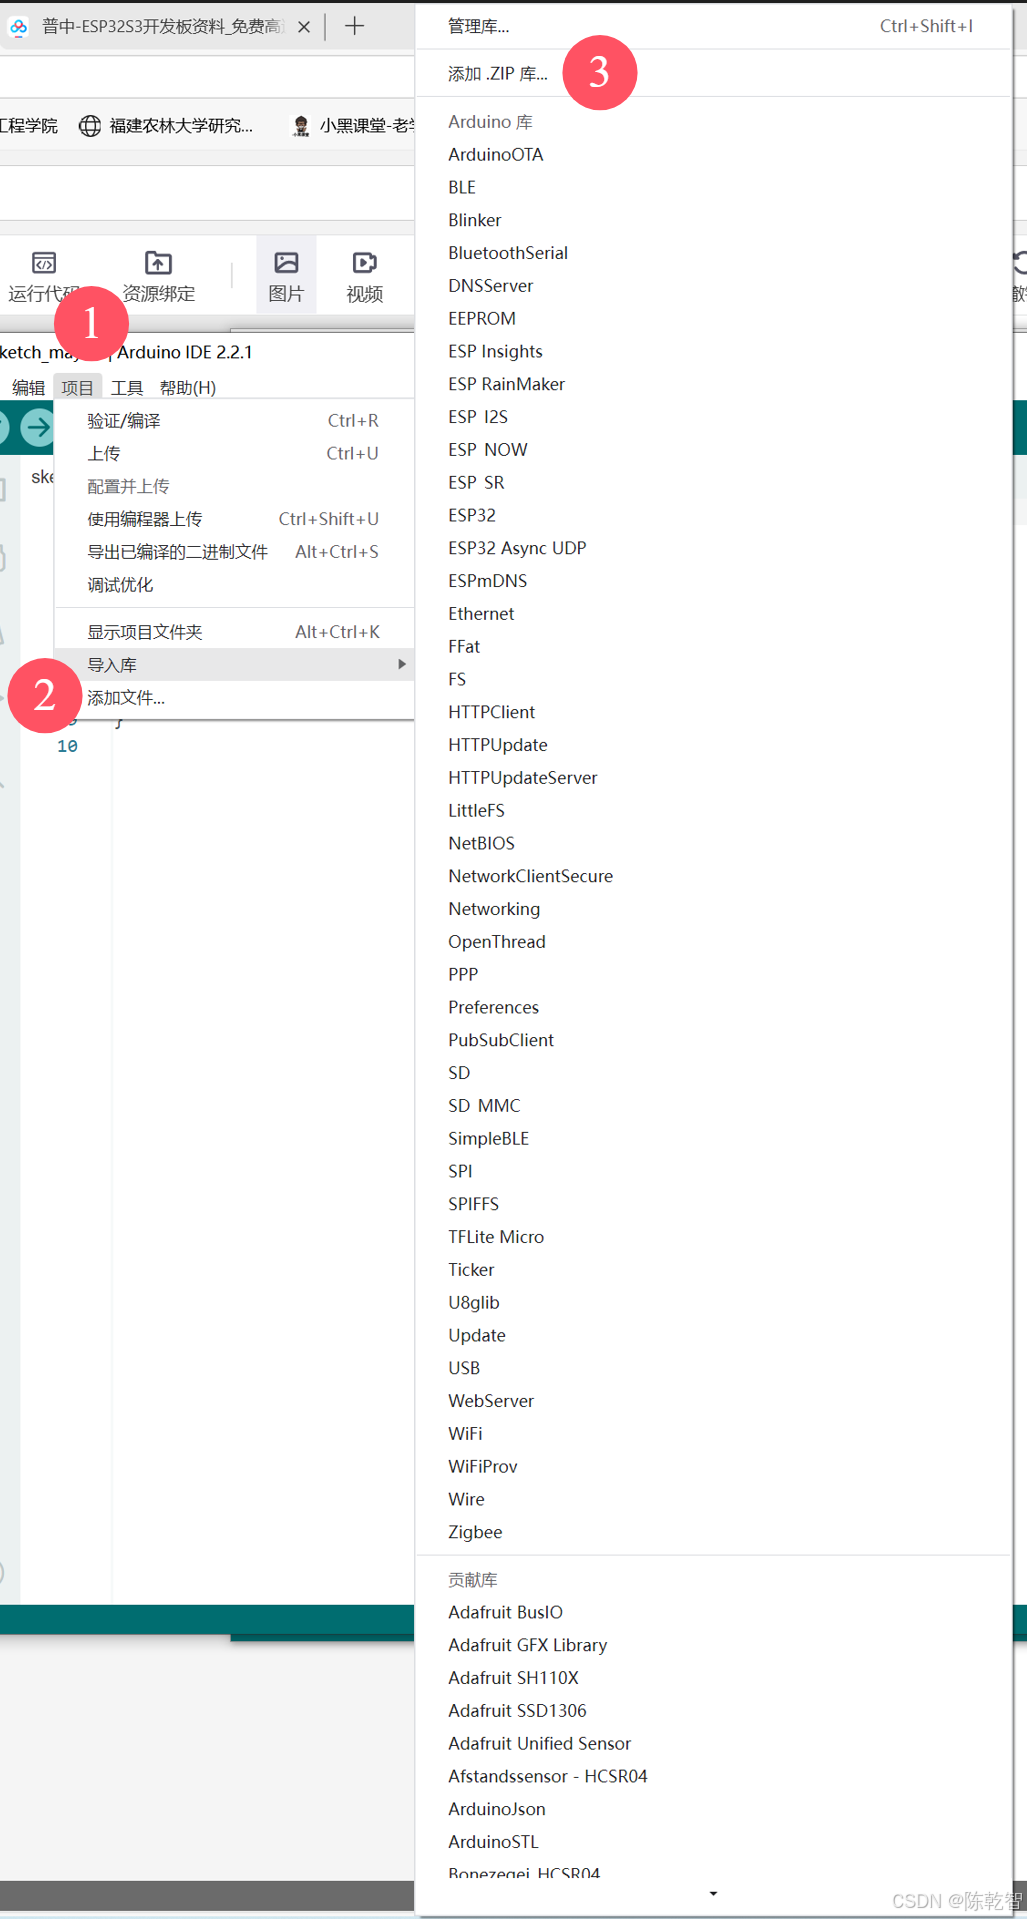
2.1 开发环境配置
添加库文件
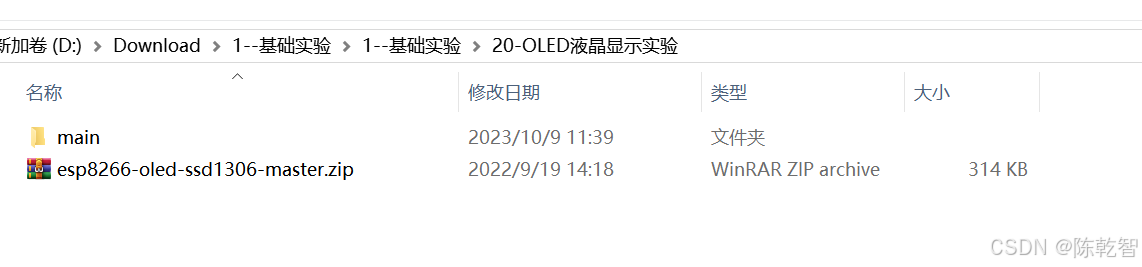
esp8266-oled-ssd1306-master.zip
【普中】各型号产品资料下载链接(测试)
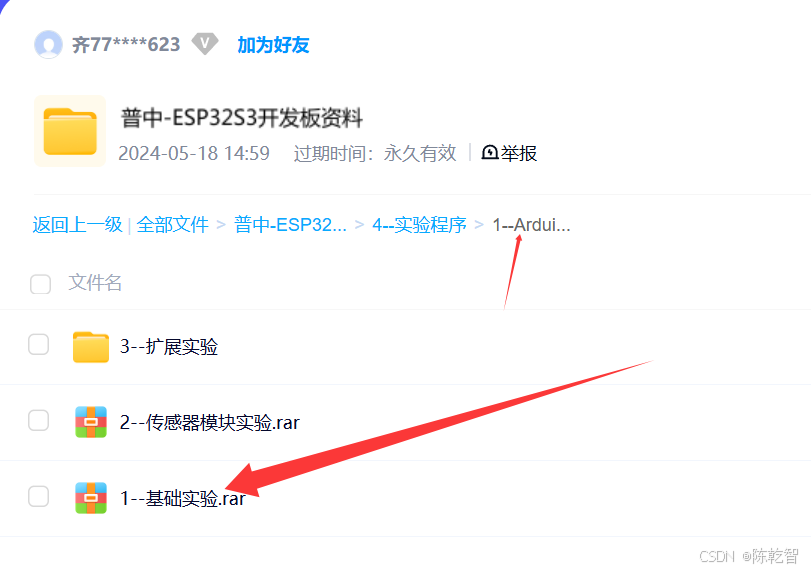
添加 esp8266-oled-ssd1306-master
2.2 引脚定义
代码如下(示例):
#define SDA 47  // GPIO47
#define SCL 21  // GPIO21
2.3 I2C地址扫描
注:
参考淘宝店铺risym
1.3寸:0X3C / 0X3D
0.96寸:0X78 / 0X7A (0.96寸未使用,未验证)
通过地址扫描代码验证设备连接:
代码如下(示例):
#include <Wire.h>
#define SDA_PIN 47
#define SCL_PIN 21

void setup() {
  Serial.begin(9600);
  Wire.begin(SDA_PIN, SCL_PIN);
}

void loop() {
  scanI2CDevices();
  delay(5000);
}

// I2C扫描函数(支持0x01-0x7F范围)
void scanI2CDevices() {
  byte error, address;
  int foundDevices = 0;

  for(address = 1; address <= 0x7F; address++) {
    Wire.beginTransmission(address);
    error = Wire.endTransmission();
    if (error == 0) {
      Serial.printf("发现设备 → 0x%02X\n", address);
      foundDevices++;
    }
  }
  Serial.printf("共发现%d个设备\n", foundDevices);
}
三、完整驱动代码
代码如下(示例):
#include <Arduino.h>
#include <SH1106Wire.h>

#define SDA 47
#define SCL 21
SH1106Wire display(0x3c,SDA,SCL);


float temp;


void oledbegin();
void displaysensor() ;
void displayTemp();

void setup() {
  Serial.begin(9600);
  oledbegin();
}

void loop() {
  // put your main code here, to run repeatedly:
 displaysensor() ;
 displayTemp();

}


void oledbegin() {
// OLED显示屏初始化检测
if(!display.init()) {                    // 尝试初始化OLED显示屏[1,5](@ref)
  Serial.println("OLED init failed");    // 初始化失败时通过串口输出错误信息
  while (1) delay(100);                 // 进入死循环阻止程序继续执行[1](@ref)
}
// 初始化成功后执行以下设置
display.flipScreenVertically();          // 将屏幕显示内容垂直翻转(0→180度)[5](@ref)
display.clear();                         // 清空屏幕显示内容和显存缓冲区[4,7](@ref)
display.setFont(ArialMT_Plain_10);      // 设置显示字体为Arial 10号等宽字体[7](@ref)
}

void displaysensor() {
  display.drawString(0, 0, "Hello World");
  display.drawString(0, 10, "oled");
  display.drawString(0, 20, "电磁阀");
  display.display();
}

void displayTemp() {
  temp = 0.0 ;
  display.drawString(0, 20, String(temp)+"℃");
  display.display();
}
注: 中文无法正常显示,后文补充

关键函数解析
display.init();               初始化屏幕并检测通信状态,返回false时需检查I2C连接
flipScreenVertically();       实现180°屏幕旋转,适配不同安装方向
display.setFont();            支持ArialMT_Plain_10/16/24 三种字体尺寸
补充中文库
见我的下篇博客
基于Arduino的ESP32-S3 + OLED(4pin)的文字取模
参考来源
B站 普中科技
OLED液晶显示实验
CSDN博主 thief_1
ESP32-S3+1.3寸OLED+SH1106
总结
本文实现了ESP32-S3对1.3寸OLED屏的完整驱动方案,相比传统0.96寸方案,更大的显示面积。
开发过程中需特别注意GPIO冲突问题(如SD卡模块与I2C引脚复用),建议通过I2C扫描程序先行验证硬件连接。后续可扩展实现动态图表绘制、多级菜单交互等高级功能。


 664
664

 被折叠的 条评论
为什么被折叠?
被折叠的 条评论
为什么被折叠?
 到【灌水乐园】发言


