


一、环境准备
下载Yolact
安装GPU文件版本
cuda_10.2.89_441.22_win10![]() https://developer.nvidia.com/
https://developer.nvidia.com/
cudnn-10.2-windows10-x64-v8.1.0.77![]() https://developer.nvidia.com/zh-cn/cudnn
https://developer.nvidia.com/zh-cn/cudnn
二、数据集准备
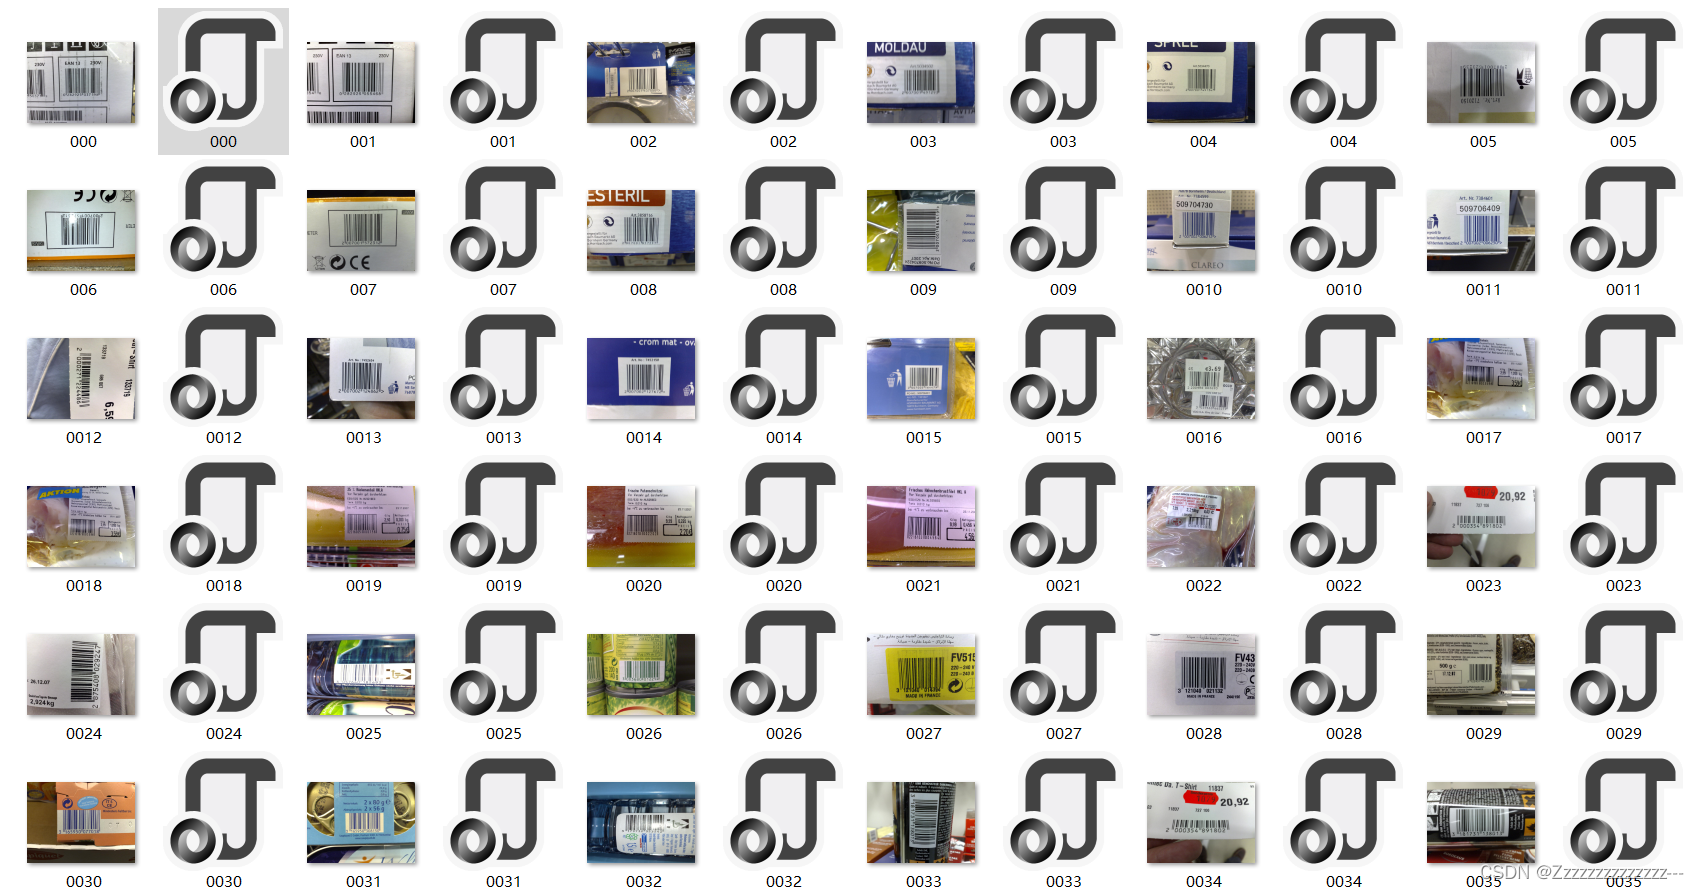
1、标记样本
标记样本用的是labelme,最后输出的是”样本+标签“的形式
2、转coco数据集
转coco数据集需要用到labelme源码,可以从这个位置下载:
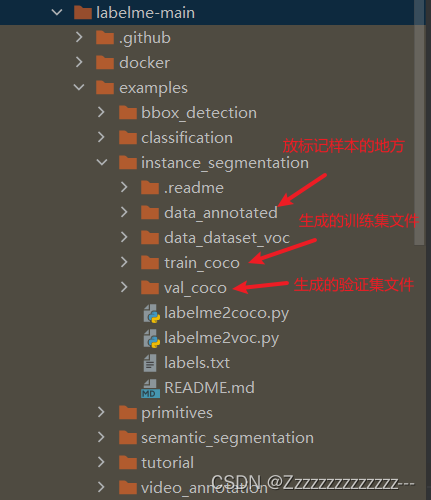
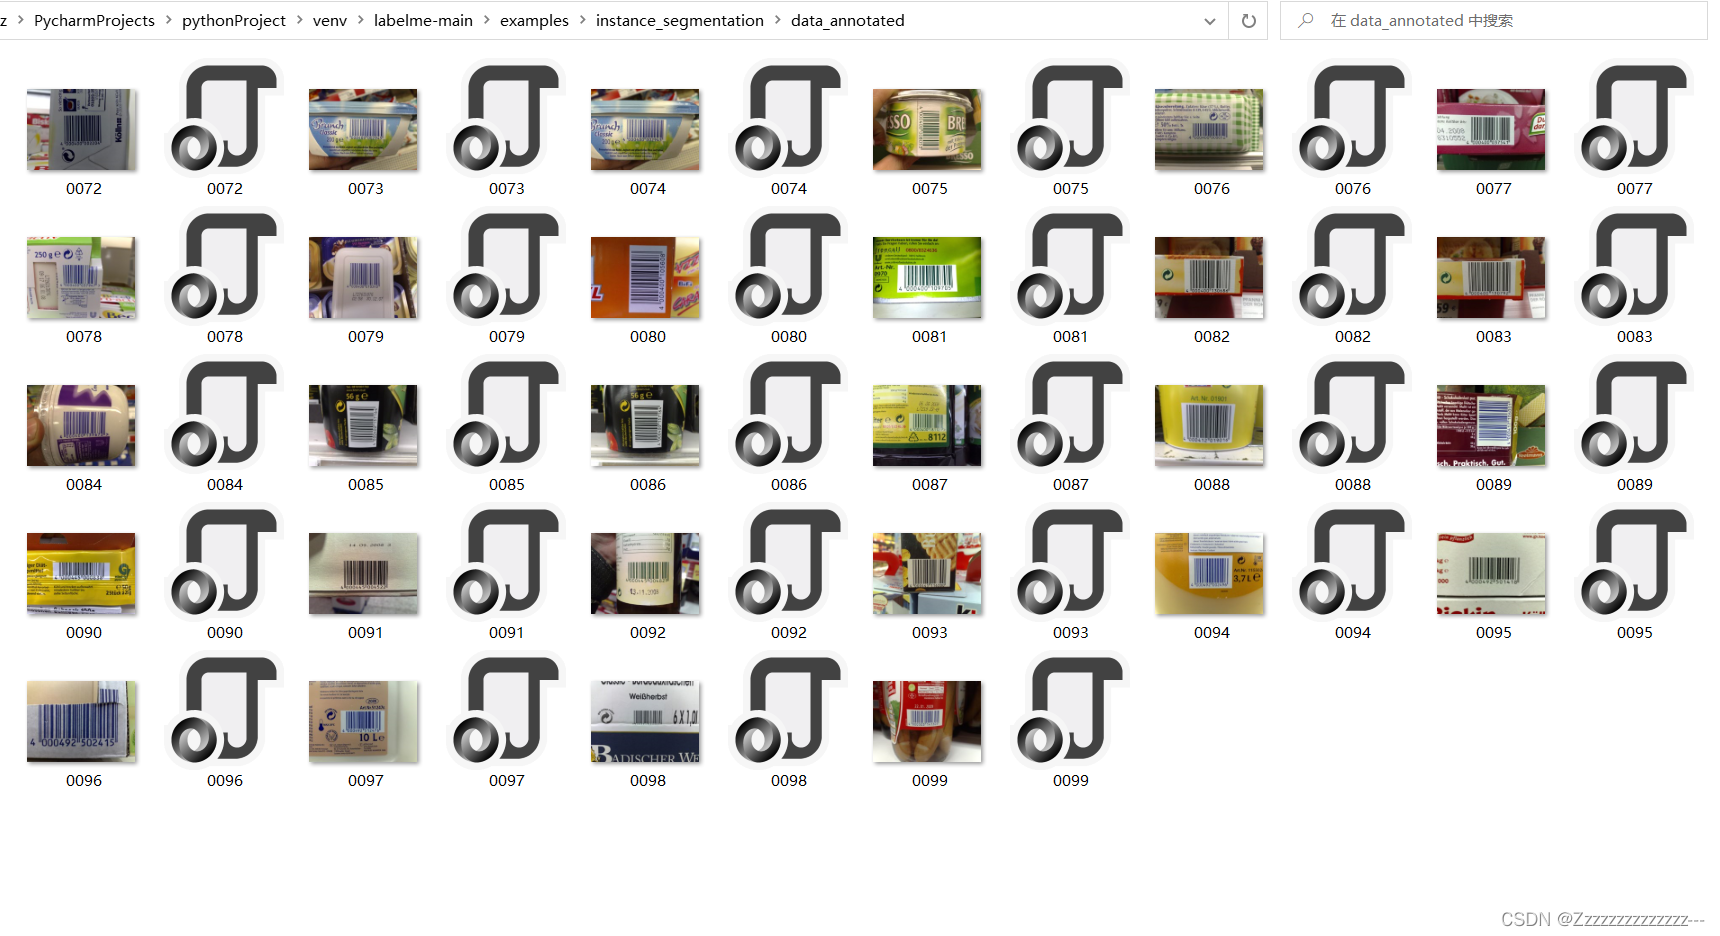
训练样本拷贝到data_annotated文件夹下:
修改/新建labels文件:

在终端里运行以下代码:
python labelme2coco.py data_annotated train_coco --labels labels.txt
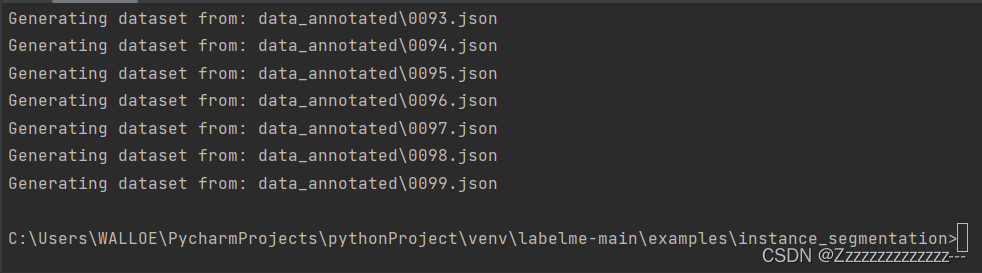
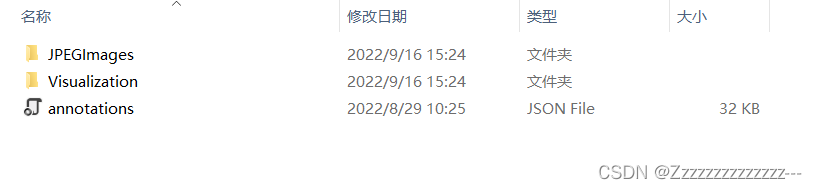
运行结束后会生成一个 train_coco文件夹,内容如下:
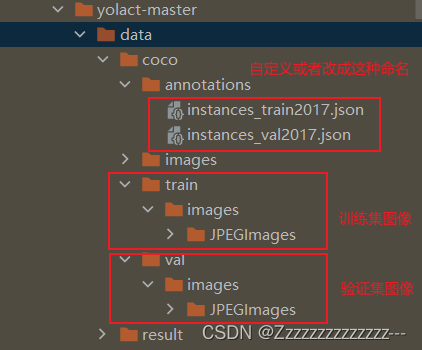
3、Yolact中数据集目录结构
三、训练与预测
1、下载预训练文件
| Image Size | Backbone | PPS | mAP | Weights | aliYun |
| 550 | Resnet50-FPN | 42.5 | 28.2 | resnet50-19c8e357.pth | 阿里云 |
| 550 | Darknet53-FPN | 40.0 | 28.7 | darknet53.pth | 阿里云 |
| 550 | Resnet101-FPN | 33.5 | 29.8 | resnet101_reducedfc.pth | 阿里云 |
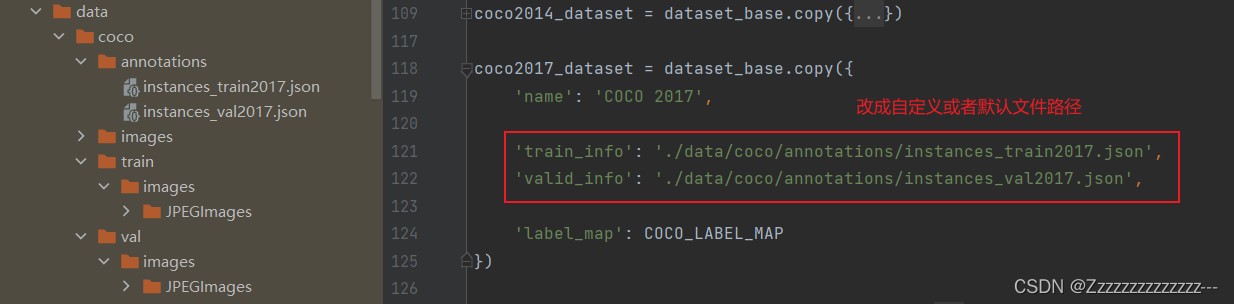
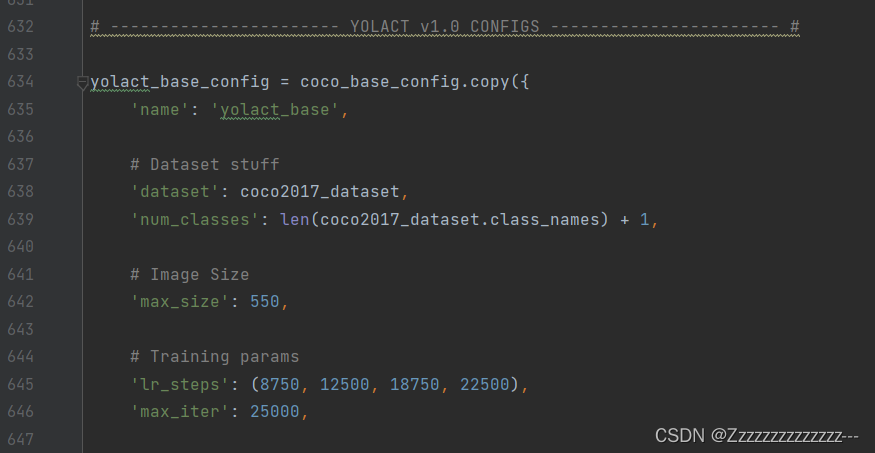
2、修改配置文件config.py
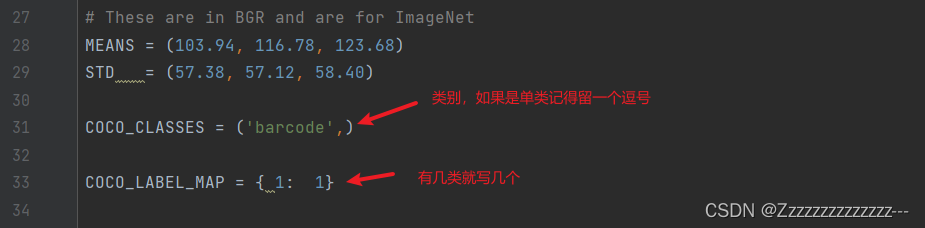
训练使用默认配置,可以自行修改训练参数
3、开始训练
# Trains using the base config with a batch size of 8 (the default).
python train.py --config=yolact_base_config

# Trains yolact_base_config with a batch_size of 5. For the 550px models, 1 batch takes up around 1.5 gigs of VRAM, so specify accordingly.
python train.py --config=yolact_base_config --batch_size=5

# Resume training yolact_base with a specific weight file and start from the iteration specified in the weight file's name.
python train.py --config=yolact_base_config --resume=weights/yolact_base_10_32100.pth --start_iter=-1

# Use the help option to see a description of all available command line arguments
python train.py --help
训练参数:
–batch_size:大小取决于你的显卡,报错就调小一点
–num_workers:线程数,一般都是需要设置为 “0”
–lr:学习率
–save_folder:训练完后模型保存的路径
–config:config配置文件选择,none为默认配置
–save_interval:每10000次迭代保存模型权重
–validation_epoch:每2个epoch进行一次验证计算
–dataset:数据集路径
4、预测
# Display qualitative results on the specified image.
python eval.py --trained_model=weights/yolact_base_54_800000.pth --score_threshold=0.15 --top_k=15 --image=my_image.png
# Process an image and save it to another file.
python eval.py --trained_model=weights/yolact_base_54_800000.pth --score_threshold=0.15 --top_k=15 --image=input_image.png:output_image.png
# Process a whole folder of images.
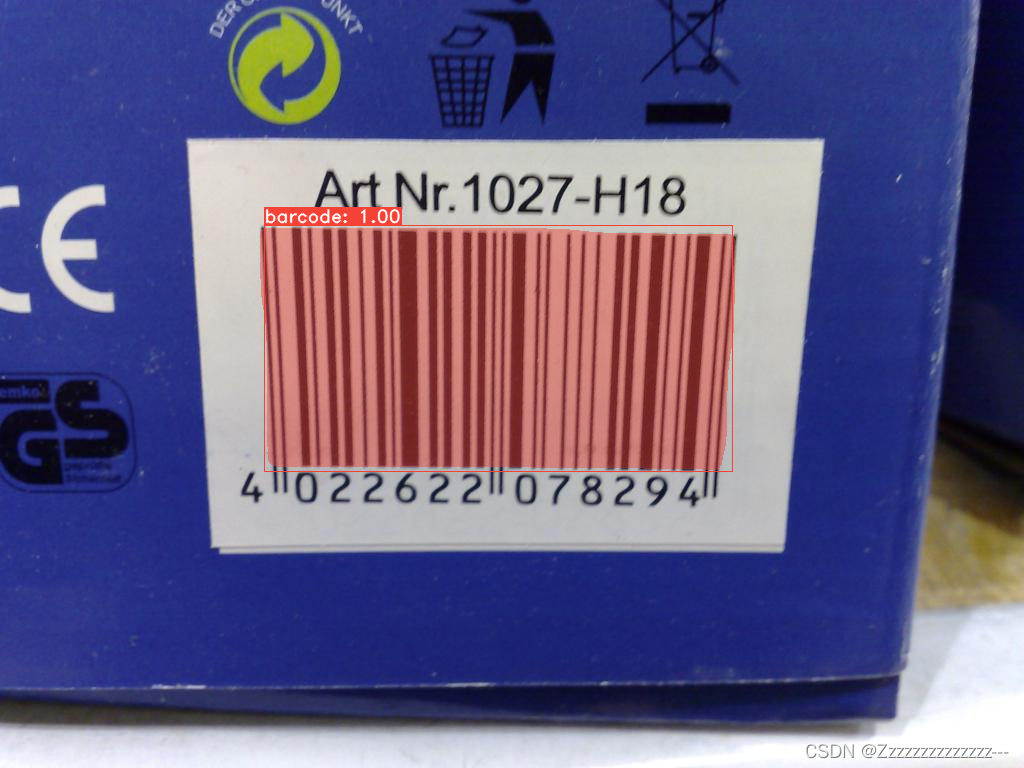
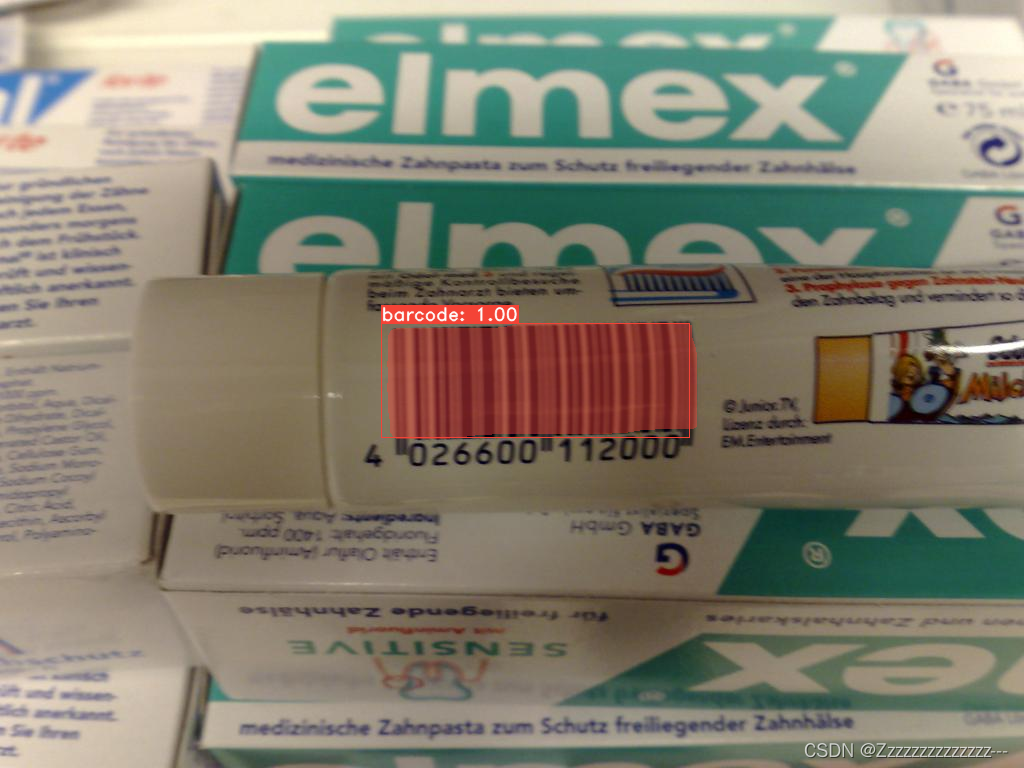
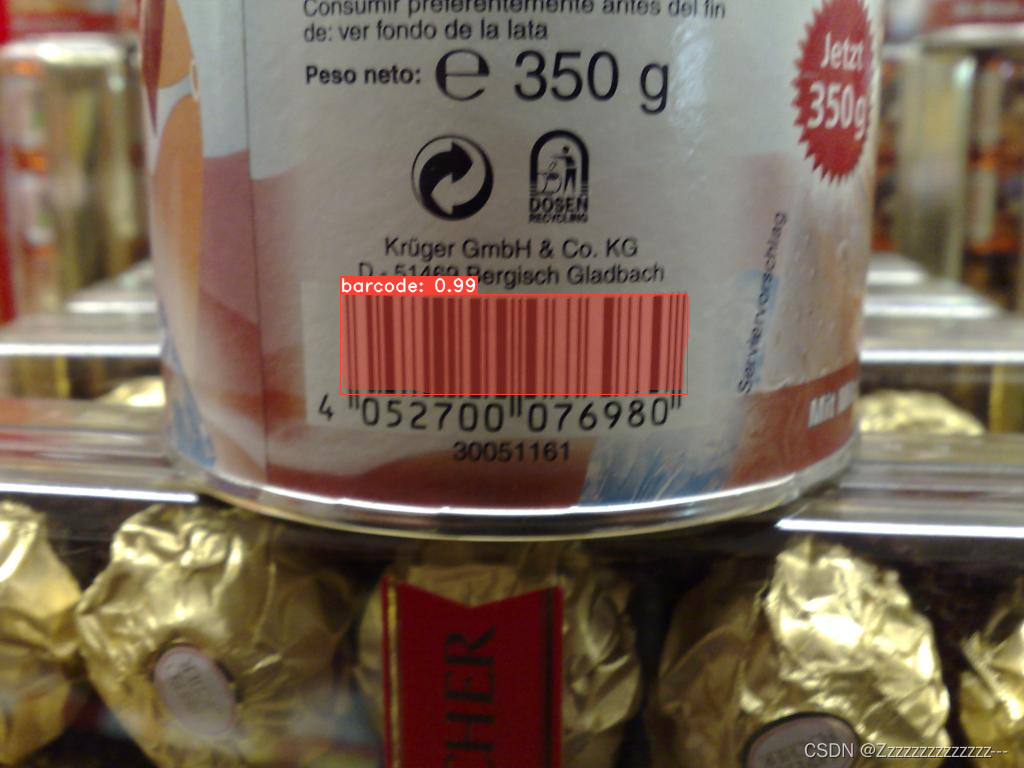
python eval.py --trained_model=weights/yolact_base_54_800000.pth --score_threshold=0.15 --top_k=15 --images=path/to/input/folder:path/to/output/folder5、效果
四、部署
关于部署到可以参考这篇文章: 使用opencv部署yolact实例分割。需要注意的是,里面的config.py需要替换成自己训练的配置。
也可直接采用修改好的Yolact版本:GitHub - Ma-Dan/yolact at onnx


 2990
2990

 被折叠的 条评论
为什么被折叠?
被折叠的 条评论
为什么被折叠?
 到【灌水乐园】发言


