


前言
实例分割可以分为两类,一类为two-stage方法,即先检测后分割;另一类为one-stage方法,将检测与分割作为并行任务同时进行,其中包括anchor-based方法与anchor-free方法。yolact属于one-stage方法中的anchor-based方法。该方法主要采用两个并行的分支实现one-stage检测与分割。两个分支分别为:
(1)Prediction Head分支生成各个anchor的类别置信度、位置回归参数以及mask的掩码系数;
(2)Protonet分支生成一组原型mask。然后将原型mask和mask的掩码系数相乘,从而得到图片中每一个目标物体的mask。
一、开发环境配置
系统:Windows10;开发语言:Python3.8;
训练框架:Pytorch; 开发IDE: Pycharm
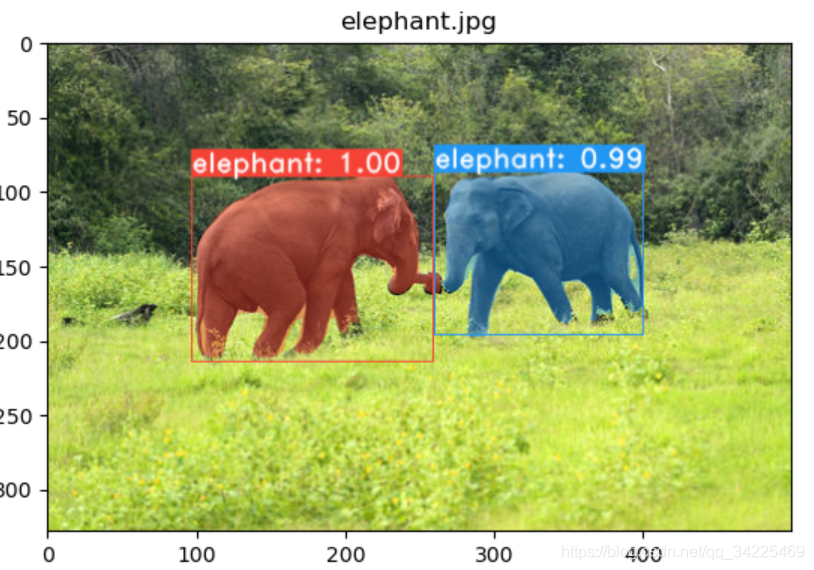
二、yolact实例分割效果
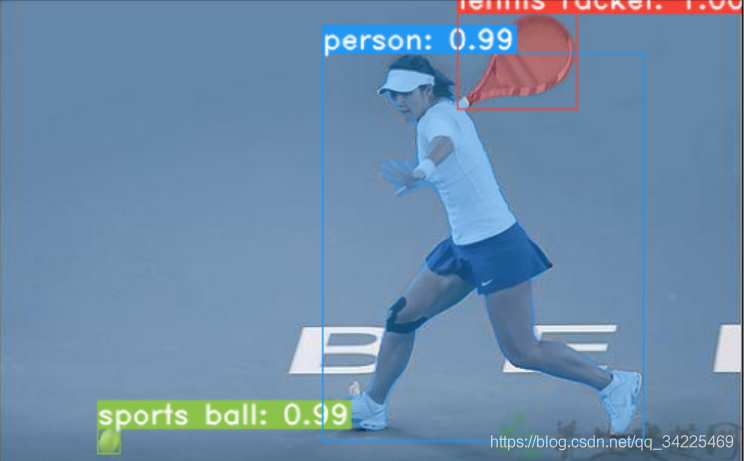
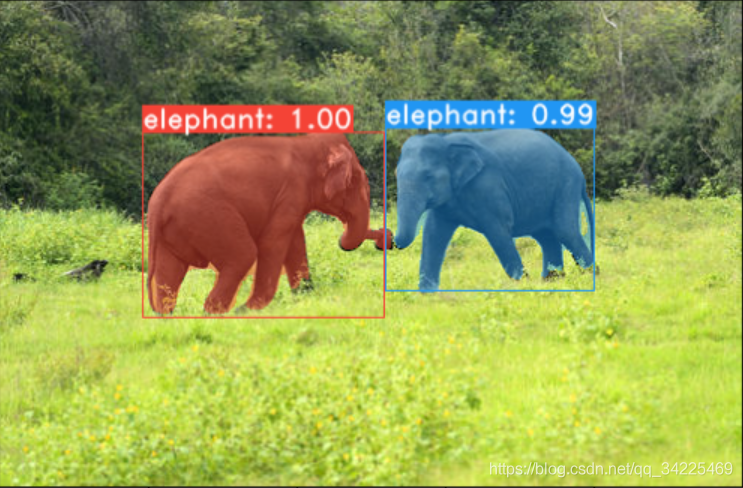
下图为实例分割分割效果,通过两幅图可以发现,yolact不仅将两幅图像中的目标进行检测,同时输出物体的分割Mask.
三、yolact实例分割测试
yolact paper提供了源码,对其结果进行测试。
1、解压缩后如下图所示:
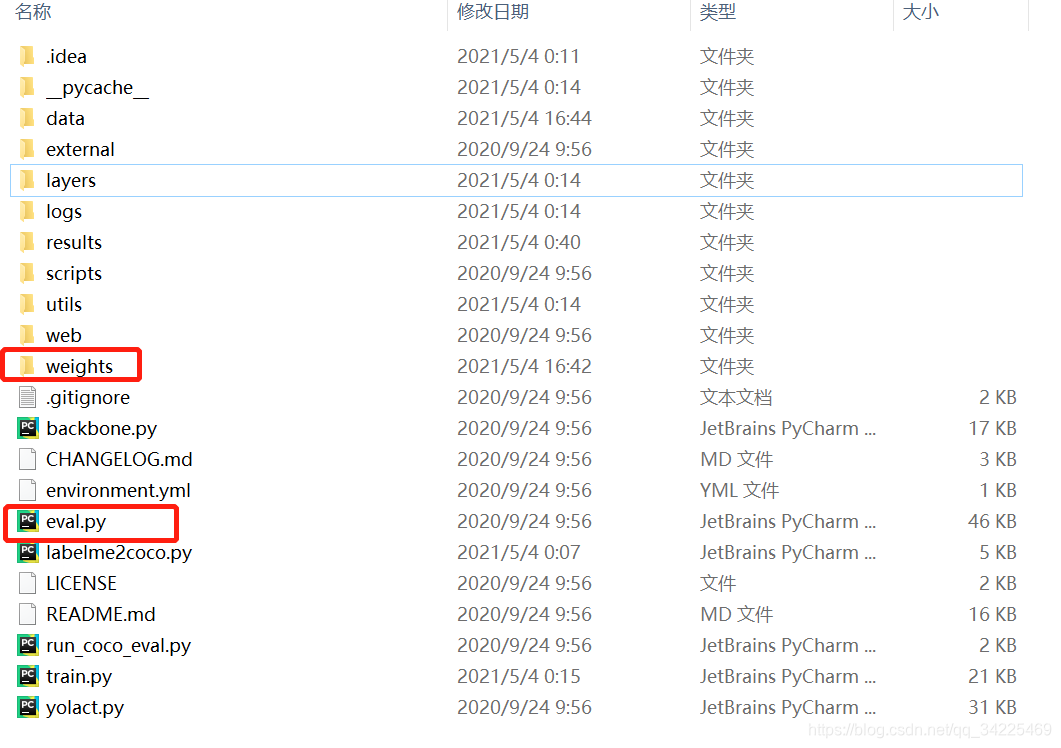
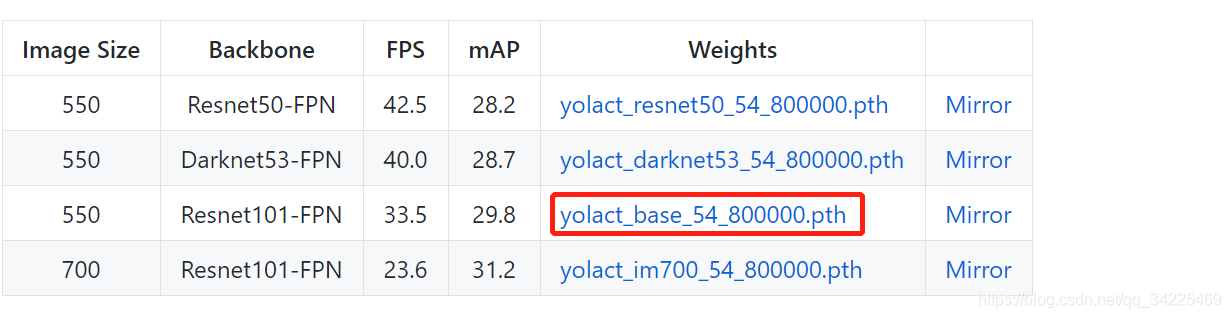
2、下载预训练权重yolact_base_54_800000.pth
3.image、video算法测试
- image测试
python eval.py --trained_model=weights/yolact_base_54_800000.pth --score_threshold=0.15 --top_k=15 --image=my_image.png
- 1
其中train_model为预训练权重;score_threshold为置信度阈值,对置信度小于0.15的物体bounding box进行滤除。top_k为保留每个类别置信度排名前15个score。image为需要测试的图片。
测试结果如下:
- video测试
python eval.py --trained_model=weights/yolact_base_54_800000.pth --score_threshold=0.15 --top_k=15 --video_multiframe=1 --video=my_video.mp4
- 1
其中trained_model为训练权重,video_multiframe为并行输出的视频路数。video为需要测试的视频。
测试结果如下。

四、训练自己的数据集
1、数据集制作
使用labelme进行实例分割数据标注,labelme在终端中输入如下命令进行labelme安装
pip install labelme
- 1
在终端中输入labelme启动labelme标注工具。

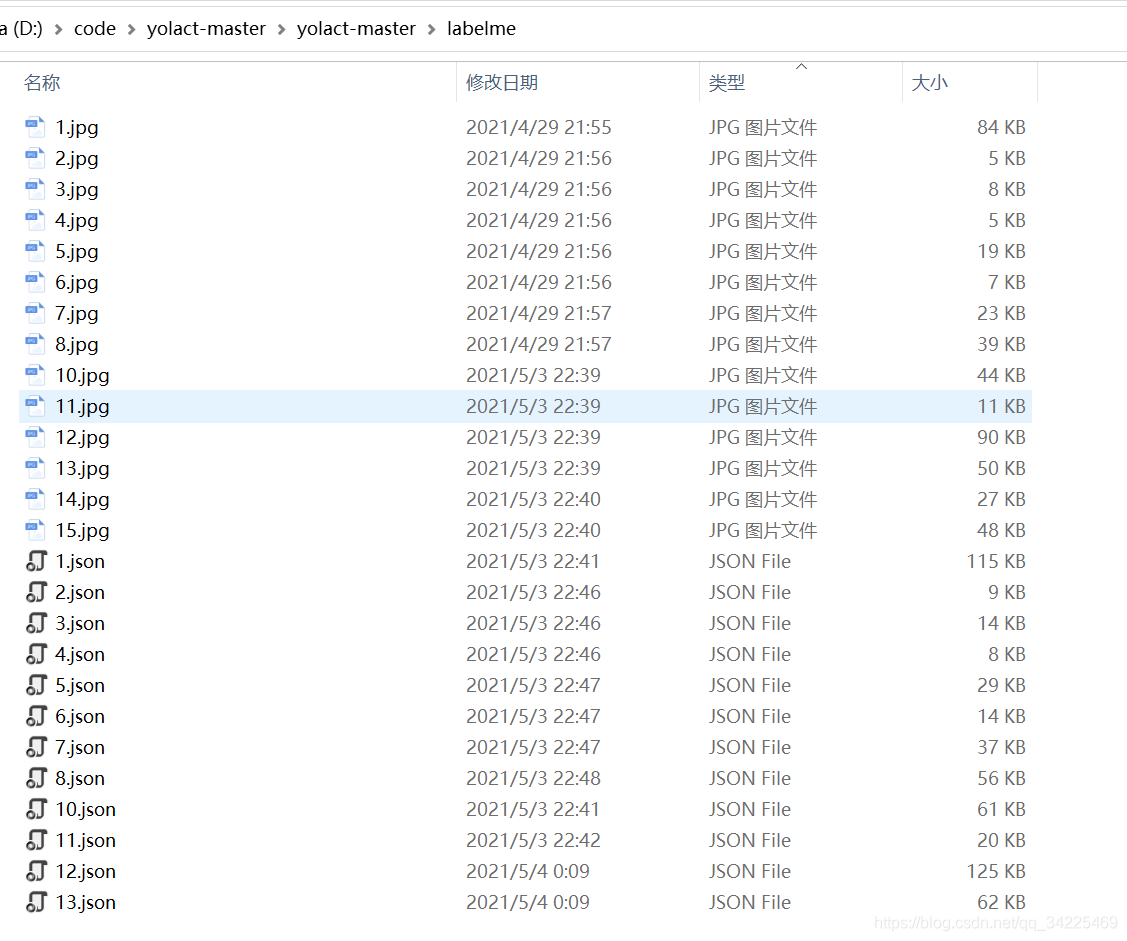
该图中包含四个实例,label均为trafficcone.新建labelme文件夹并将标注好的json文件与image图片一起放入labelme文件夹中。
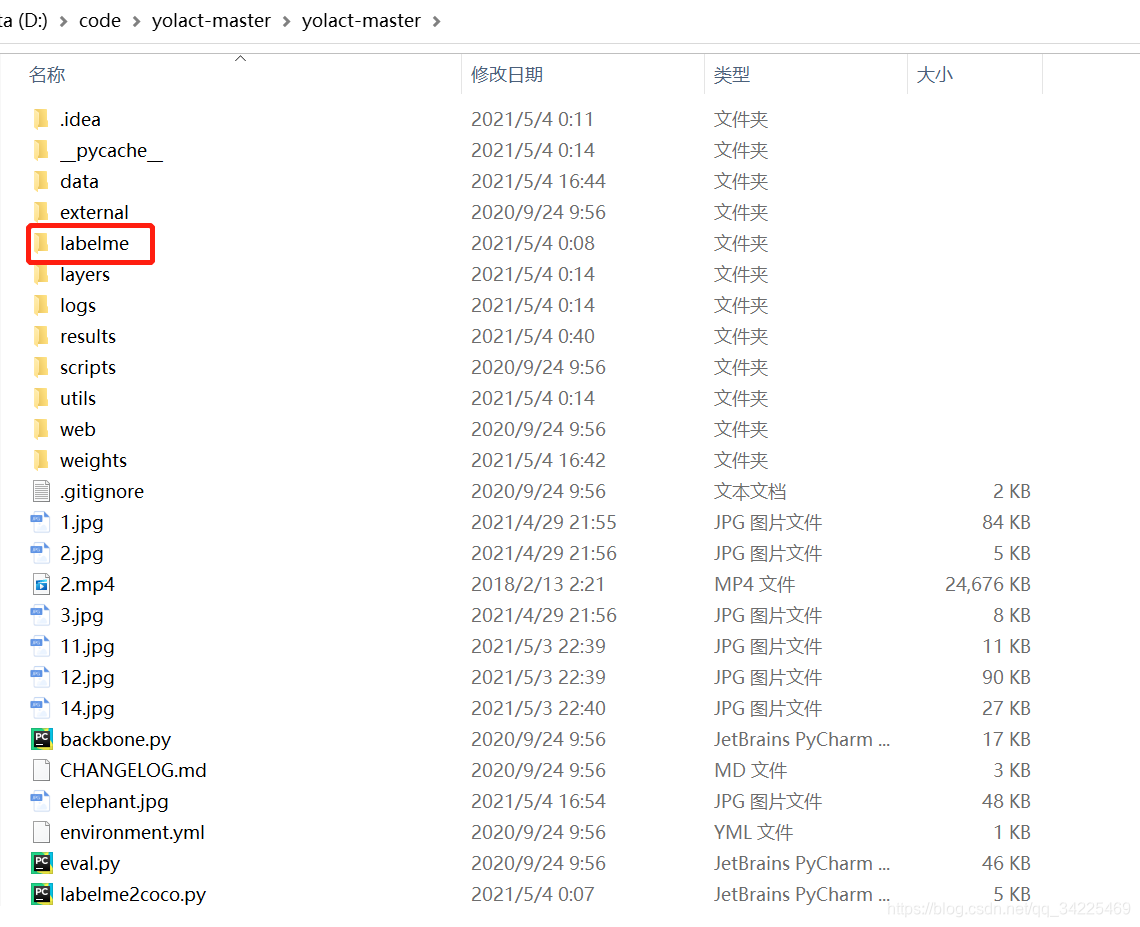
在yolact-master文件夹下新建labelme2coco.py
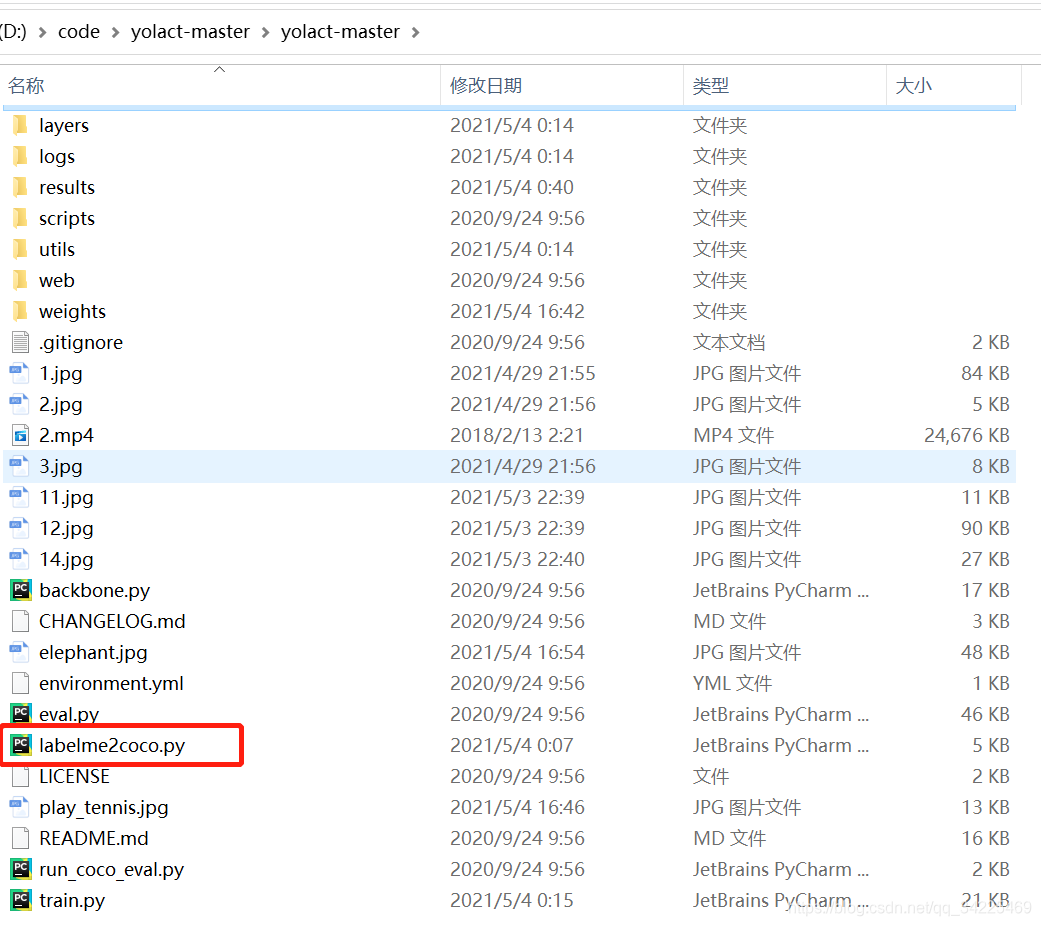
其中labelme2coco.py代码如下:
import os
import json
import numpy as np
import glob
import shutil
from sklearn.model_selection import train_test_split
np.random.seed(41)

#0为背景,此处根据你数据集的类别来修改key
classname_to_id = {"trafficone": 1}

class Lableme2CoCo:

    def __init__(self):
        self.images = []
        self.annotations = []
        self.categories = []
        self.img_id = 0
        self.ann_id = 0

    def save_coco_json(self, instance, save_path):
        json.dump(instance, open(save_path, 'w', encoding='utf-8'), ensure_ascii=False, indent=1)  # indent=2 更加美观显示

    # 由json文件构建COCO
    def to_coco(self, json_path_list):
        self._init_categories()
        for json_path in json_path_list:
            obj = self.read_jsonfile(json_path)
            self.images.append(self._image(obj, json_path))
            shapes = obj['shapes']
            for shape in shapes:
                annotation = self._annotation(shape)
                self.annotations.append(annotation)
                self.ann_id += 1
            self.img_id += 1
        instance = {}
        instance['info'] = 'spytensor created'
        instance['license'] = ['license']
        instance['images'] = self.images
        instance['annotations'] = self.annotations
        instance['categories'] = self.categories
        return instance

    # 构建类别
    def _init_categories(self):
        for k, v in classname_to_id.items():
            category = {}
            category['id'] = v
            category['name'] = k
            self.categories.append(category)

    # 构建COCO的image字段
    def _image(self, obj, path):
        image = {}
        from labelme import utils
        img_x = utils.img_b64_to_arr(obj['imageData'])
        h, w = img_x.shape[:-1]
        image['height'] = h
        image['width'] = w
        image['id'] = self.img_id
        image['file_name'] = os.path.basename(path).replace(".json", ".jpg")
        return image

    # 构建COCO的annotation字段
    def _annotation(self, shape):
        label = shape['label']
        points = shape['points']
        annotation = {}
        annotation['id'] = self.ann_id
        annotation['image_id'] = self.img_id
        annotation['category_id'] = int(classname_to_id[label])
        annotation['segmentation'] = [np.asarray(points).flatten().tolist()]
        annotation['bbox'] = self._get_box(points)
        annotation['iscrowd'] = 0
        annotation['area'] = 1.0
        return annotation

    # 读取json文件,返回一个json对象
    def read_jsonfile(self, path):
        with open(path, "r", encoding='utf-8') as f:
            return json.load(f)

    # COCO的格式: [x1,y1,w,h] 对应COCO的bbox格式
    def _get_box(self, points):
        min_x = min_y = np.inf
        max_x = max_y = 0
        for x, y in points:
            min_x = min(min_x, x)
            min_y = min(min_y, y)
            max_x = max(max_x, x)
            max_y = max(max_y, y)
        return [min_x, min_y, max_x - min_x, max_y - min_y]


if __name__ == '__main__':
    labelme_path = "labelme/"   # 此处根据你的数据集地址来修改
    saved_coco_path = "./"
    # 创建文件
    if not os.path.exists("%scoco/annotations/"%saved_coco_path):
        os.makedirs("%scoco/annotations/"%saved_coco_path)
    if not os.path.exists("%scoco/images/train2017/"%saved_coco_path):
        os.makedirs("%scoco/images/train2017"%saved_coco_path)
    if not os.path.exists("%scoco/images/val2017/"%saved_coco_path):
        os.makedirs("%scoco/images/val2017"%saved_coco_path)
    # 获取images目录下所有的joson文件列表
    json_list_path = glob.glob(labelme_path + "/*.json")
    # 数据划分,这里没有区分val2017和tran2017目录,所有图片都放在images目录下
    train_path, val_path = train_test_split(json_list_path, test_size=0.12)
    print("train_n:", len(train_path), 'val_n:', len(val_path))

    # 把训练集转化为COCO的json格式
    l2c_train = Lableme2CoCo()
    train_instance = l2c_train.to_coco(train_path)
    l2c_train.save_coco_json(train_instance, '%scoco/annotations/instances_train2017.json'%saved_coco_path)
    for file in train_path:
        shutil.copy(file.replace("json","jpg"),"%scoco/images/train2017/"%saved_coco_path)
    for file in val_path:
        shutil.copy(file.replace("json","jpg"),"%scoco/images/val2017/"%saved_coco_path)

    # 把验证集转化为COCO的json格式
    l2c_val = Lableme2CoCo()
    val_instance = l2c_val.to_coco(val_path)
    l2c_val.save_coco_json(val_instance, '%scoco/annotations/instances_val2017.json'%saved_coco_path)
修改config.py中参数,主要有四处。
① coco_classes与coco_label_map
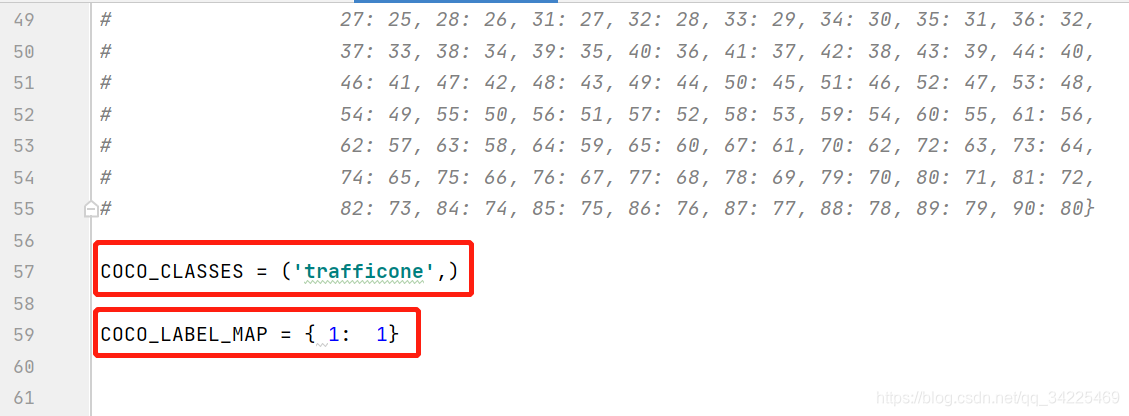
该数据集有一类名称为‘trafficcone’逗号不要忘记。
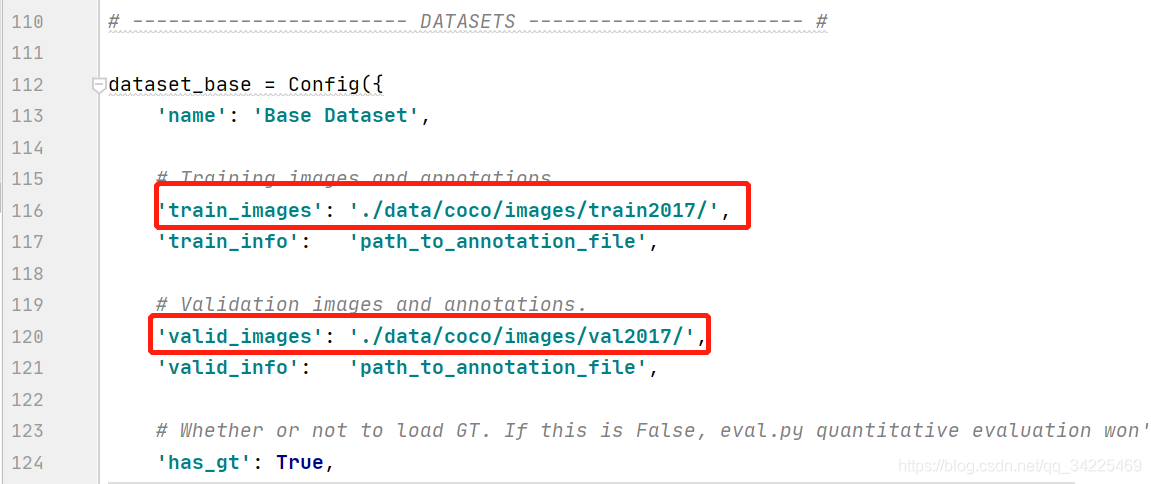
② dataset_base地址
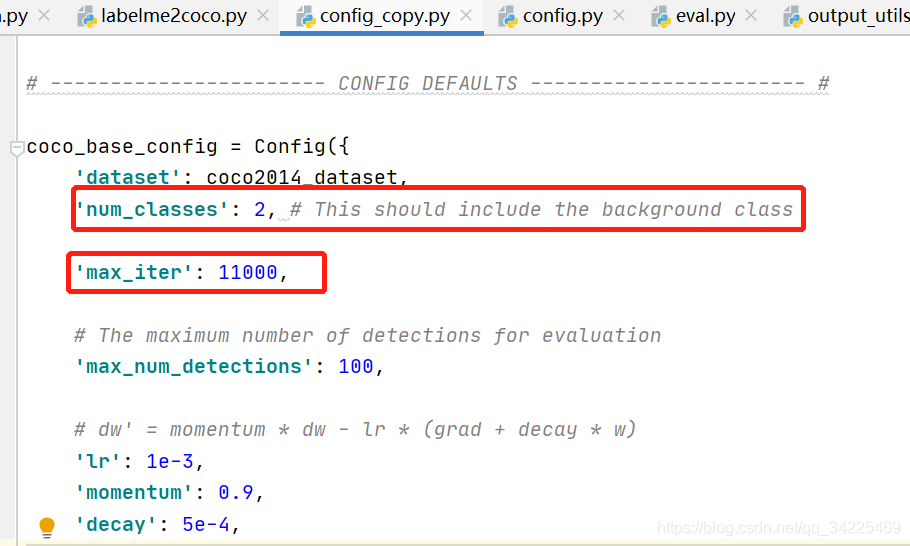
③coco_base_config
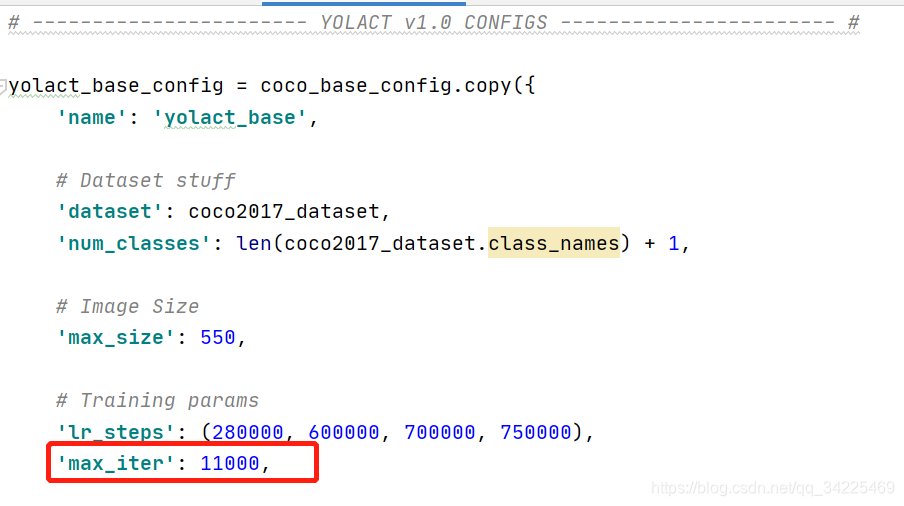
④yolact_base_config
3、训练与测试
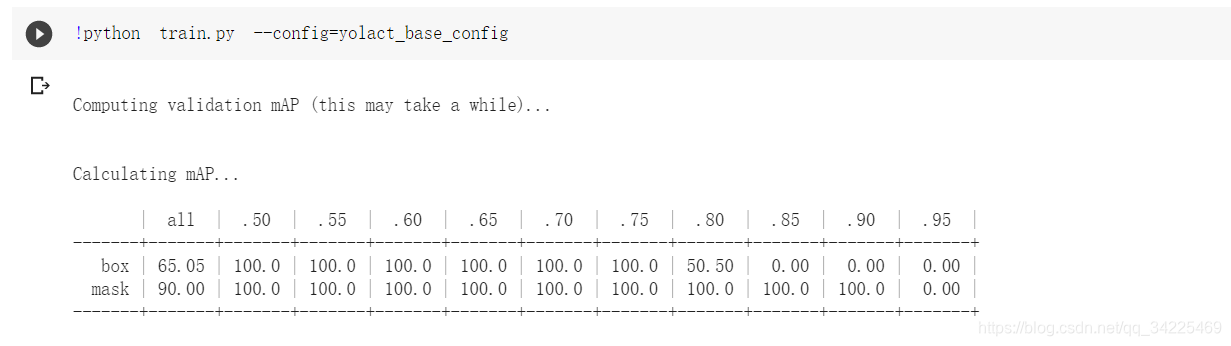
运行python train.py --config=yolact_base_config 进行训练。
如果在google colab上在运行!python train.py --config=yolact_base_config
按Ctr+C终止训练,并保存权重。
执行:
python eval.py --trained_model=weights/yolact_base_169_169_interrupt.pth --score_threshold=0.15 --top_k=15 --image=1.jpg
- 1
测试结果如下:


 2万+
2万+


 被折叠的 条评论
为什么被折叠?
被折叠的 条评论
为什么被折叠?
 到【灌水乐园】发言


