


一、CNVcaller
1.1 前置环境:
win11的Ubuntu系统为分析平台
perl
python3
blasr
samtools
python 包:click、numpy==1.20.0、scikit-learn==0.22.2 、pandas==1.2.0
建议:pip intall click numpy scikit-learn -i https://pypi.tuna.tsinghua.edu.cn/simple
Tips: CNVcaller更新代码:
1. 将Genotype.py中的
calinski_harabaz_score 全部替换为 calinski_harabasz_score
2. 分析过程中所有输入输出文件都使用绝对路径
1.2 软件地址
下载压缩包:https://github.com/JiangYuLab/CNVcaller/archive/refs/heads/master.zip
解压缩:
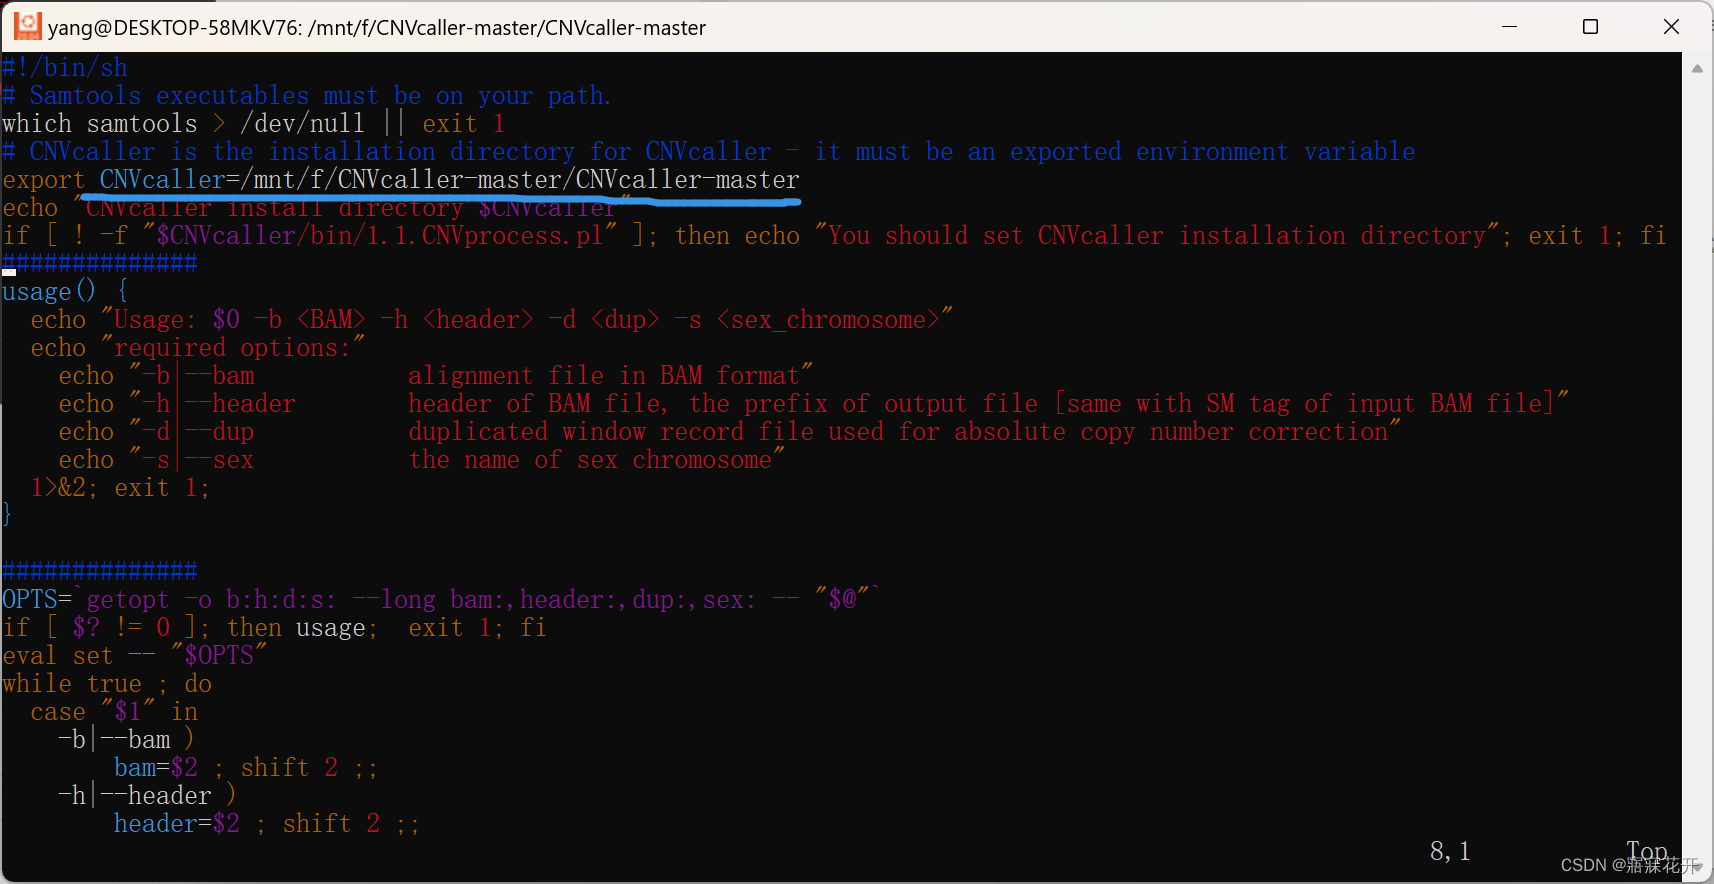
改文件路径:
CNV.Discovery.sh和Individual.Process.sh

二、Call CNV
2.1 参考基因组准备
以牦牛为例:
解压缩:Bos_grunniens.LU_Bosgru_v3.0.dna.toplevel.fa
2.1.1 基因组索引
perl CNVcaller-master/bin/CNVReferenceDB.pl Bos_grunniens.LU_Bosgru_v3.0.dna.toplevel.fa -w 1000
输出:referenceDB.1000
2.1.2 reference.fa.sa 自己生成dup文件
1)sawriter Bos_grunniens.LU_Bosgru_v3.0.dna.toplevel.fa
输出 Bos_grunniens.LU_Bosgru_v3.0.dna.toplevel.fa.sa (与bwa index 生成的.sa不一样,注意区分文件目录)
2)python 0.1.Kmer_Generate.py Bos_grunniens.LU_Bosgru_v3.0.dna.toplevel.fa 1000 kmer.fa
3)blasr kmer.fa Bos_grunniens.LU_Bosgru_v3.0.dna.toplevel.fa --sa Bos_grunniens.LU_Bosgru_v3.0.dna.toplevel.fa.sa --out kmer.aln -m 5 --noSplitSubreads --minMatch 15 --maxMatch 20 --advanceHalf --advanceExactMatches 10 --fastMaxInterval --fastSDP --aggressiveIntervalCut --bestn 10
4)python 0.2.Kmer_Link.py kmer.aln 1000 yak_1000.link
2.2 Call CNV
2.2.1 Individual RD processing
bash Individual.Process.sh -b yak1.bam -h yak1 -d dupfile(yak_1000.lik) -s X
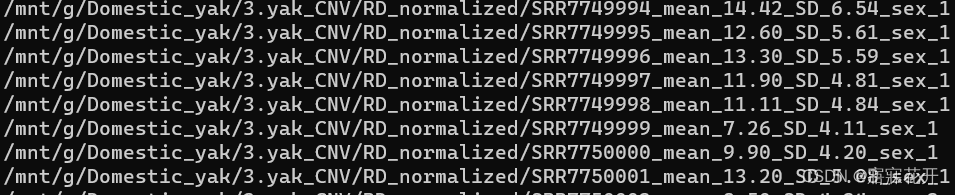
文件输出至三个文件夹:RD_raw RD_absolute RD_normalized
将RD_normalized中文件以绝对路径写入 yak_normalized_list
注意排除内容为空的标准化文件-2023-4-5
2.2.2 CNVR detection
bash CNV.Discovery.sh -l yak_normalized_list -e exclude_list -f 0.1 -h 3 -r 0.5 -p primaryCNVR -m mergeCNVR
-r 根据群体数量按推荐参数设置 bash CNV.Discovery.sh 可查看
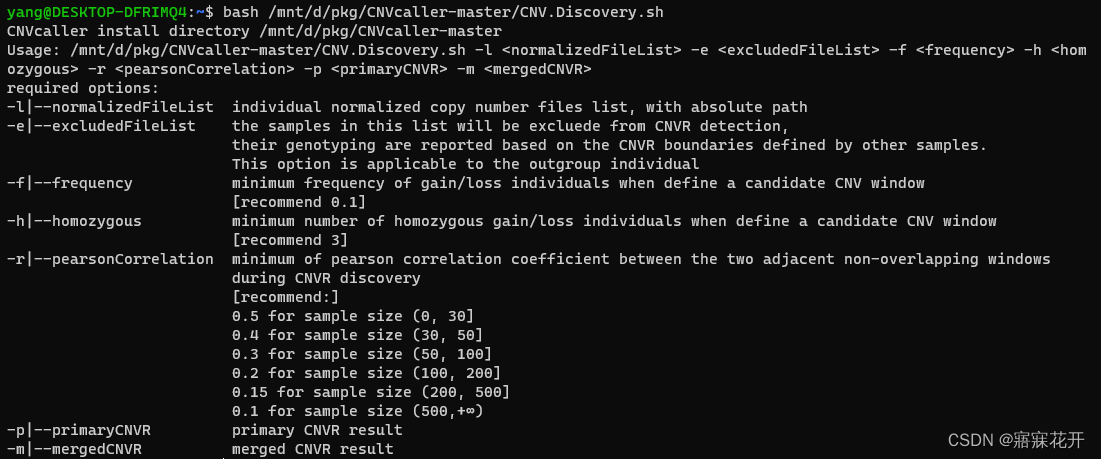
输出: primaryCNVR 和 mergeCNVR
exclude_list为空或应剔除的个体
2.2.3 Genotyping基因型识别
python Genotype.py --cnvfile mergeCNVR --outprefix Genotype
输出:genotypeCNVR.vcf 和 genotypeCNVR.tsv
参考:


 719
719


 被折叠的 条评论
为什么被折叠?
被折叠的 条评论
为什么被折叠?
 到【灌水乐园】发言


