


Permission denied解决办法:
来自花生福
Permission denied:权限被拒绝,没有访问文件的权限。
查询对文件的权限:
ls -l 文件名称
r为可读权限,w为可写权限,x为可执行权限。
授权文件rwx,可读可写可执行权限:
chmod 777 文件名称
如果目标是文件夹:
chmod -R 777 指定目录
-R 是指级联应用到目录里的所有子目录和文件
777 是所有用户都拥有最高权限
如果当前用户是非管理员:
sudo chmod -R 777 指定文件或目录
解决pytorch capability sm_86 is not compatible with the current PyTorch installation 问题
问题描述
当使用比较新的显卡(比如NVIDIA GeForce RTX 3090)时,由于显卡的架构比较新,可能旧版本的pytorch库没有支持到。这时候就会出现capability sm_86 is not compatible的问题,同时根据输出可以看到 The current PyTorch install supports CUDA capabilities sm_37 sm_50 sm_60 sm_70 sm_75当前pytorch只能支持上面几种架构。
1.通过最近装cuda环境研究发下仅仅通过以下命令是不能够测试cuda是否可以正常使用的。
import torch
# 我在python的命令环境测试该命令 返回是True的但是在run torch程序的时候报错
torch.cuda.is_available()
2.如果想要测是你的cuda版本torch是否可以使用,使用以下命令测试可能会更好。
import torch
torch.zeros(1).cuda()
如果报错是GeForce RTX 3080 with CUDA capability sm_86 is not compatible with the current PyTorch installation. The current PyTorch install supports CUDA capabilities sm_37 sm_50 sm_60 sm_61 sm_70 sm_75 compute_37.那么一定是cuda版本的问题了。安装cuda版本不对。
问题解决
去torch的githup上和去cuda的官网上查看发现
A CUDA application binary (with one or more GPU kernels) can contain the compiled GPU code in two forms, binary cubin objects and forward-compatible PTX assembly for each kernel. Both cubin and PTX are generated for a certain target compute capability. A cubin generated for a certain compute capability is supported to run on any GPU with the same major revision and same or higher minor revision of compute capability. For example, a cubin generated for compute capability 7.0 is supported to run on a GPU with compute capability 7.5, however a cubin generated for compute capability 7.5 is not supported to run on a GPU with compute capability 7.0, and a cubin generated with compute capability 7.x is not supported to run on a GPU with compute capability 8.x.
(大概意思是说如果你gpu算力是7.5的话,算力是7的cuda可以在上边运行,但算力为7.5的cuda不能够在算力为7的gpu上运行。算力为7的cuda不能够在算力为8的gpu上运行。)说人话,就是cuda算力要低于或等于gpu的算法,但是跨版本就不行。
so综上所述我们要下算力为8的cuda才能够在gpu上运行程序。
2.在cuda官方文档中发现cuda10.2最高支持的是7.5的因此报错是正常的。
最常见的解决方式是升级Pytorch版本,新的版本增加了对新显卡架构的支持。但是有时候升级到1.10.0问题仍然没有解决,其实1.7.1版本的pytorch就已经支持3090,问题没有解决的原因大概率是CUDA版本的问题。3090显卡一般使用CUDA11+,而直接pip安装的pytorch可能是cuda10.2版本的,所以只依靠升级pytorch版本是不行的,还需要安装对应cuda版本的pytorch。
亲测有效
pip安装
直接使用pip安装 pip install torch==1.7.1+cu110 会报错,提示如下
Could not find a version that satisfies the requirement torch==1.7.1+cu110 (from versions: 1.4.0, 1.5.0, 1.5.1, 1.6.0, 1.7.0, 1.7.1, 1.8.0, 1.8.1, 1.9.0, 1.9.1, 1.10.0)
ERROR: No matching distribution found for torch==1.7.1+cu110
原因是在pip使用的镜像网站中没有指定cuda版本的torch链接,这时候需要去官网上找,可以看到pip 安装cuda11.3版本pytorch的命令
pip3 install torch==1.10.0+cu113 torchvision==0.11.1+cu113 torchaudio==0.10.0+cu113 -f https://download.pytorch.org/whl/cu113/torch_stable.html
我们可以去-f后面的网站找到对应的pytorch版本,也可以将cu113替换为其他版本的cuda,比如想要安装pytorch1.7.1+cuda11.0,可以使用下面的命令
pip3 install torch==1.7.1+cu110 torchvision==0.8.2+cu110 -f https://download.pytorch.org/whl/cu110/torch_stable.html
cuda版本
cuda可以向下兼容
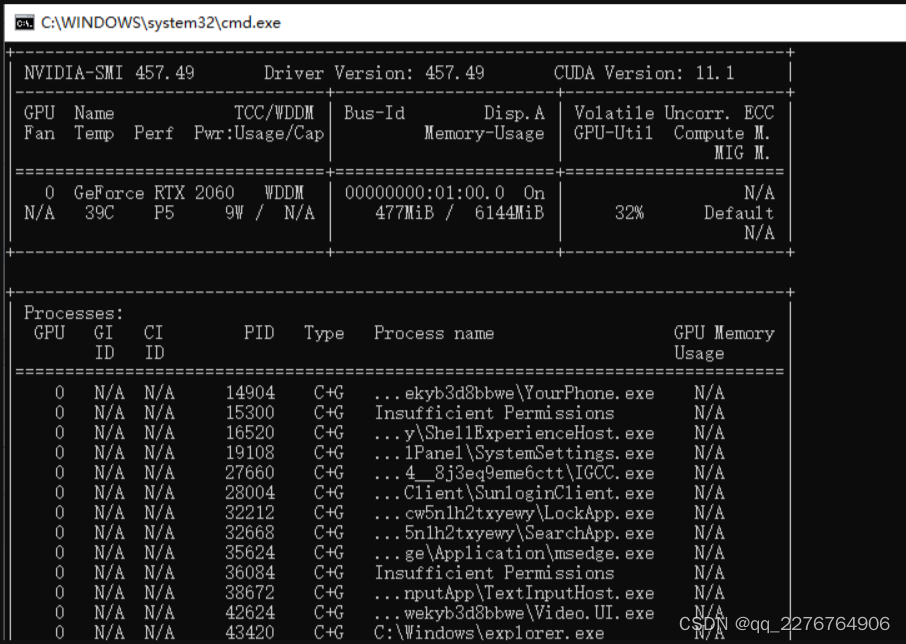
查看显卡信息
在命令行输入 nvidia-smi
查看cuda版本
命令行输入nvcc -V

release低于显卡的cuda即可。
若出现以下报错
VIDIA GeForce RTX 3090 with CUDA capability sm_86 is not compatible with the current PyTorch installation.The current PyTorch install supports CUDA capabilities sm_37 sm_50 sm_60 sm_61 sm_70 sm_75 compute_37.
分析:
这个错误表示你当前安装的PyTorch版本不支持你的NVIDIA GeForce RTX 3090显卡的CUDA能力。当前的PyTorch安装只支持较旧的CUDA计算能力。
解决方法
解决这个问题的方法是更新你的PyTorch版本,以支持你的显卡的CUDA能力。你可以尝试以下几种方法:
- 更新PyTorch: 检查你当前的PyTorch版本并尝试升级到最新版本。可以通过使用适当的命令来更新PyTorch(常见),如
 - pip install torch --upgrade
 - conda install pytorch torchvisioncudatoolkit=<your desired CUDA version>
2.安装适当的CUDA版本:
确保你的系统上安装了与你的显卡兼容的CUDA版本。你可以访问NVIDIA官方网站,下载和安装与你的显卡和PyTorch兼容的CUDA版本。
3.检查CUDA驱动程序:
确保你的系统上安装了适当版本的CUDA驱动程序。可以通过访问NVIDIA官方网站,下载和安装与你的显卡和PyTorch兼容的CUDA驱动程序。
请注意,更新PyTorch和CUDA版本时,确保与其他依赖项和系统要求保持兼容。在更新之前备份你的环境,并仔细阅读更新文档和系统要求。
SyntaxError: multiple statements found while compiling a single statement
这是因为整体复制过去运行而产生的错误;解决方案如下:
方法一:先将第一行复制,敲一下回车,再将剩下的部分复制过去,运行;
方法二:直接手动输入(推荐)
【tensorboard】解决ValueError: Duplicate plugins for name projector
启动tensorboard时出现
ValueError: Duplicate plugins for name projector
报错的原因就是安装重复插件(安装了多个tensorboard)。
因此我们只需要去删除就行
tensorboard一般在Lib\site-packages\中

删除tensorboard-2.9.1.dist-info即可
数据集
数据集路径
SIDD(train)放置位置
autodl-tmp/Restormer/Denoising/Datasets/Downloads/SIDD/0001_001_S6_00100_00060_3200_L
autodl-tmp/Restormer/Denoising/Datasets/Downloads/SIDD/0002_001_S6_00100_00020_3200_N
…
运行 generate_patches_sidd.py文件后,会在autodl-tmp/Restormer/Denoising/Datasets/ 路径下生成 train目录,存放切割好的训练数据集
SIDD(val)放置路径
autodl-tmp/Restormer/Denoising/Datasets/val/SIDD/input_crops
autodl-tmp/Restormer/Denoising/Datasets/val/SIDD/target_crops
SIDD(test)放置路径
autodl-tmp/Restormer/Denoising/Datasets/test/SIDD/ValidationGtBlocksSrgb.mat
autodl-tmp/Restormer/Denoising/Datasets/test/SIDD/ValidationNoisyBlocksSrgb.mat
SIDD(val)完善
官方给定验证数据集是不全的,完整数据集参考


 887
887


 被折叠的 条评论
为什么被折叠?
被折叠的 条评论
为什么被折叠?
 到【灌水乐园】发言


