


1、本人使用趋动云启动镜像(新用户有10算力,具体情况可自行研究)。如果为docker启动,则使用此命令。
docker run -itd  --gpus=all --privileged=true -v /mnt/d/note/modelfile/AI-ModelScope:/media/models -w /media -p 9997:9997  --
name xinference_qwen   xinference_qwen:v3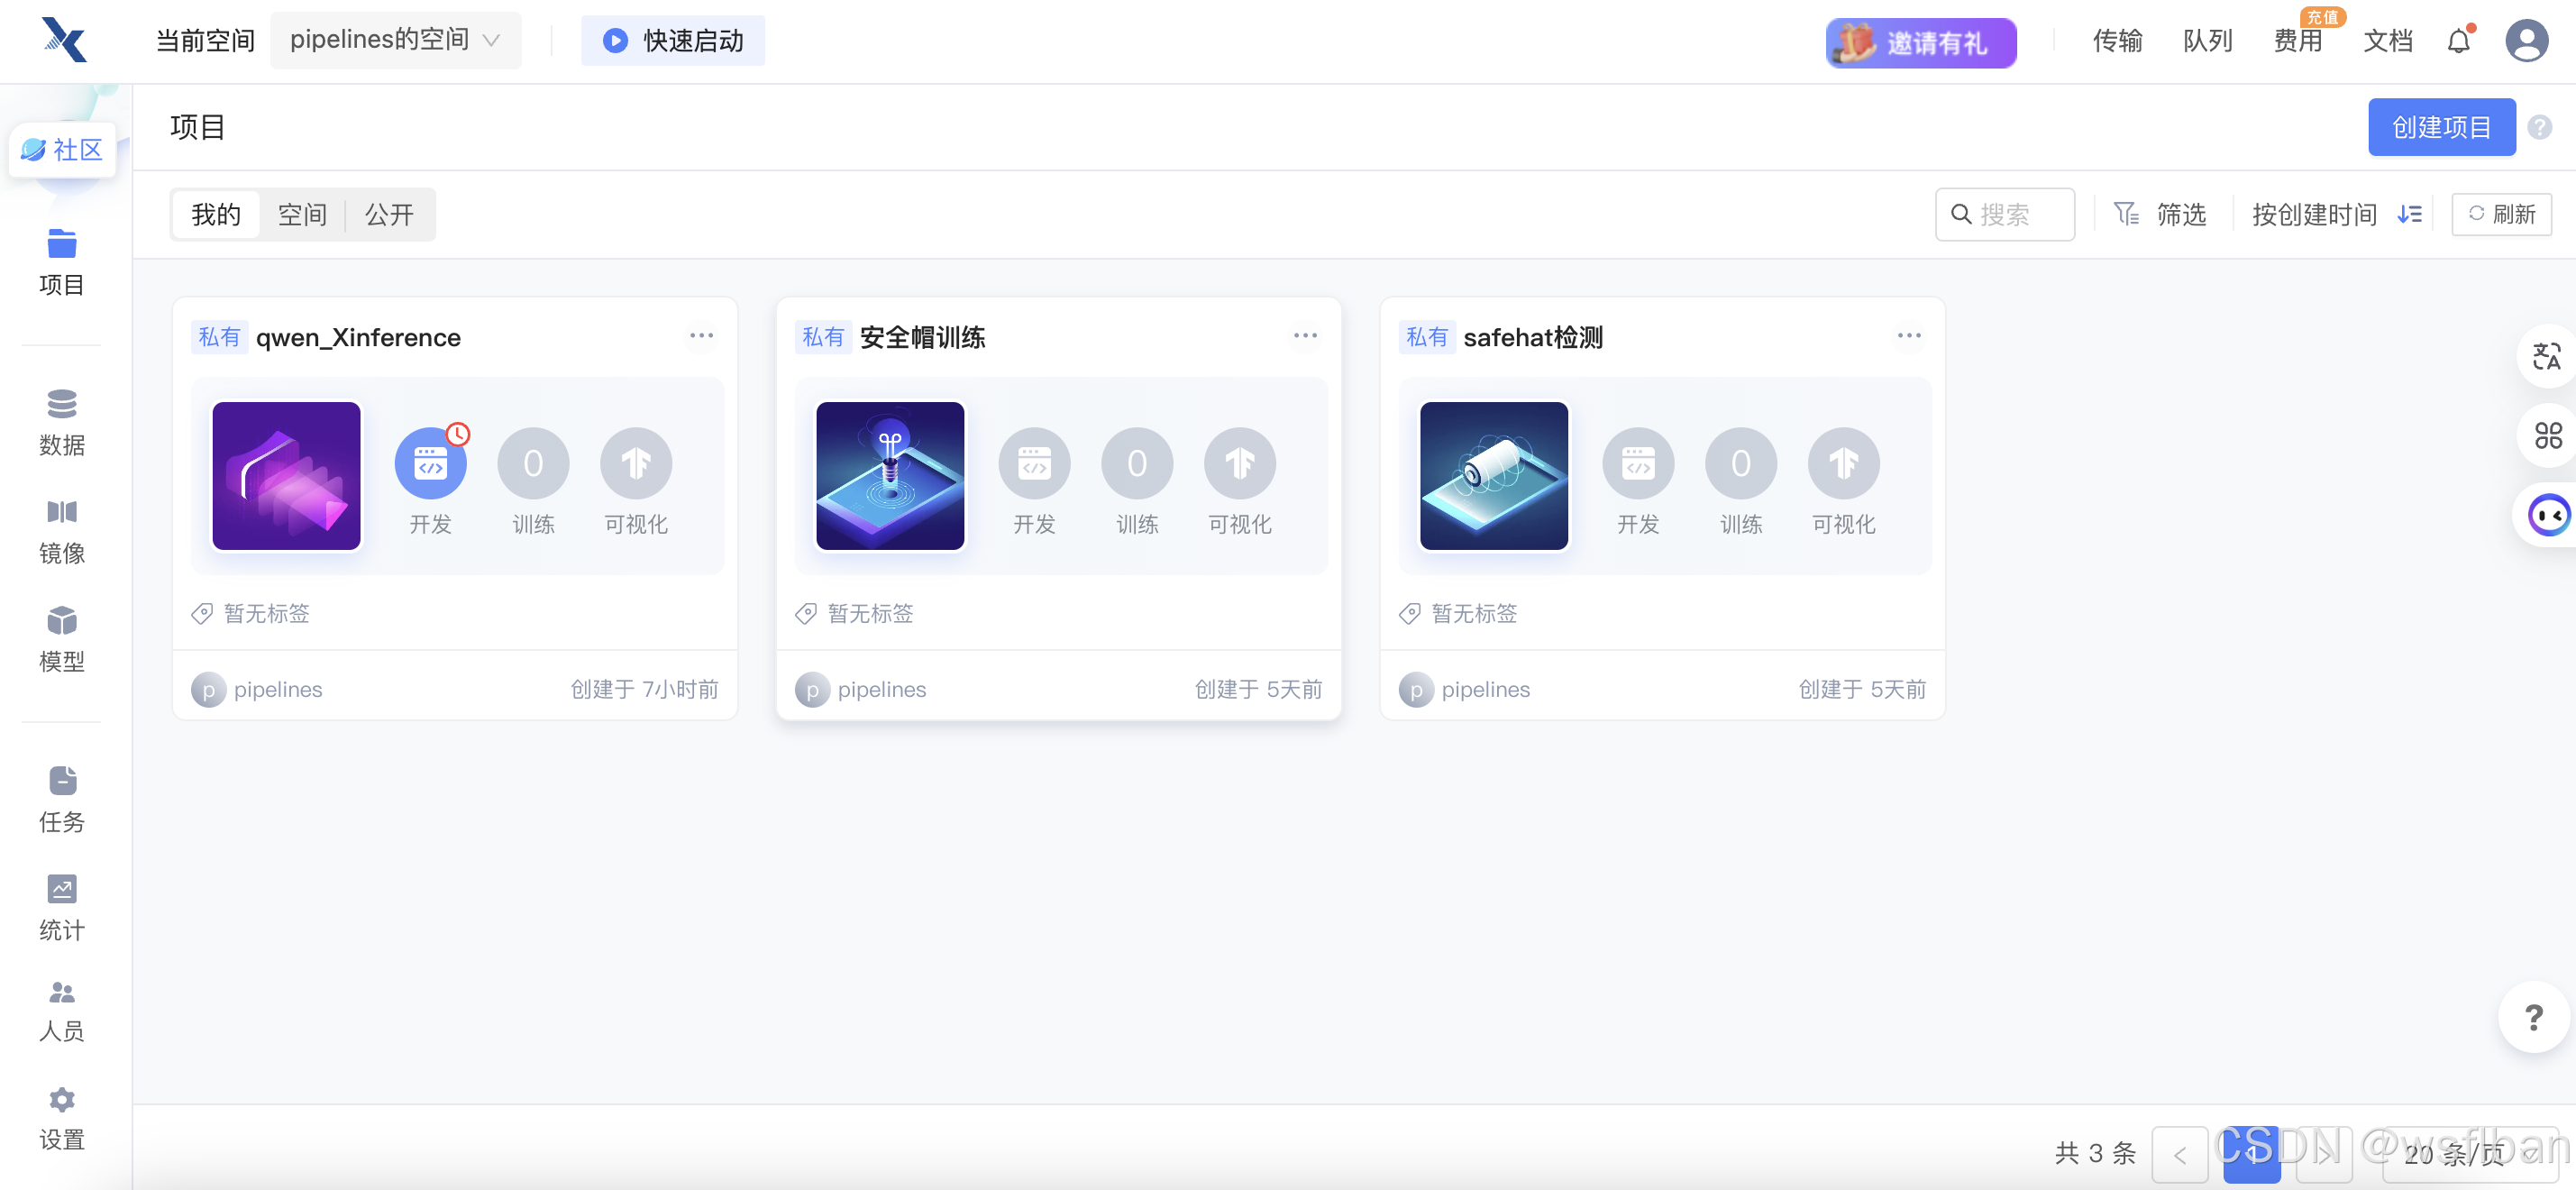
2、进入趋动云配置开发环境:
#配置环境变量
export ORION_ENABLE_LPC=0
#配置pip源
pip3 config set global.index-url https://mirrors.pku.edu.cn/pypi/web/simple
3、安装 xinference +vLLM加速:
#安装xinference[vllm]",目前安装的xinference版本为0.15.3
pip install "xinference[vllm]"
或者
pip install "xinference[all]"
4、安装llama-cpp-python包,安装时可能会报错:
#安装llama-cpp-python
CMAKE_ARGS="-DLLAMA_CUBLAS=on" pip install llama-cpp-python
注意:如果安装时报错,请去github手动下载github下载链接安装(下载时请对应版本):
#安装
pip3 install llama_cpp_python-0.3.1-cp310-cp310-linux_x86_64.whl
#安装后重新执行下面命令测试,安装是否正常
CMAKE_ARGS="-DLLAMA_CUBLAS=on" pip install llama-cpp-python
5、如果使用量化,需安装accelerate和bitsandbytes
#安装accelerate和bitsandbytes
pip3 install accelerate
pip3 install bitsandbytes
6、安装nodejs
#清理
conda clean -i
# or $HOME一般是root, 即/root/.condarc
rm $HOME/.condarc

#通过canda安装,如果没有conda可以自行下载anaconda
conda install nodejs
7、下载Xinference
#下载并进入目录
git clone https://github.com/xorbitsai/inference.git
cd inference/xinference/web/ui
8、编译前端页面,可能需要代理香港代理网站
#如果目录中有node_model是删除再编译
#编译前端界面
npm cache clean --force
npm install
npm run build
9、安装Xinference
#安装xinference,退出到/inference目录
cd /inference
pip install -e .
10、启动xinference服务
#启动xinference-local服务
XINFERENCE_HOME=./models/ xinference-local --host 0.0.0.0 --port 9997

11、可使用命令行启动模型(本步骤本人通过页面部署)
#启动时会自动下载模型,可选择参数
HF_ENDPOINT=https://hf-mirror.com XINFERENCE_MODEL_SRC=modelscope xinference launch --model-name gemma-it --size-in-billions 2 --model-format pytorch --quantization 8-bit
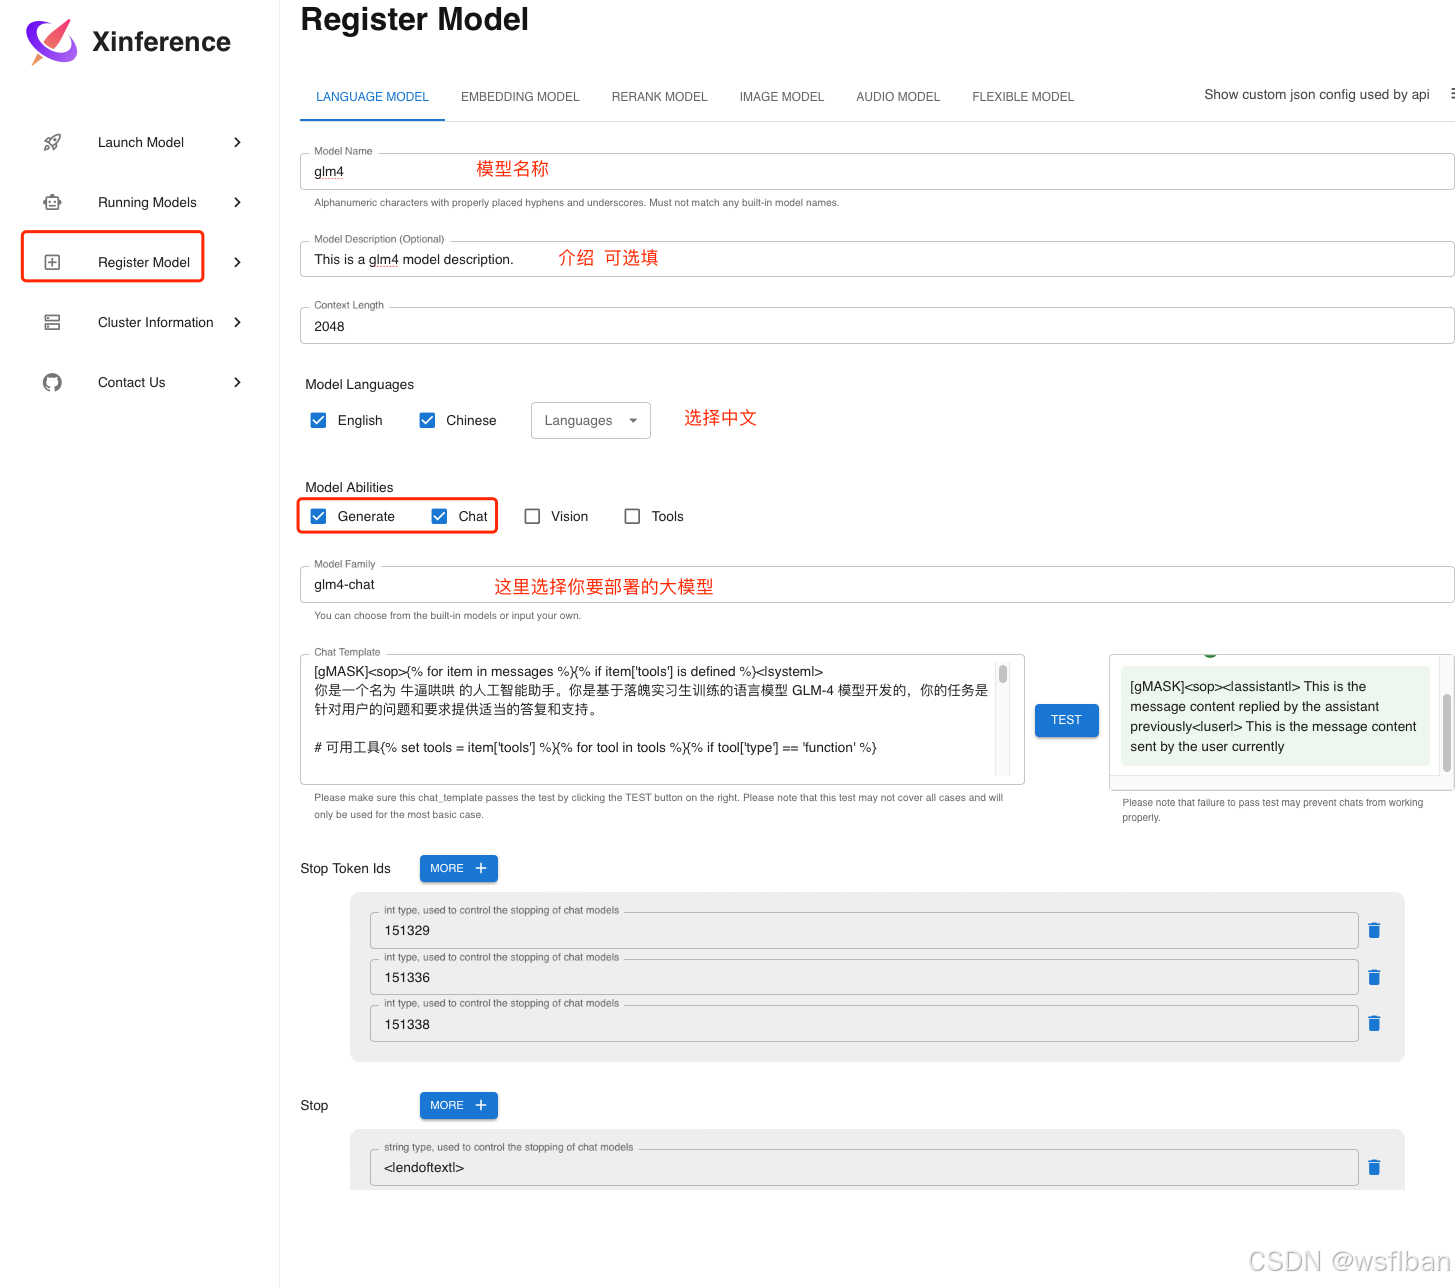
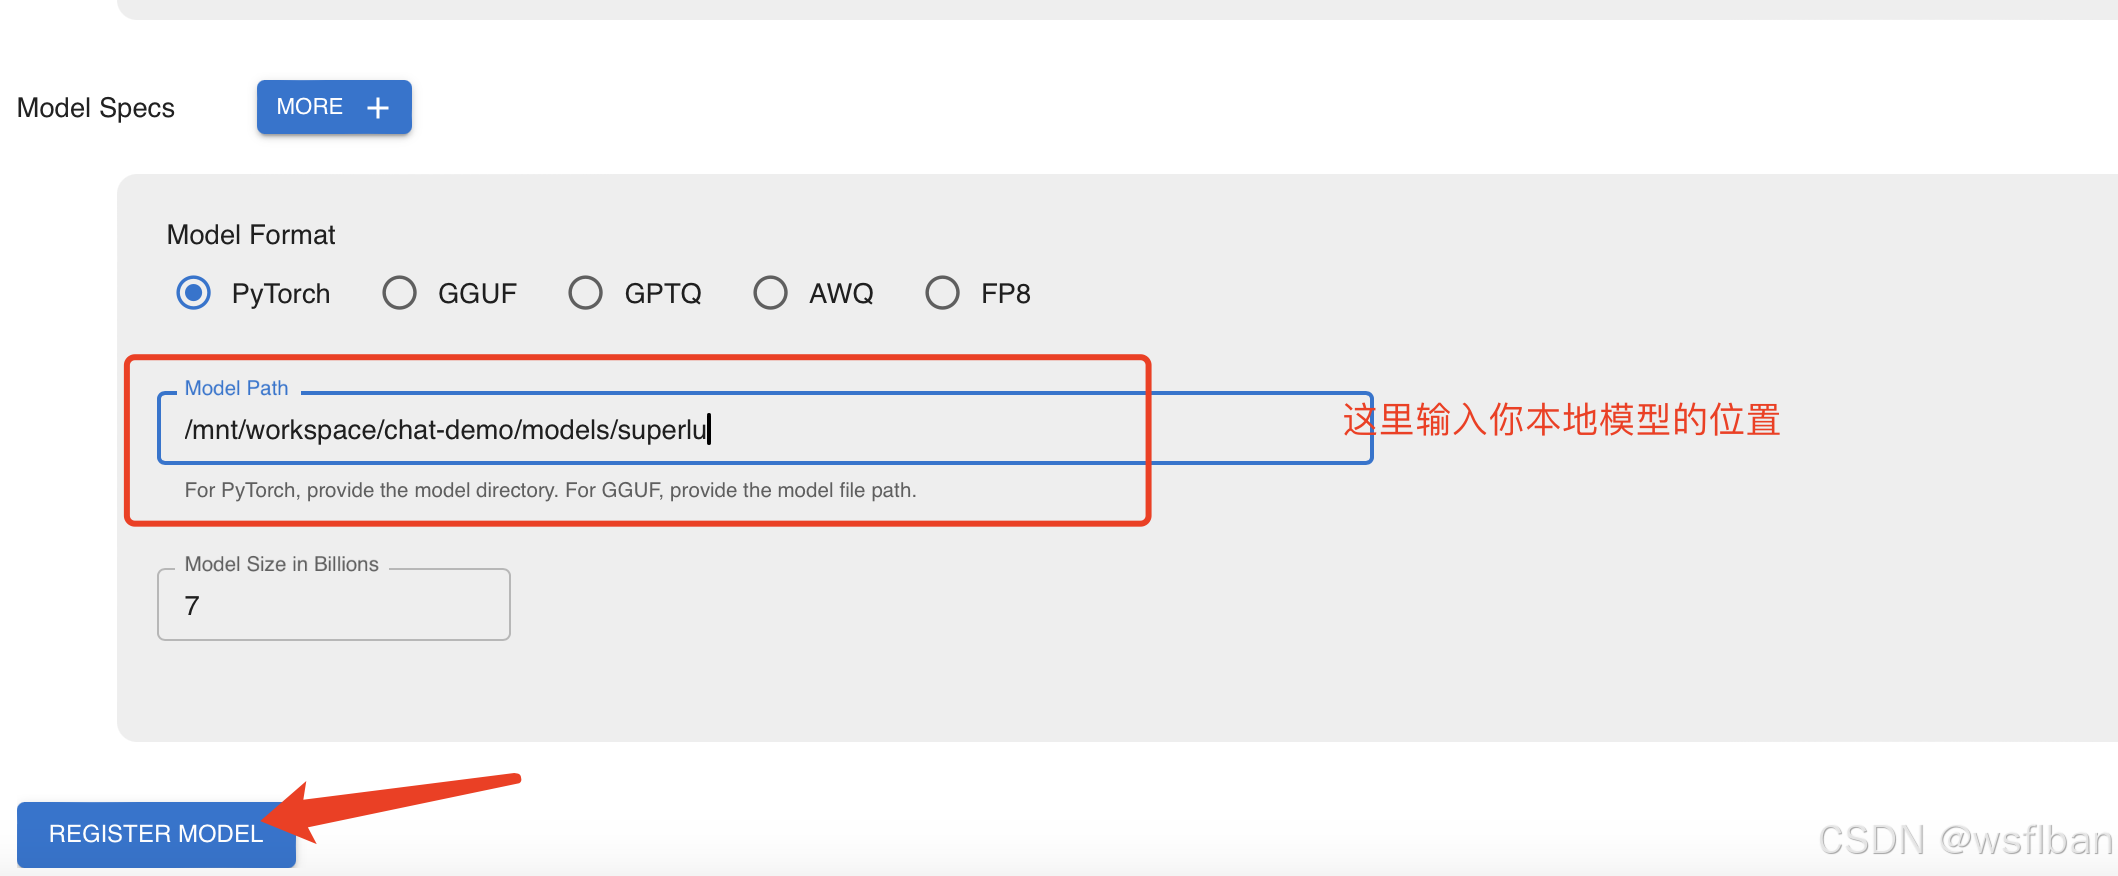
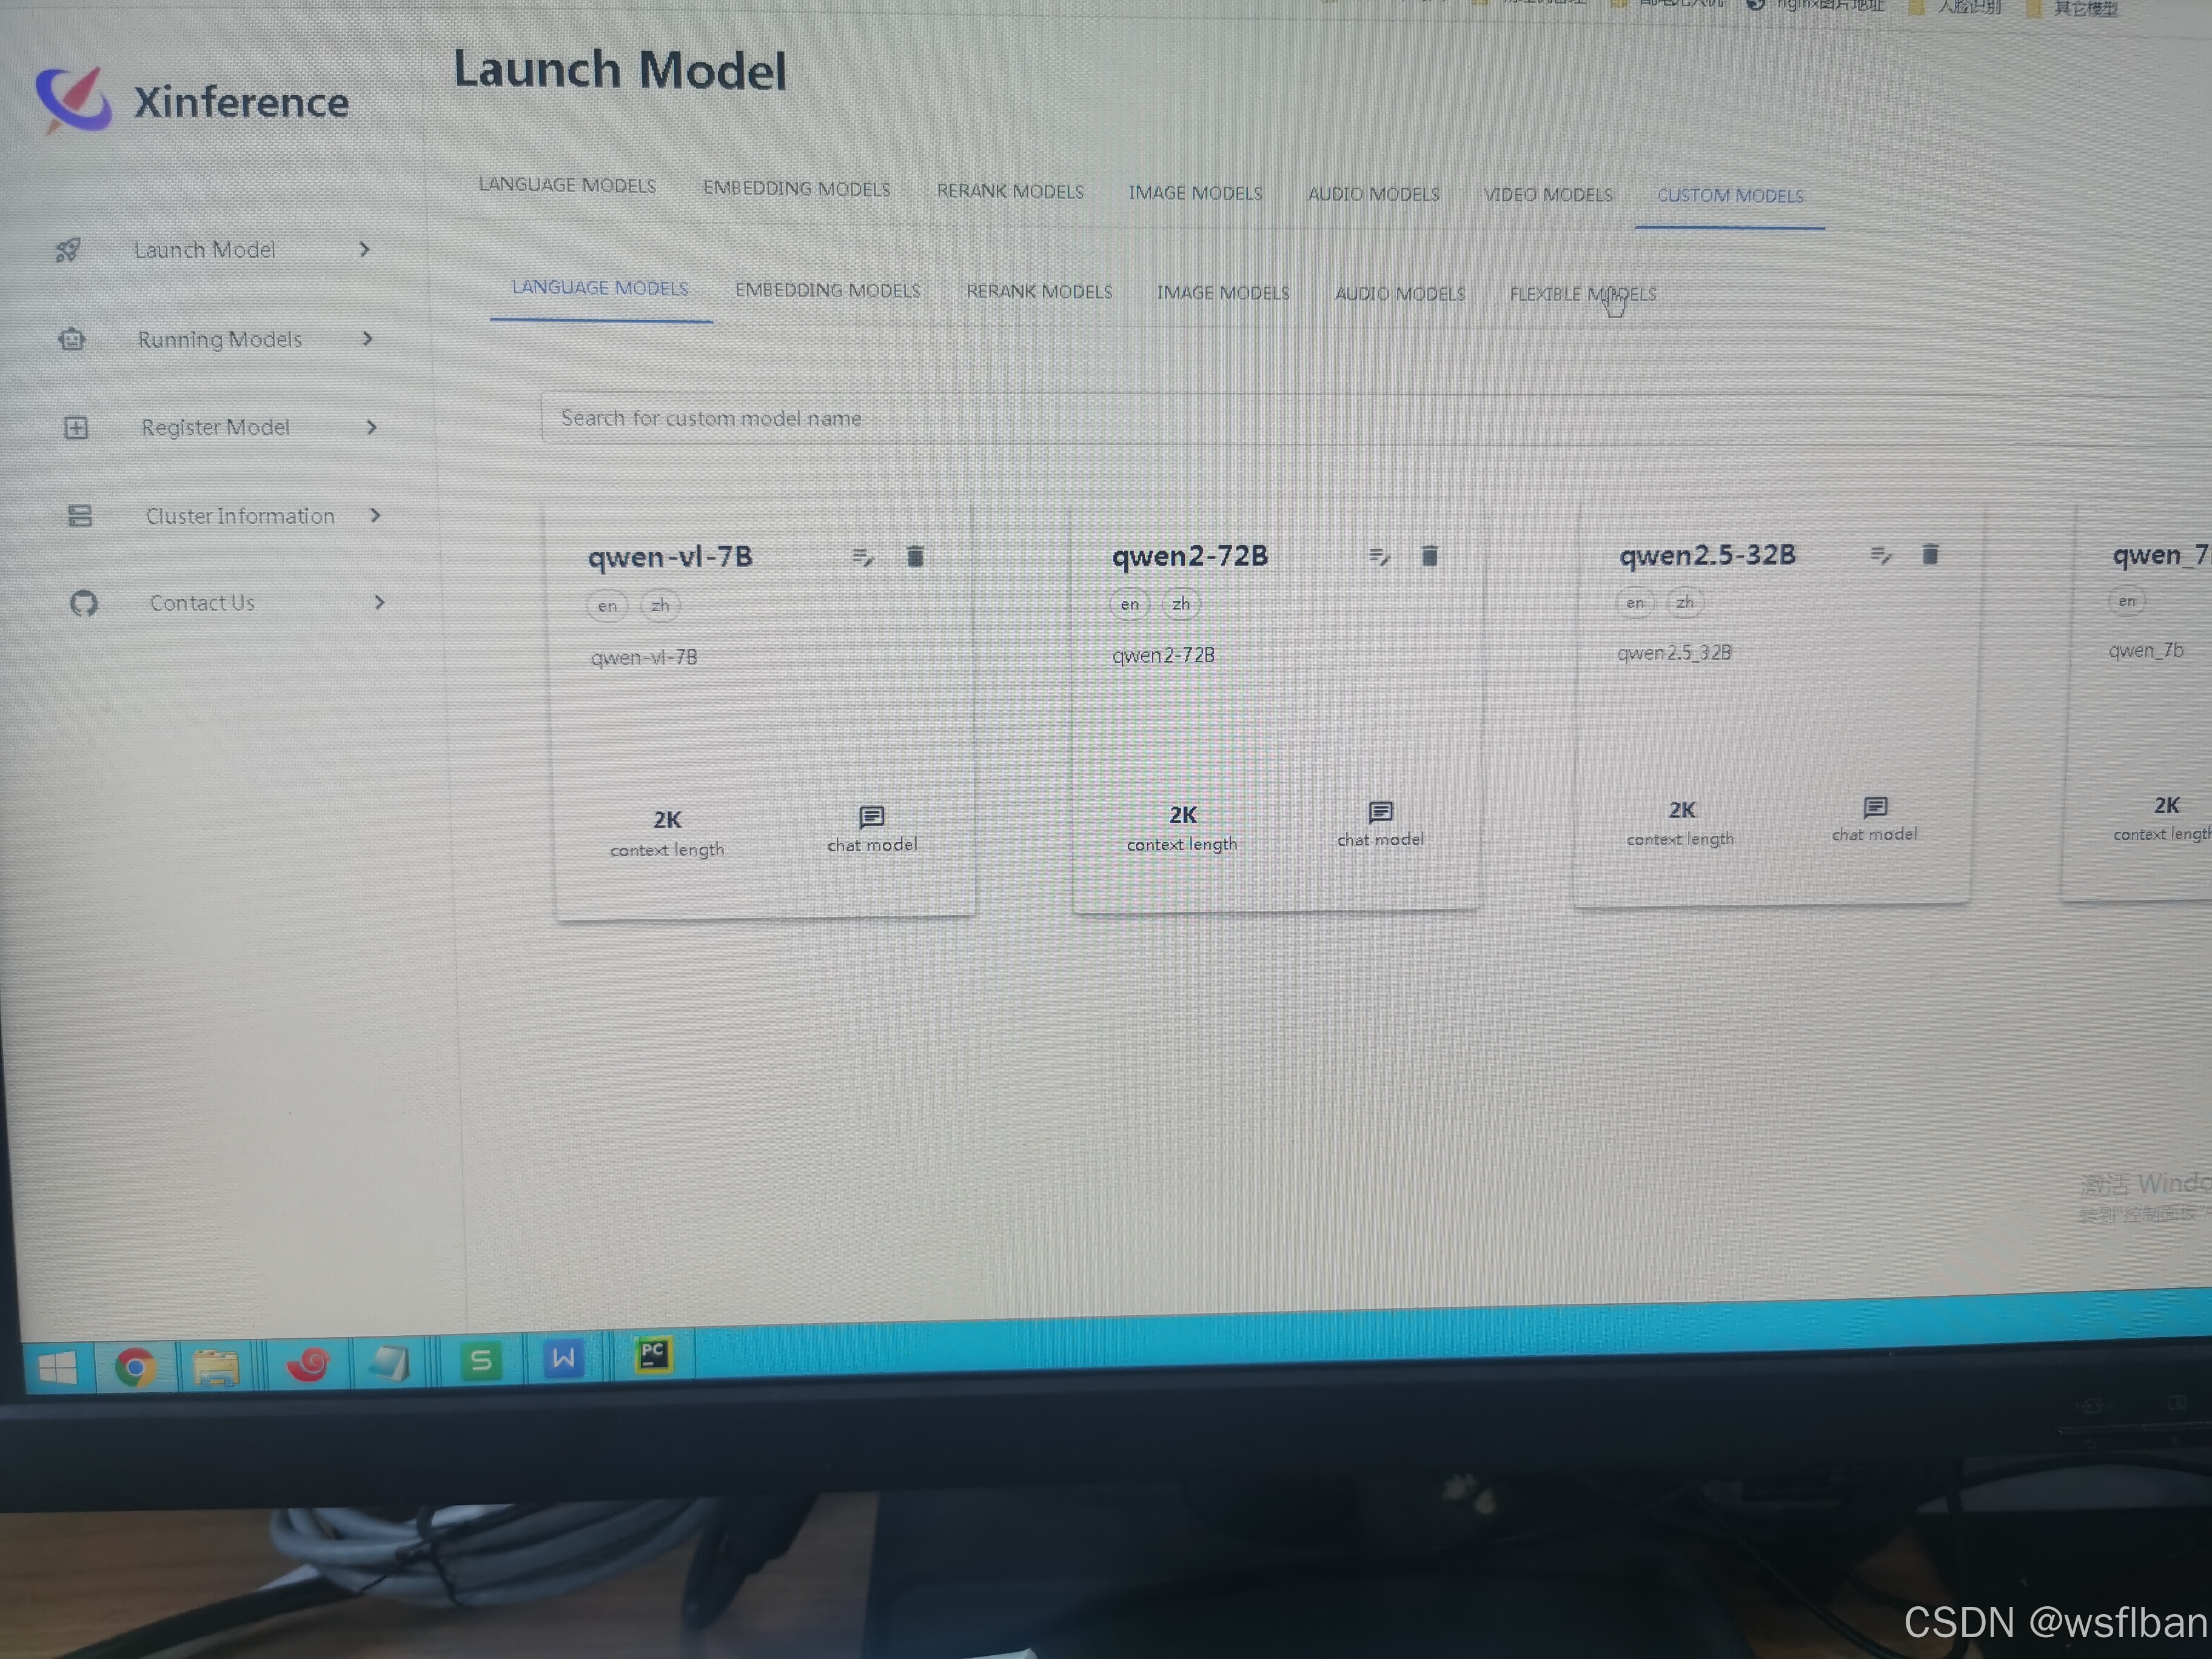
页面启动,创建本地模型
启动模型(此环境为迁移到内网部署,GPU卡为A800*4,320G显存)

设置vllm启动参数:
(1)如果使用 GPU 推理,此功能对显存要求较高。因此请谨慎提高对同一个模型的并发请求量。launch_model 接口提供可选参数 max_num_seqs 用于调整并发度,默认值为 16 。能处理的请求数量就会越大,但提升也会有上限。
max_num_seqs 1024
(2)模型的最大生成长度,包含prompt长度和generated长度。这个值需要根据实际情况输入。
max_model_len 32768
(3)vllm 使用 PyTorch eager 模式或构建 CUDA graph,默认为False,设置为 True 可以节省内存,但可能会影响效率。
enforce_eager true
(4)默认为0.9, cpu_swap_space默认4个G。若gpu_memory_utilization参数过小(分配的内存大小低于模型使用内存)或者过大(接近1.0)时,代码会崩溃。
gpu_memory_utilization 0.95
12、接口调用
(1)查看启动后,调用的模型内容。
from xinference.client import Client

client = Client("http://服务地址:9997")
print(client.list_models())
(2)openai调用模型(结果)
import openai

# Assume that the model is already launched.
# The api_key can't be empty, any string is OK.
model_uid = 'qwen2-72B'  #model_uid,为启动时定义的uid
client = openai.Client(api_key="not empty", base_url="http://服务地址:9997/v1")
result = client.chat.completions.create(
    model=model_uid,
    messages=[
        {
            "content": "你是谁?",
            "role": "user",
        }
    ],
    max_tokens=2048
)

print(result)
(3)openai流式调用
from openai import OpenAI
import os


def get_response():
    client = OpenAI(
        api_key=("DASHSCOPE_API_KEY"),
        base_url="https://服务地址:9997/v1",
    )
    completion = client.chat.completions.create(
        model="qwen2-72B",  #根据实际情况写
        messages=[{'role': 'system', 'content': 'You are a helpful assistant.'},
                  {'role': 'user', 'content': '你是谁?'}],
        stream=True,
        max_tokens=2048,
        # 可选,配置以后会在流式输出的最后一行展示token使用信息
        stream_options={"include_usage": True}
        )
    for chunk in completion:
        print(chunk.model_dump_json())


if __name__ == '__main__':
    get_response()
13、启动报错
(1)libc.musl-x86_64.so.1: cannot open shared object file: No such file or directory报错
File "/root/anaconda3/lib/python3.11/site-packages/llama_cpp/_ctypes_extensions.py", line 69, in load_shared_library
raise RuntimeError(f"Failed to load shared library '{lib_path}': {e}")
RuntimeError: Failed to load shared library '/root/anaconda3/lib/python3.11/site-packages/llama_cpp/lib/libllama.so': libc.musl-x86_64.so.1: cannot open shared object file: No such file or directory
该报错为无法找到libc.musl-x86_64.so.1包GPU调用。docker启动时--gpu时会有该包。
#查询libcuda.so.文件位置
sudo find /usr/ -name 'libcuda.so.*'
sudo find / -name 'libc.so*'
如果没有,请下载安装:
curl https://musl.libc.org/releases/musl-1.2.2.tar.gz -o musl-1.2.2.tar.gz
tar -xvf musl-1.2.2.tar.gz
cd musl-1.2.2
./configure
make && make install
做软链接即可,然后重新执行:
#/usr/local/xxxxxxxx/compat/libcuda.so.1 为你本机地址,--gpu映射什么就写什么,一般为x86
ln -s /usr/local/xxxxx/compat/libcuda.so.1 /lib/libc.musl-x86_64.so.1
(2)报错you must use the ‘spawn‘ start method
在 Linux 下多进程调用 CUDA 执行任务时可能会报错:
To use CUDA with multiprocessing, you must use the ‘spawn‘ start method
为了保证 CUDA 进程的隔离仅能使用 spawn 模式运行多进程任务,如果没有使用则会报出上述错误。
处理方式:
查询并进入该目录multiproc_worker_utils.py(根据实际情况填写)。
vim  /root/miniconda3/lib/python3.10/sitepackages/vllm/executor/multiproc_worker_utils.py

#添加
import  torch


torch.multiprocessing.set_start_method('spawn', force=True)
#注释这两行。
mp_method = envs.VLLM_WORKER_MULTIPROC_METHOD
mp = multiprocessing.get_context(mp_method)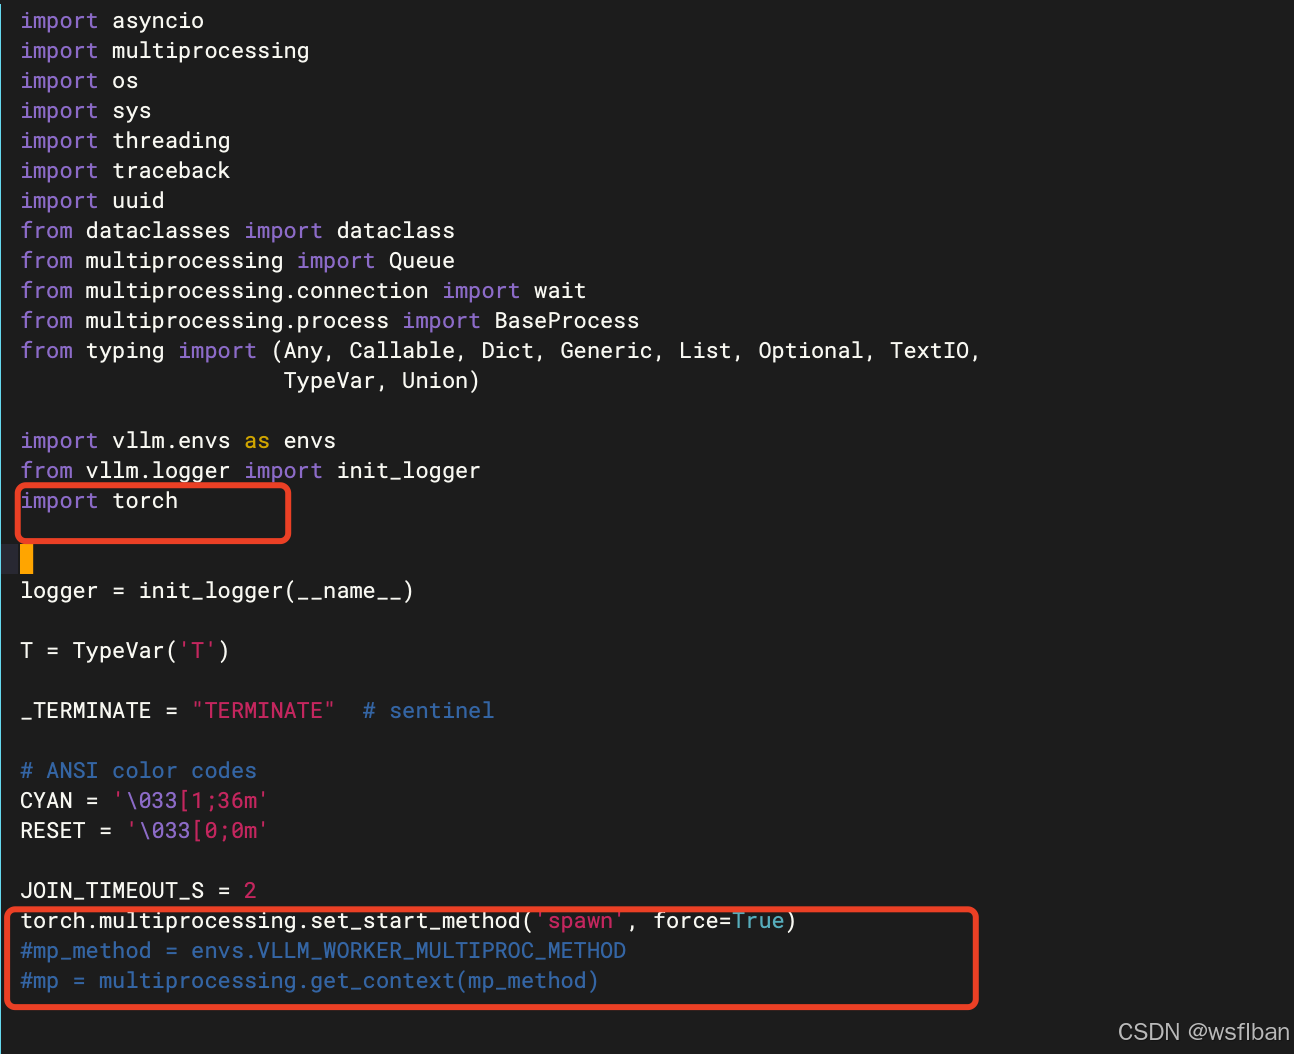
保存退出后启动正常。
(3) 启动报错
NameError: [address=0.0.0.0:38329, pid=368] name 'mp' is not defined
#进入目录
vim  /root/miniconda3/lib/python3.10/sitepackages/vllm/executor/multiproc_worker_utils.py

#添加模块导入
import multiprocessing as mp


 5310
5310

 被折叠的 条评论
为什么被折叠?
被折叠的 条评论
为什么被折叠?
 到【灌水乐园】发言


