


一、复现步骤
(1)创建环境
conda create -n maptr python=3.8 -y
conda activate maptr
(2)安装torch,需要提前安装好cuda和cudnn,教程很多这里就不赘述了
版本最好是 torch==1.9.1,cuda==11.1
pip install torch==1.9.1+cu111 torchvision==0.10.1+cu111 torchaudio==0.9.1 -f https://download.pytorch.org/whl/torch_stable.html(3)安装gcc(可选,可以跳过)
因为用提供的命令大概率安装失败
conda install -c omgarcia gcc-5 # gcc-6.2(4)安装 mmcv-full(注意版本一致)
我注释的命令会安装失败,要先安装mim,在通过mim安装,所以直接用第二行的
# pip install mmcv-full==1.4.0
pip install mmcv-full==1.4.0 -f https://download.openmmlab.com/mmcv/dist/cu111/torch1.9.0/index.html
(5)安装 mmdet 和 mmseg
pip install mmdet==2.14.0
pip install mmsegmentation==0.14.1
(6)安装timm
pip install timm(7)git 下代码
git clone https://github.com/hustvl/MapTR.git(8)先安装依赖
cd /path/to/MapTR
pip install -r requirement.txt
(9)Install mmdet3d and GKT
cd /path/to/MapTR/mmdetection3d
python setup.py develop
或者  pip install -v e . (不过这个没试过)

cd /path/to/MapTR/projects/mmdet3d_plugin/maptr/modules/ops/geometric_kernel_attn
python setup.py build install

cd ./projects/mmdet3d_plugin/maptr/modules/ops/geometric_kernel_attn
python setup.py build install
(10)其他包的安装和替换
删除 site-packages 里的 numpy 的 1.24.x 的版本的文件夹
pip install scikit-image==0.19.3
pip install -U scikit-learn==0.24.1
pip install nuscenes-devkit(或==1.1.11, 原来1.0.5有很多属性没有,所以要新一点的版本)
pip install matplotlib==3.1.1
pip install pandas==1.1.5
pip install numba==0.48.0
pip install networkx==2.3
pip install numpy==1.23.4
pip install ipython

可视化需要:
pip install yapf==0.40.1
会出现 numpy、networkx 和 mmdet3d 不兼容的问题,不用管他
(因为在 mmdetection3d-requirements-runtime.txt 里设置的,修改就没了,所以这里不管他)
(11)Prepare pretrained models
cd /path/to/MapTR
mkdir ckpts

cd ckpts
wget https://download.pytorch.org/models/resnet50-19c8e357.pth
wget https://download.pytorch.org/models/resnet18-f37072fd.pth
(12)运行前设置当前工作目录
export PYTHONPATH=$PYTHONPATH:"./"(13)准备数据集
路径如下:
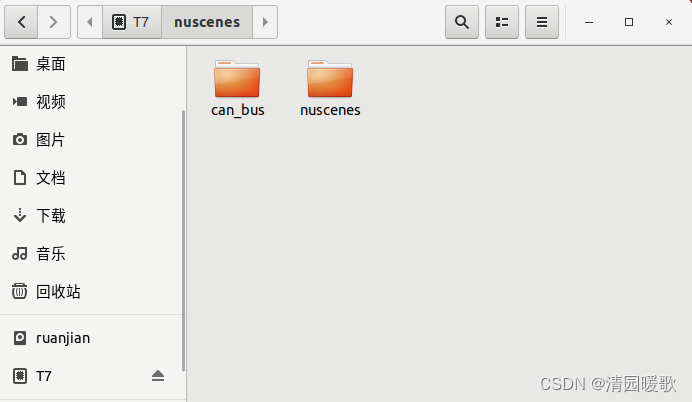
python tools/maptrv2/custom_nusc_map_converter.py --root-path /media/xb/T7/nuscenes/nuscenes --out-dir /media/xb/T7/nuscenes/nuscenes --extra-tag nuscenes --version v1.0 --canbus /media/xb/T7/nuscenes(14)test
要修改 config 文件的 data_root ,换成自己的路径
data_root = '/media/xb/T7/nuscenes/nuscenes/'运行:
python ./tools/test.py ./projects/configs/maptrv2/maptrv2_nusc_r50_24ep_w_centerline_fastbev/7_lvl_depth_seg_3.py ./ckpts/7_lvl_depth_seg_3.pth --eval chamfer最后要加上评价指标的参数,原命令最后的 4 就不要了
(15)可视化
python tools/maptrv2/nusc_vis_pred.py ./projects/configs/maptrv2/maptrv2_nusc_r50_24ep_w_centerline_fastbev/7_lvl_depth_seg_3.py ./ckpts/7_lvl_depth_seg_3.pth(16)生成视频
python tools/maptr/generate_video.py /media/xb/ruanjian/MapTRV2/save_val --video-name demo_v2
MapTRv2/GeMap环境安装与运行_maptr环境配置-CSDN博客
二、其他
问题解决参考(很有帮助):
其他参考,直接到github上看源代码,有的没有什么什么包、属性啥的没有,可能就是版本的问题,换个版本就行:
MapTR/mmdetection3d/requirements/runtime.txt at maptrv2 · hustvl/MapTR · GitHub
test:
python tools/test.py projects/configs/maptrv2/maptrv2_nusc_r50_24ep_w_centerline.py ckpts/maptrv2_nusc_r50_24ep_w_centerline.pth --eval chamfer
visualize:
python tools/maptrv2/nusc_vis_pred2.py projects/configs/maptrv2/maptrv2_nusc_r50_24ep_w_centerline.py ckpts/maptrv2_nusc_r50_24ep_w_centerline.pth


 41
41

 被折叠的 条评论
为什么被折叠?
被折叠的 条评论
为什么被折叠?
 到【灌水乐园】发言


