


代码解读
1. 鉴权参数的生成
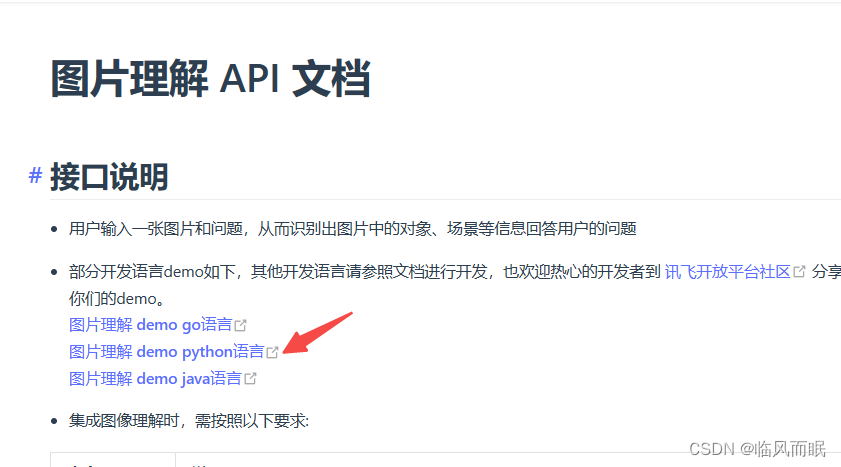
要调用讯飞的API,我们首先需要进行签名验证。这里定义了一个Ws_Param类来生成签名和鉴权参数:
class Ws_Param(object):
    # 初始化
    def __init__(self, APPID, APIKey, APISecret, imageunderstanding_url):
        self.APPID = APPID
        self.APIKey = APIKey
        self.APISecret = APISecret
        self.host = urlparse(imageunderstanding_url).netloc
        self.path = urlparse(imageunderstanding_url).path
        self.ImageUnderstanding_url = imageunderstanding_url

    # 生成url
    def create_url(self):
        # 生成RFC1123格式的时间戳
        now = datetime.now()
        date = format_date_time(mktime(now.timetuple()))

        # 拼接字符串
        signature_origin = "host: " + self.host + "\n"
        signature_origin += "date: " + date + "\n"
        signature_origin += "GET " + self.path + " HTTP/1.1"

        # 进行hmac-sha256进行加密
        signature_sha = hmac.new(self.APISecret.encode('utf-8'), signature_origin.encode('utf-8'),
                                 digestmod=hashlib.sha256).digest()
        signature_sha_base64 = base64.b64encode(signature_sha).decode(encoding='utf-8')

        authorization_origin = f'api_key="{self.APIKey}", algorithm="hmac-sha256", headers="host date request-line", signature="{signature_sha_base64}"'
        authorization = base64.b64encode(authorization_origin.encode('utf-8')).decode(encoding='utf-8')

        # 将请求的鉴权参数组合为字典
        v = {
            "authorization": authorization,
            "date": date,
            "host": self.host
        }
        # 拼接鉴权参数,生成url
        url = self.ImageUnderstanding_url + '?' + urlencode(v)
        return url
在create_url()方法中,按照讯飞API文档的签名生成方法,使用appid、APIKey、APISecret等信息生成了签名。并最终拼接成包含鉴权参数的websocket连接URL。
2. websocket的连接与消息处理
使用websocket-client库来创建websocket连接,并定义了几个回调函数:
# 收到websocket连接建立的处理
def on_open(ws):
    thread.start_new_thread(run, (ws,))

def run(ws, *args):
    data = json.dumps(gen_params(appid=ws.appid, question= ws.question ))
    ws.send(data)

# 收到websocket消息的处理
def on_message(ws, message):
    data = json.loads(message)
    code = data['header']['code']
    if code != 0:
        print(f'请求错误: {code}, {data}')
        ws.close()
    else:
        choices = data["payload"]["choices"]
        status = choices["status"]
        content = choices["text"][0]["content"]
        st.session_state.answer += content
        if status == 2:
            ws.close()
在on_open()回调函数中,会发送请求参数。请求参数通过gen_params()函数生成,包含了API文档中定义的各个参数,如app_id、domain、temperature、图片base64数据、用户问题等。
在on_message()回调函数中,会处理服务器返回的消息。如果返回码为0表示请求成功,就解析出回复文本并显示。如果有错误就打印出错误信息。
3. Streamlit界面
使用Streamlit来创建用户交互界面:
def app():
if 'answer' not in st.session_state:
st.session_state.answer = ""
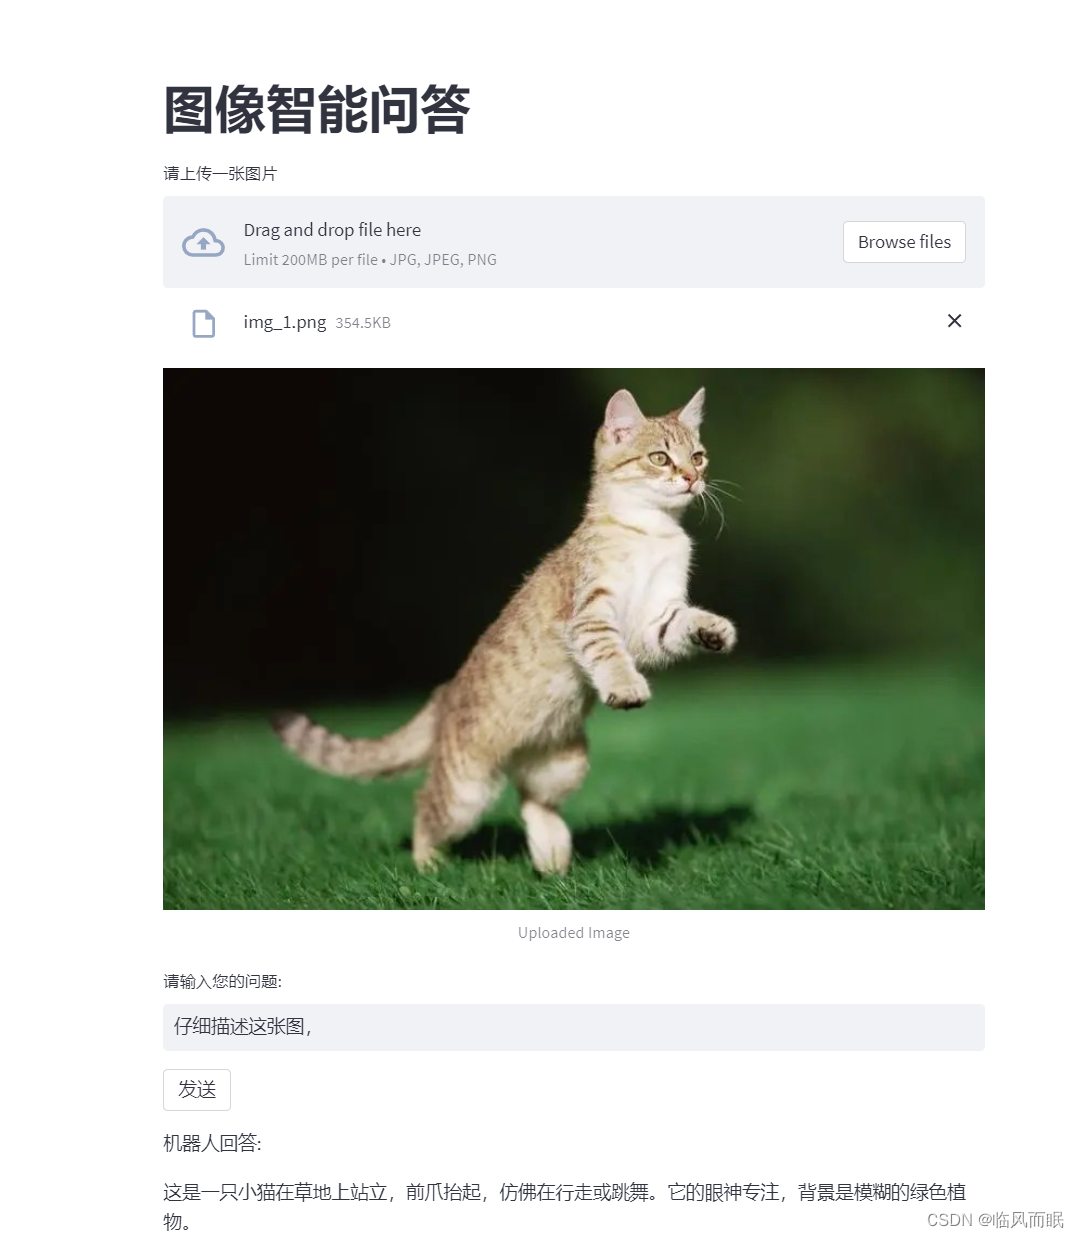
st.title("图像智能问答")
uploaded_file = st.file_uploader("请上传一张图片", type=["jpg", "jpeg", "png"])
if uploaded_file is not None:
imagedata = uploaded_file.read()
st.image(imagedata, caption='Uploaded Image', use_column_width=True)
text[0]["content"] = str(base64.b64encode(imagedata), 'utf-8')
user_input = st.text_input("请输入您的问题:")
if st.button("发送"):
if user_input:
question = checklen(getText("user",user_input))
st.session_state.answer = ""
main(appid, api_key, api_secret, imageunderstanding_url, question)
getText("assistant", st.session_state.answer)
st.markdown("机器人回答:")
st.write(st.session_state.answer)
界面主要包括:
- 图片上传组件,用于读取用户上传的图片,并转换成base64
- 问题输入框,用于用户输入问题
- 发送按钮,点击后会发送图片和问题到图像理解服务
- 显示区域,用于展示AI的回复结果
4. 会话管理
为了实现多轮对话,代码使用了Streamlit的session_state来存储对话历史:
def getText(role, content):
    jsoncon = {}
    jsoncon["role"] = role
    jsoncon["content"] = content
    text.append(jsoncon)
    return text

def checklen(text):
    while (getlength(text[1:])> 8000):
        del text[1]
    return text
每次发送新问题时,会将新的问题添加到text数组中,作为新的一轮对话。在回调函数中,会将AI的回复也添加到text中。
同时使用getlength()和checklen()函数来计算并限制传给API的文本长度,确保不超过文档规定的上限。
完整代码
import _thread as thread
import base64
import datetime
import hashlib
import hmac
import json
from urllib.parse import urlparse
import ssl
from datetime import datetime
from time import mktime
from urllib.parse import urlencode
from wsgiref.handlers import format_date_time
import websocket
import streamlit as st
from config import APPID, API_KEY, API_SECRET

appid = APPID
api_secret = API_SECRET
api_key = API_KEY


imageunderstanding_url = "wss://spark-api.cn-huabei-1.xf-yun.com/v2.1/image"#云端环境的服务地址
text =[{"role": "user", "content": "", "content_type":"image"}]

class Ws_Param(object):
    # 初始化
    def __init__(self, APPID, APIKey, APISecret, imageunderstanding_url):
        self.APPID = APPID
        self.APIKey = APIKey
        self.APISecret = APISecret
        self.host = urlparse(imageunderstanding_url).netloc
        self.path = urlparse(imageunderstanding_url).path
        self.ImageUnderstanding_url = imageunderstanding_url

    # 生成url
    def create_url(self):
        # 生成RFC1123格式的时间戳
        now = datetime.now()
        date = format_date_time(mktime(now.timetuple()))

        # 拼接字符串
        signature_origin = "host: " + self.host + "\n"
        signature_origin += "date: " + date + "\n"
        signature_origin += "GET " + self.path + " HTTP/1.1"

        # 进行hmac-sha256进行加密
        signature_sha = hmac.new(self.APISecret.encode('utf-8'), signature_origin.encode('utf-8'),
                                 digestmod=hashlib.sha256).digest()

        signature_sha_base64 = base64.b64encode(signature_sha).decode(encoding='utf-8')

        authorization_origin = f'api_key="{self.APIKey}", algorithm="hmac-sha256", headers="host date request-line", signature="{signature_sha_base64}"'

        authorization = base64.b64encode(authorization_origin.encode('utf-8')).decode(encoding='utf-8')

        # 将请求的鉴权参数组合为字典
        v = {
            "authorization": authorization,
            "date": date,
            "host": self.host
        }
        # 拼接鉴权参数,生成url
        url = self.ImageUnderstanding_url + '?' + urlencode(v)
        return url

# 收到websocket错误的处理
def on_error(ws, error):
    print("### error:", error)

# 收到websocket关闭的处理
def on_close(ws,one,two):
    print("### closed ###")

# 收到websocket连接建立的处理
def on_open(ws):
    thread.start_new_thread(run, (ws,))

def run(ws, *args):
    data = json.dumps(gen_params(appid=ws.appid, question= ws.question ))
    ws.send(data)

# 收到websocket消息的处理
def on_message(ws, message):
    data = json.loads(message)
    code = data['header']['code']
    if code != 0:
        print(f'请求错误: {code}, {data}')
        ws.close()
    else:
        choices = data["payload"]["choices"]
        status = choices["status"]
        content = choices["text"][0]["content"]
        st.session_state.answer += content
        if status == 2:
            ws.close()

def gen_params(appid, question):

    data = {
        "header": {
            "app_id": appid
        },
        "parameter": {
            "chat": {
                "domain": "image",
                "temperature": 0.5,
                "top_k": 4,
                "max_tokens": 2028,
                "auditing": "default"
            }
        },
        "payload": {
            "message": {
                "text": question
            }
        }
}

    return data

def main(appid, api_key, api_secret, imageunderstanding_url,question):

    wsParam = Ws_Param(appid, api_key, api_secret, imageunderstanding_url)
    websocket.enableTrace(False)
    wsUrl = wsParam.create_url()
    ws = websocket.WebSocketApp(wsUrl, on_message=on_message, on_error=on_error, on_close=on_close, on_open=on_open)
    ws.appid = appid
    ws.question = question
    ws.run_forever(sslopt={"cert_reqs": ssl.CERT_NONE})

def getText(role, content):
    jsoncon = {}
    jsoncon["role"] = role
    jsoncon["content"] = content
    text.append(jsoncon)
    return text

def getlength(text):
    length = 0
    for content in text:
        temp = content["content"]
        leng = len(temp)
        length += leng
    return length

def checklen(text):
    while (getlength(text[1:])> 8000):
        del text[1]
    return text

# Streamlit应用
def app():

    if 'answer' not in st.session_state:
        st.session_state.answer = ""

    st.title("图像智能问答")

    uploaded_file = st.file_uploader("请上传一张图片", type=["jpg", "jpeg", "png"])

    if uploaded_file is not None:
        imagedata = uploaded_file.read()
        st.image(imagedata, caption='Uploaded Image', use_column_width=True)
        text[0]["content"] = str(base64.b64encode(imagedata), 'utf-8')

        user_input = st.text_input("请输入您的问题:")

        if st.button("发送"):
            print(APPID, API_KEY, API_SECRET)
            if user_input:
                question = checklen(getText("user",user_input))
                st.session_state.answer = ""  # 清空之前的回答
                main(appid, api_key, api_secret, imageunderstanding_url, question)
                getText("assistant", st.session_state.answer)

        st.markdown("机器人回答:")
        st.write(st.session_state.answer)

if __name__ == '__main__':
    app()
效果


 7033
7033


 被折叠的 条评论
为什么被折叠?
被折叠的 条评论
为什么被折叠?
 到【灌水乐园】发言


