


1.微调简介
微调AI大模型,要求非常高的电脑配置,特别是高配置的GPU,如果要使用个人电脑配置,那成本有点高,目前魔塔社区,为新用户提供了几十个小时高配置电脑的使用服务,话不多说,直接开始
2 准备账号和环境
魔塔社区的集成环境是要关联阿里云服务环境的,如果没有阿里云的账号,那就要注册阿里云:阿里云-计算,为了无法计算的价值
接下来,再注册和登录魔搭的账号:https://modelscope.cn/home
注册完成后,按照下面的箭头操作。
先点击我的Notebook,再点击GPU环境
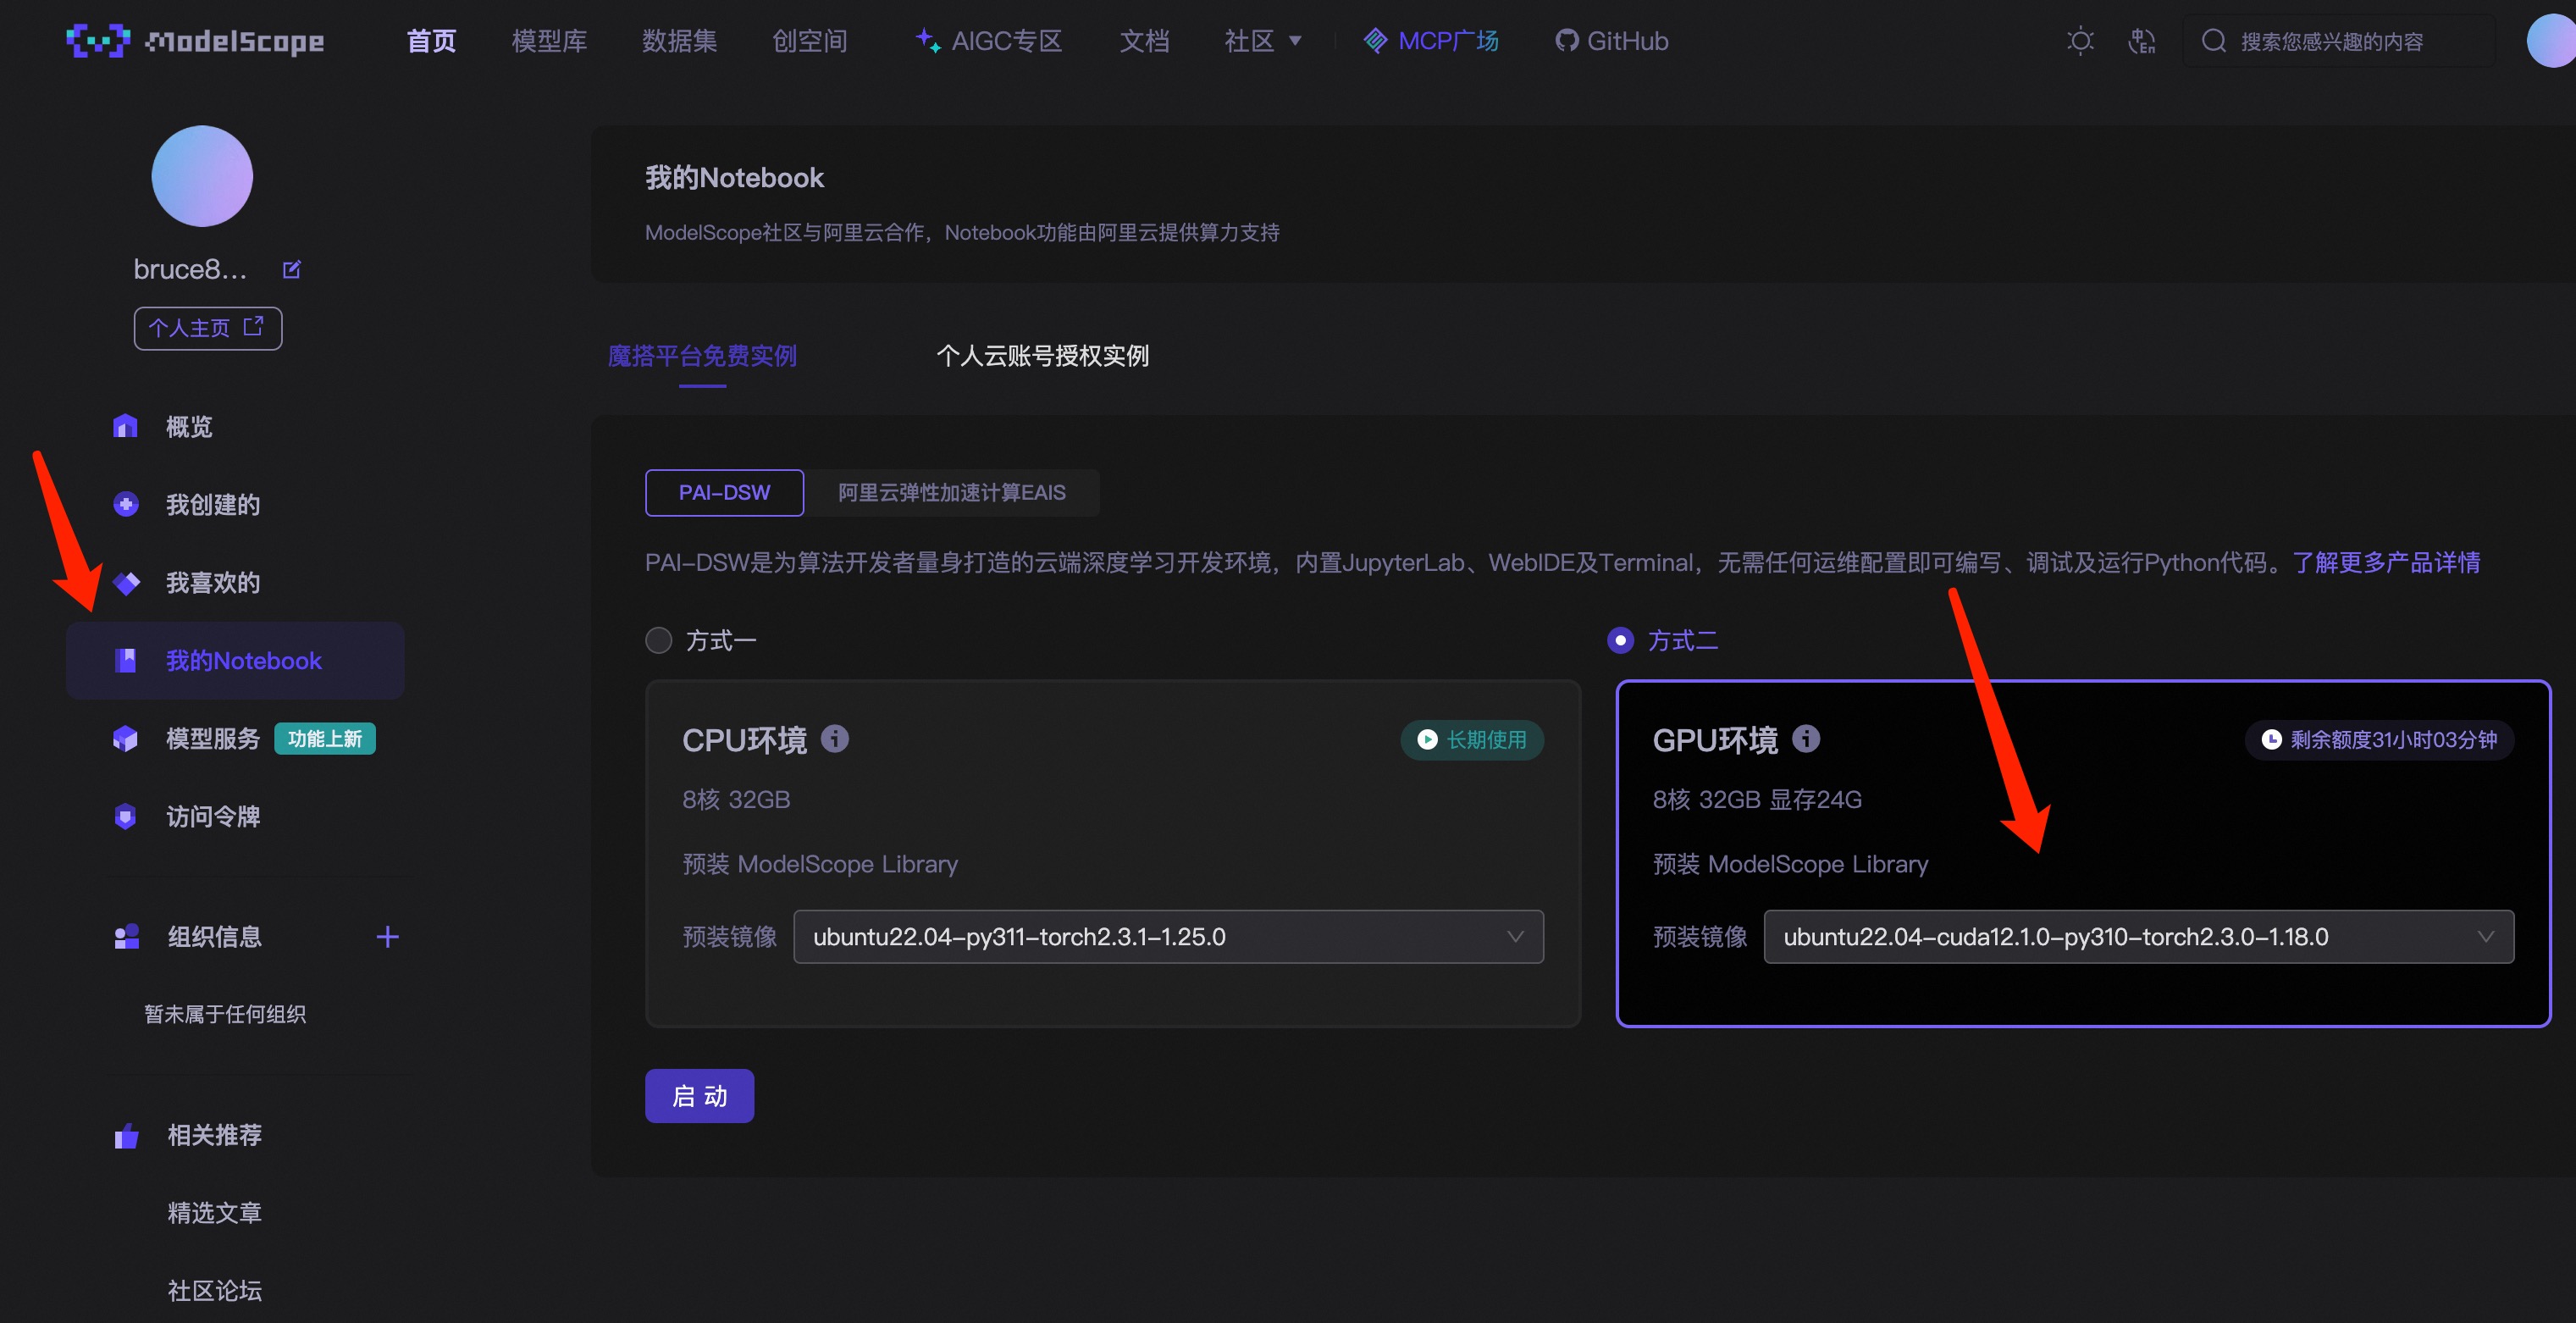 文章推荐使用的环境版本是:
| 软件 | 版本 |
| unbuntu | 22.04 |
| cuda | 12.1.0 |
| python | 3.10 |
| torch | 2.3.0 |
点击启动之后,等待大概两分钟之后,就可以点击"查看NoteBook",进入魔塔社区内置的JupyterLab的功能,然后找到NoteBook标签,新建一个NoteBook
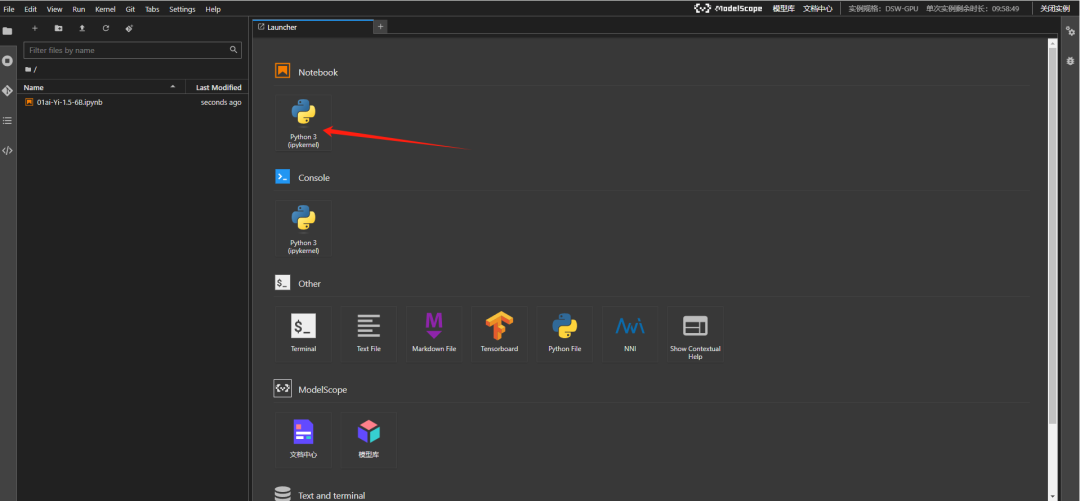
增添一个代码块,并执行以下命令
!pip3 install --upgrade pip
!pip3 install bitsandbytes>=0.39.0
拉取 LLaMA-Factory,过程大约需要几分钟
!git clone --depth 1 https://github.com/hiyouga/LLaMA-Factory.git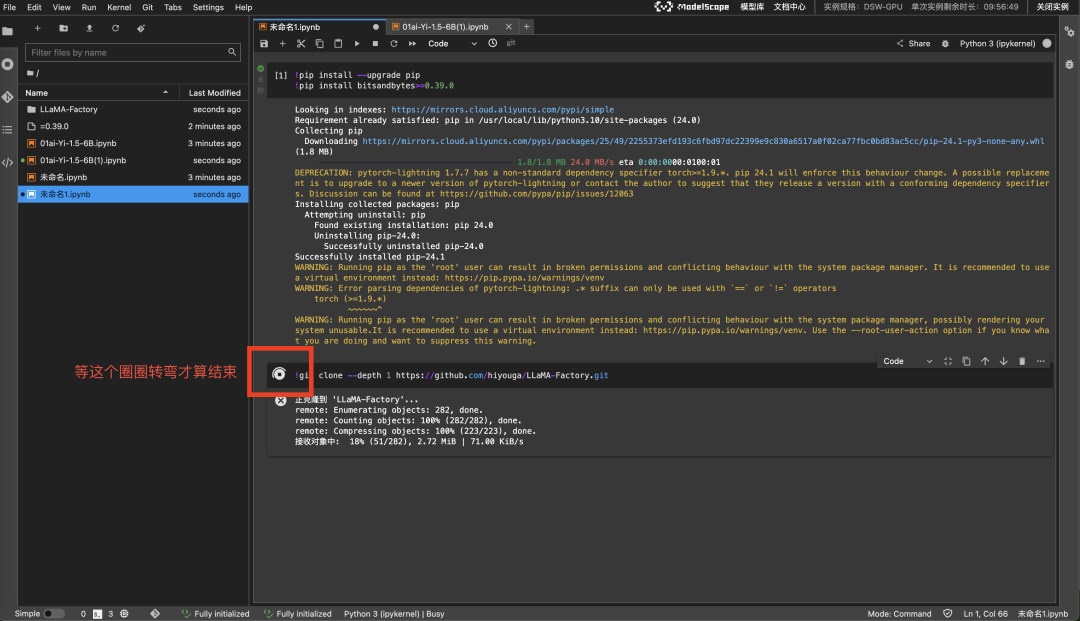
接下来需要去到终端,安装LLaMA-Factory的相关配置
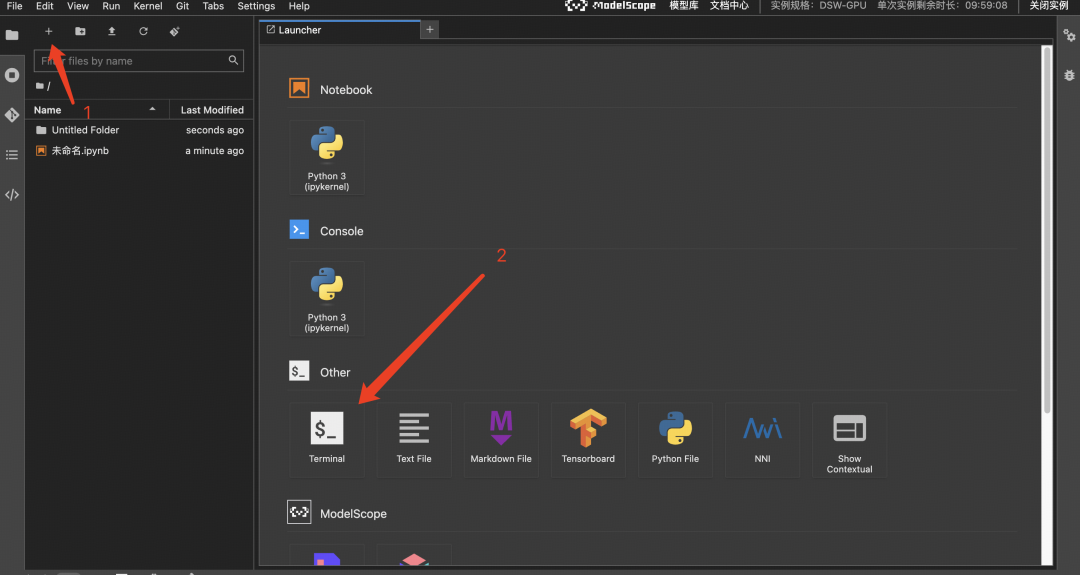
在打开的终端,执行以下命令
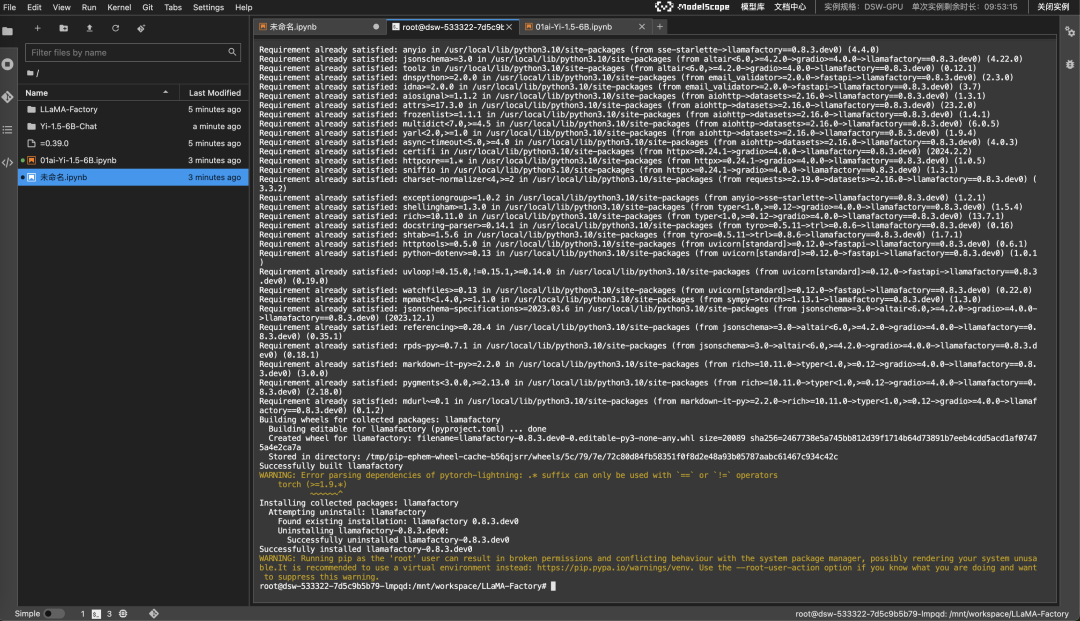
cd LLaMA-Factory
pip3 install -e ".[torch,metrics]"
执行之后的结果如下:
如果有抛出异常提示,可能是包冲突了,可以试着执行
pip3 install --no-deps -e .执行以下命令,降低transformer的版本,以防最新的LLaMA-Factory,还未支持transformer-4.50.0以上版本
pip3 install transformers==4.46.33 下载模型
本文使用的模型是Yi-1.5-6B,该模型在魔塔社区上的地址是:https://www.modelscope.cn/models/01ai/Yi-1.5-6B
通过下面的命令就可以在 notebook 里执行下载(在 terminal也一样,如果需要在terminal执行需要去掉前面的!)。
!git clone https://www.modelscope.cn/01ai/Yi-1.5-6B-Chat.git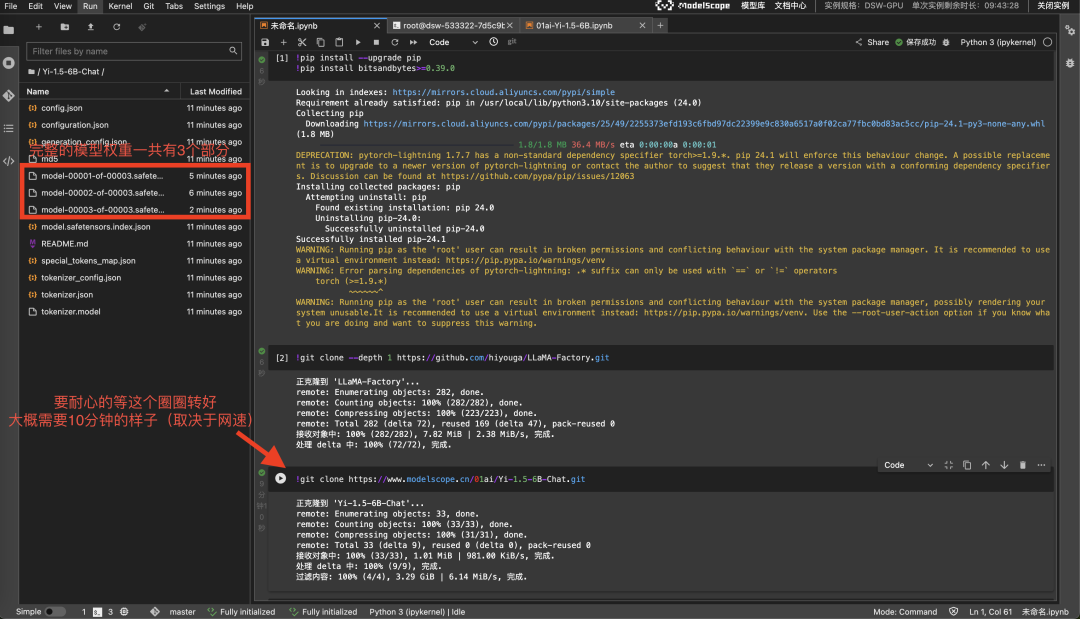
4,实战微调模型
开源社区有许多非常优秀的专门用于微调代码库具体的你可以参考这里:
https://github.com/01-ai/Yi-1.5?tab=readme-ov-file#fine-tuning
这里选择llama_factory,其git地址:https://github.com/hiyouga/LLaMA-Factory
4.1 创建微调训练相关的配置文件
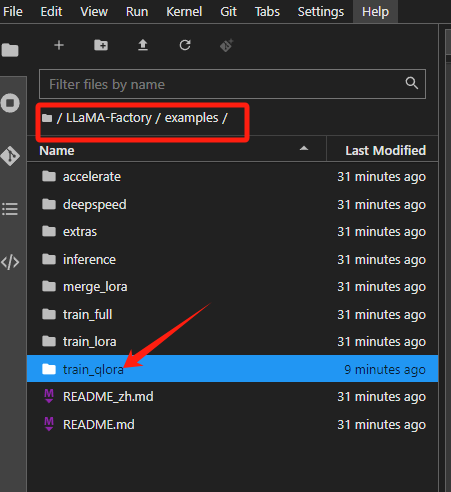
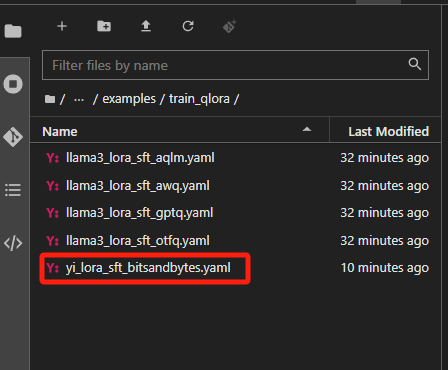
在左侧的文件列表,Llama-Factory的文件夹里,打开examps\train_qlora(注意不是 train_lora)下提供的llama3_lora_sft_awq.yaml,复制一份并重命名为yi_lora_sft_bitsandbytes.yaml
这个文件里面写着和微调相关的关键参数。
打开这个文件,将第一行model_name_or_path更改为你下载模型的位置。
下面我的修改,你可以逐行对比一下,不一致或者缺少的配置,就要添加一下
### model
model_name_or_path: ../Yi-1.5-6B-Chat
quantization_bit: 4
trust_remote_code: true

### method
stage: sft
do_train: true
finetuning_type: lora
lora_rank: 8
lora_target: all

### dataset
dataset: identity
template: yi
cutoff_len: 1024
max_samples: 1000
overwrite_cache: true
preprocessing_num_workers: 16
dataloader_num_workers: 4

### output
output_dir: saves/yi-6b/lora/sft
logging_steps: 10
save_steps: 500
plot_loss: true
overwrite_output_dir: true
save_only_model: false
report_to: none  # choices: [none, wandb, tensorboard, swanlab, mlflow]

### train
per_device_train_batch_size: 1
gradient_accumulation_steps: 8
learning_rate: 1.0e-4
num_train_epochs: 3.0
lr_scheduler_type: cosine
warmup_ratio: 0.1
bf16: true
#ddp_timeout: 180000000

### eval
val_size: 0.1
per_device_eval_batch_size: 1
eval_strategy: steps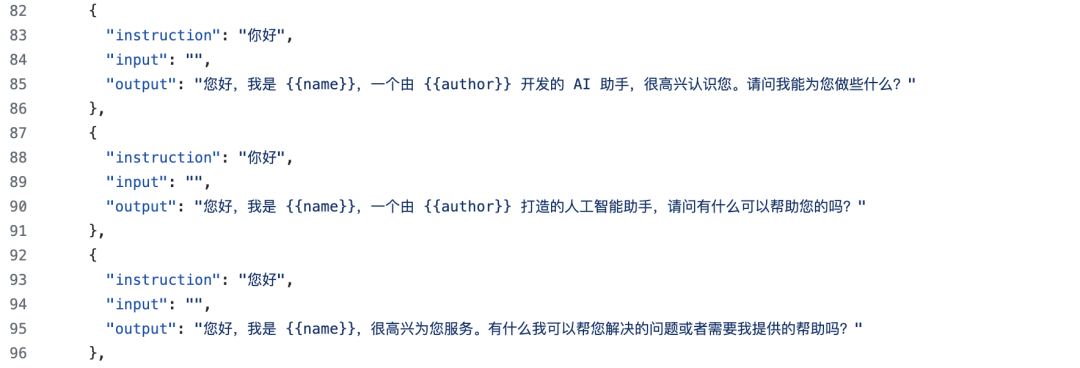
eval_steps: 500从上述的配置,我们可以看到,本次微调的数据集是identity。可以打开https://github.com/hiyouga/LLaMA-Factory/blob/main/data/identity.json
查看文件的内容
保存yi_lora_sft_bitsandbytes.yaml 文件,回到终端terminal。
在 LLaMA-Factory 目录下,输入以下命令启动微调脚本(大概需要10分钟)
llamafactory-cli train examples/train_qlora/yi_lora_sft_bitsandbytes.yaml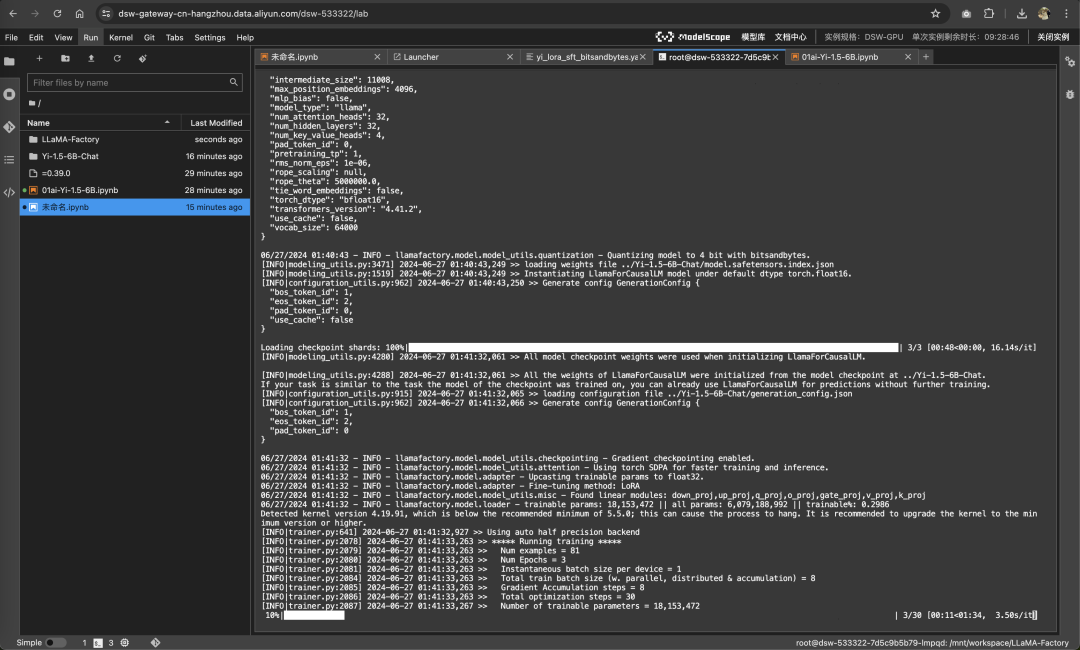
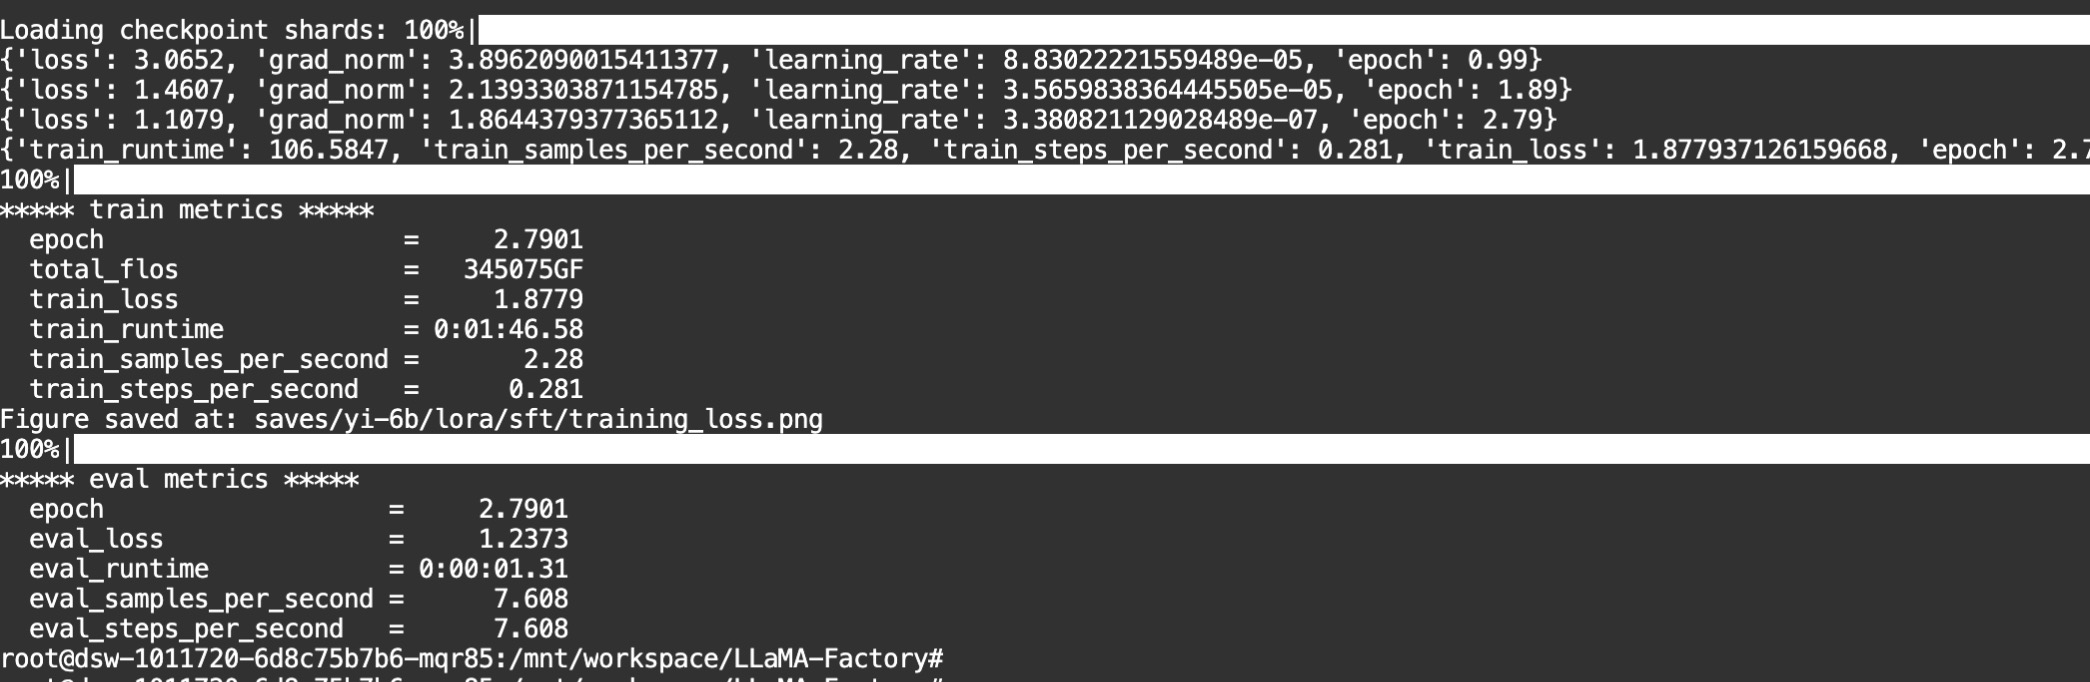
当你看到一下界面,说明微调过程结束了
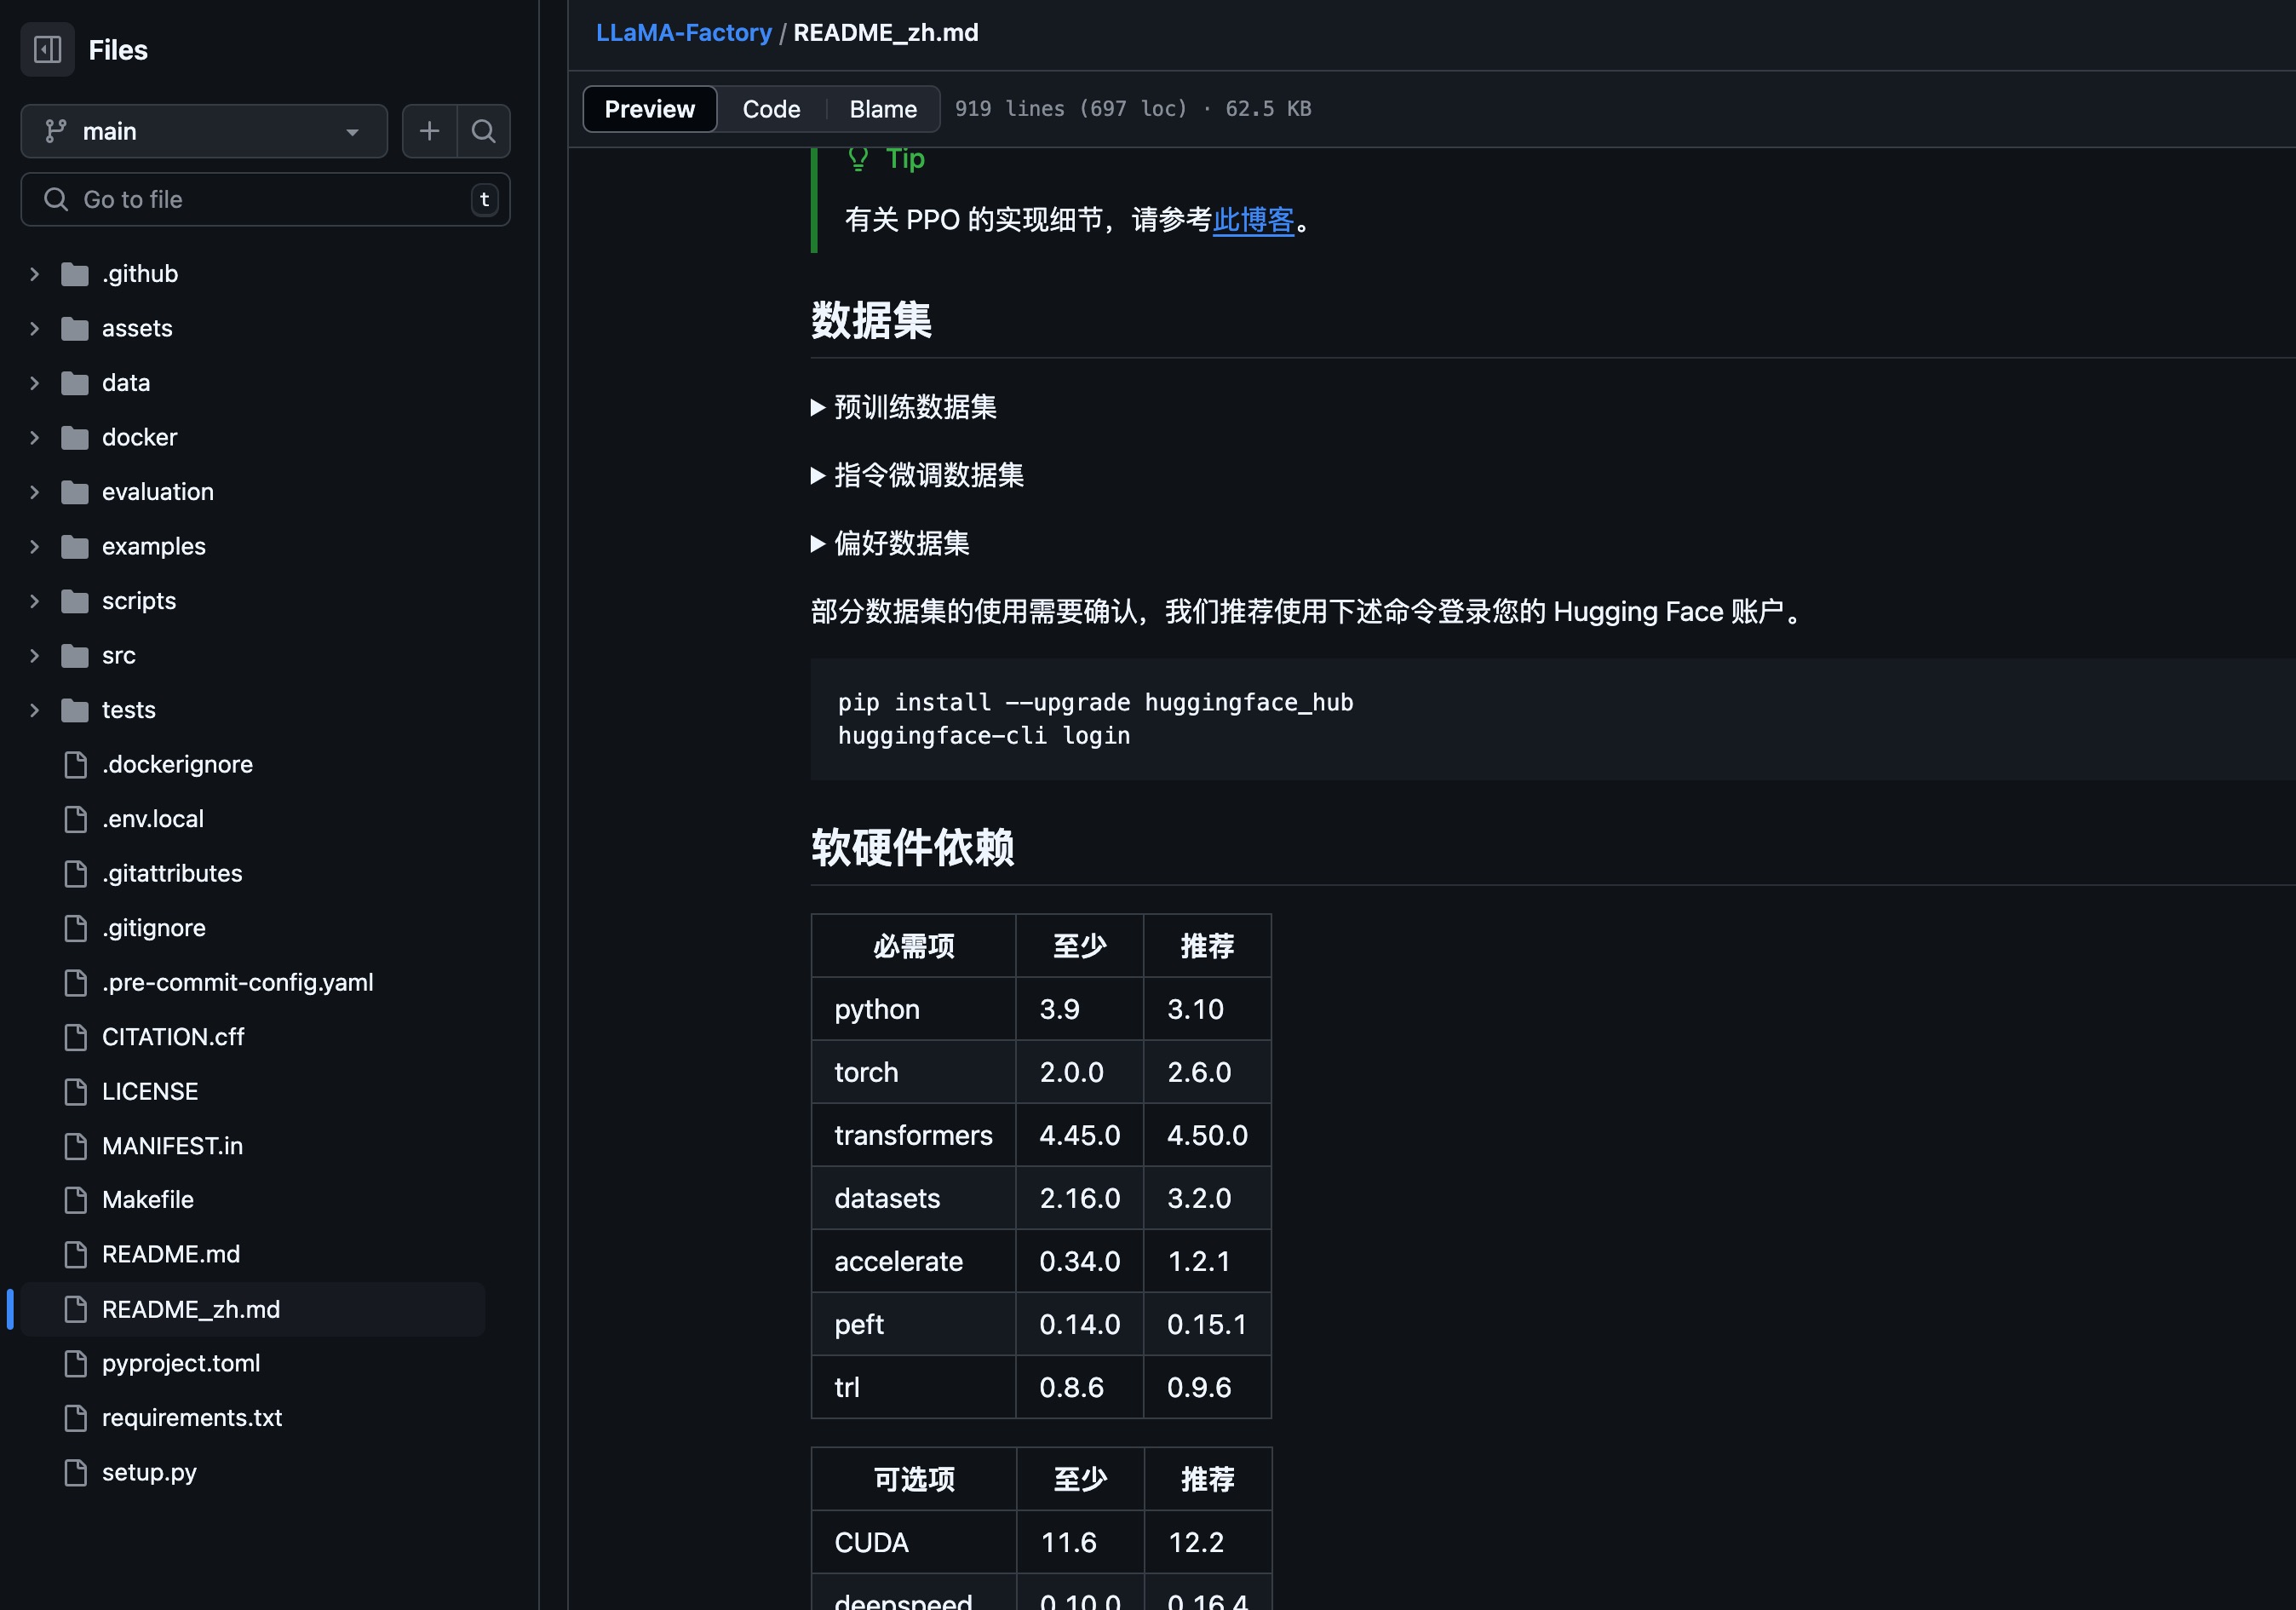
如果在微调过程中,抛出ImportError,极大可能是下载的LLaMA-Factory,和当前集成环境有版本冲突,请查看https://github.com/hiyouga/LLaMA-Factory中README的软硬件依赖,对照当前集成环境的软件版本
如果不知道怎么查看当前集成环境的软件版本,参考以下命令
# 在终端中执行以下命令,查看transformers版本
python3 -c "import transformers; print(transformers.__version__)"
4.2 推理测试
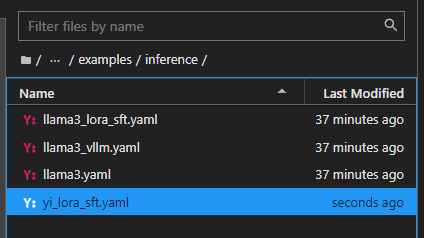
参考Llama-Factory文件夹中,examples\inference下提供的llama3_lora_sft.yaml,复制一份,并重命名为 yi_lora_sft.yaml
修改yi_lora_sft.yaml
# 保存模型的地址
model_name_or_path: ../Yi-1.5-6B-Chat
adapter_name_or_path: saves/yi-6b/lora/sft
template: yi
infer_backend: huggingface  # choices: [huggingface, vllm]
finetuning_type: lora
trust_remote_code: true
回到刚刚结束微调的终端Terminal,运行下面的推理命令(同样在Llama-Factory目录下运行)。
llamafactory-cli chat examples/inference/yi_lora_sft.yaml等待模型加载完成,就可以开始聊天了


 2335
2335

 被折叠的 条评论
为什么被折叠?
被折叠的 条评论
为什么被折叠?
 到【灌水乐园】发言


