PyQt显示图像

纯代码方式编写:
view_image.py

import sys
from PyQt5.QtGui import QPixmap
from PyQt5.QtWidgets import *


class PyQtGraphicDemo(QWidget):
    def __init__(self, parent=None):
        super(PyQtGraphicDemo, self).__init__(parent)
        self.resize(800, 600)    
        # 显示控件
        self.graphicsView = QGraphicsView(self)
        # 按钮
        self.pushButton = QPushButton(self)
        self.pushButton.setText("PushButton")
        self.pushButton.clicked.connect(self.showImage)
        # 布局
        self.verticalLayout = QVBoxLayout(self)
        self.verticalLayout.addWidget(self.graphicsView)
        self.verticalLayout.addWidget(self.pushButton)
        self.setLayout(self.verticalLayout)

    def showImage(self):
        fileName, filetype = QFileDialog.getOpenFileName(self, "请选择图像:", '.', "Image files (*.bmp *.jpg *.png)")
        if fileName != '':
            self.pixmap = QPixmap(fileName)
            self.pixmapItem = QGraphicsPixmapItem(self.pixmap)
            self.scene = QGraphicsScene()
            self.scene.addItem(self.pixmapItem)
            self.graphicsView.setScene(self.scene)


if __name__ == '__main__':
    app = QApplication(sys.argv)
    window = PyQtGraphicDemo()
    window.show()
    sys.exit(app.exec_())
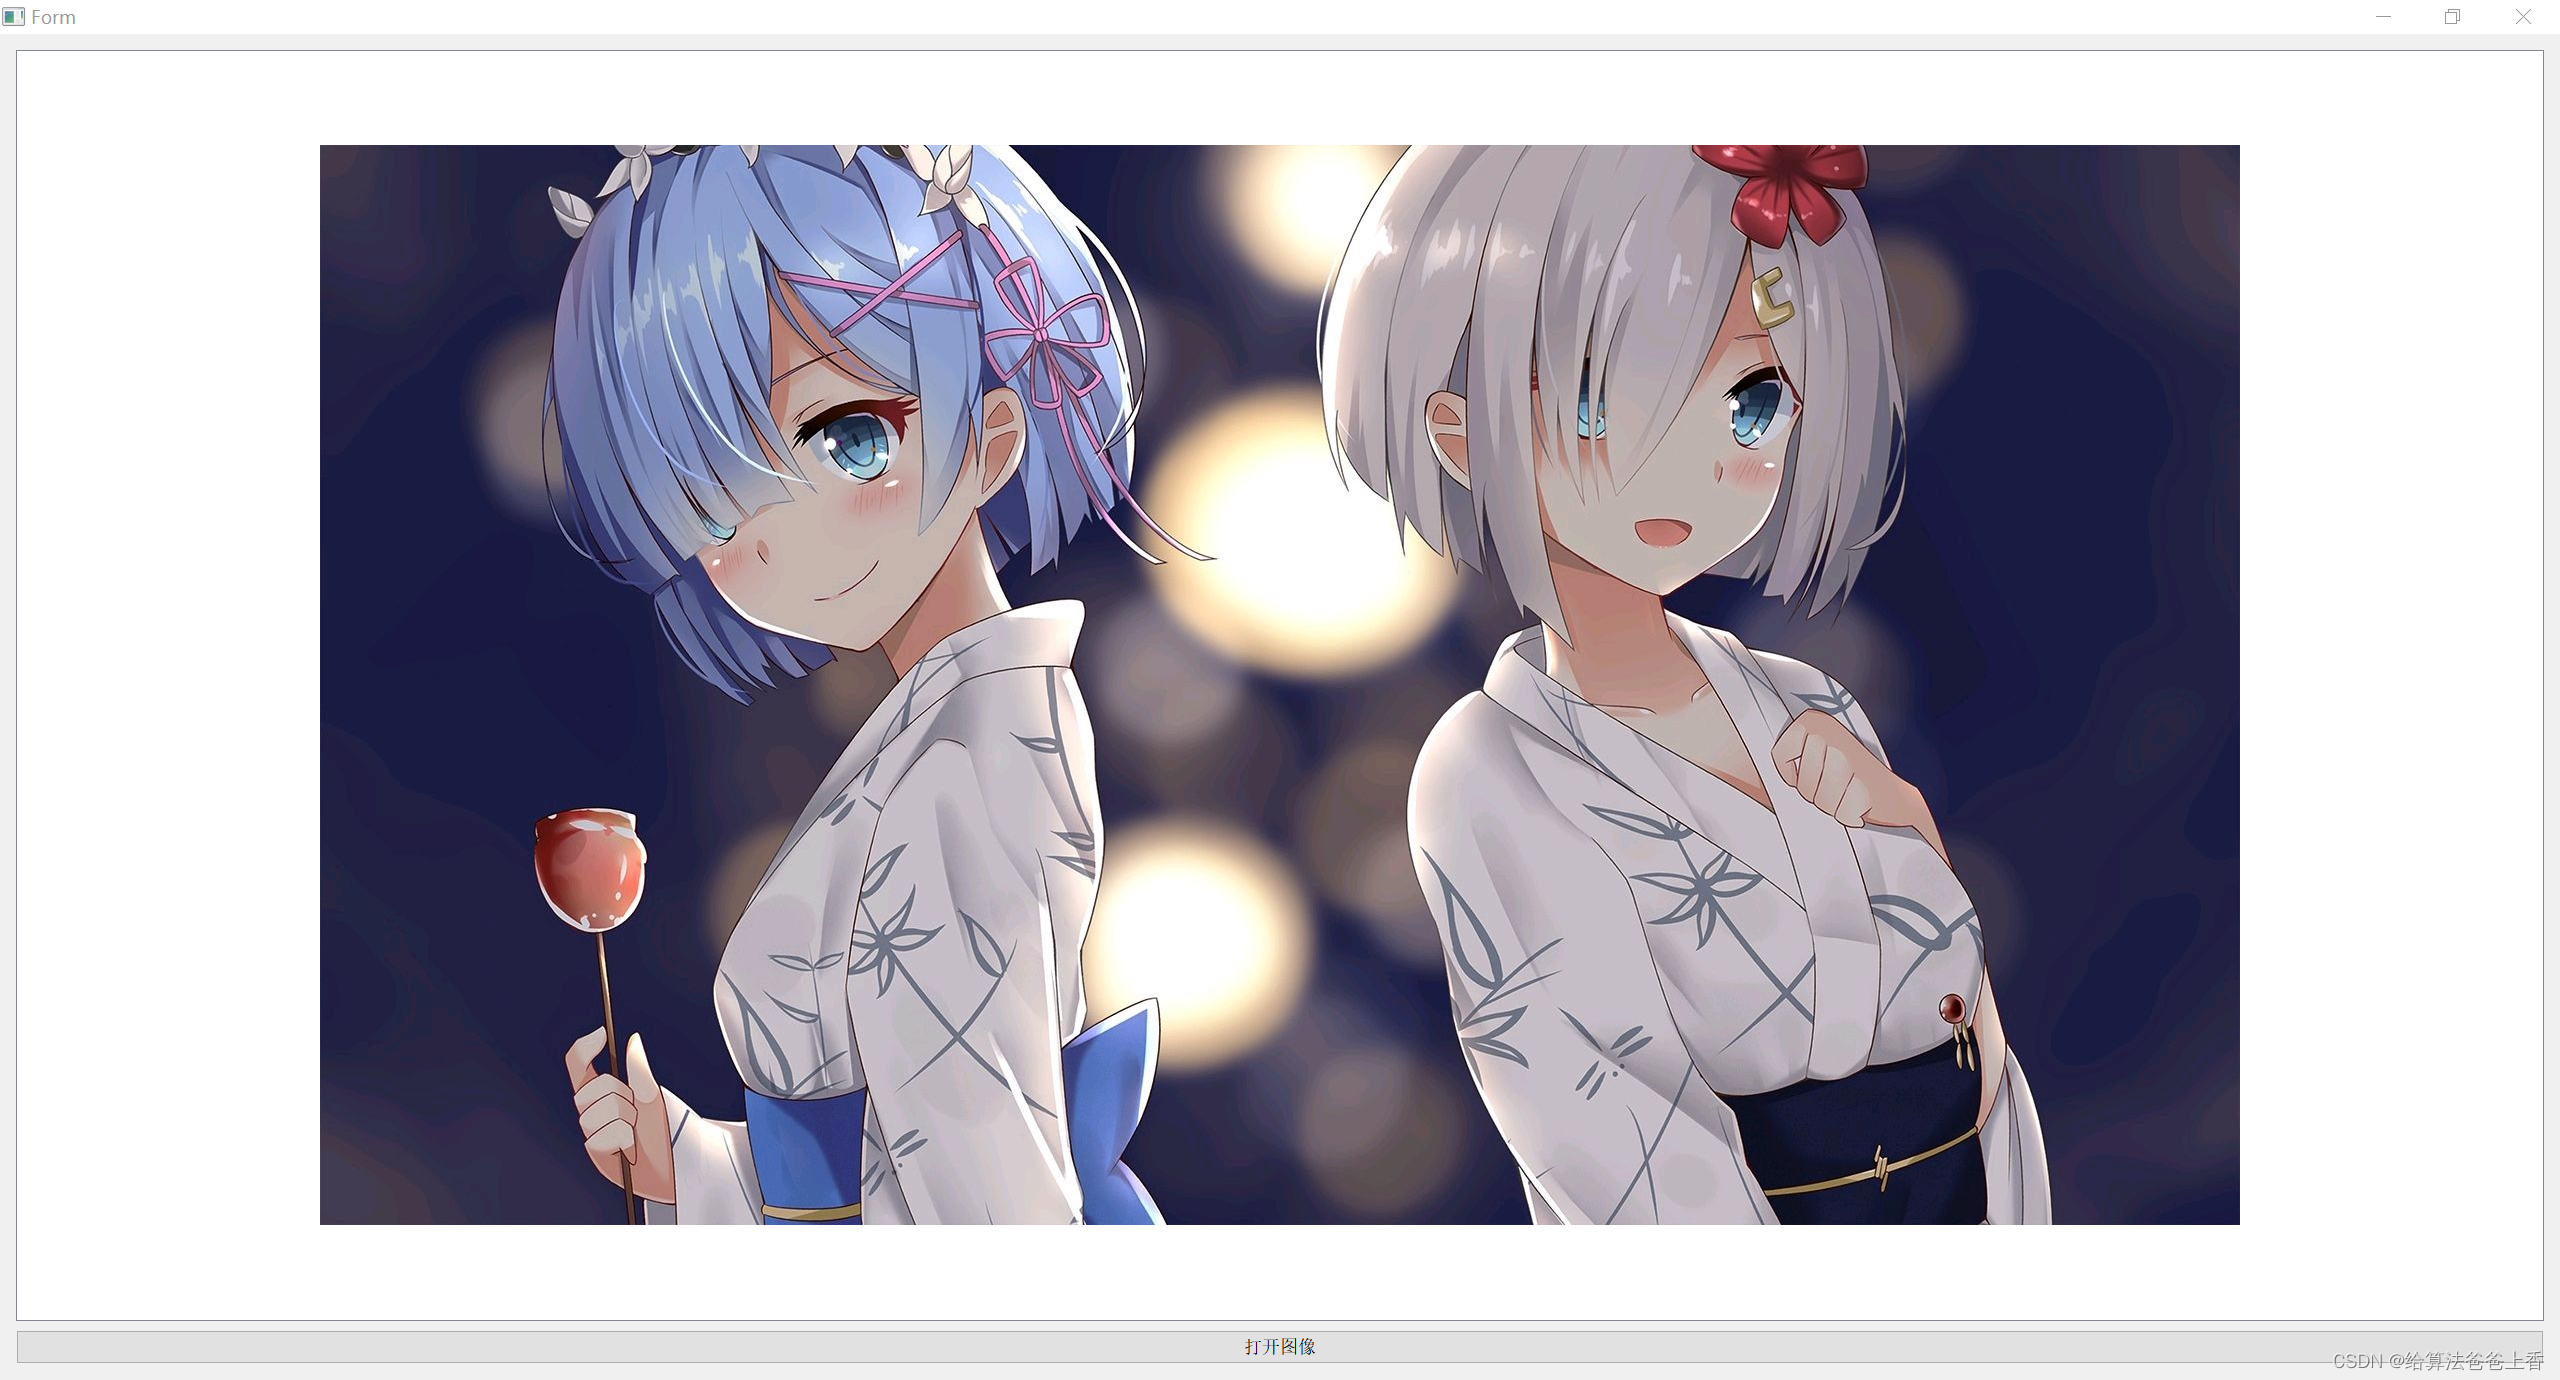
借助Qt creator编辑ui界面:
widget.ui(在Qt creator中编辑)

<?xml version="1.0" encoding="UTF-8"?>
<ui version="4.0">
 <class>Form</class>
 <widget class="QWidget" name="Form">
  <property name="geometry">
   <rect>
    <x>0</x>
    <y>0</y>
    <width>800</width>
    <height>600</height>
   </rect>
  </property>
  <property name="windowTitle">
   <string>Form</string>
  </property>
  <layout class="QVBoxLayout" name="verticalLayout">
   <item>
    <widget class="QGraphicsView" name="graphicsView"/>
   </item>
   <item>
    <widget class="QPushButton" name="pushButton">
     <property name="text">
      <string>PushButton</string>
     </property>
    </widget>
   </item>
  </layout>
 </widget>
 <resources/>
 <connections/>
</ui>

上述文件可以编译生成python代码如下:
Ui_widget.py

# -*- coding: utf-8 -*-

# Form implementation generated from reading ui file 'd:\document\VScode_workspace\tree_las\image\widget.ui'
#
# Created by: PyQt5 UI code generator 5.15.9
#
# WARNING: Any manual changes made to this file will be lost when pyuic5 is
# run again.  Do not edit this file unless you know what you are doing.


from PyQt5 import QtCore, QtGui, QtWidgets


class Ui_Form(object):
    def setupUi(self, Form):
        Form.setObjectName("Form")
        Form.resize(800, 600)
        self.verticalLayout = QtWidgets.QVBoxLayout(Form)
        self.verticalLayout.setObjectName("verticalLayout")
        self.graphicsView = QtWidgets.QGraphicsView(Form)
        self.graphicsView.setObjectName("graphicsView")
        self.verticalLayout.addWidget(self.graphicsView)
        self.pushButton = QtWidgets.QPushButton(Form)
        self.pushButton.setObjectName("pushButton")
        self.verticalLayout.addWidget(self.pushButton)

        self.retranslateUi(Form)
        QtCore.QMetaObject.connectSlotsByName(Form)

    def retranslateUi(self, Form):
        _translate = QtCore.QCoreApplication.translate
        Form.setWindowTitle(_translate("Form", "Form"))
        self.pushButton.setText(_translate("Form", "PushButton"))

main.py

import sys
from PyQt5.QtGui import QPixmap
from PyQt5.QtWidgets import *
from Ui_widget import Ui_Form


class PyQtGraphicDemo(QWidget, Ui_Form):
    def __init__(self, parent=None):
        super(PyQtGraphicDemo, self).__init__(parent)
        self.setupUi(self)
        self.pushButton.clicked.connect(self.showImage)

    def showImage(self):
        fileName, filetype = QFileDialog.getOpenFileName(self, "请选择图像:", '.', "Image files (*.bmp *.jpg *.png)")
        if fileName != '':
            self.pixmap = QPixmap(fileName)
            self.pixmapItem = QGraphicsPixmapItem(self.pixmap)
            self.scene = QGraphicsScene()
            self.scene.addItem(self.pixmapItem)
            self.graphicsView.setScene(self.scene)


if __name__ == '__main__':
    app = QApplication(sys.argv)
    window = PyQtGraphicDemo()
    window.show()
    sys.exit(app.exec_())

在这里插入图片描述

  • 0
    点赞
  • 2
    收藏
    觉得还不错? 一键收藏
  • 打赏
    打赏
  • 0
    评论
### 回答1: 要在PyQt5的GraphicsView中显示图片,可以按照以下步骤进行: 1. 导入必要的模块: ```python from PyQt5.QtGui import QPixmap from PyQt5.QtWidgets import QGraphicsScene, QGraphicsView ``` 2. 创建一个QGraphicsScene对象,并将图片添加到场景中: ```python scene = QGraphicsScene() pixmap = QPixmap("image.jpg") scene.addPixmap(pixmap) ``` 3. 创建一个QGraphicsView对象,并将场景设置为其场景: ```python view = QGraphicsView(scene) ``` 4. 显示QGraphicsView对象: ```python view.show() ``` 完整的代码示例: ```python from PyQt5.QtGui import QPixmap from PyQt5.QtWidgets import QGraphicsScene, QGraphicsView scene = QGraphicsScene() pixmap = QPixmap("image.jpg") scene.addPixmap(pixmap) view = QGraphicsView(scene) view.show() ``` 其中,"image.jpg"是要显示的图片文件路径。 ### 回答2: PyQt5是Python下最为流行的GUI(图形用户界面)框架之一,而Qt中的Graphics View框架是一个强大的2D图形系统,是Qt4.2之后添加的新特性,用于管理和交互大规模的自定义2D图形项和选项。 为了在PyQt5中使用Graphics View,需要安装PyQt5和QtDesigner。Graphics View的4个主要类分别是QGraphicsView、QGraphicsScene、QGraphicsItem以及QGraphicsPixmapItem。其中,QGraphicsView是Graphics View框架的核心,提供了一个可视化的框架以及与用户交互的接口。而QGraphicsScene是Graphics View框架中2D场景的容器,通过addPixmap()方法添加QGraphicsPixmapItem类表示的图片项。QGraphicsPixmapItem是QGraphicsItem的一个子类,它主要用于显示图片。 下面举例说明如何在PyQt5中使用GraphicsView显示图片: ```python import sys from PyQt5.QtWidgets import QApplication, QGraphicsScene, QGraphicsView, QGraphicsPixmapItem from PyQt5.QtGui import QPixmap if __name__ == '__main__': app = QApplication(sys.argv) scene = QGraphicsScene() view = QGraphicsView(scene) view.show() pixmap = QPixmap('C:/Users/image.png') # 加载图片 item = QGraphicsPixmapItem(pixmap) # 创建图片项 scene.addItem(item) # 将图片项添加到场景中 sys.exit(app.exec_()) ``` 首先,创建QGraphicsScene对象作为容器,其宽度和高度会自动调整以包含添加的所有项目。然后,创建一个QGraphicsView对象,并将QGraphicsScene对象作为构造函数的参数传递进去。最后,使用QPixmap类加载图片文件,并创建一个QGraphicsPixmapItem对象来表示图片项。使用QGraphicsScene对象的addItem()方法将图片项添加到场景中,最后调用app.exec_()启动应用程序。 当运行这段代码时,会在应用程序中看到一个空白的窗口,但在窗口区域中会显示出指定的图片。我们可以使用QGraphicsView中提供的缩放、移动、旋转等操作来调整图片的位置和大小,与用户进行交互。总的来说,PyQt5提供的Graphics View框架是一个强大的2D图形绘制工具,能够满足大部分图形绘制需求。 ### 回答3: PyQt5是一个适用于Python的GUI图形界面库,它提供了许多方法和工具来简化GUI的创建和管理。PyQt5中的“Graphics View”模块是一个强大的组件,它提供了一个可扩展的基于图形的框架,可以在其中显示和操作大量的2D图形对象。Graphics View提供了一个类似于画布的视图,可以在其中添加图形项,包括线条、矩形、椭圆、文本、像素图和SVG图形等。 要在PyQt5 Graphics View中显示图片,我们需要先将图像加载到内存中。这可以通过PyQt5中的QImage类和QPixmap类来实现。QImage类支持从多种格式的图像文件中加载图像,而QPixmap类则可以从QImage对象中创建QPixmap对象。一旦我们将图像加载到QPixmap对象中,我们就可以将其添加到Graphics View窗口中作为一个图形项。 步骤如下: 1.导入需要的模块: ```python from PyQt5.QtWidgets import QGraphicsView, QGraphicsScene, QGraphicsPixmapItem, QApplication from PyQt5.QtGui import QImage, QPixmap ``` 2.创建一个QGraphicsView对象和一个QGraphicsScene对象: ```python view = QGraphicsView() scene = QGraphicsScene() view.setScene(scene) ``` 3.从图像文件中使用QImage对象加载图像: ```python image = QImage("image.png") ``` 4.使用QPixmap类从QImage对象中创建一个QPixmap对象: ```python pixmap = QPixmap.fromImage(image) ``` 5.创建一个QGraphicsPixmapItem对象,并将其添加到QGraphicsScene中: ```python item = QGraphicsPixmapItem(pixmap) scene.addItem(item) ``` 6.最后,显示Graphics View视图: ```python view.show() ``` 完成上述步骤后,我们可以在PyQt5的Graphics View中显示图像。需要注意的是,如果我们想在更高的分辨率下显示图像,我们可以设置Graphics View的缩放因子。例如,我们可以将缩放因子设置为2.0,这将使所有图形项的大小增加一倍。 总结起来,PyQt5 Graphics View是一个非常强大的组件,可以方便地管理和显示大量的2D图形对象,包括图像。通过上述步骤可以轻松将图像加载到内存中并显示在Graphics View视图中。

“相关推荐”对你有帮助么?

  • 非常没帮助
  • 没帮助
  • 一般
  • 有帮助
  • 非常有帮助
提交
评论
添加红包

请填写红包祝福语或标题

红包个数最小为10个

红包金额最低5元

当前余额3.43前往充值 >
需支付:10.00
成就一亿技术人!
领取后你会自动成为博主和红包主的粉丝 规则
hope_wisdom
发出的红包

打赏作者

给算法爸爸上香

你的鼓励将是我创作的最大动力

¥1 ¥2 ¥4 ¥6 ¥10 ¥20
扫码支付:¥1
获取中
扫码支付

您的余额不足,请更换扫码支付或充值

打赏作者

实付
使用余额支付
点击重新获取
扫码支付
钱包余额 0

抵扣说明:

1.余额是钱包充值的虚拟货币,按照1:1的比例进行支付金额的抵扣。
2.余额无法直接购买下载,可以购买VIP、付费专栏及课程。

余额充值