


- 深入数学运算.
- 深入渲染流水线。
- 实现高光反射的公式。
- 改进卡通着色,掌握全部的卡通着色的实现方式。
- 2D 常用的 Shader 案例实现。
新的效果

https://blog.csdn.net/sdqq1234/article/details/61437045
包括的效果有 :梯度漫反射,轮廓线,基于切线的高光,边缘光。这四个效果。
梯度漫反射就是我们的色阶效果,轮廓线就是描边,基于切线的高光,是我们还差的需要学的高光反射公式,边缘光:没听过,哈哈哈。
接着我们打开 ToonHair Shader 代码,默认的代码如下所示:
Shader "Unlit/ToonHair"
{
    Properties
    {
        _MainTex ("Texture", 2D) = "white" {}
    }
    SubShader
    {
        Tags { "RenderType"="Opaque" }
        LOD 100

        Pass
        {
            CGPROGRAM
            #pragma vertex vert
            #pragma fragment frag
            // make fog work
            #pragma multi_compile_fog

            #include "UnityCG.cginc"

            struct appdata
            {
                float4 vertex : POSITION;
                float2 uv : TEXCOORD0;
            };

            struct v2f
            {
                float2 uv : TEXCOORD0;
                UNITY_FOG_COORDS(1)
                float4 vertex : SV_POSITION;
            };

            sampler2D _MainTex;
            float4 _MainTex_ST;

            v2f vert (appdata v)
            {
                v2f o;
                o.vertex = UnityObjectToClipPos(v.vertex);
                o.uv = TRANSFORM_TEX(v.uv, _MainTex);
                UNITY_TRANSFER_FOG(o,o.vertex);
                return o;
            }

            fixed4 frag (v2f i) : SV_Target
            {
                // sample the texture
                fixed4 col = tex2D(_MainTex, i.uv);
                // apply fog
                UNITY_APPLY_FOG(i.fogCoord, col);
                return col;
            }
            ENDCG
        }
    }
}
大部分代码是可以看懂的,不过我们可以一行一行复习下。
代码复习
首先我们看第一句代码
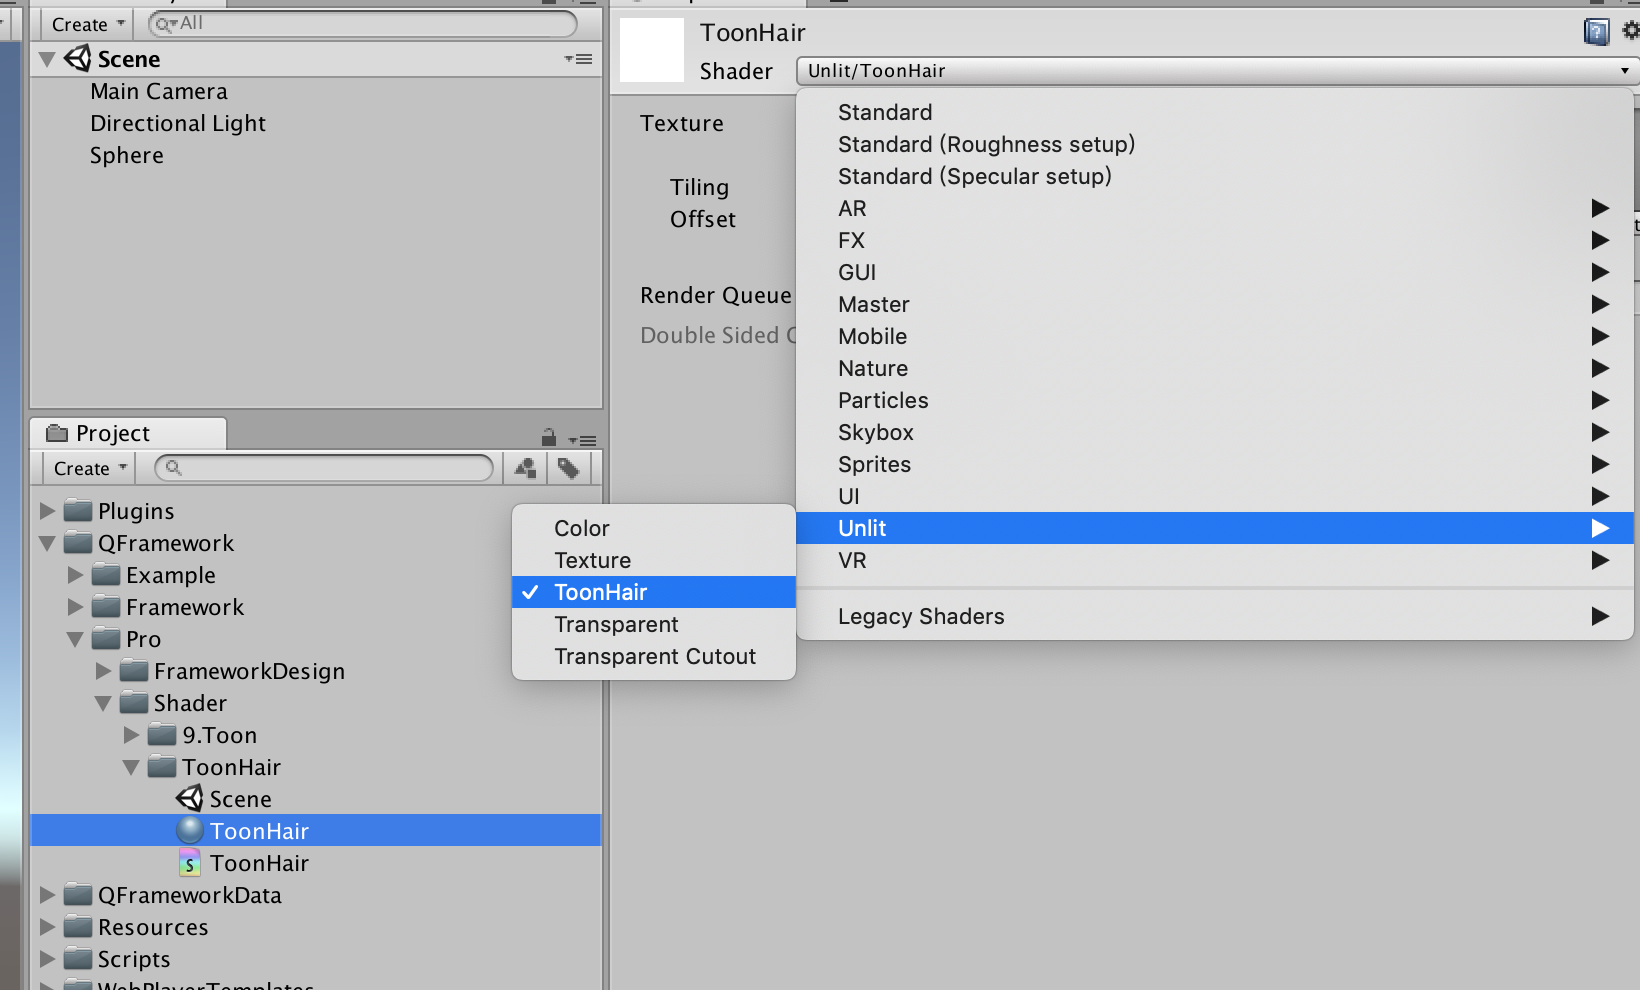
Shader "Unlit/ToonHair"这句代码就是给 Shader 设置路径,以便我们在材质上方便找到此 Shader,如下图所示:
现在,我们把路径更改一下,改成与 7 月 卡通材质同路径下的 Shader,代码如下:
Shader "Master/ToonHair"结果如下:

比较简单没啥好说的。
接着我们看下 Properties 结构里的代码:
Shader "Master/ToonHair"
{
    Properties
    {
        _MainTex ("Texture", 2D) = "white" {}
    }
  ...
}
Properties 中定义了一个属性,Inspector 的显示名是 Texture,Shader 内的名字为 _MainTex。
我们看下 ToonHair 材质的 Inspector,如下图所示:

接着再看下该属性:
_MainTex ("Texture", 2D) = "white" {}_MainTex 和 Texture 解释过了,我们接着解释下 2D,2D 这个位置表示的是该属性的类型,2D 是 2D 纹理的意思,可以理解成 Texture2D。
而 white 是默认的颜色值,如果我们没有在 Inspector 或 脚本中给此属性设置纹理,默认的颜色是白色。
接着我们看下 SubShader 中的代码。
SubShader
代码如下:
Shader "Unlit/ToonHair"
{
    Properties
    {
    ...
    }
    SubShader
    {
        Tags { "RenderType"="Opaque" }
        LOD 100

        Pass
        {
            ...
        }
    }
}
SubShader 中有一个 Pass,关于 Pass 我们等下说,我们先看下 Tags { "RenderType"="Opaque" } 这行代码。
这是什么意思呢? Tags 是标签的意思,那么在 Unity Shader 中,标签起到什么作用呢?
SubShaders 使用 Tags 来告诉引擎如何以及何时将其渲染。
如何以及何时是怎么体现的呢?
我们在这篇先不了解 Tags 的详细参数,因为要做一点准备。在这里我们只需要记住: SubShader 可以设定 Tags,在 Tags 可以写一些配置即可,而 SubShader 中的 Tags 会告诉引擎如何以及何时将其渲染。
LOD
LOD:Level Of Detail 层次细节(LOD),它是根据物体在游戏画面中所占视图的百分比来调用不同复杂度的模型的。
简单而言,就是当一个物体距离摄像机比较远的时候使用低模,当物体距离摄像机比较近的时候使用高模。
这是一种优化游戏渲染效率的常用方法,缺点是占用大量内存。
使用这个技术,一般是在解决运行时流畅度的问题,采用的是空间换时间的方式。
在 SubShader 中的 LOD 是怎么使用的呢?
首先,我们知道,一个 Shader 可以有多个 SubShader,每个subshader都可以设置一个LOD,而整个父 Shader也有一个 LOD。
当 Shader 执行时,系统就去找第一个 LOD 小于等于父 Shader 的 SubShader 执行,其他的subshader就不会被执行。
CGPROGRAM、ENDCG
CGPROGRAM、ENDCG 实际上是一个语法块,它告诉 Shader 这个块内部的代码,按照 CG 语言编译(也支持 HLSL)。
除了 CGPROGRAM、ENDCG,pass 中还支持 GLSLPROGRAM、ENDGLSL 语法块,顾名思义,它里边包含的代码是 GLSL 代码。
此篇内容就这些。
宏语句,预编译指令
Shader "Master/ToonHair"
{
    Properties
    {
    ...
    }
    SubShader
    {
    ...
        Pass
        {
            CGPROGRAM
            #pragma vertex vert
            #pragma fragment frag
            // make fog work
            #pragma multi_compile_fog

            #include "UnityCG.cginc"

      ...

            ENDCG
        }
    }
}
我们接着看 Pass 代码块中的第二个行 #pragma vertex vert。
我们知道一般 # 号开头的语句是宏语句,宏一般是在编译时期开始起作用的,而 #pragma 我们把它叫做编译指令,编译指令告诉系统,这部分如何如何编译。
那么 #pragma vertex vert 是什么意思呢?
#pragma vertex vert 告诉系统,Vertext Shader 处理是在 vert 方法中进行的,换句话说,vert 是顶点着色器。
再往下看 第五行 #include "UnityCG.cginc",这行代码与 C# 中的 using 关键字作用一样,就是导入模块。
UnityCG.cginc 是 Unity 的内置着色器代码,它是一个文件,里边提供了大量的算法和数据结构支持,方便我们用比较少量的 Shader 代码就可以实现比较多的效果。
#include 支持引入我们自定义的 cginc 文件。
关于 #include 我们理解到这里即可。


 332
332

 被折叠的 条评论
为什么被折叠?
被折叠的 条评论
为什么被折叠?
 到【灌水乐园】发言


