


Today we will explore what is a Future in Flutter and its use case on a sample app that fetches a list of holidays and displays them in a ListView. As a bonus, we will cover how to send simple network requests and decode not-so trivial JSON into models.
今天,我们将在示例应用程序上探索什么是Flutter中的Future及其用例,该示例应用程序将获取假日列表并将其显示在ListView 。 作为奖励,我们将介绍如何发送简单的网络请求以及将不太琐碎的JSON解码到模型中。
In short, we use Futures when we want to acquire a certain value or event after some time. Examples include networking, adding filter to an image, reading data from a disk.
简而言之,当我们想在一段时间后获取某个值或事件时,可以使用Future 。 示例包括联网,向图像添加过滤器,从磁盘读取数据。
The source code of the project is available at the bottom of the article.
该项目的源代码位于文章底部。
Without a further ado, let’s get started exploring Futures in practice!
事不宜迟,让我们开始在实践中探索Future吧!
开始吧 (Let’s Start)
First, obtain your free API key from https://holidayapi.com/:
首先,从https://holidayapi.com/获得免费的API密钥:
Then paste it inside the api_keys.dart file:
然后将其粘贴到api_keys.dart文件中:
class APIKeys {
  static const holidays = "PASTE YOUR API KEY HERE";
}
Now we are ready to fetch and display holidays in a ListView.
现在,我们准备在ListView获取并显示假期。
Our app’s structure is as follows:
我们的应用程序的结构如下:
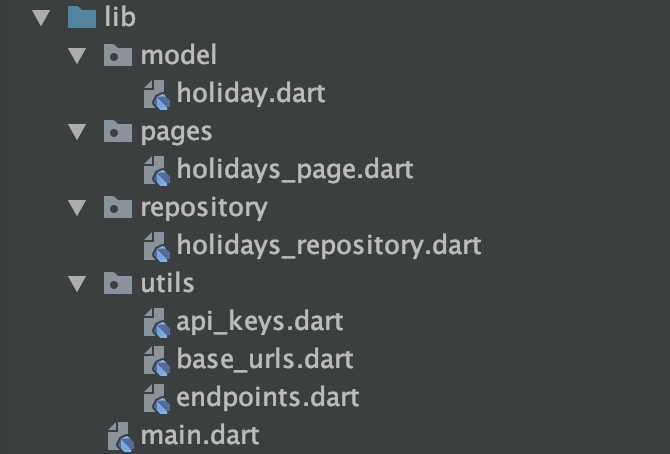
The model package consists of the Holiday class which has name and date properties:
model包由具有name和date属性的Holiday类组成:
class HolidaysResponse {
  final List<Holiday> holidays;


  HolidaysResponse({this.holidays});


  HolidaysResponse.fromJson(Map<String, dynamic> json)
      : holidays = json['holidays'];
}


class Holiday {
  final String name;
  final String date;


  Holiday({this.name, this.date});


  Holiday.fromJson(Map<String, dynamic> json)
      : name = json['name'],
        date = json['date'];
}
We will use the fromJson method to obtain actual HolidaysResponse and Holiday objects from JSON.
我们将使用fromJson方法从JSON获取实际的HolidaysResponse和Holiday对象。
The utils package contains simple settings needed to construct our network request:
utils软件包包含构造我们的网络请求所需的简单设置:
class APIKeys {
  static const holidays = "PASTE YOUR API KEY HERE";
}
class BaseUrls {
static const holidays = "holidayapi.com";
}class Endpoints {
static const holidays = "/v1/holidays";
}The actual networking happens inside the repository package:
实际的联网发生在repository软件包中:
import 'dart:convert';
import 'package:http/http.dart' as http;


import 'package:flutter_futures/utils/api_keys.dart';
import 'package:flutter_futures/model/holiday.dart';
import 'package:flutter_futures/utils/base_urls.dart';
import 'package:flutter_futures/utils/endpoints.dart';


class HolidaysRepository {
  final _client = http.Client();


  List<Holiday> parseHolidays(String responseBody) {
    final holidaysJSON = jsonDecode(responseBody)['holidays'] as List;


    final List<Holiday> holidaysList = holidaysJSON
        .map((holidayJSON) => Holiday.fromJson(holidayJSON))
        .toList();


    return holidaysList;
  }


  Future<List<Holiday>> getHolidays(String country, int year) async {
    final Map<String, String> parameters = {
      'country': country,
      'year': year.toString(),
      'key': APIKeys.holidays
    };


    var fullUri = Uri.https(BaseUrls.holidays, Endpoints.holidays, parameters);
    print("Full: $fullUri");


    try {
      final response = await _client.get(fullUri);
      return parseHolidays(response.body);
    } catch (error) {
      print(error);
      return [];
    }
  }
}
We use the suggested http package to create a GET request and then parse the received JSON into a list of Holiday objects inside the parseHolidays method:
我们使用建议的http包创建GET请求,然后将收到的JSON解析为parseHolidays方法内的Holiday对象列表:
List<Holiday> parseHolidays(String responseBody) {
  final holidaysJSON = jsonDecode(responseBody)['holidays'] as List;


  final List<Holiday> holidaysList = holidaysJSON
      .map((holidayJSON) => Holiday.fromJson(holidayJSON))
      .toList();


  return holidaysList;
}
使用未来 (Using Future)
Note that a network operation takes time, so we return a Future<List<Holiday>> in the getHolidays() method. We mark this method as async , so we can use the await keyword to wait for the data retrieval from the Internet:
请注意,网络操作需要时间,因此我们在getHolidays()方法中返回Future<List<Holiday>> 。 我们将此方法标记为async ,因此我们可以使用await关键字等待从Internet检索数据:
Future<List<Holiday>> getHolidays(String country, int year) async {
    final Map<String, String> parameters = {
      'country': country,
      'year': year.toString(),
      'key': APIKeys.holidays
    };


    var fullUri = Uri.https(BaseUrls.holidays, Endpoints.holidays, parameters);
    print("Full: $fullUri");


    try {
      final response = await _client.get(fullUri);
      return parseHolidays(response.body);
    } catch (error) {
      print(error);
      return [];
    }
  }
If you are wondering how do we construct the full url for our request, we use the Uri.https factory which takes a base url(without the https:// part, it will be automatically prepended), endpoint, and parameters.
如果您想知道如何为请求构造完整的URL,请使用Uri.https工厂,该工厂采用一个基本URL(不带https://部分,它将被自动添加),端点和参数。
Great! Now we have a working network request and data. Let’s see how we build the presentation layer, namely, the HolidaysPage:
大! 现在我们有了一个有效的网络请求和数据。 让我们看看如何构建表示层,即HolidaysPage :
import 'package:flutter/material.dart';
import 'package:flutter_futures/model/holiday.dart';
import 'package:flutter_futures/repository/holidays_repository.dart';


class HolidayPage extends StatefulWidget {
  @override
  _HolidayPageState createState() => _HolidayPageState();
}


class _HolidayPageState extends State<HolidayPage> {
  final _holidaysRepository = HolidaysRepository();
  List<Holiday> holidays = [];


  @override
  void initState() {
    getHolidays();
    super.initState();
  }


  void getHolidays() async {
    final holidays = await _holidaysRepository.getHolidays('US', 2019);


    setState(() {
      this.holidays = holidays;
    });
  }


  @override
  Widget build(BuildContext context) {
    return Scaffold(
      appBar: AppBar(
        title: Text('Holidays'),
      ),
      body: Scrollbar(
        child: ListView.builder(
          itemCount: holidays.length,
          itemBuilder: (context, index) {
            final holiday = holidays[index];
            return ListTile(
              title: Text('${holiday.name}'),
              subtitle: Text('${holiday.date}'),
            );
          },
        ),
      ),
    );
  }
}
As we can see, we have the dependency on the HolidaysRepository class, which returns a list of holidays for our ListView. Inside the initState() method, we fire the getHolidays() method of the repository and then assign the received holidays inside setState() :
如我们所见,我们依赖于HolidaysRepository类,该类返回ListView的假日列表。 在initState()方法内部,我们触发存储库的getHolidays()方法,然后在setState()内部分配接收到的假期:
@override
void initState() {
  getHolidays();
  super.initState();
}


void getHolidays() async {
  final holidays = await _holidaysRepository.getHolidays('US', 2019);


  setState(() {
    this.holidays = holidays;
  });
}
This triggers the build() method which gives the ListView data it needs:
这将触发build()方法,该方法提供所需的ListView数据:
@override
Widget build(BuildContext context) {
return Scaffold(
appBar: AppBar(
title: Text('Holidays'),
),
body: Scrollbar(
child: ListView.builder(
itemCount: holidays.length,
itemBuilder: (context, index) {
final holiday = holidays[index];
return ListTile(
title: Text('${holiday.name}'),
subtitle: Text('${holiday.date}'),
);
},
),
),
);
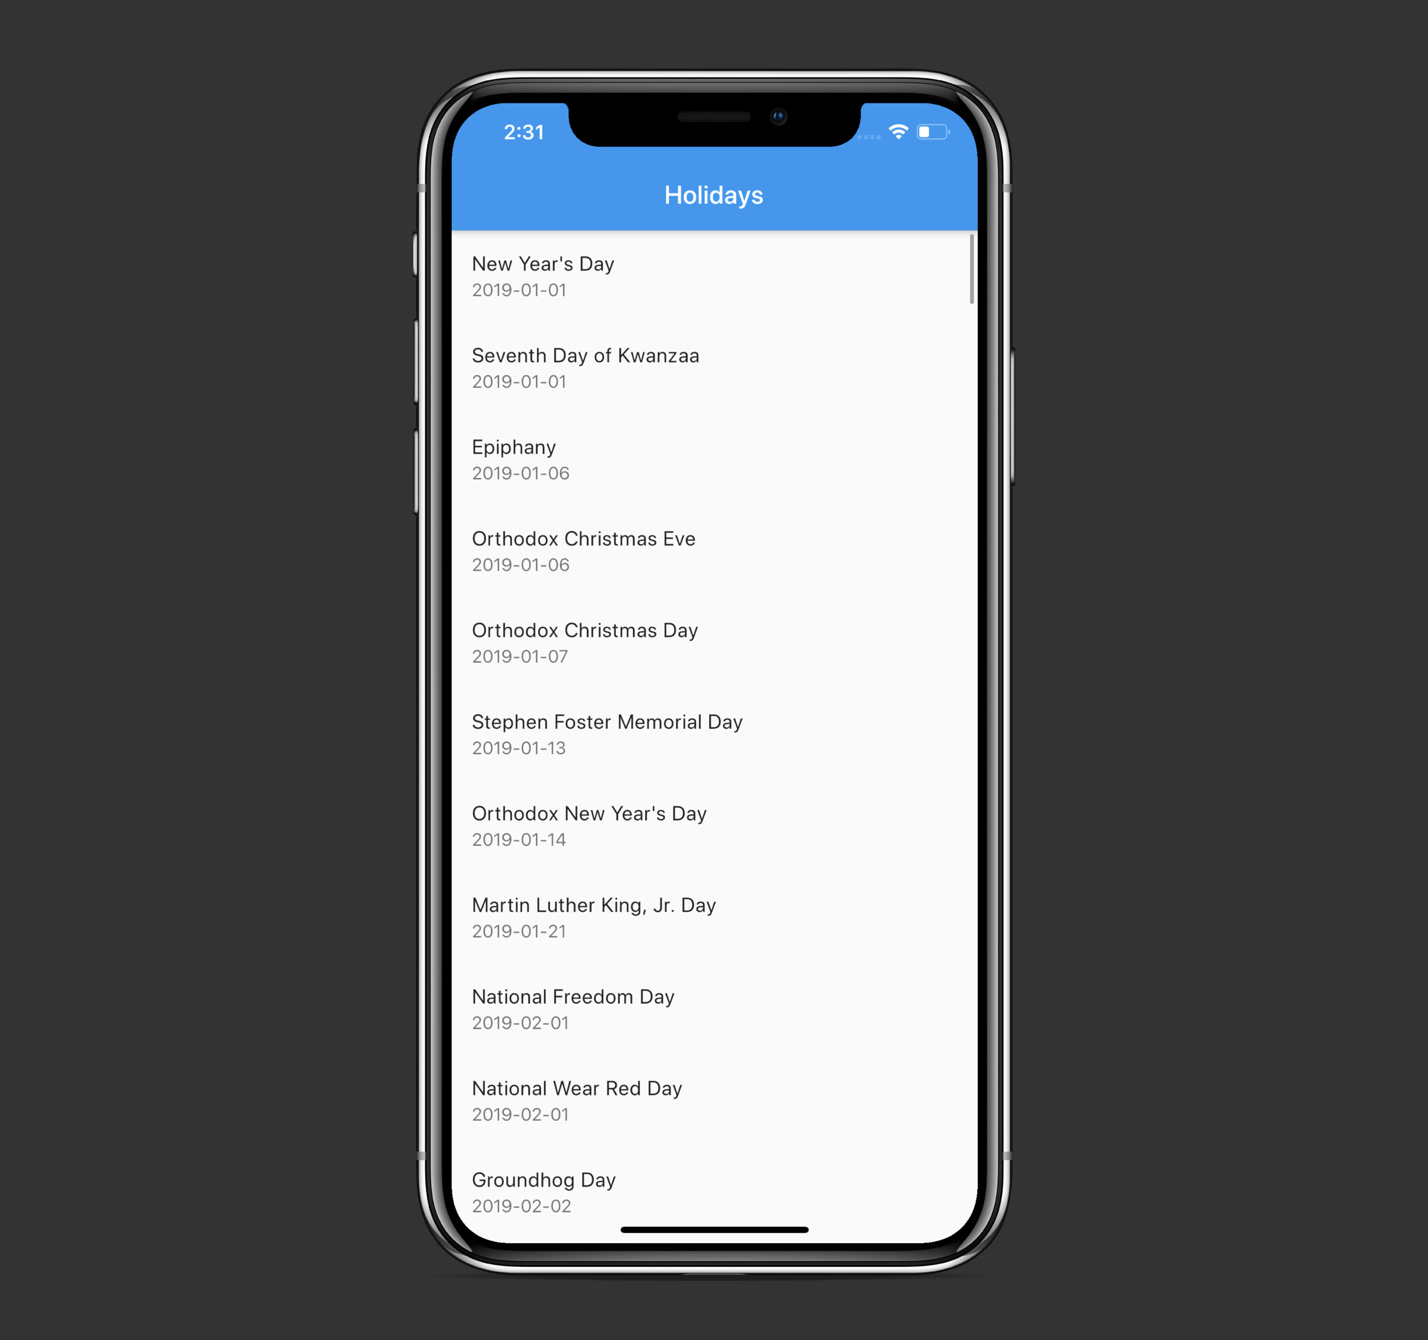
}As a result, we have a list of holidays displayed:
结果,我们显示了假期列表:
资源资源 (Resources)
The source code of the project is available on GitHub:
该项目的源代码可在GitHub上找到:
结语 (Wrapping Up)
Interested in more about Flutter and Dart? Feel free to check out my other relevant pieces:
对Flutter和Dart感兴趣吗? 随时查看我的其他相关文章:
Thanks for reading!
谢谢阅读!


 1471
1471

 被折叠的 条评论
为什么被折叠?
被折叠的 条评论
为什么被折叠?
 到【灌水乐园】发言


