


 本文介绍了如何使用PyTorch内置的库Flow Forecast进行时间序列预测,该库专为时间序列分析和预测而设计,适用于数据科学家和机器学习工程师。
pytorch预测时间序列
Flow Forecast is a recently created open-source framework that aims to make it easy to use state of the art machine learning models to forecast and/or classify complex temporal data. Additionally, flow-forecast natively integrates with Google Cloud Platform, Weights and Biases, Colaboratory, and other tools commonly used in industry.
Flow Forecast是最近创建的开源框架 ,旨在简化使用最先进的机器学习模型来预测和/或分类复杂的时间数据的过程。 此外,流程预测与Google Cloud Platform,权重和偏差,协作以及其他行业常用工具进行了本地集成。
Background
背景
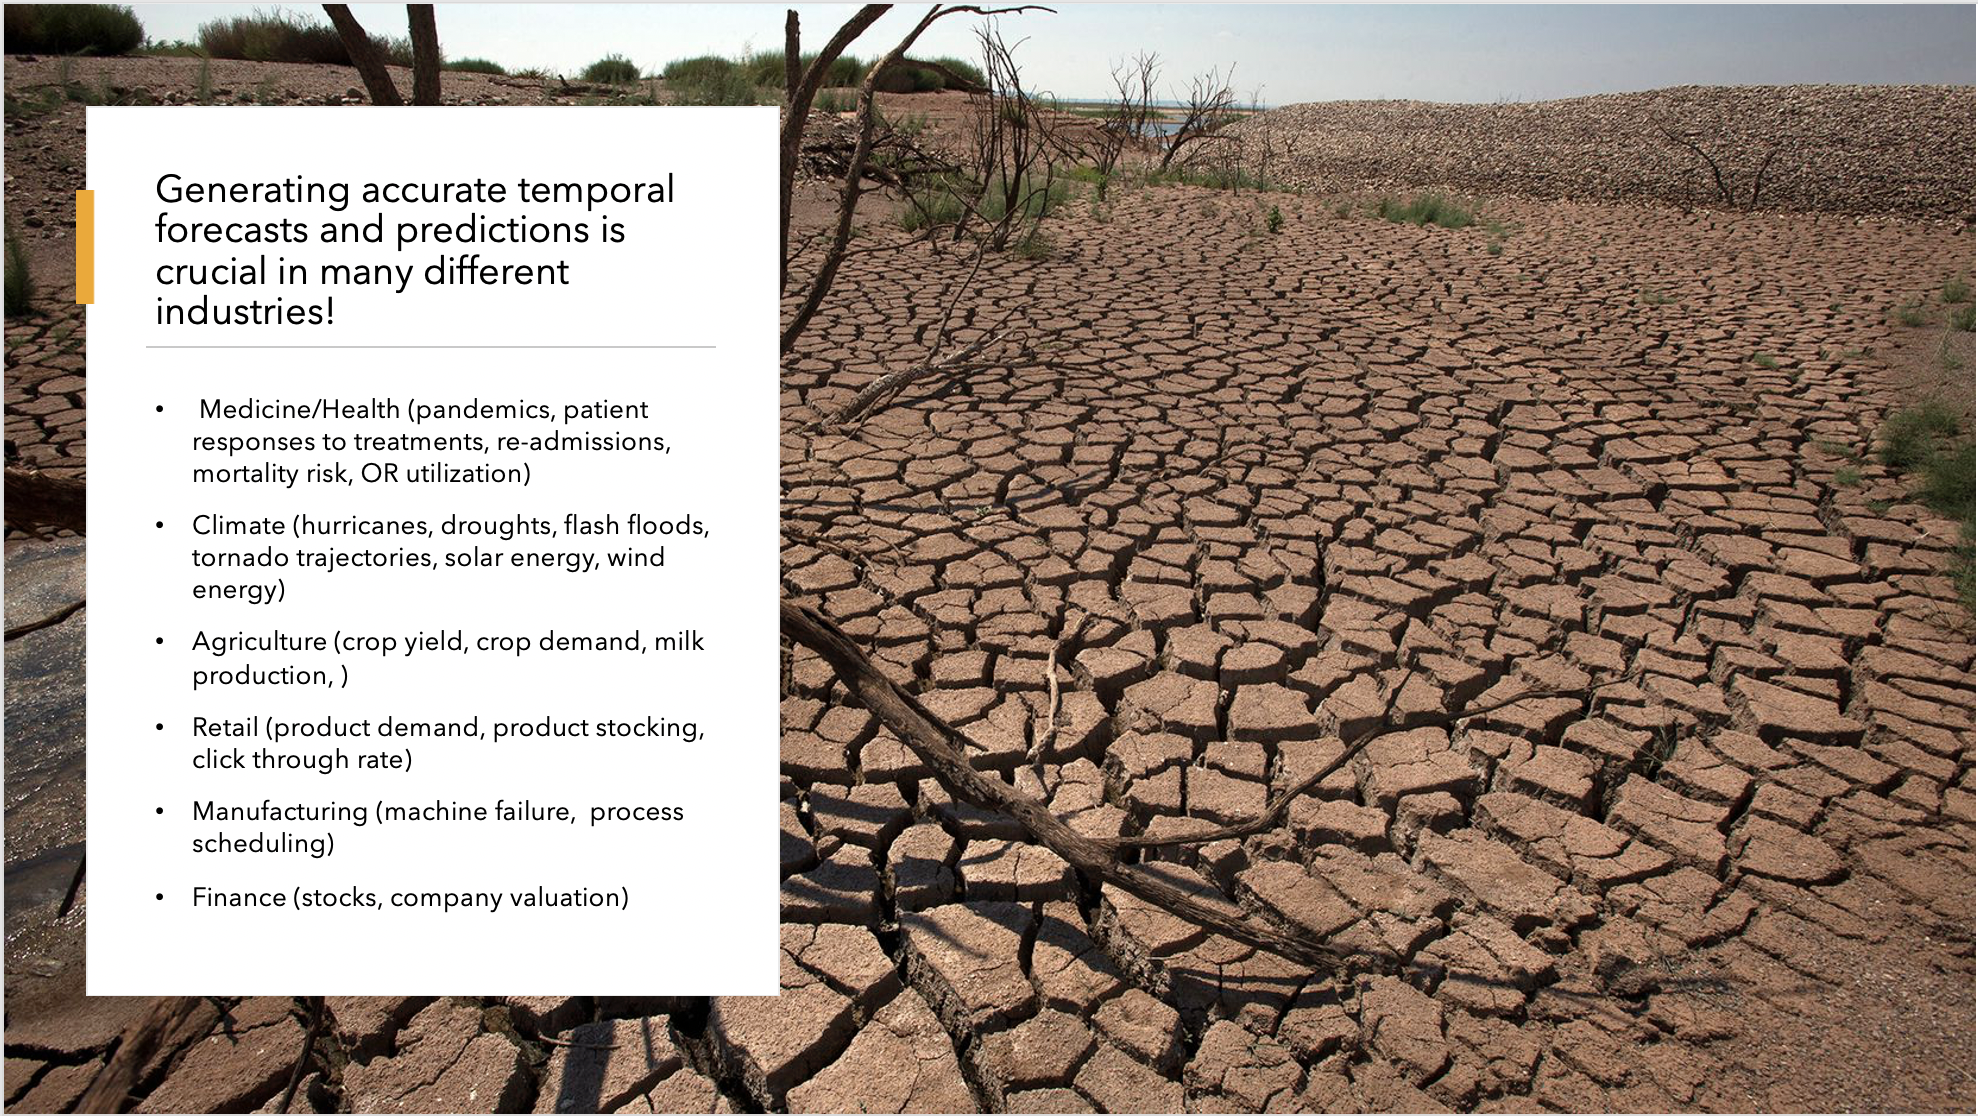
In some of my previous articles I talked about the need for accurate time series forecasts and the promise of using deep learning. Flow-Forecast was originally, created to forecast stream and river flows using variations of the transformer and baseline models. However, in the process of training the transformers I encountered several issues related to finding the right hyper-parameters and the right architecture. Therefore, it became necessary to develop a platform for trying out many configurations. Flow forecast is designed to allow you to very easily try out a number of different hyper-parameters and training options for your models. Changing a model is as simple as swapping out the model’s name in the configuration file.
在之前的一些文章中,我谈到了对准确的时间序列预测的需求以及使用深度学习的希望 。 Flow-Forecast最初是使用变压器和基准线模型的变化来预测河流和河流流量的方法。 但是,在培训变压器的过程中,我遇到了一些与找到正确的超参数和正确的体系结构有关的问题。 因此,有必要开发一种平台来试用许多配置。 流量预测旨在让您非常轻松地为模型尝试许多不同的超参数和训练选项。 更改模型就像交换配置文件中的模型名称一样简单。
Another problem I faced was how to integrate additional static datasets into the forecasts. For river flow forecasting, there was a lot of meta-data such as latitude, longitude, soil depth, elevation, slope, etc. For this, we decided to look into unsupervised methods like autoencoders for forming an embedding. This spurred the idea of creating a generic way to synthesize embedding with the temporal forecast.
我面临的另一个问题是如何将其他静态数据集集成到预测中。 对于河流流量的预测,有很多元数据,例如纬度,经度,土壤深度,高程,坡度等。为此,我们决定研究诸如自动编码器之类的无监督方法来形成嵌入。 这激发了创建通用方法以将嵌入与时间预测进行综合的想法。
Using flow forecast
使用流量预测
There are a couple easy resources to use to get started with flow-forecast. I recorded a brief introduction video back in May and there are also more detailed live-coding sessions you can follow. We also have a basic tutorial notebook that you can use to get a sense of how flow-forecast works on a basic problem. Additionally, there are also a lot more detailed notebooks that we use for our core COVID-19 predictions. Finally, we also have ReadTheDocs available for in depth documentation as well as our official wiki pages.
有两个简单的资源可用于开始流程预测。 我在5月份录制了一个简短的介绍视频 ,还有更多详细的实时编码会议可供您关注。 我们还有一个基本的教程笔记本 ,您可以用来了解流量预测在基本问题上的工作方式。 此外,还有很多更详细的笔记本可用于我们的核心COVID-19预测。 最后,我们还有ReadTheDocs可用于深入文档以及我们的官方Wiki页面。
Contributing
贡献
We always welcome new models and loss functions in our repository. We have created some simple documentation that describes the contribution process. There are also several live coding videos so you can see how to add new models to the repository yourself.
我们始终欢迎存储库中提供新的模型和损失函数。 我们创建了一些简单的文档来描述贡献过程 。 还有一些实时编码视频,因此您可以了解如何自己向存储库添加新模型。
Core goals of flow forecast and roadmap
流量预测和路线图的核心目标
- Provide a central repository of all the latest time series forecasting and classification models written in PyTorch and easy to extend. 提供一个以PyTorch编写且易于扩展的所有最新时间序列预测和分类模型的中央存储库。
- Make it easy to evaluate your model with a wide variety of loss functions, evaluation metrics as well as view the graphs of forecasted versus real values. 使用各种损失函数,评估指标以及查看预测值与实际值的图形,可以轻松评估模型。
- Test out a wide variety of hyper-parameters, loss functions, and slight architecture variations. Keep track of your experiments with Wandb reports and automatic weight saving to the cloud. 测试各种超参数,损失函数和轻微的体系结构变化。 借助Wandb报告和自动将重量减轻到云端的方法来跟踪您的实验。
- Synthesize static meta-data into your forecasts from many modalities such as text, image, numerical, geo-spatial, etc 通过多种方式将静态元数据综合到您的预测中,例如文本,图像,数字,地理空间等
- Allow you to utilize the latest transfer learning/pre-training techniques for time series to improve your forecast. 允许您针对时间序列利用最新的迁移学习/预培训技术来改善预测。
- Enable the easy deployment of time series models to production along with a simple to use continuous evaluation mechanism. 使时间序列模型易于部署到生产,并具有易于使用的连续评估机制。
- Easy integration with cloud providers such as GCP, AWS, and Azure and their related data storage solutions GCS, S3, Redshift, BigQuery, etc 轻松与GCP,AWS和Azure等云提供商及其相关数据存储解决方案GCS,S3,Redshift,BigQuery等集成
Questions/Feedback
问题/反馈
We appreciate questions and feedback on our repository. Feel free to open an issue if you encounter a bug or want an additional feature such as a model or a loss function.
感谢您对我们存储库的问题和反馈。 如果遇到错误或想要其他功能(例如模型或损失函数),请随时提出问题。
pytorch预测时间序列


 510
510

 被折叠的 条评论
为什么被折叠?
被折叠的 条评论
为什么被折叠?
 到【灌水乐园】发言


