数据科学工具
Ever felt frustrated because of not being able to recover a small code snippet which got deleted accidentally? Ever felt handicapped because of not being able to re-use an older iteration of your classification model which was offering the best accuracy score? Are you still following the old school version control approaches (remember V 0.1, V 0.2 V 1.0…)?
是否因为无法恢复意外删除的小代码片段而感到沮丧? 曾经因为无法重用分类模型的较旧版本(提供最高的准确度得分)而感到残障? 您是否仍在遵循旧版本的控制方法(请记住V 0.1,V 0.2 V 1.0…)?
If the answer to any of the above questions is yes, then this tutorial is for you.
如果以上任何一个问题的答案为是,那么本教程适合您。
假设条件 (Assumption)
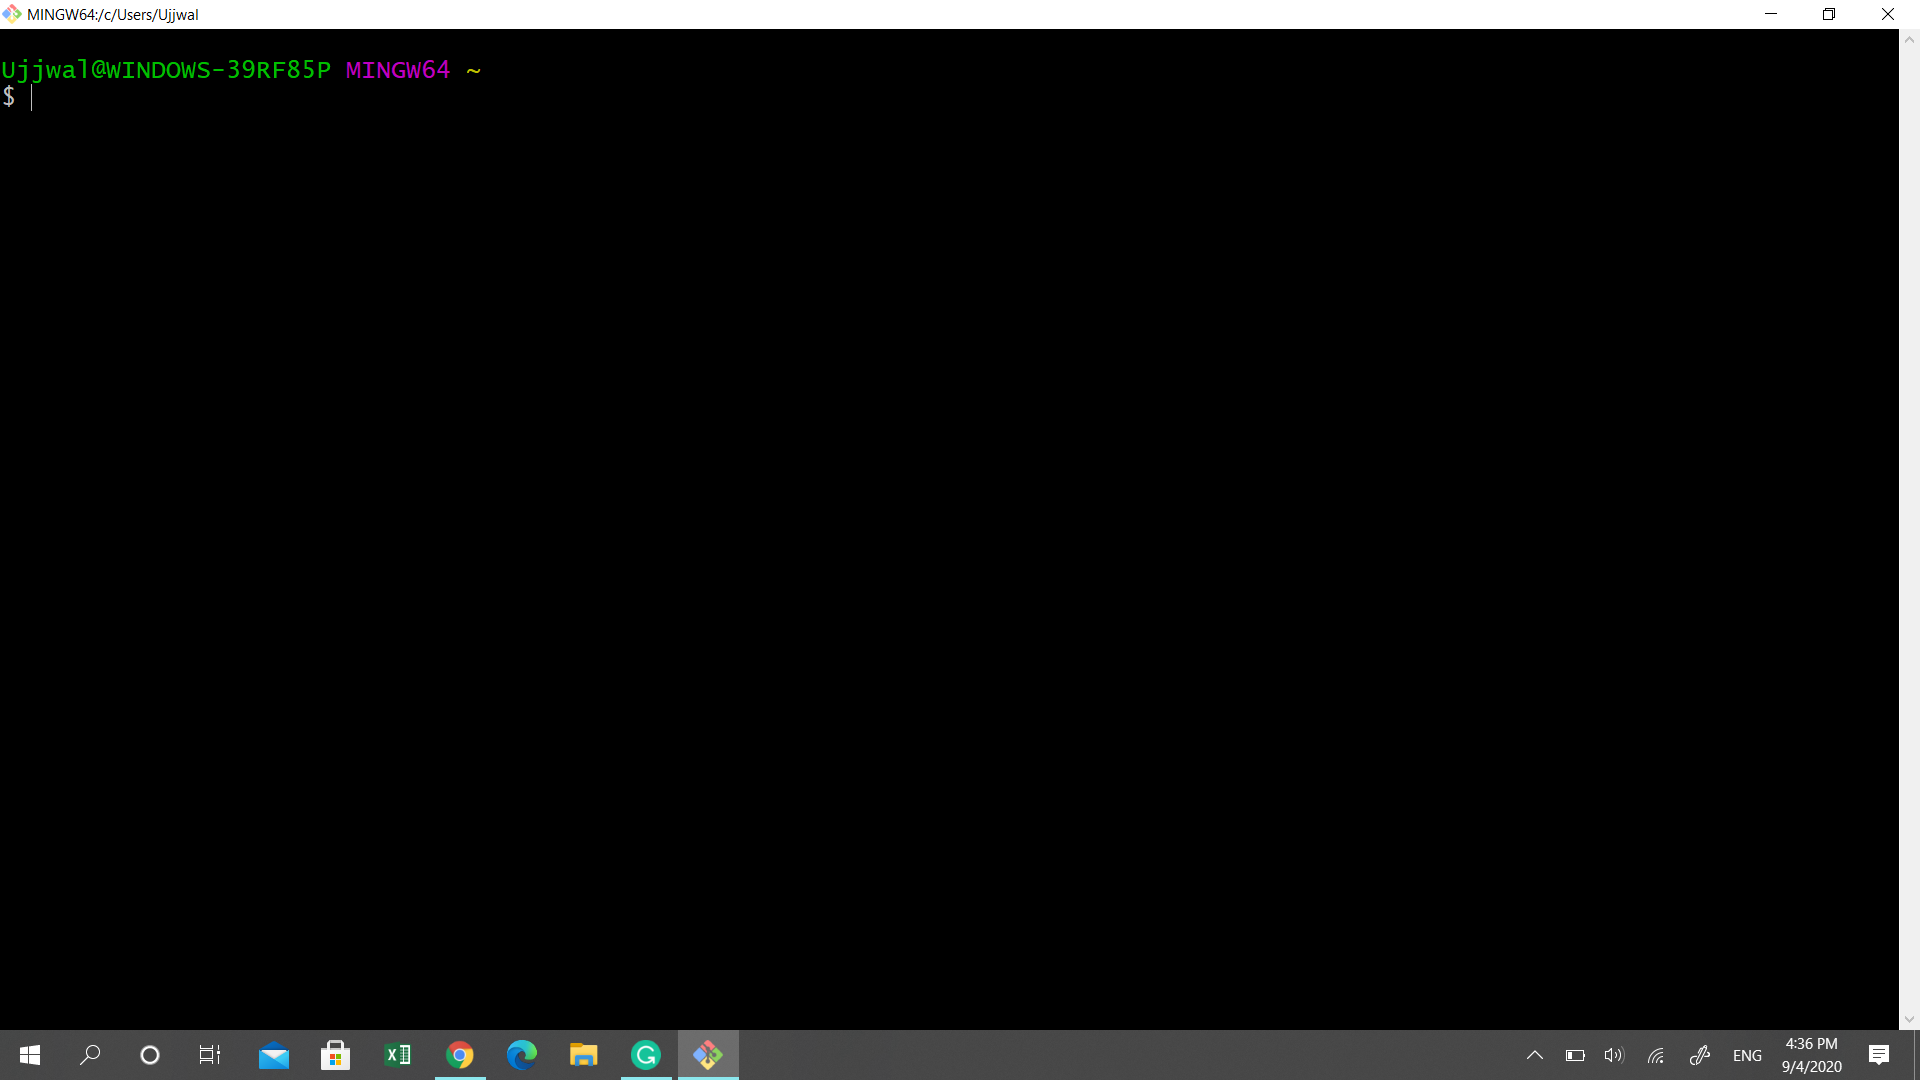
This tutorial assumes that you already have a GitHub account and the Git Bash application installed on your system (assuming Windows system). If not, there are a lot of tutorials out there that can help you with that. The GitBash screen looks something like below:
本教程假定您已经在系统上安装了GitHub帐户和Git Bash应用程序(假设使用Windows系统)。 如果没有,那里有很多教程可以帮助您。 GitBash屏幕如下所示:
与Git一起起飞 (Taking off with Git)
Git is a free and open-source version control system that enables tracking source code (or any file you upload on it) changes locally.
Git是一个免费的开放源代码版本控制系统,它可以在本地跟踪源代码(或您上载的任何文件)的更改。
To promote the concept of collaborative development, companies like GitHub (a Microsoft subsidiary) have built a cloud-based platform (GitHub platform) on top of Git. Other than supporting version control (standard Git feature), these platforms enable additional features like wikis, bug tracking, task management, etc.
为了推广协作开发的概念,像GitHub(微软的子公司)这样的公司已经在Git之上构建了一个基于云的平台(GitHub平台)。 除了支持版本控制(标准的Git功能)之外,这些平台还支持Wiki,错误跟踪,任务管理等附加功能。
定义关键词 (Defining Keywords)
Before learning to use GitHub, let’s understand some common terminologies which you will encounter throughout this tutorial:
在学习使用GitHub之前,让我们了解整个教程中会遇到的一些通用术语:
Repository — In layman terms, this is analogous to a project folder that contains all your project files. Standard practice is to have one repository per project.
资源库-用外行术语来说,这类似于包含所有项目文件的项目文件夹。 标准做法是每个项目只有一个存储库。
Branch — Generally, developers use different branches for maintaining different modules of the project. Another common scenario that warrants the use of branches is when multiple members of the team want to work on the same piece of code. This is when each one can have its branch. By default, each newly created repository has a central branch named “master”.
分支-开发人员通常使用不同的分支来维护项目的不同模块。 保证使用分支的另一种常见情况是团队的多个成员想要处理同一段代码。 这是每个人都可以有其分支的时间。 默认情况下,每个新创建的存储库都有一个名为“ master ”的中央分支。
Clone — Cloning is like copying and pasting the repository from one drive(developer’s folder on GitHub) to another (our local folder).
克隆-克隆就像将存储库从一个驱动器(GitHub上的开发人员文件夹)复制并粘贴到另一个驱动器(我们的本地文件夹)中。
Stage & Commit — Creation of a new project version, on your git repository, is a 2 step process. The first step is to collect all the files which are required to be a part of the new version. This is called staging the files. The second step is to create the new version of your project which is called committing. Only those files which are staged, can be committed to a new version.
阶段和提交-在git存储库上创建新项目版本是一个两步过程。 第一步是收集成为新版本一部分所需的所有文件。 这称为暂存文件。 第二步是创建项目的新版本,称为提交。 只有已暂存的那些文件才能提交到新版本。
Push & Pull — Given our focus on GitHub, push and pull is about interacting with repositories stored on GitHub’s cloud. A pull is like downloading the latest version and a push is synonymous to uploading your latest version on GitHub
推和拉—考虑到我们对GitHub的关注,推和拉是与与GitHub的云上存储的存储库进行交互。 拉动就像下载最新版本,而推动就像将最新版本上传到GitHub一样
单独工作时的GitHub活动(GitHub Activities When Working Alone)
This scenario applies when you are working alone on your repositories for purposes like storing your codes, files, projects etc. Your repository has no authorized collaborators or you are not an authorized collaborator on someone else’s repository.
当您出于存储代码,文件,项目等目的而独自在存储库上工作时,此方案适用。您的存储库没有授权的协作者,或者您不是其他存储库上的授权的协作者。
a。)创建自己的存储库 (a.) Creating your own Repository)
Creating a repository is the first thing you will do when working with GitHub. The process is very simple and demonstrated below:
创建存储库是使用GitHub时要做的第一件事。 该过程非常简单,并在下面进行了演示:
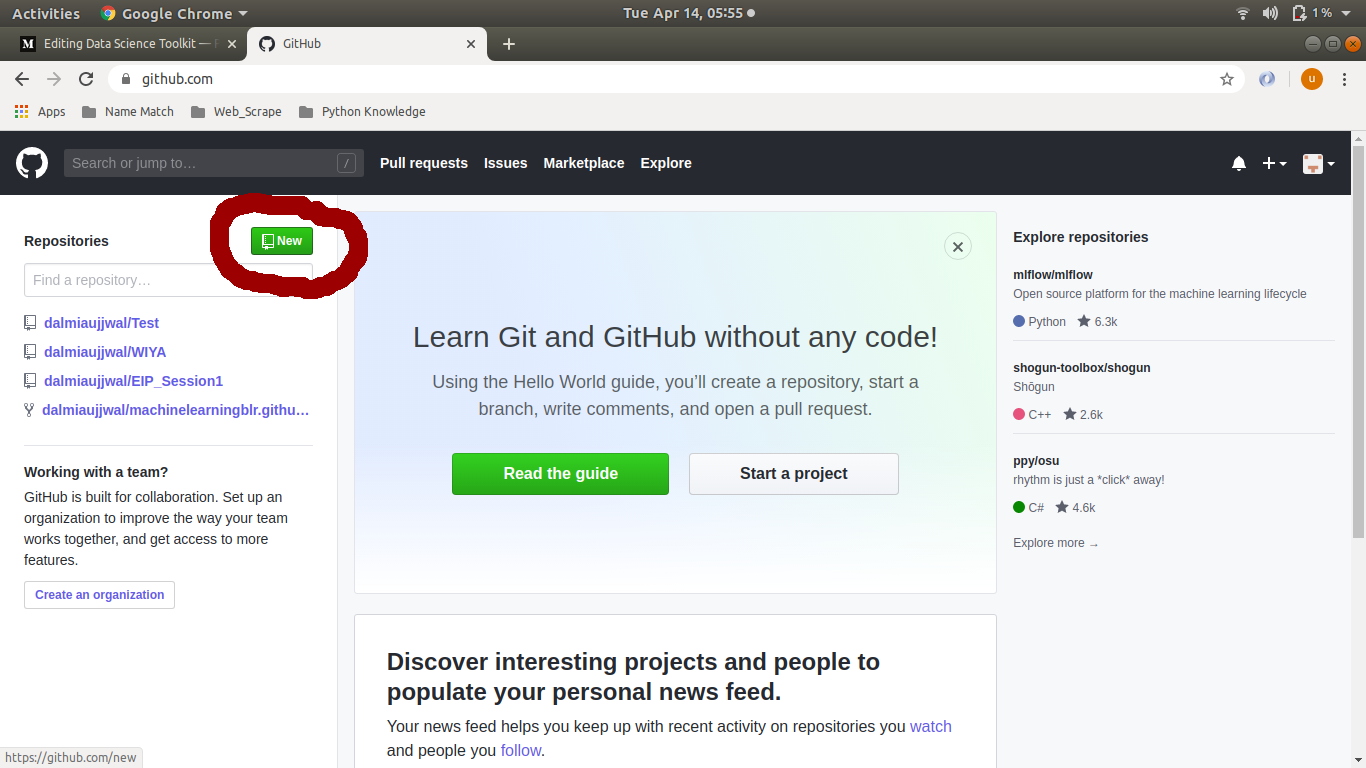
Login — Log in to your GitHub account and click on new on the top left of the screen.
登录—登录到您的GitHub帐户,然后单击屏幕左上方的new 。
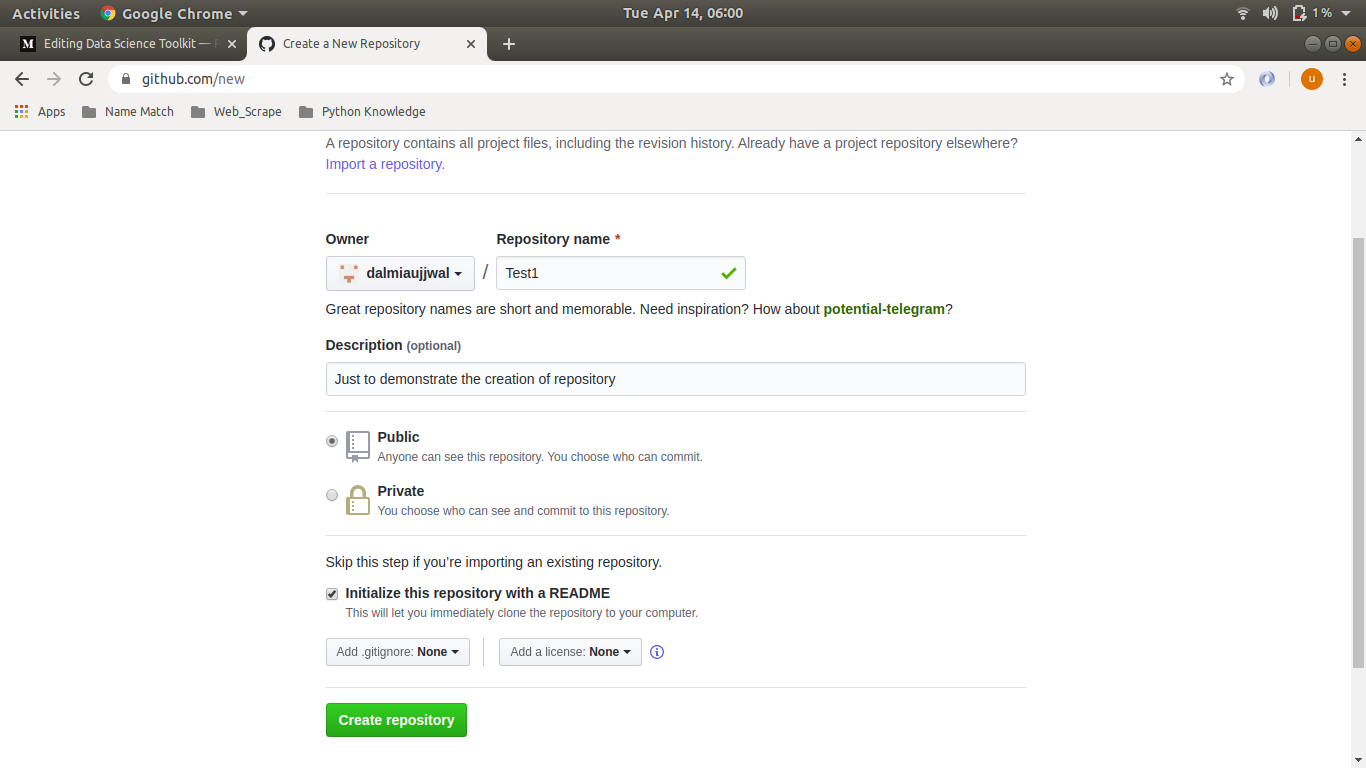
Details — Fill in a simple-looking form and click create repository (sample screenshot for your reference). That’s it, your repository creation is done. As defined earlier, think of it as a project folder in which you can keep multiple files.
详细信息-填写一个简单的表单,然后单击“创建存储库” (示例屏幕截图供您参考)。 就是这样,您的存储库创建完成。 如前所述,将其视为可以保存多个文件的项目文件夹。
b。)在本地系统上克隆云存储库 (b.) Cloning cloud repository on your local system)
Cloning downloads the content of your cloud (GitHub) repository into your system folder. Using this process, you can download the content not only from your GitHub repository but from any public repository created by other developers. This is where we will start using Git Bash:
克隆会将云(GitHub)存储库的内容下载到系统文件夹中。 使用此过程,您不仅可以从GitHub存储库中下载内容,还可以从其他开发人员创建的任何公共存储库中下载内容。 这是我们将开始使用Git Bash的地方:
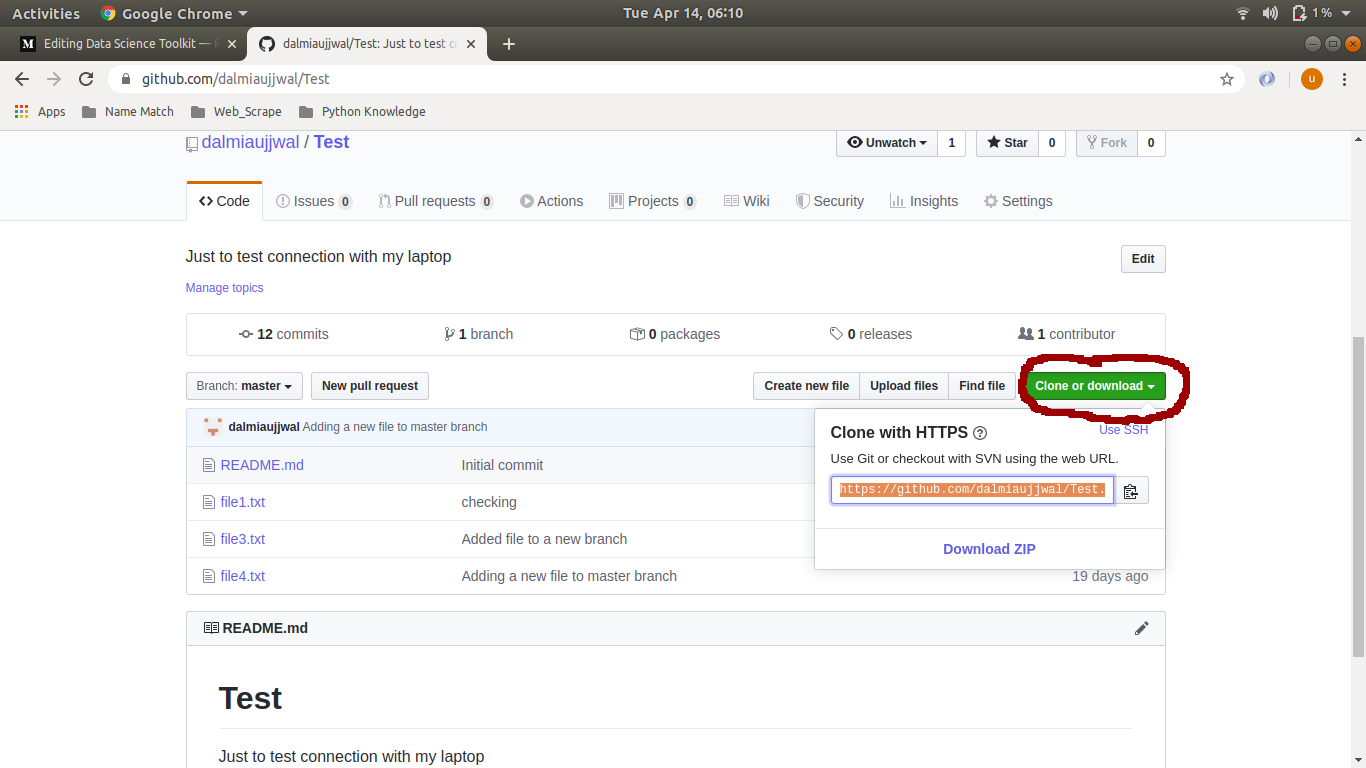
Clone Link — Search for the repository you want to clone and copy the cloning link
克隆链接-搜索要克隆的存储库并复制克隆链接
Windows Folder Creation — In your windows drive create the folder where you want all the repository files to get cloned. Open Git Bash and navigate to the desired folder location using the following command.
Windows文件夹创建-在Windows驱动器中,创建要克隆所有存储库文件的文件夹。 打开Git Bash并使用以下命令导航到所需的文件夹位置。
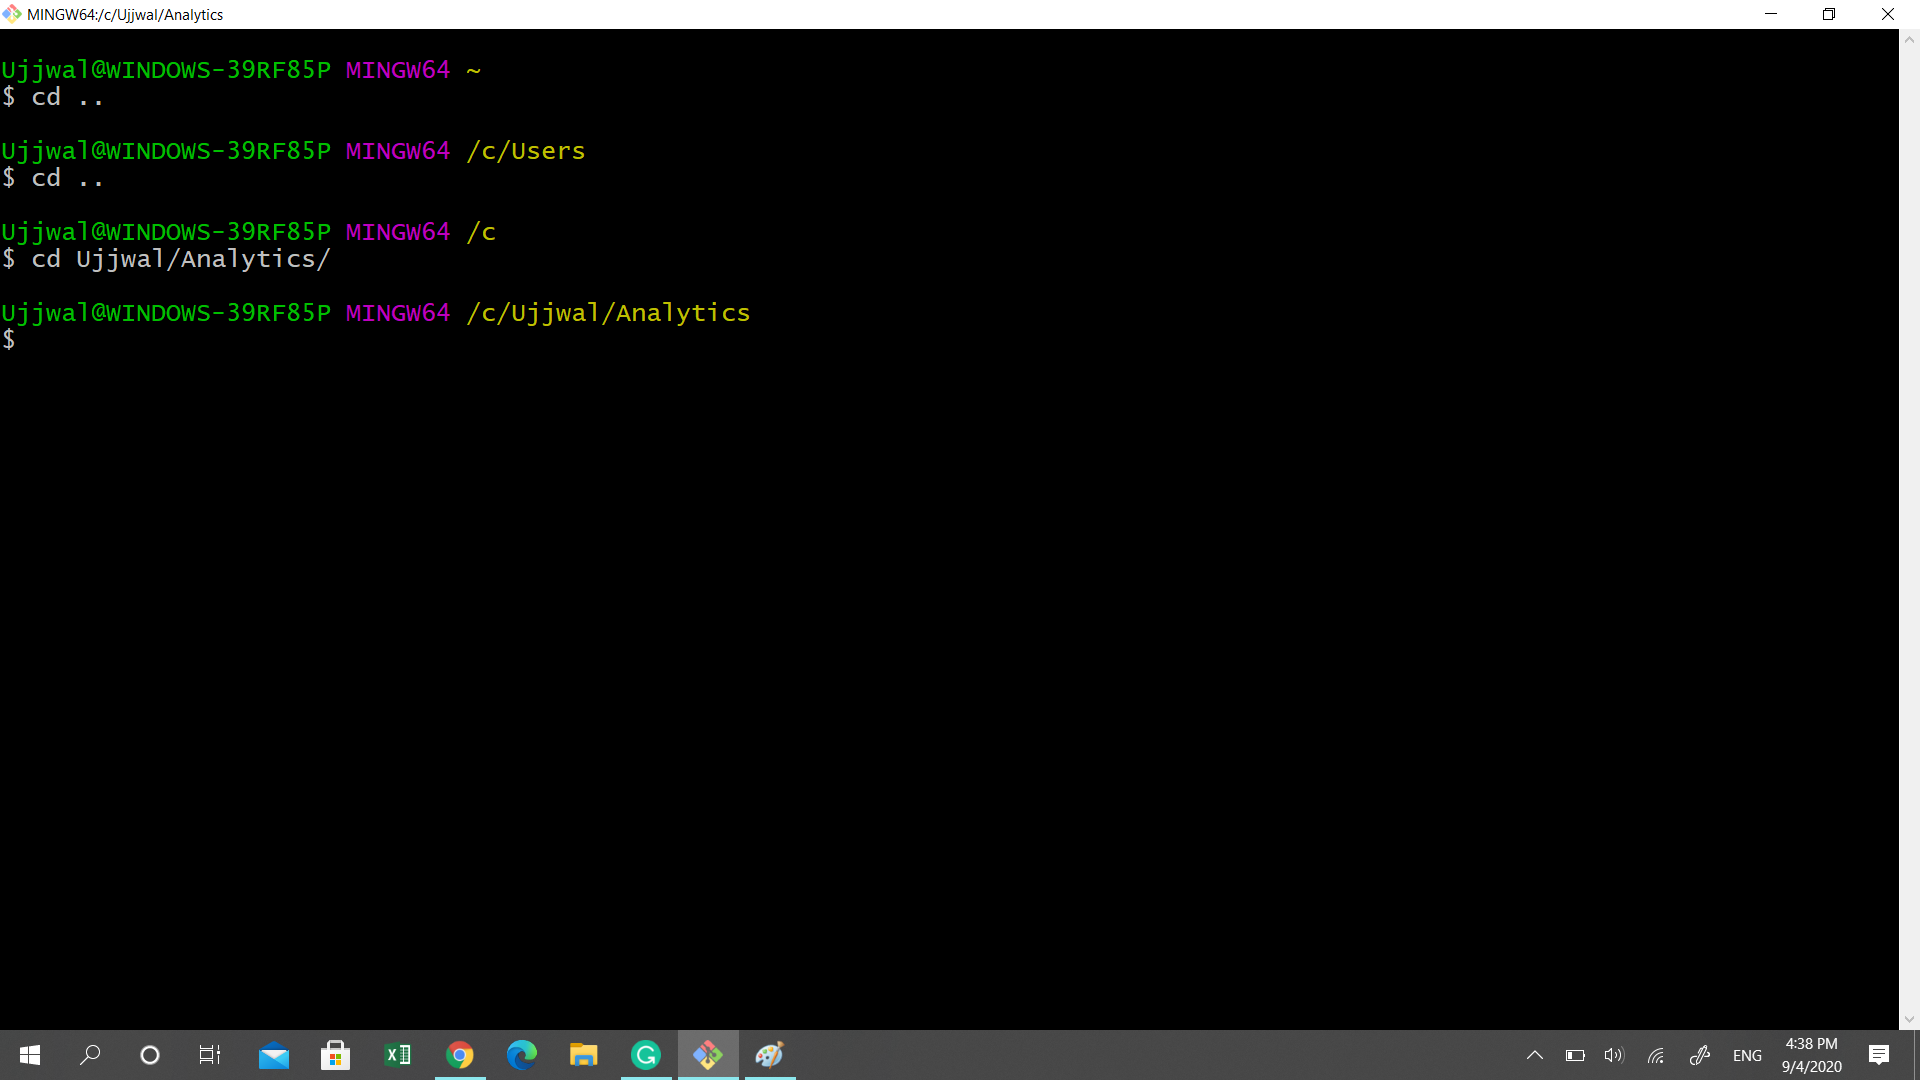
The Keyword “cd” is an abbreviation for change directory. This followed by folder location or double period (..) instructs the console to change its working location from the current directory to the provided folder location or the previous folder in the folder hierarchy respectively.
关键字“ cd ”是更改目录的缩写。 随后是文件夹位置或双点(..),指示控制台将其工作位置从当前目录分别更改为提供的文件夹位置或文件夹层次结构中的上一个文件夹。
Cloning — Once at the folder location, use the “git clone” command to clone the repository
克隆-在文件夹位置后,使用“ git clone”命令克隆存储库
#### Command
git clone clone_link 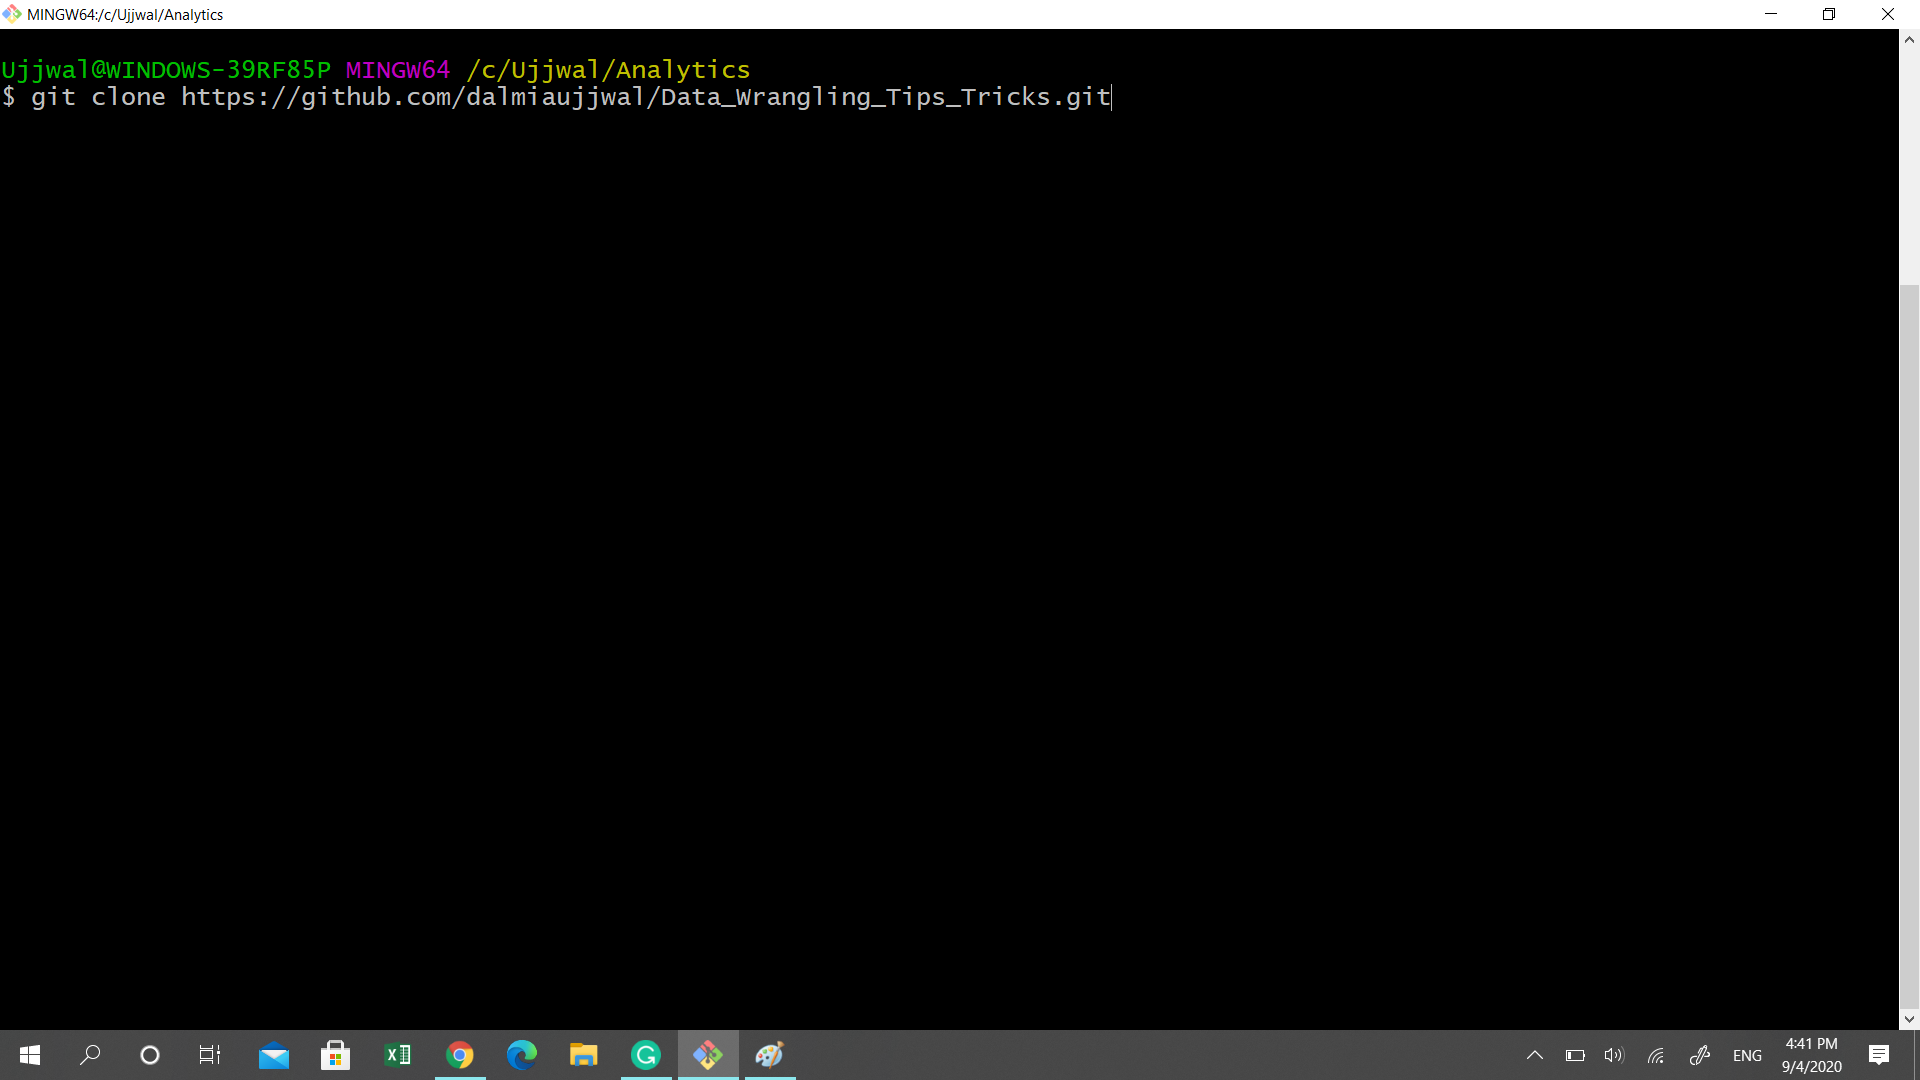
The Clone link in the above command is the link we copied in step 1. This command will create a new folder (with the same name as GitHub repository) in your folder location. This new folder will have all the resources of the cloud repository we have cloned. Two important points to note here:
上面命令中的Clone链接是我们在步骤1中复制的链接。 此命令将在您的文件夹位置创建一个新文件夹(与GitHub存储库同名)。 这个新文件夹将包含我们已克隆的云存储库的所有资源。 这里要注意的两个重要点:
The process explained above clones only the “master” branch of the repository. We have given a brief on branches in our definition section but more details on this in chapter 2
上面说明的过程仅克隆存储库的“ master”分支。 我们在定义部分对分支进行了简要介绍,但在第二章中对此进行了详细介绍
The clone link used for cloning gets saved in your local repository as a remote link with a default name “origin”
用于克隆的克隆链接被保存在你的本地库使用默认名称“原点”远程链接
Knowing the above 2 is important as this will be useful when we are pushing or pulling the latest version to/from the GitHub repository.
知道以上两个是很重要的,因为这在我们向GitHub存储库中推送最新版本时非常有用。
c。)创建版本(添加和提交) (c.) Creating Versions (add and commit))
Once cloned, a copy of the cloud repository is available for us to modify. To create versions at every checkpoint, we will take the following steps:
克隆后,云存储库的副本可供我们修改。 要在每个检查点创建版本,我们将执行以下步骤:
Staging — Once you have modified the file/files to your satisfaction (or created a new one), add them to the staging area
登台-将文件修改为满意(或创建新文件)后,将它们添加到登台区域
#### Command
git add file_name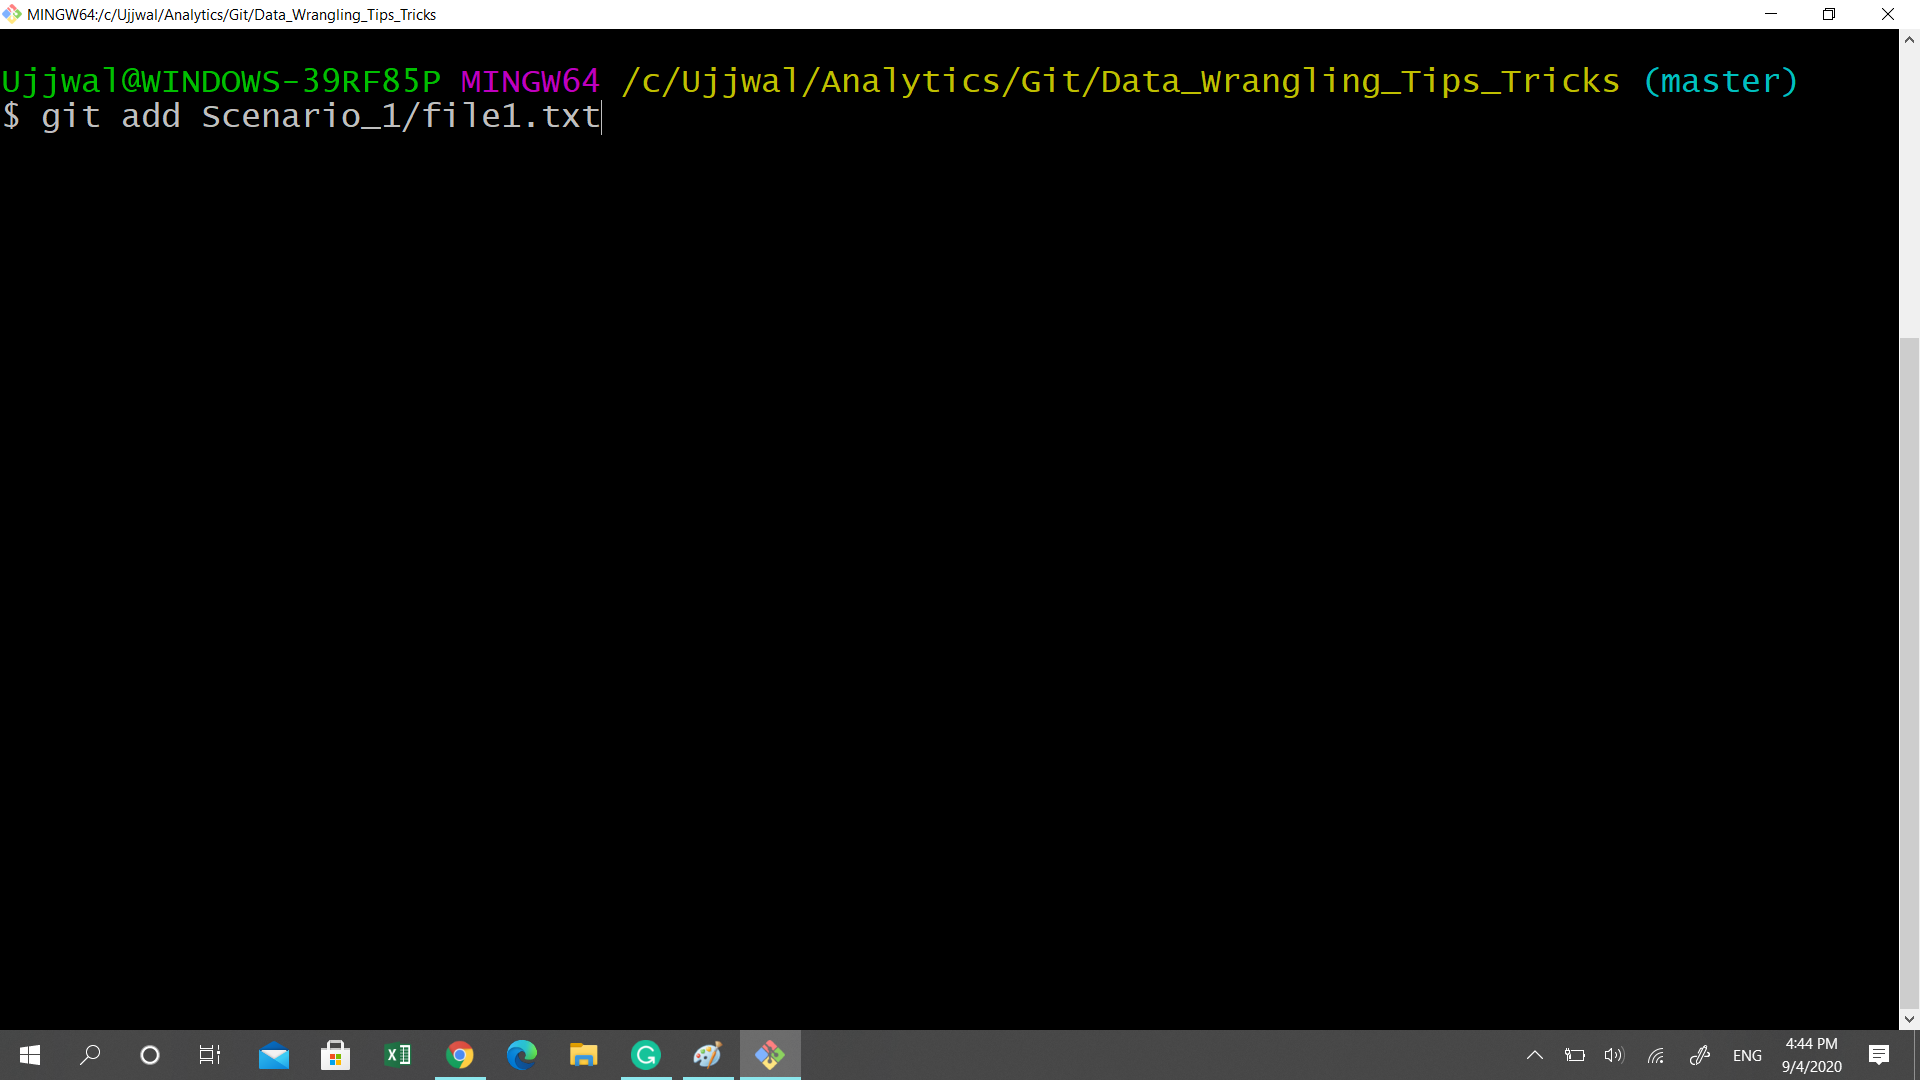
Status Check — To check if the file is added successfully to the staging area, execute the following command
状态检查-要检查文件是否成功添加到暂存区,请执行以下命令
#### Command
git status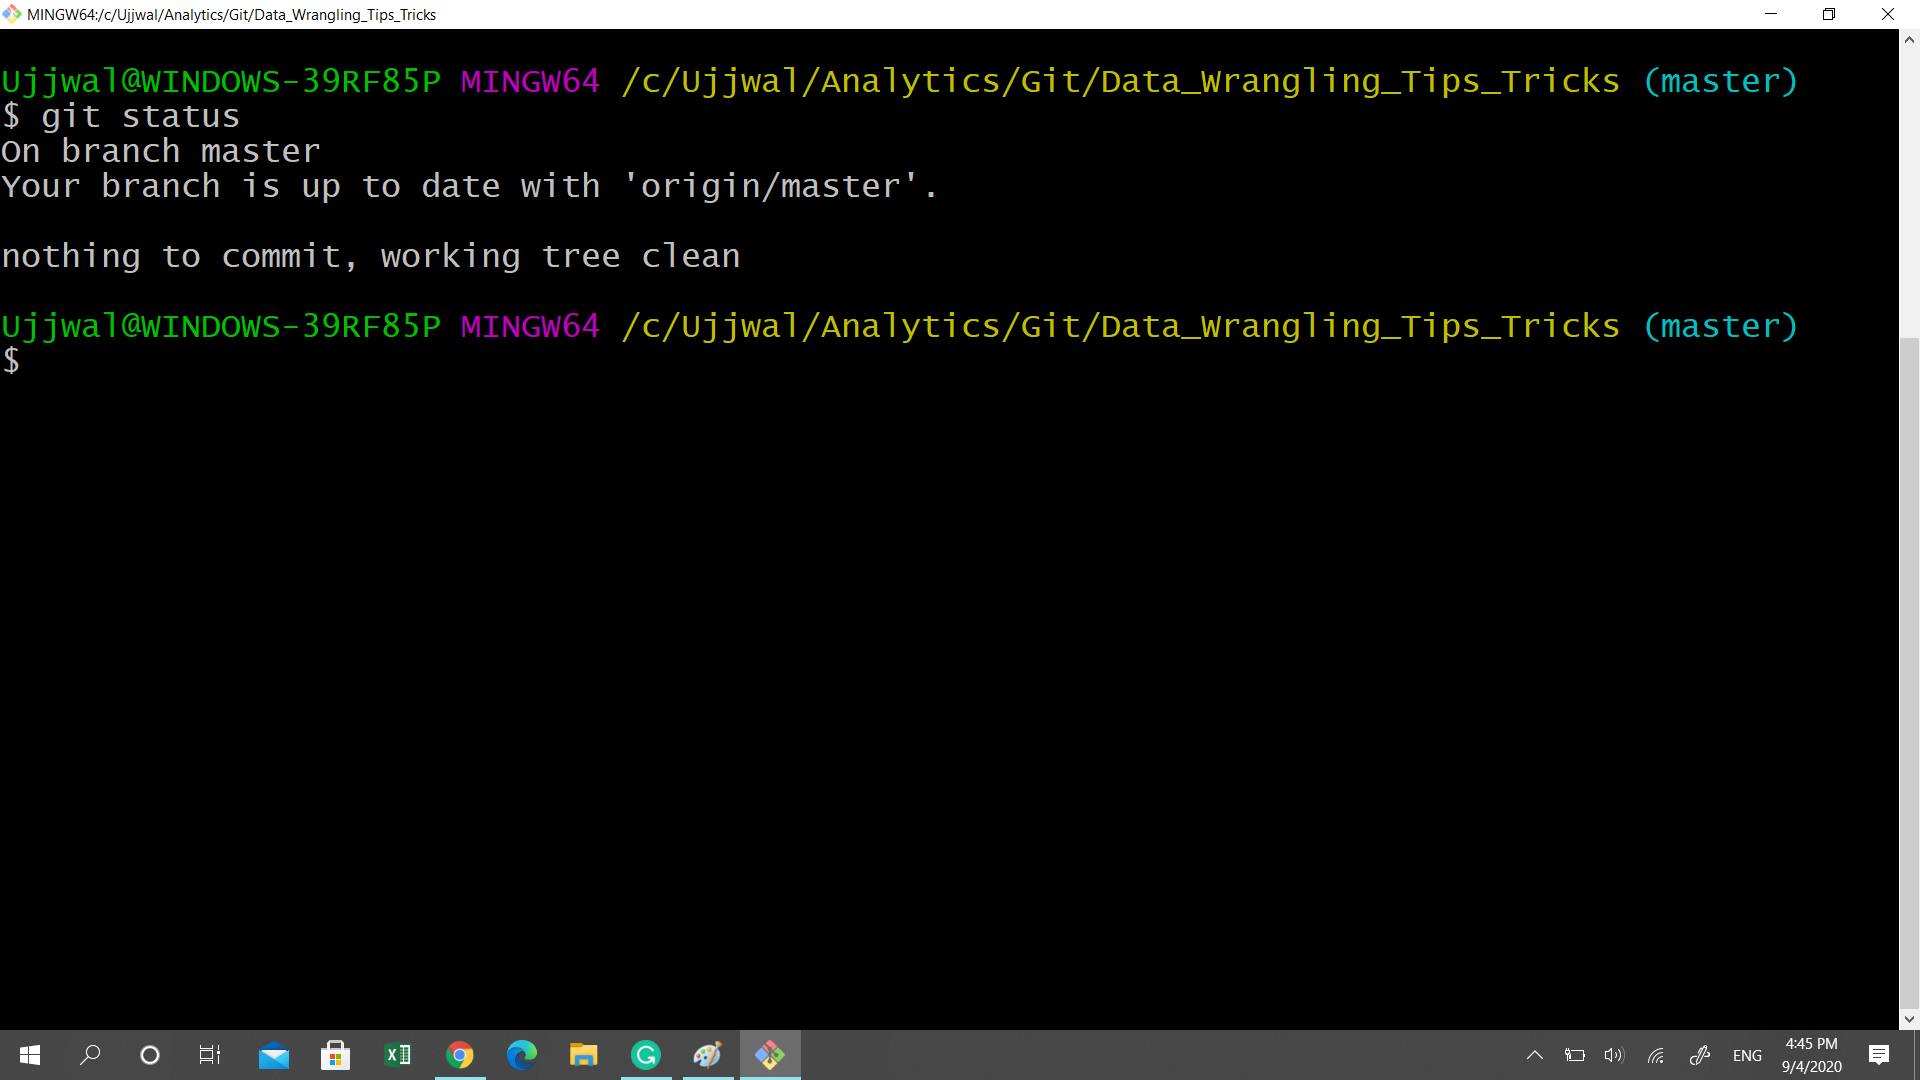
Git status will list down all the files you have modified in your local repo. The ones which are added to staging will be green in color whereas the ones not added to staging will be red.
Git状态将列出您在本地存储库中修改的所有文件。 添加到登台的商品将显示为绿色,而未添加到登台的商品将显示为红色。
Commit — Once you are sure that the files you want to version control are there in staging, version control them by executing the following command
提交-确定要分阶段控制版本的文件后,通过执行以下命令对文件进行版本控制
#### Command
git commit -m "message"
Please note the command line option “-m” followed by “message”. The message here is a free text comment explaining the changes made in the committed version.
请注意命令行选项“ -m ”,后跟“ message ”。 这里的消息是一个自由文本注释,解释在提交的版本中所做的更改。
This is it, a new version of your file got saved on Git repository (but on your local system).
就是这样,文件的新版本已保存在Git存储库中(但保存在本地系统上)。
d。)将本地存储库与云存储库同步 (d.) Sync up the local repository with cloud repository)
Until the last step, we created a new version of the file by committing it to our local repository. In this step, we will push our local repository (with updated file versions) to the cloud repository. The command to do that is as follows:
直到最后一步,我们通过将文件提交到本地存储库来创建文件的新版本。 在此步骤中,我们会将本地存储库(具有更新的文件版本)推送到云存储库。 为此,请执行以下命令:
#### Command
git push origin master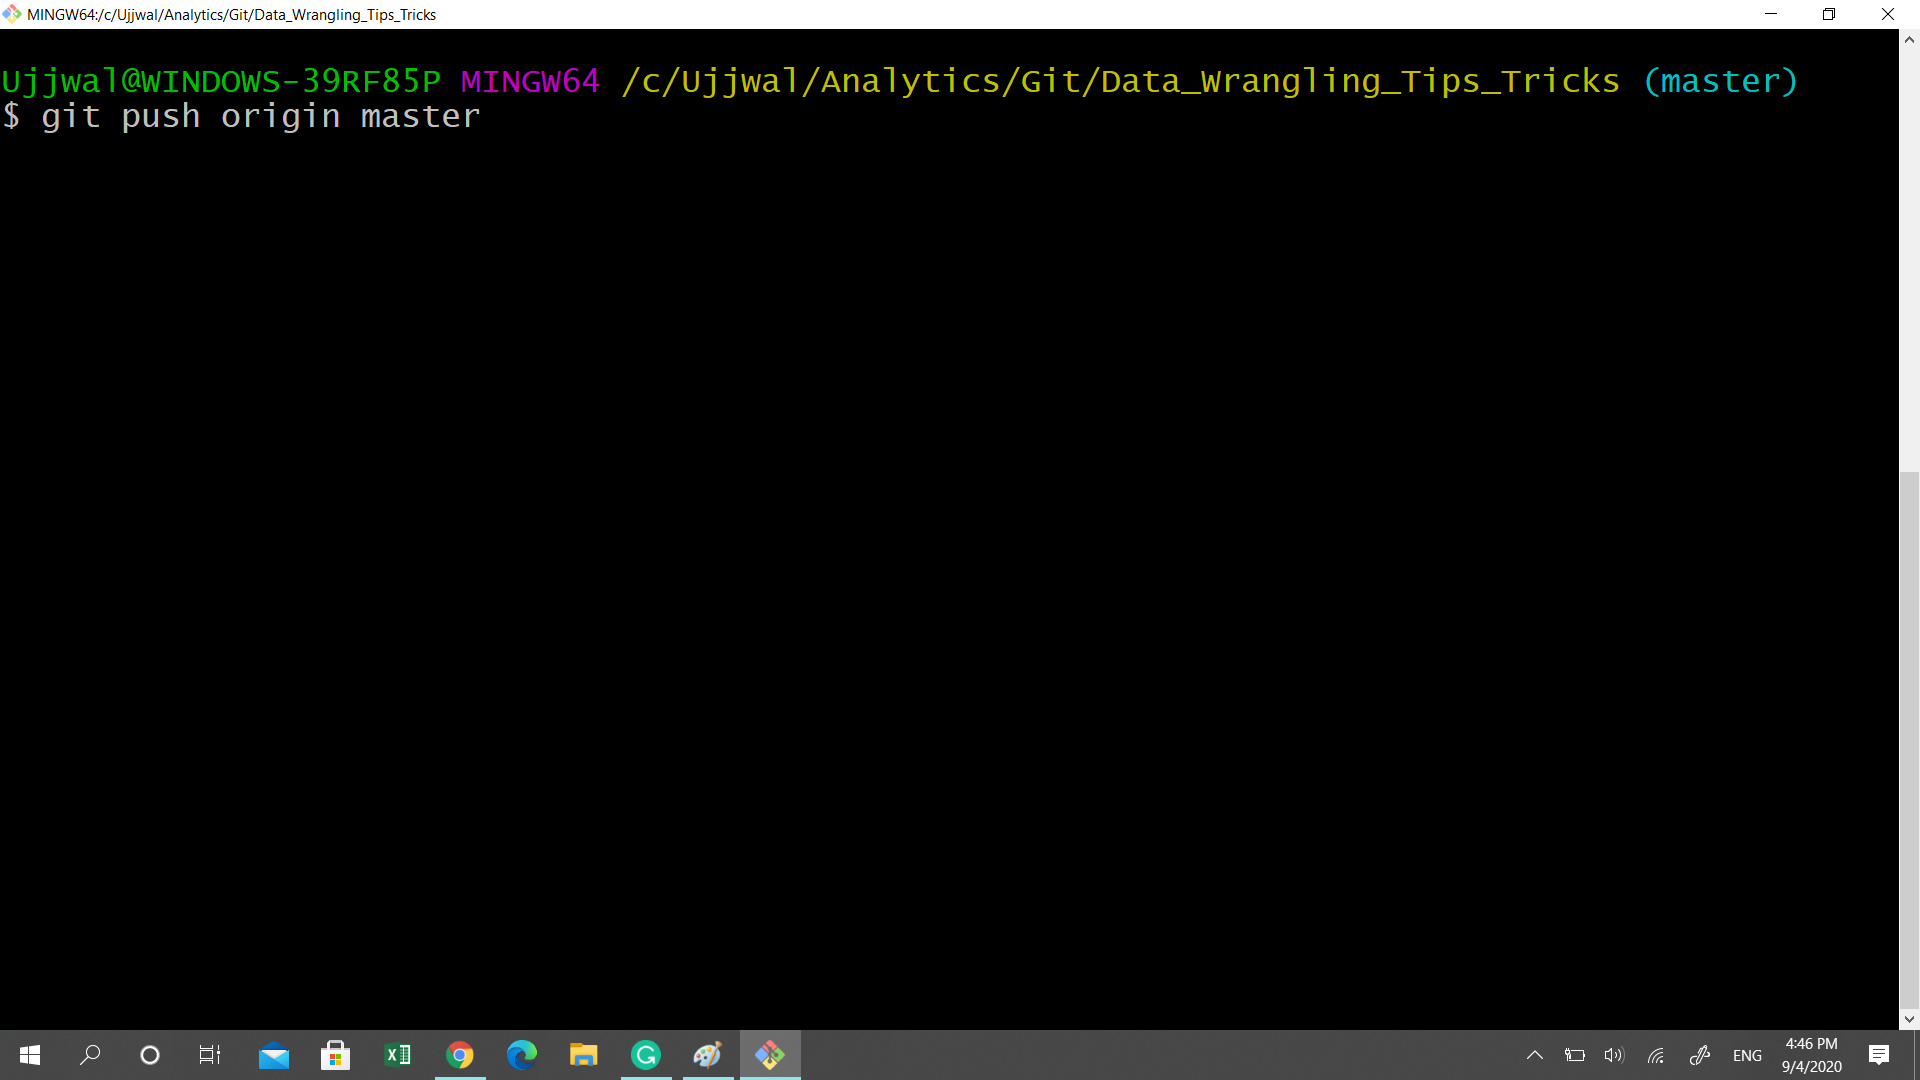
Decoding the syntax:
解码语法:
The push command instructs the command line to upload the local repository to the cloud (Git Hub)
push命令指示命令行将本地存储库上传到云(Git Hub)
As explained in the cloning step, the keyword “origin” contains the link to the GitHub repository which was cloned. When Git encounters the word origin, it identifies the cloud location where the local repository needs to be pushed.
如克隆步骤中所述,关键字“ origin”包含指向已克隆的GitHub存储库的链接。 当Git遇到单词origin时,它将标识需要将本地存储库推送到的云位置。
The keyword “master” is the name of the branch to which the local repository will be pushed. When working with some other branch, replace the master with the branch name.
关键字“ master”是本地存储库将被推送到的分支的名称。 与其他分支一起使用时,请将主名称替换为分支名称。
e。)从云存储库下载后续更新 (e.) Downloading subsequent updates from the cloud repository)
For first time access to the cloud repository, we used the process of cloning. Given the cloud repository will be accessible to the whole community, there can be multiple updates to it (commit in git terminology) and your locally cloned repository might not be updated with recent changes. To download the latest version from the cloud repository use the following command.
首次访问云存储库时,我们使用了克隆过程。 鉴于整个社区都可以访问云存储库,因此可以对其进行多个更新(使用git术语提交),并且本地克隆的存储库可能不会使用最新更改进行更新。 要从云存储库下载最新版本,请使用以下命令。
#### Command
git pull origin master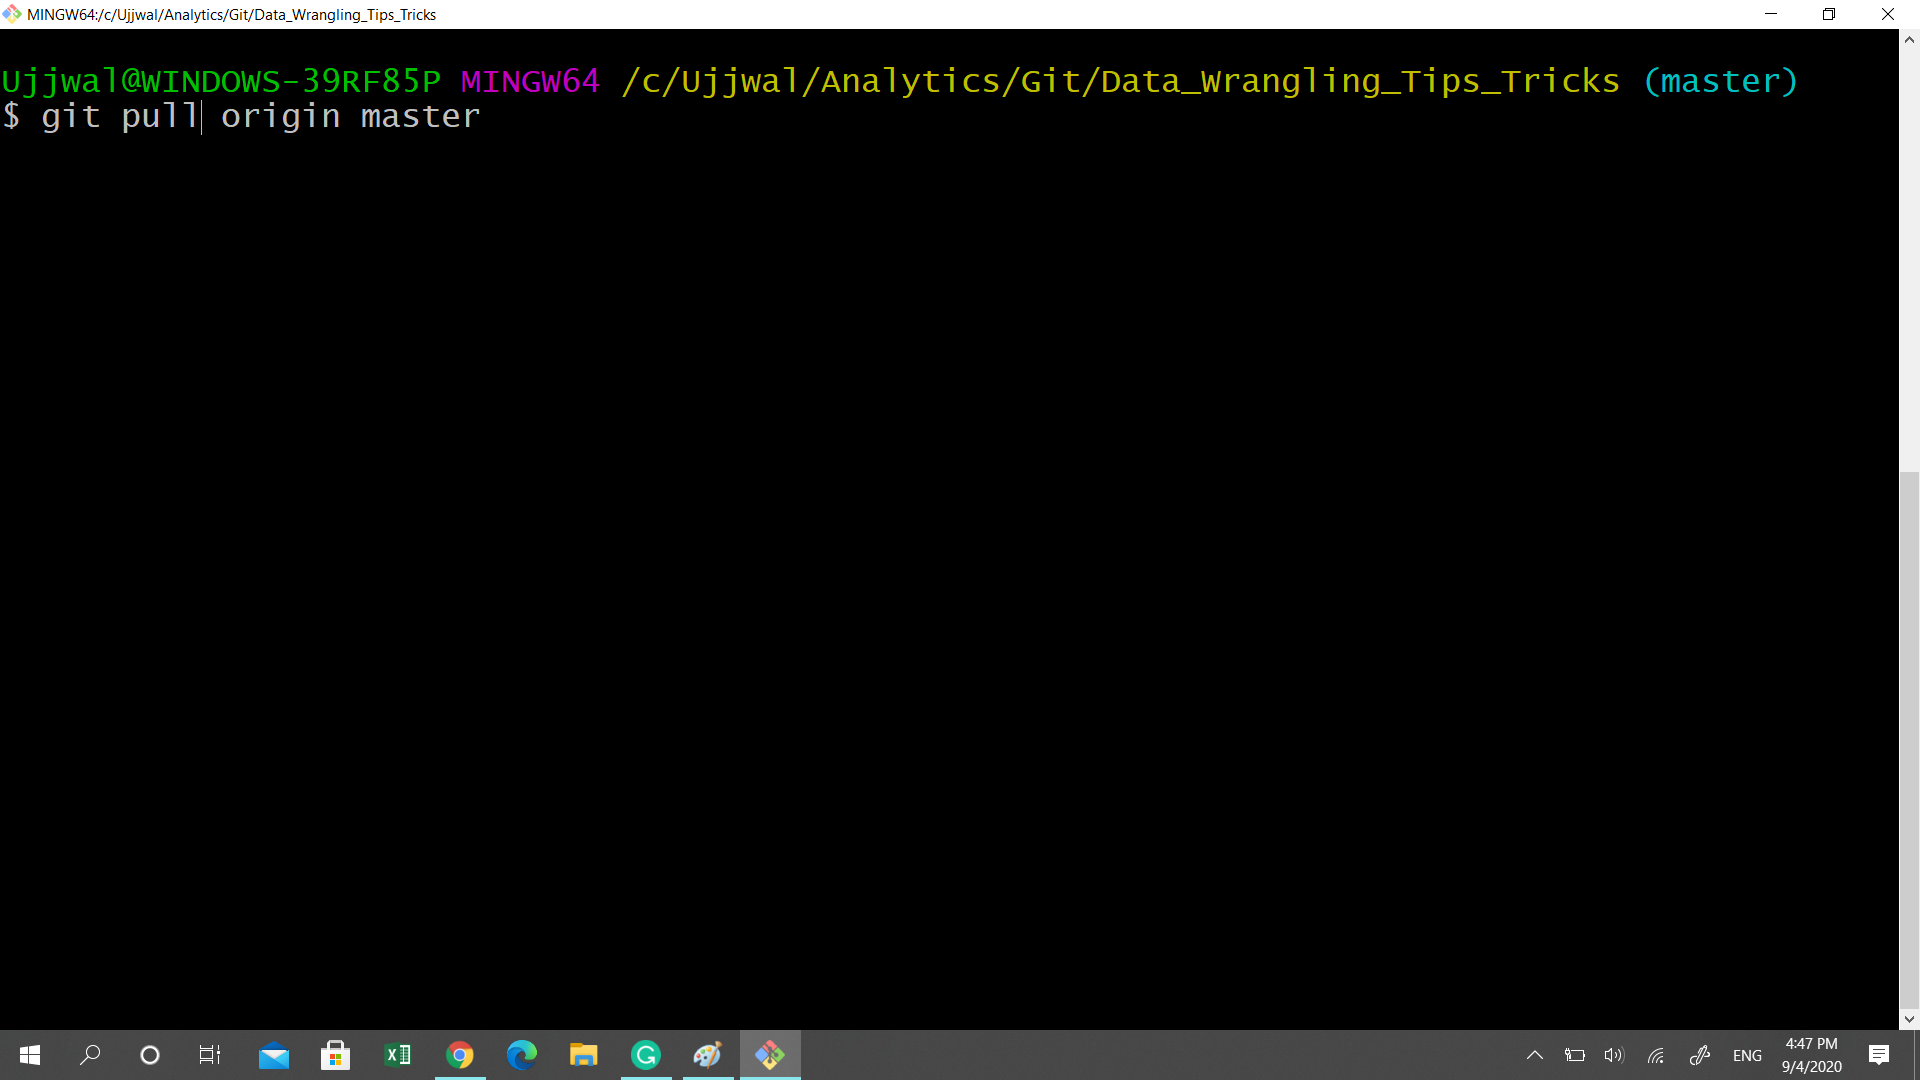
Note that the command remains the same as the push command with the only difference that the word push is replaced with pull.
请注意,该命令与push命令保持相同,唯一的区别是单词push被替换为pull。
结束语 (Closing note)
Did you know that for a lot of technical job roles, employers now expect you to be an active GitHub member with multiple repositories and contributors?
您是否知道,对于许多技术工作职位,雇主现在希望您成为具有多个存储库和贡献者的GitHub活跃会员?
In our next chapter on GitHub, we will learn about how to collaborate with the developer community using GitHub. In the meanwhile, equipped with the knowledge of this new tool, go ahead and start socializing your projects.
在GitHub的下一章中,我们将学习如何使用GitHub与开发人员社区进行协作。 同时,借助此新工具的知识,继续进行,并开始对您的项目进行社交化。
HAPPY LEARNING ! ! ! !
快乐学习! ! ! !
翻译自: https://towardsdatascience.com/must-know-tools-for-data-scientists-114d0b52b0a9
数据科学工具


 640
640

 被折叠的 条评论
为什么被折叠?


