


python代码:
import cv2 as cv
import numpy as np
src = cv.imread("./test.png")
cv.namedWindow("input", cv.WINDOW_AUTOSIZE)
# 二值化图像
gray = cv.cvtColor(src, cv.COLOR_BGR2GRAY)
ret, binary = cv.threshold(gray, 0, 255, cv.THRESH_BINARY | cv.THRESH_OTSU)
cv.imshow("input", binary)
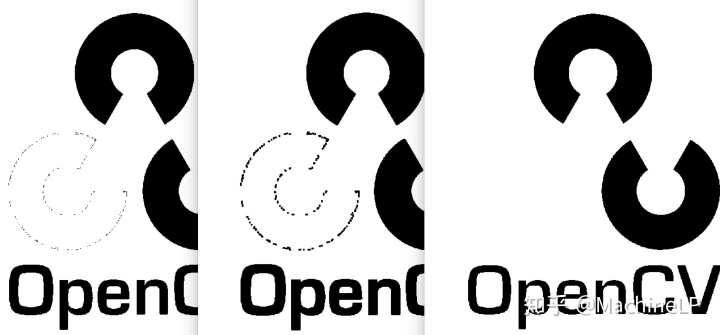
# 使用3x3结构元素进行膨胀与腐蚀操作
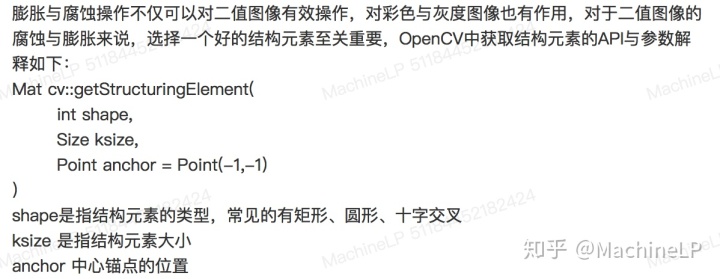
se = cv.getStructuringElement(cv.MORPH_RECT, (3, 3), (-1, -1))
dilate = cv.dilate(binary, se, None, (-1, -1), 1)
erode = cv.erode(binary, se, None, (-1, -1), 1)
# 显示
cv.imshow("dilate", dilate)
cv.imshow("erode", erode)
cv.imwrite("./dilate.png", dilate)
cv.imwrite("./erode.png", erode)
cv.waitKey(0)
cv.destroyAllWindows()
C++代码:
#include <opencv2/imgproc.hpp>
#include <opencv2/highgui.hpp>
#include <math.h>
using namespace cv;
using namespace std;
int main(int argc, char** argv)
{
	Mat dresult, eresult;
	Mat src = imread("./test.png");

	// ��ֵͼ��
	Mat gray, binary;
	cvtColor(src, gray, COLOR_BGR2GRAY);
	threshold(gray, binary, 0, 255, THRESH_BINARY | THRESH_OTSU);
	imshow("binary", binary);

	// ����ṹԪ�� 3x3��С����
	Mat se = getStructuringElement(MORPH_RECT, Size(3, 3), Point(-1, -1));
	// ����
	dilate(binary, dresult, se, Point(-1, -1), 1, 0);
	// ��ʴ
	erode(binary, eresult, se, Point(-1, -1), 1, 0);

	// ��ʾ
	imshow("dilate", dresult);
	imshow("erode", eresult);
	waitKey(0);
	return 0;
}
OpenCV学习笔记代码,欢迎follow:
MachineLP/OpenCV-github.com


 297
297


 被折叠的 条评论
为什么被折叠?
被折叠的 条评论
为什么被折叠?
 到【灌水乐园】发言


