


环境:Osg3.6.5 OsgEarth3.2 Qt5.15.2
基于qt将osgEarth封装,在Qt中作为GLWidget进行呈现。
1.Earth类的封装
基于地球的初始化顺序进行了封装,并暴露出了一些必要的属性,类似viwer、map、mapNode等。最为重要的是widght属性,它是放置在qt中的重要承载物。
#pragma once

#include "../osgqt/GraphicsWindowQt.h"

#include <osgViewer/Viewer>
#include <osgDB/Registry>
#include <osgGA/StateSetManipulator>
#include <osg/MatrixTransform>

#include <osgEarth/Map>
#include <osgEarth/GDAL>
#include <osgEarth/MapNode>
#include <osgEarth/EarthManipulator>
#include <osgEarth/Ephemeris>
#include <osgEarth/Sky>
#include <osgEarth/XYZ>


#include <ctime>

#include <QTimer>
#include <qobject.h>

namespace Cv {
	class CvEarth
	{

	public:
		CvEarth();
		~CvEarth();

		osg::ref_ptr<osgViewer::Viewer> viewer;

		osg::ref_ptr<osg::Group> root;

		osg::ref_ptr<osg::Camera> camera;

		osg::ref_ptr<osgEarth::Map> map;

		osg::ref_ptr<osgEarth::MapNode> mapNode;

		osg::ref_ptr <osg::MatrixTransform> earthForm;

		osg::ref_ptr<osgEarth::EarthManipulator> em;


		osgQt::GLWidget* widget;


	private:

		void InitOSG();// 初始化设置osg
		void InitOsgearth();//初始化osgearth
		void InitSky();//天空初始化
		void InitUI();//界面初始化

		time_t now_time;

		tm* t_tm;


		osg::ref_ptr<osgEarth::SkyNode> m_pSkyNode;//天空盒子节点

	};


}
#include "CvEarth.h"

Cv::CvEarth::CvEarth()
{
	InitOSG();
	InitOsgearth();

	InitUI();
}

Cv::CvEarth::~CvEarth()
{
}


void Cv::CvEarth::InitOSG()
{
	osgDB::Registry::instance()->addMimeTypeExtensionMapping("image/jpg;charset=utf8", "jpg");
	osgDB::Registry::instance()->addMimeTypeExtensionMapping("image/jpeg;charset=utf8", "jpg");
	osgDB::Registry::instance()->addMimeTypeExtensionMapping("image/png", "png");


	viewer = new osgViewer::Viewer;

	// 设置模型
	root = new osg::Group;


	//获取屏幕分辨率 长宽
	osg::GraphicsContext::WindowingSystemInterface* wsi = osg::GraphicsContext::getWindowingSystemInterface();
	if (!wsi)
		return;
	unsigned int width, height;
	wsi->getScreenResolution(osg::GraphicsContext::ScreenIdentifier(0), width, height);
	//设置图形环境特性
	osg::ref_ptr<osg::GraphicsContext::Traits> traits = new osg::GraphicsContext::Traits;
	traits->windowDecoration = false;//声明是否显示窗口的描述
	traits->x = 0;
	traits->y = 0;
	traits->width = width;
	traits->height = height;
	traits->doubleBuffer = true;//创建图形窗口是否使用双缓存

	//设置照相机
	camera = new osg::Camera;
	camera->setGraphicsContext(new osgQt::GraphicsWindowQt(traits.get()));
	camera->setClearColor(osg::Vec4(0.2, 0.2, 0.6, 1.0));
	camera->setViewport(new osg::Viewport(0, 0, width, height));
	camera->setProjectionMatrixAsPerspective(30.0f, (double(traits->width)) / (double(traits->height)), 1.0f, 10000.0f);

	//设置渲染器
	viewer->setCamera(camera);
	viewer->setSceneData(root);
	viewer->setThreadingModel(osgViewer::Viewer::SingleThreaded);//创建为单线程
	viewer->addEventHandler(new osgGA::StateSetManipulator(viewer->getCamera()->getOrCreateStateSet()));
}

void Cv::CvEarth::InitOsgearth()
{

	map = new osgEarth::Map();


	mapNode = new  osgEarth::MapNode(map.get());


	earthForm = new osg::MatrixTransform;
	//osgearth操作器 用来设置osgearh
	em = new osgEarth::Util::EarthManipulator;
	if (mapNode.valid())
	{
		em->setNode(mapNode);
	}

	em->getSettings()->setArcViewpointTransitions(true);
	//设置osg渲染窗口
	viewer->setCameraManipulator(em);


	//初始化天空
	InitSky();
}

void Cv::CvEarth::InitSky()
{
	//获取当前时间 初始化天空
	now_time = time(0);
	t_tm = localtime(&now_time);
	osgEarth::DateTime cur_date_time(now_time);
	osgEarth::Ephemeris* ephemeris = new osgEarth::Ephemeris;

	//设置黑夜明暗程度
	osgEarth::Util::SkyOptions skyOptions;
	skyOptions.ambient() = 0.3;

	m_pSkyNode = osgEarth::SkyNode::create(skyOptions);
	m_pSkyNode->setName("SkyNode");
	m_pSkyNode->setEphemeris(ephemeris);
	m_pSkyNode->setDateTime(cur_date_time);
	viewer->setLightingMode(osg::View::SKY_LIGHT);
	m_pSkyNode->attach(viewer, 0);
	m_pSkyNode->setLighting(true);

	m_pSkyNode->addChild(mapNode);
	root->addChild(m_pSkyNode);
}

void Cv::CvEarth::InitUI()
{
	// ui布局
	osgQt::GraphicsWindowQt* gw = dynamic_cast<osgQt::GraphicsWindowQt*>(camera->getGraphicsContext());

	widget = (gw->getGLWidget());

}
2.窗体中的使用
将封装的CvEarth引用进来,并添加到对应的布局中。
#include "MainForm.h"


MainForm::MainForm(QWidget* parent)
	: QMainWindow(parent)
{
	ui.setupUi(this);

	cvEarth = new Cv::CvEarth();

	//ui布局
	ui.mainLyt->addWidget(cvEarth->widget);

	_timer = new QTimer;

	QObject::connect(_timer, SIGNAL(timeout()), this, SLOT(updateFrame()));

	_timer->start(10);

	//窗口最大化
	this->setWindowState(Qt::WindowMaximized);
	this->setWindowTitle(QString::fromLocal8Bit("CvEarth"));


}

MainForm::~MainForm()
{}

void MainForm::updateFrame()
{

	cvEarth->viewer->frame();
}
3.效果
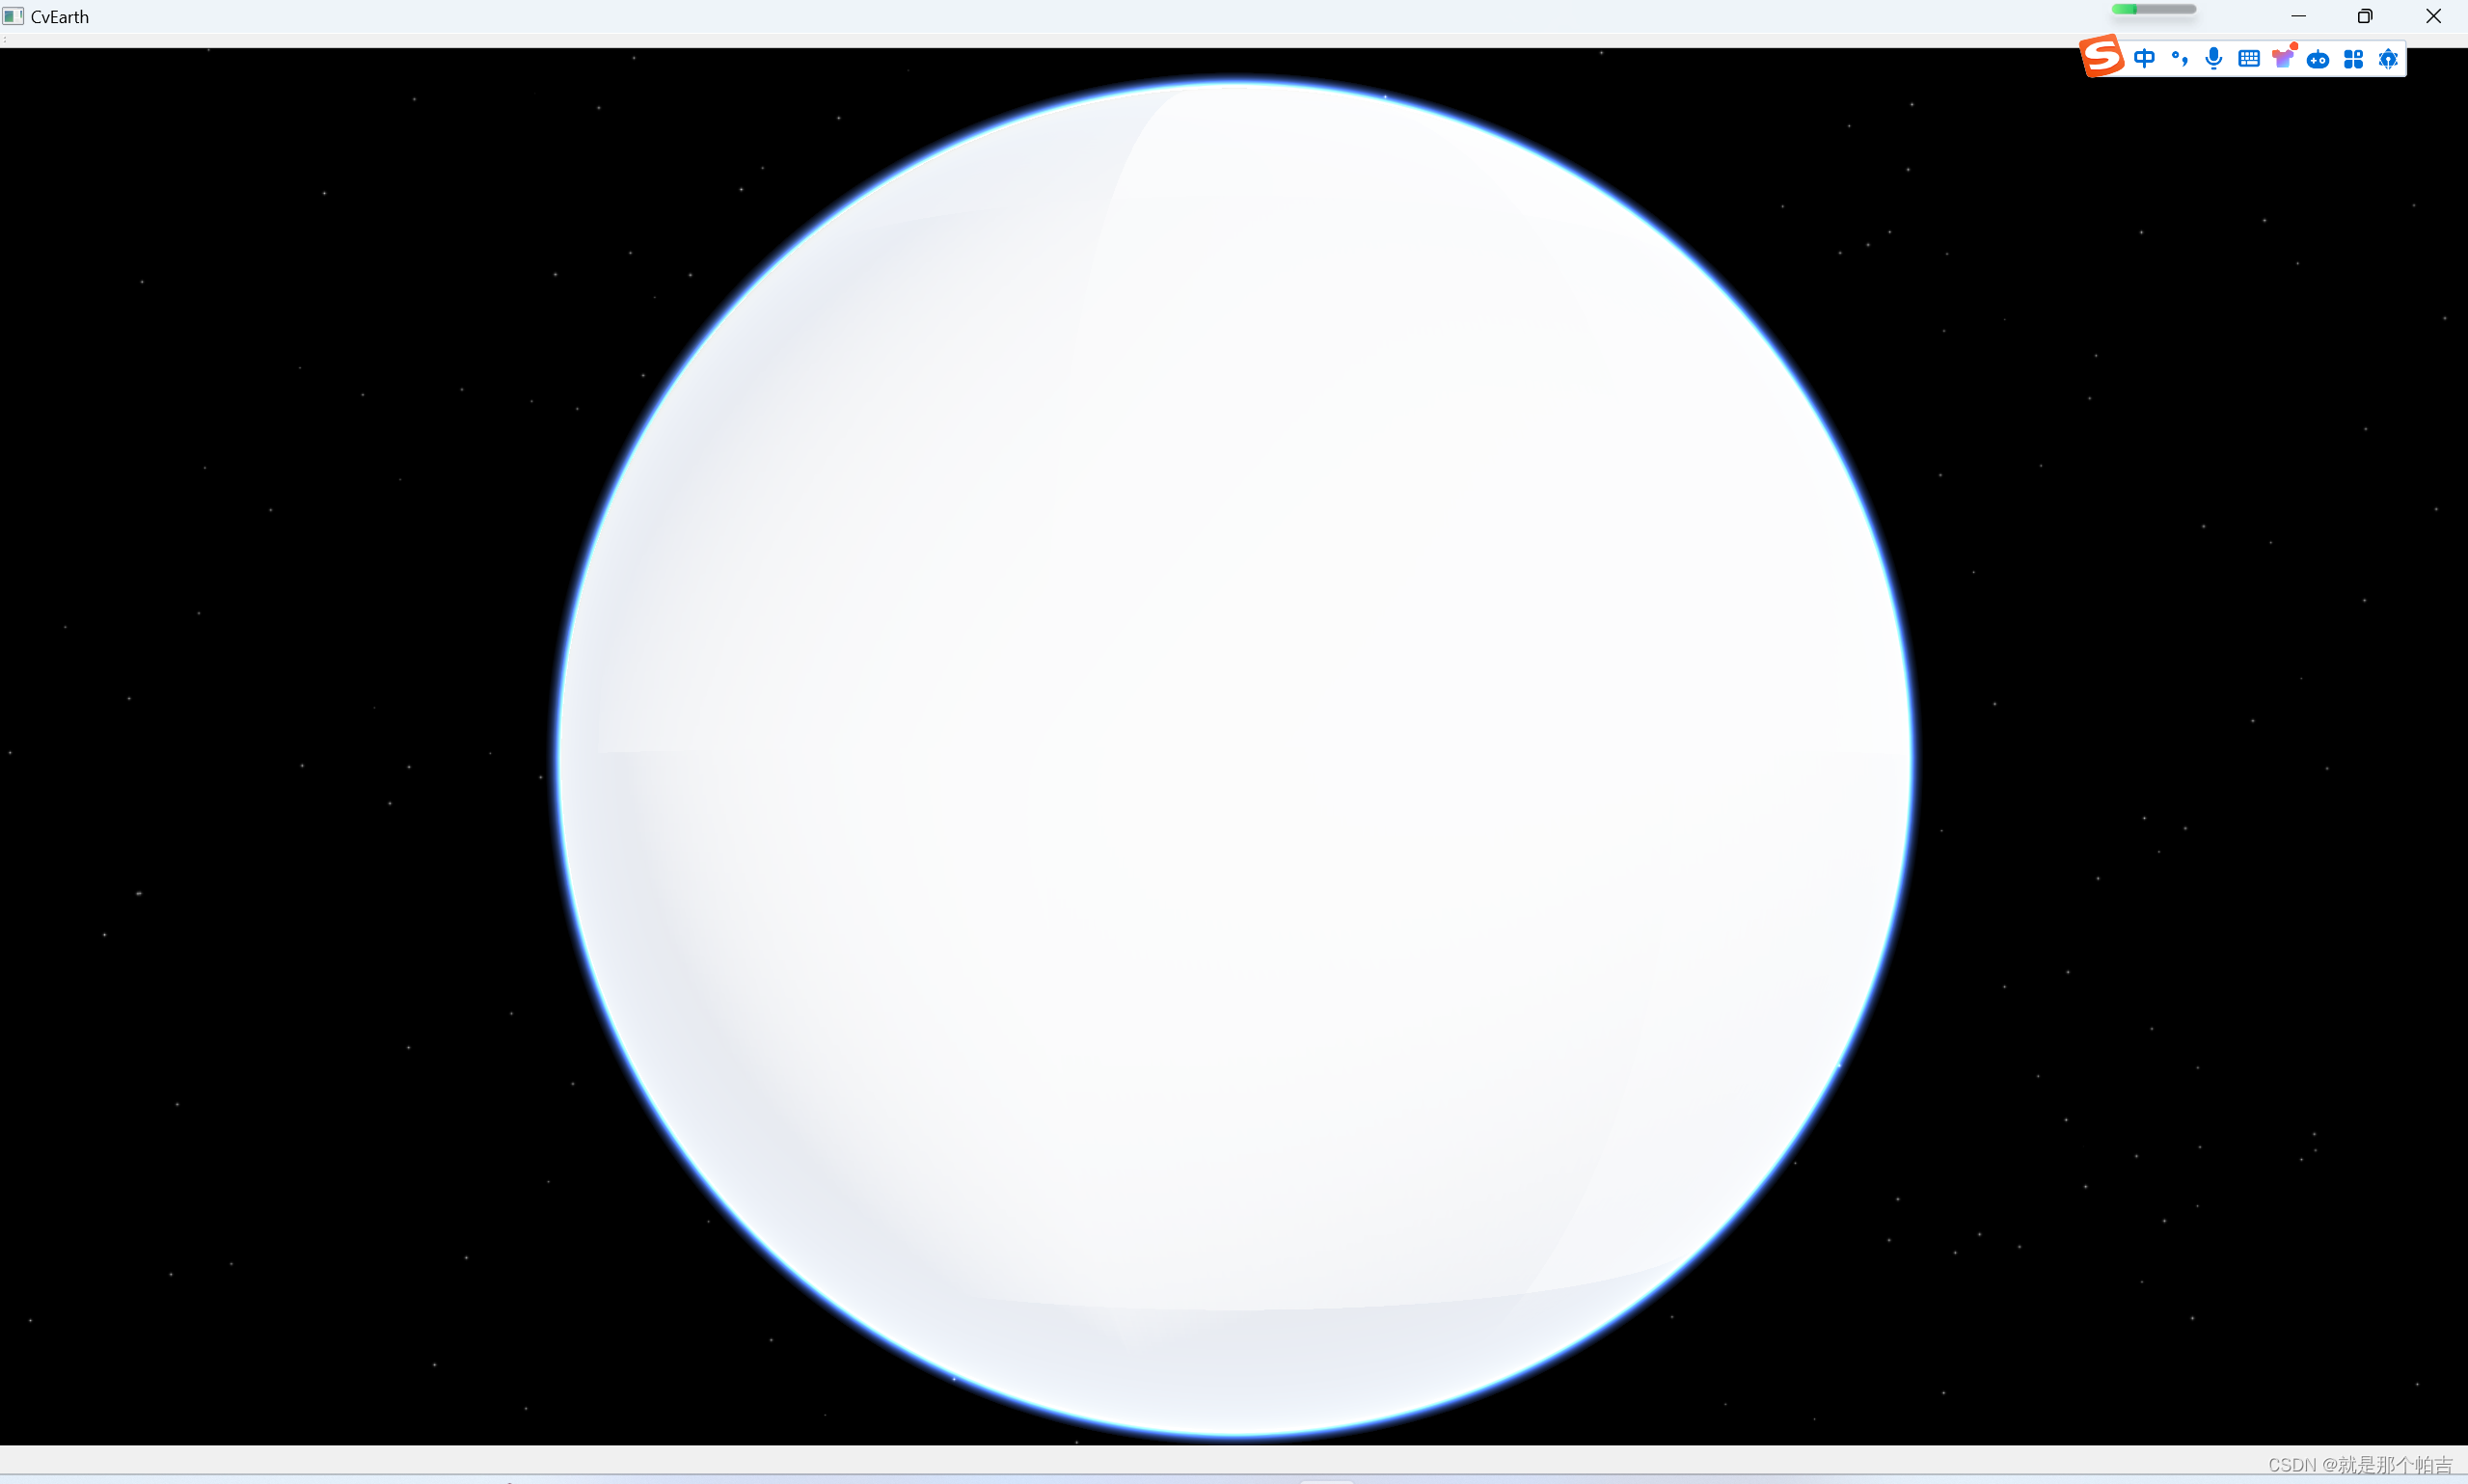
运行后将会出现如图所示的空白地球,为啥空白是因为现状场景中我们未添加任何的数据,所以就只有一个白色的地球。


 1677
1677


 被折叠的 条评论
为什么被折叠?
被折叠的 条评论
为什么被折叠?
 到【灌水乐园】发言


