


pillow.Image常用操作如图片裁剪,旋转,缩放,翻转等
技术标签: pillow 图像预处理
在Python中import Image包格式如下:
from PIL import Image
width_rate=random.randint(1,width_rate)/100
height_rate=random.randint(1,height_rate)/100
if type(figure) is np.ndarray:
   figure=Image.fromarray(figure)
figure=figure.crop((32*width_rate/2,32*height_rate/2,32-32*width_rate/2,32-
                    32*height_rate/2))
figure=figure.resize((32,32))
 return figure
图片裁剪
figure.crop((左,上,右,下)) 分别对应希望裁剪的尺寸的最左上右下边。
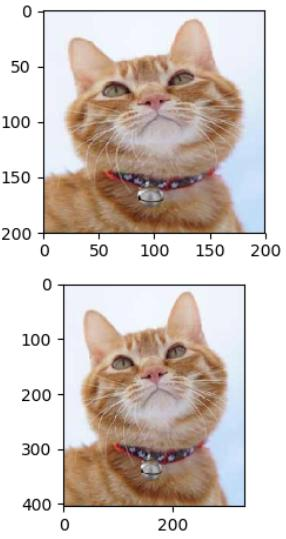
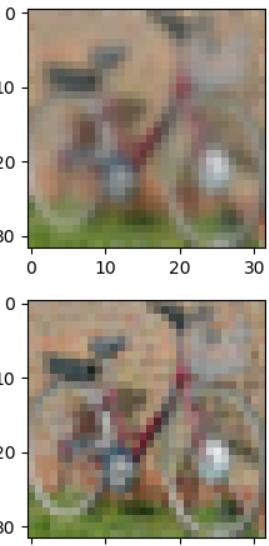
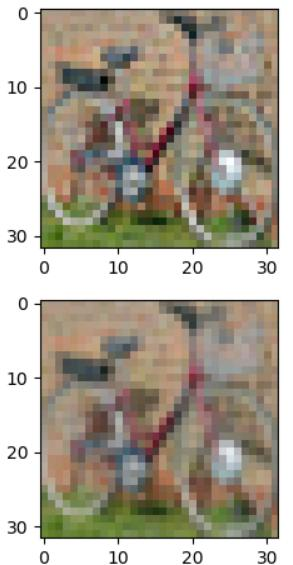
调整图像大小
figure.resize((width,height))分别对应缩放后的长宽
figure=Image.open('save_picture\cat.jpg')
figure_resize=figure.resize((200,200))
plt.figure()
plt.subplot(211)
plt.imshow(figure_resize)
plt.subplot(212)
plt.imshow(figure)
plt.show()
结果如下所示:
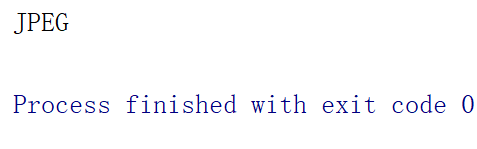
查看图片格式
figure.format
figure=Image.open('save_picture\picture.jpg')
print(figure.format)
输出结果如下:
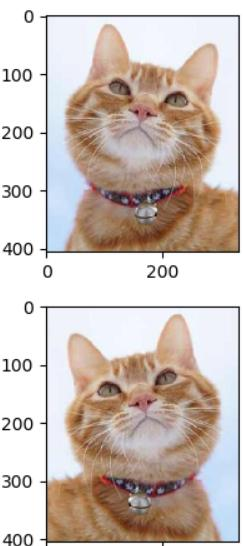
图片粘贴
figure.paste(粘贴的图片,(位置))
figure=Image.open('\save_picture\cat.jpg')
print(figure.size)
figure_crop=figure.crop((60,60,260,340))
figure.paste(figure_crop,(100,100))   #图片粘贴位置的左上角坐标
效果如下:

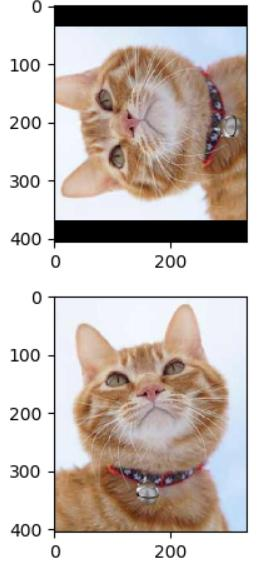
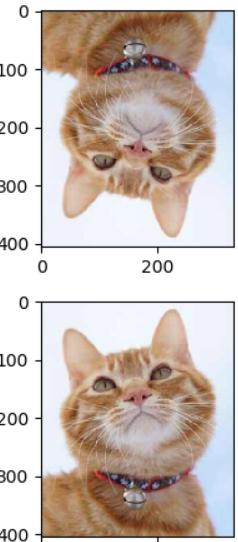
图像旋转
figure_rotate=figure.rotate(90)  #旋转代码
plt.figure()
plt.subplot(211)
plt.imshow(figure_rotate)
plt.subplot(212)
plt.imshow(figure)
plt.show()
效果如下:
图像水平翻转
figure_flip=figure.transpose(Image.FLIP_LEFT_RIGHT)       #翻转代码
plt.figure()
plt.subplot(211)
plt.imshow(figure_flip)
plt.subplot(212)
plt.imshow(figure)
plt.show()
效果如下:
图像垂直翻转
figure_flip=figure.transpose(Image.FLIP_TOP_BOTTOM)
plt.figure()
plt.subplot(211)
plt.imshow(figure_flip)
plt.subplot(212)
plt.imshow(figure)
plt.show()
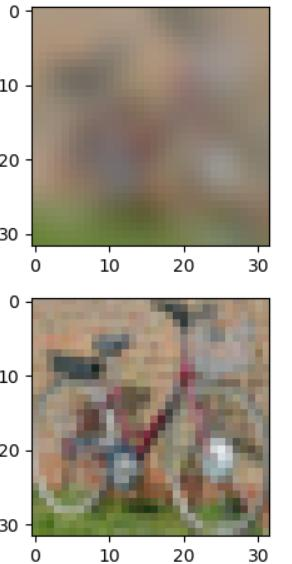
高斯模糊
figure_gaussianblur=figure.filter(ImageFilter.GaussianBlur)
plt.figure()
plt.subplot(211)
plt.imshow(figure_gaussianblur)
plt.subplot(212)
plt.imshow(figure)
plt.show()
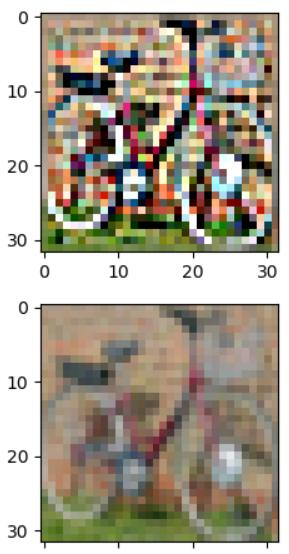
边缘增强
from PIL import Image,ImageFilter
figure_edge_enhance=figure.filter(ImageFilter.EDGE_ENHANCE)
plt.figure()
plt.subplot(211)
plt.imshow(figure_edge_enhance)
plt.subplot(212)
plt.imshow(figure)
plt.show()
效果如下:
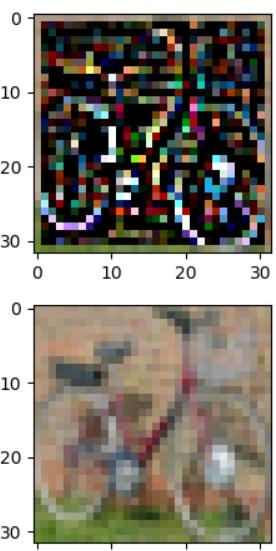
找到边缘
figure_find_edges=figure.filter(ImageFilter.FIND_EDGES)
plt.figure()
plt.subplot(211)
plt.imshow(figure_find_edges)
plt.subplot(212)
plt.imshow(figure)
plt.show()
锐化
figure_sharpen=figure.filter(ImageFilter.SHARPEN)
plt.figure()
plt.subplot(211)
plt.imshow(figure_sharpen)
plt.subplot(212)
plt.imshow(figure)
plt.show()

平滑处理
figure_smooth=figure.filter(ImageFilter.SMOOTH)
plt.figure()
plt.subplot(211)
plt.imshow(figure_smooth)
plt.subplot(212)
plt.imshow(figure)
plt.show()
效果如下:
细节
figure_detail=figure.filter(ImageFilter.DETAIL)
plt.figure()
plt.subplot(211)
plt.imshow(figure_detail)
plt.subplot(212)
plt.imshow(figure)
plt.show()
版权声明:本文为博主原创文章,遵循 CC 4.0 BY-SA 版权协议,转载请附上原文出处链接和本声明。
本文链接:https://blog.csdn.net/weixin_42074867/article/details/90440294


 373
373


 被折叠的 条评论
为什么被折叠?
被折叠的 条评论
为什么被折叠?
 到【灌水乐园】发言


