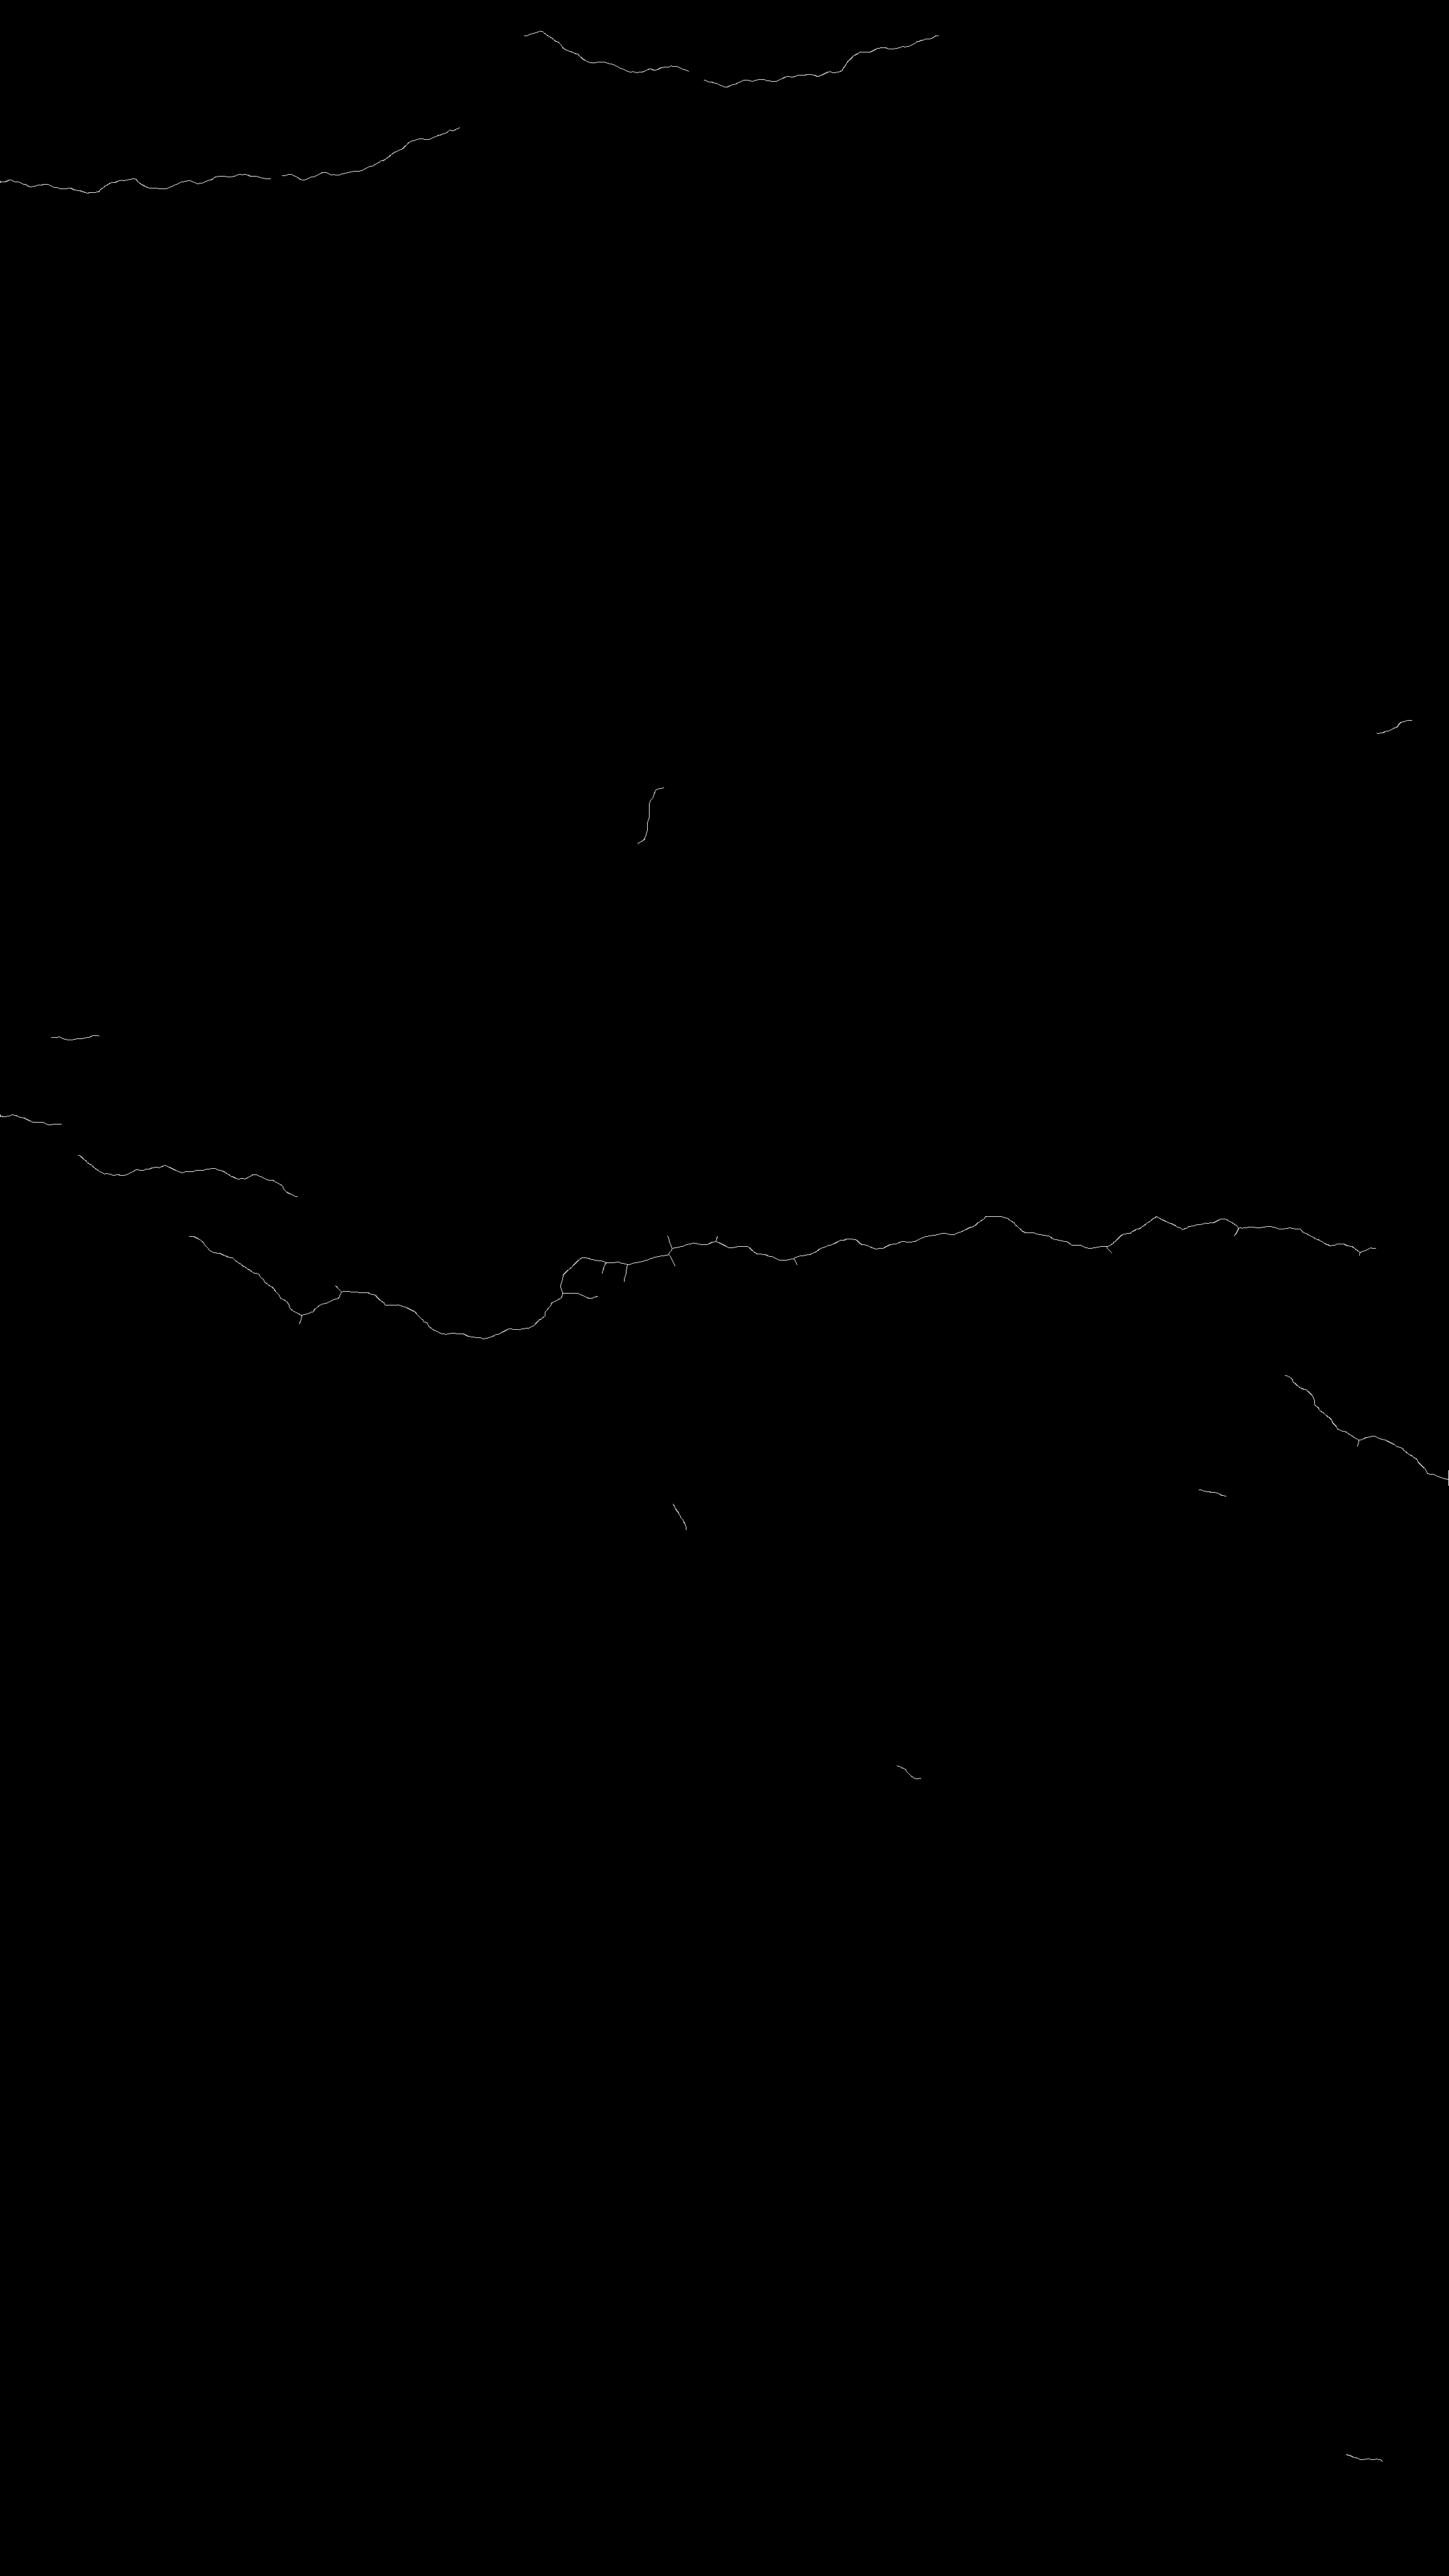
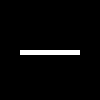
骨架提取是将二值图像减少到1像素宽的表示。这对于特征提取和(或)表示对象的拓扑结构非常有用。
# pip install scikit-image
from skimage.morphology import skeletonize
from skimage import data
import matplotlib.pyplot as plt
from skimage.util import invert

# Invert the horse image
image = invert(data.horse())

# perform skeletonization
skeleton = skeletonize(image)

# display results
fig, axes = plt.subplots(nrows=1, ncols=2, figsize=(8, 4),
                         sharex=True, sharey=True)

ax = axes.ravel()

ax[0].imshow(image, cmap=plt.cm.gray)
ax[0].axis('off')
ax[0].set_title('original', fontsize=20)

ax[1].imshow(skeleton, cmap=plt.cm.gray)
ax[1].axis('off')
ax[1].set_title('skeleton', fontsize=20)

fig.tight_layout()
plt.show()

1.张的方法与李的方法
skeletonize的工作原理是连续遍历图像,移除对象边界上的像素。这一直持续到无法移除更多像素为止。该图像与一个掩码相关联,该掩码为每个像素分配一个 [0…255] 范围内的数字,对应于其 8 个相邻像素的每个可能模式。然后使用查找表为像素分配值 0、1、2 或 3,这些值在迭代过程中被有选择地删除。
skeletonize(..., method='lee')使用八叉树数据结构来检查像素的3x3x3邻域。该算法通过迭代扫过图像,并在每次迭代中删除像素,直到图像停止变化。每个迭代包含两个步骤:首先,将候选删除列表组装起来;然后从这个列表中的像素顺序重新检查,以更好地保持图像的连通性。
请注意,Lee 的方法旨在用于 3-D 图像,并且会自动为这些图像选择。出于说明目的,我们将此算法应用于二维图像。
import matplotlib.pyplot as plt
from skimage.morphology import skeletonize

blobs = data.binary_blobs(200, blob_size_fraction=.2,
                          volume_fraction=.35, seed=1)

skeleton = skeletonize(blobs)
skeleton_lee = skeletonize(blobs, method='lee')

fig, axes = plt.subplots(1, 3, figsize=(8, 4), sharex=True, sharey=True)
ax = axes.ravel()

ax[0].imshow(blobs, cmap=plt.cm.gray)
ax[0].set_title('original')
ax[0].axis('off')

ax[1].imshow(skeleton, cmap=plt.cm.gray)
ax[1].set_title('skeletonize')
ax[1].axis('off')

ax[2].imshow(skeleton_lee, cmap=plt.cm.gray)
ax[2].set_title('skeletonize (Lee 94)')
ax[2].axis('off')

fig.tight_layout()
plt.show()

2.中轴骨架化
对象的中轴是在对象边界上有一个以上最近点的所有点的集合。它通常被称为拓扑骨架,因为它是对象的 1 像素宽的骨架,与原始对象具有相同的连通性。 在这里,我们使用中轴变换来计算前景对象的宽度。由于函数 medial_axis 除中轴外还返回距离变换(使用关键字参数 return_distance=True),因此可以使用此函数计算中轴所有点到背景的距离。这给出了对象局部宽度的估计。 对于分支较少的骨架,应该首选skeletonize。
from skimage.morphology import medial_axis, skeletonize

# Generate the data
blobs = data.binary_blobs(200, blob_size_fraction=.2,
                          volume_fraction=.35, seed=1)

# Compute the medial axis (skeleton) and the distance transform
skel, distance = medial_axis(blobs, return_distance=True)

# Compare with other skeletonization algorithms
skeleton = skeletonize(blobs)
skeleton_lee = skeletonize(blobs, method='lee')

# Distance to the background for pixels of the skeleton
dist_on_skel = distance * skel

fig, axes = plt.subplots(2, 2, figsize=(8, 8), sharex=True, sharey=True)
ax = axes.ravel()

ax[0].imshow(blobs, cmap=plt.cm.gray)
ax[0].set_title('original')
ax[0].axis('off')

ax[1].imshow(dist_on_skel, cmap='magma')
ax[1].contour(blobs, [0.5], colors='w')
ax[1].set_title('medial_axis')
ax[1].axis('off')

ax[2].imshow(skeleton, cmap=plt.cm.gray)
ax[2].set_title('skeletonize')
ax[2].axis('off')

ax[3].imshow(skeleton_lee, cmap=plt.cm.gray)
ax[3].set_title("skeletonize (Lee 94)")
ax[3].axis('off')

fig.tight_layout()
plt.show()

3.形态学细化
在thin 函数中实现的形态学细化与骨架化的工作原理相同:在每次迭代时从边界移除像素,直到在不改变连通性的情况下无法移除任何像素。不同的移除规则可以加速骨架化并导致不同的最终骨架。
thin 函数还采用可选的 max_num_iter 关键字参数来限制细化迭代的次数,从而产生相对较厚的骨架。
from skimage.morphology import skeletonize, thin

skeleton = skeletonize(image)
thinned = thin(image)
thinned_partial = thin(image, max_num_iter=25)

fig, axes = plt.subplots(2, 2, figsize=(8, 8), sharex=True, sharey=True)
ax = axes.ravel()

ax[0].imshow(image, cmap=plt.cm.gray)
ax[0].set_title('original')
ax[0].axis('off')

ax[1].imshow(skeleton, cmap=plt.cm.gray)
ax[1].set_title('skeleton')
ax[1].axis('off')

ax[2].imshow(thinned, cmap=plt.cm.gray)
ax[2].set_title('thinned')
ax[2].axis('off')

ax[3].imshow(thinned_partial, cmap=plt.cm.gray)
ax[3].set_title('partially thinned')
ax[3].axis('off')

fig.tight_layout()
plt.show()

4.ZHANG-SUEN 图像骨架提取算法的原理和OPENCV实现
该算法每一次的迭代步骤是对符合特定条件的目标像素进行腐蚀,效果就是目标变得越来越细。不断的迭代,直到在上一次的腐蚀后的目标在本轮操作中,没有新的像素点被腐蚀,算法结束。

#include<opencv2/opencv.hpp>
#include<iostream>
using namespace std;
using namespace cv;

void thinImage(Mat & srcImg) {
	vector<Point> deleteList;
	int neighbourhood[9];
	int nl = srcImg.rows;
	int nc = srcImg.cols;
	bool inOddIterations = true;
	while (true) {
		for (int j = 1; j < (nl - 1); j++) {
			uchar* data_last = srcImg.ptr<uchar>(j - 1);
			uchar* data = srcImg.ptr<uchar>(j);
			uchar* data_next = srcImg.ptr<uchar>(j + 1);
			for (int i = 1; i < (nc - 1); i++) {
				if (data[i] == 255) {
					int whitePointCount = 0;
					neighbourhood[0] = 1;
					if (data_last[i] == 255) neighbourhood[1] = 1;
					else  neighbourhood[1] = 0;
					if (data_last[i + 1] == 255) neighbourhood[2] = 1;
					else  neighbourhood[2] = 0;
					if (data[i + 1] == 255) neighbourhood[3] = 1;
					else  neighbourhood[3] = 0;
					if (data_next[i + 1] == 255) neighbourhood[4] = 1;
					else  neighbourhood[4] = 0;
					if (data_next[i] == 255) neighbourhood[5] = 1;
					else  neighbourhood[5] = 0;
					if (data_next[i - 1] == 255) neighbourhood[6] = 1;
					else  neighbourhood[6] = 0;
					if (data[i - 1] == 255) neighbourhood[7] = 1;
					else  neighbourhood[7] = 0;
					if (data_last[i - 1] == 255) neighbourhood[8] = 1;
					else  neighbourhood[8] = 0;
					for (int k = 1; k < 9; k++) {
						whitePointCount += neighbourhood[k];
					}
					if ((whitePointCount >= 2) && (whitePointCount <= 6)) {
						int ap = 0;
						if ((neighbourhood[1] == 0) && (neighbourhood[2] == 1)) ap++;
						if ((neighbourhood[2] == 0) && (neighbourhood[3] == 1)) ap++;
						if ((neighbourhood[3] == 0) && (neighbourhood[4] == 1)) ap++;
						if ((neighbourhood[4] == 0) && (neighbourhood[5] == 1)) ap++;
						if ((neighbourhood[5] == 0) && (neighbourhood[6] == 1)) ap++;
						if ((neighbourhood[6] == 0) && (neighbourhood[7] == 1)) ap++;
						if ((neighbourhood[7] == 0) && (neighbourhood[8] == 1)) ap++;
						if ((neighbourhood[8] == 0) && (neighbourhood[1] == 1)) ap++;
						if (ap == 1) {
							if (inOddIterations && (neighbourhood[3] * neighbourhood[5] * neighbourhood[7] == 0)
								&& (neighbourhood[1] * neighbourhood[3] * neighbourhood[5] == 0)) {
								deleteList.push_back(Point(i, j));
							}
							else if (!inOddIterations && (neighbourhood[1] * neighbourhood[5] * neighbourhood[7] == 0)
								&& (neighbourhood[1] * neighbourhood[3] * neighbourhood[7] == 0)) {
								deleteList.push_back(Point(i, j));
							}
						}
					}
				}
			}
		}
		if (deleteList.size() == 0)
			break;
		for (size_t i = 0; i < deleteList.size(); i++) {
			Point tem;
			tem = deleteList[i];
			uchar* data = srcImg.ptr<uchar>(tem.y);
			data[tem.x] = 0;
		}
		deleteList.clear();

		inOddIterations = !inOddIterations;
	}
}
int main()
{
	string srcImg = "opencv.png";
	Mat img = imread(srcImg);
	cvtColor(img, img, COLOR_BGR2GRAY);
	threshold(img, img, 127, 255, THRESH_OTSU);
	namedWindow("src", 0);
	imshow("src", img);
	thinImage(img);
	namedWindow("dst", 0);
	imshow("dst", img);
	waitKey(0);

}
原图:


细化后:


5.基于ITK的骨架提取
模板:template<typename TInputImage, typename TOutputImage>class BinaryThinningImageFilter : public itk::ImageToImageFilter<TInputImage, TOutputImage>这个函数计算输入图像的一个像素宽的边缘。此函数通过输入图像的类型和输出图像的类型进行参数化。
假设输入是一个二值图像。如果输入图像的前景像素值不为 1,则会在内部将它们重新缩放为 1 以简化计算。
函数将生成对象的骨架。输出背景值为 0,前景值为 1。
这个函数是一个连续细化算法,计算时间依赖于图像的大小。
python实现
#!/usr/bin/env python

import itk
import argparse

parser = argparse.ArgumentParser(description="Thin Image.")
parser.add_argument("input_image", nargs="?")
args = parser.parse_args()

PixelType = itk.UC
Dimension = 2
ImageType = itk.Image[PixelType, Dimension]

if args.input_image:
    image = itk.imread(args.input_image)

else:
    # Create an image
    start = itk.Index[Dimension]()
    start.Fill(0)

    size = itk.Size[Dimension]()
    size.Fill(100)

    region = itk.ImageRegion[Dimension]()
    region.SetIndex(start)
    region.SetSize(size)

    image = ImageType.New(Regions=region)
    image.Allocate()
    image.FillBuffer(0)

    # Draw a 5 pixel wide line
    image[50:55, 20:80] = 255

    # Write Image
    itk.imwrite(image, "input.png")

image = itk.binary_thinning_image_filter(image)

# Rescale the image so that it can be seen (the output is 0 and 1, we want 0 and 255)
image = itk.rescale_intensity_image_filter(image, output_minimum=0, output_maximum=255)

# Write Image
itk.imwrite(image, "outputPython.png")
C++实现
#include"itkBinaryThinningImageFilter.h"
#include"itkImage.h"
#include"itkImageFileReader.h"
#include"itkImageFileWriter.h"
#include"itkRescaleIntensityImageFilter.h"
// PNG对应
#include <itkPNGImageIOFactory.h>
// BMP对应
#include <itkBMPImageIOFactory.h>
// JPG对应
#include <itkJPEGImageIOFactory.h>
// mhd格式图像
// #include <itkMetaImageIOFactory.h>


using ImageType=itk::Image<unsigned char,2>;
static void WriteImage(const ImageType::Pointer image,const std::string&fileName);
static void CreateImage(ImageType::Pointer image);
int main(int argc, char*argv[])
{
	ImageType::Pointer image = ImageType::New();
	if (argc == 2) {
		itk::ObjectFactoryBase::RegisterFactory(itk::PNGImageIOFactory::New());
		// 或itk::BMPImageIOFactory::New() // 或itk::JPGImageIOFactory::New()
		using ImageReader = itk::ImageFileReader<ImageType>;
		ImageReader::Pointer reader = ImageReader::New();
		std::string fileName = argv[1];
		reader->SetFileName(fileName);
		reader->Update();
		image = reader->GetOutput();
	}
	else {
		itk::ObjectFactoryBase::RegisterFactory(itk::PNGImageIOFactory::New());
		// 或itk::BMPImageIOFactory::New() // 或itk::JPGImageIOFactory::New()
		CreateImage(image);
		WriteImage(image, "input.png");
	}
	using BinaryThinningImageFilterType = itk::BinaryThinningImageFilter<ImageType, ImageType>;
	BinaryThinningImageFilterType::Pointer binaryThinningImageFilter = BinaryThinningImageFilterType::New();
	binaryThinningImageFilter->SetInput(image);
	binaryThinningImageFilter->Update();
	//Rescale the image so that it can be seen(the output is 0 and 1,we want 0 and 255)
	using RescaleType = itk::RescaleIntensityImageFilter<ImageType, ImageType>;
	RescaleType::Pointer rescaler = RescaleType::New();
	rescaler->SetInput(binaryThinningImageFilter->GetOutput());
	rescaler->SetOutputMinimum(0);
	rescaler->SetOutputMaximum(255);
	rescaler->Update();
	WriteImage(rescaler->GetOutput(), "output.png");
	return EXIT_SUCCESS;
}
void CreateImage(ImageType::Pointer image)
{//Create an image
	ImageType::IndexType start;
	start.Fill(0);
	ImageType::SizeType size;
	size.Fill(100);
	ImageType::RegionType region(start,size);
	image->SetRegions(region);
	image->Allocate();
	image->FillBuffer(0);
	//Draw a 5pixel wide line
	for(unsigned int i=20;i<80;++i){
		for(unsigned int j=50;j<55;++j){
			itk::Index<2>index;
			index[0]=i;
			index[1]=j;
			image->SetPixel(index,255);
		}
	}
}
void WriteImage(const ImageType::Pointer image, const std::string&fileName) {
	using WriterType = itk::ImageFileWriter<ImageType>;
	WriterType::Pointer writer = WriterType::New();
	writer->SetFileName(fileName);
	writer->SetInput(image);
	writer->Update();
}


参考目录
https://www.freesion.com/article/8054209684/
https://scikit-image.org/docs/dev/auto_examples/edges/plot_skeleton.html


 615
615


 被折叠的 条评论
为什么被折叠?


