


linux 服务器使用 conda 安装 pytorch
参考链接
1. 安装 conda
1.1. 下载 anaconda
1.1.1. 本地下载
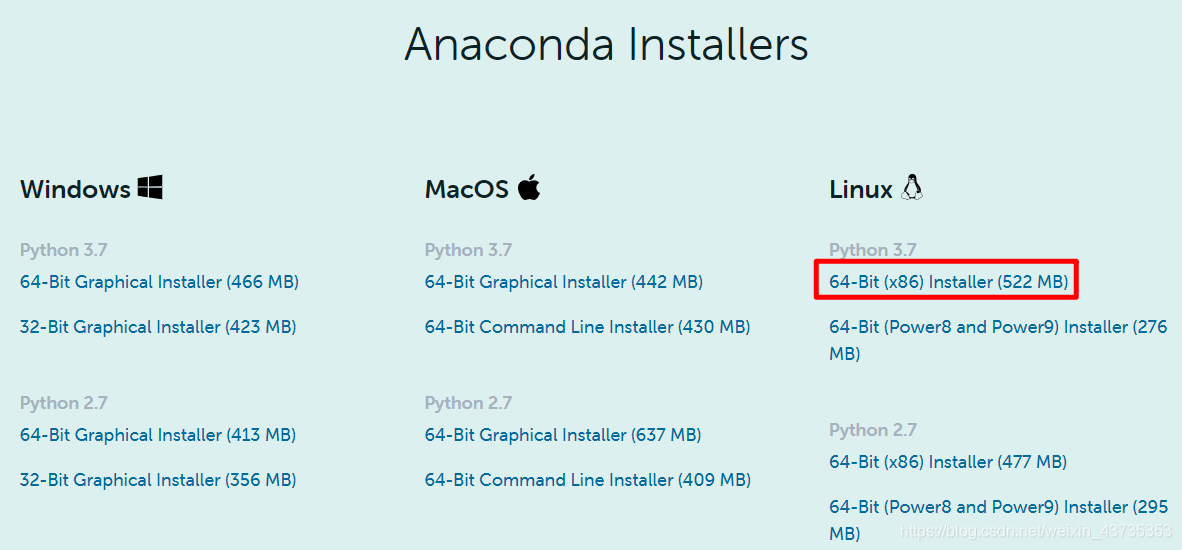
官网下载 anaconda linux版本。
1.1.2. 服务器内命令行下载
wget https://repo.anaconda.com/archive/Anaconda3-2020.02-Linux-x86_64.sh
1.2. anaconda 安装
bash Anaconda3-4.2.0-Linux-x86_64.sh
1.3 anaconda 切换镜像源
# 清华镜像源
conda config --add channels https://mirrors.tuna.tsinghua.edu.cn/anaconda/pkgs/free/
conda config --add channels https://mirrors.tuna.tsinghua.edu.cn/anaconda/pkgs/main/
# 中科大镜像源
conda config --add channels https://mirrors.ustc.edu.cn/anaconda/pkgs/free/
conda config --add channels https://mirrors.ustc.edu.cn/anaconda/pkgs/main/
conda config --set show_channel_urls yes
删除镜像源:
conda config --remove-key channels
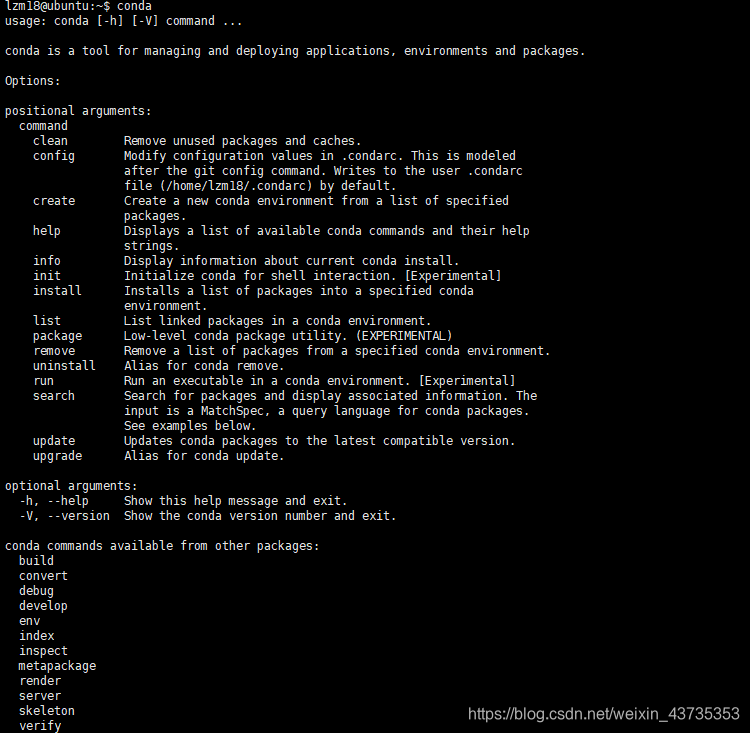
1.4. 检查是否安装成功
输入命令:
conda
2. PyTorch 安装
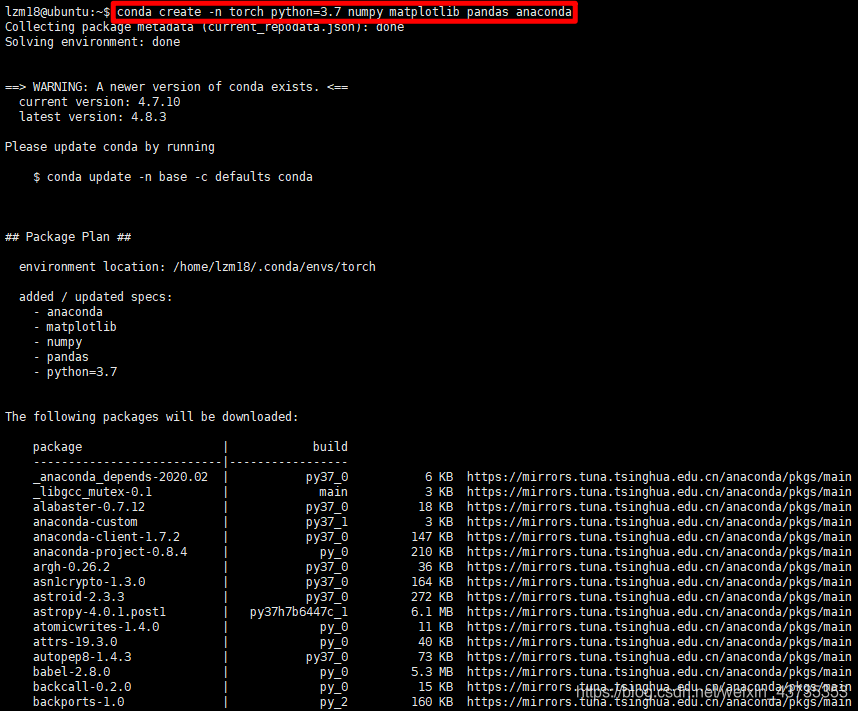
2.1. 创建虚拟环境
conda create -n torch python=3.7 numpy matplotlib pandas anaconda
2.2. 激活环境
source activate torch

2.3. 查看 cuda 环境
nvcc -V

注意事先需要安装好 cuda 和 cudnn 驱动,这里可以看到 cuda 为 10.0 版本
2.4. 安装 pytorch
不同的 pytorch 和 cuda 版本会对应不同的一行 conda install 指令,pytorch 官网会给出不同 pytorch 和cuda 搭配安装的不同指令。具体指令可以在 pytorch官网找到:
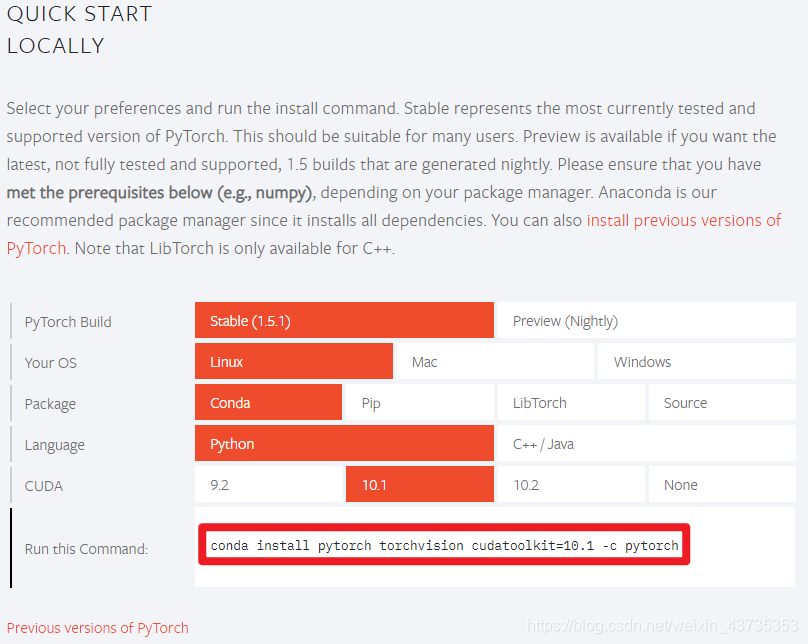
由于墙外下载下载较慢,甚至卡死,因此我们使用国内镜像源下载安装,在之前,我们添加了清华的镜像源,所以我们可以去掉-c pytorch,因此,pytorch 安装命令为:
# 不用加 -c 为用国内源
conda install pytorch torchvision cudatoolkit=10.0
这里 cudatoolkit 改为 10.0
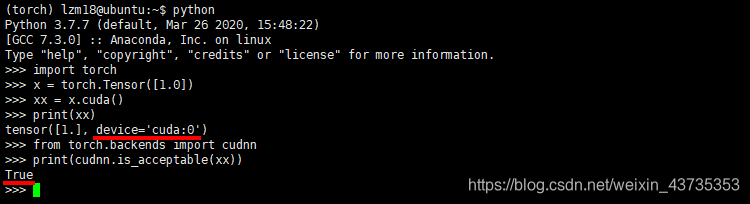
2.5. cuda 测试
# cuda test
import torch
x = torch.Tensor([1.0])
xx = x.cuda()
print(xx)
# cuDNN test
from torch.backends import cudnn
print(cudnn.is_acceptable(xx))


 1298
1298

 被折叠的 条评论
为什么被折叠?
被折叠的 条评论
为什么被折叠?
 到【灌水乐园】发言


