


复现报错小结
- 1、os.environ['CUDA_VISIBLE_DEVICES'] = arg.cuda_visible_device报错
- 2、查看显卡使用情况
- 3、zipfile.BadZipFile: File is not a zip file
- 4、AttributeError: module 'numpy' has no attribute 'int'.
- 5、ModuleNotFoundError:No module named xxx
- 6、循环导包的问题
- 7、将conda环境中的Python降版本
- 8、pytorch
- 9、tensorboardX
- 10、raise ParserError
- 11、apex
- 12、GPU compute capability(算力)和CUDA版本冲突问题
- 13、VSCode导入正确的包却无法解析
- 14、RuntimeError: Unable to find a valid CUDNN algorithm to run convolution
- 15、RuntimeError: Too many open files. Communication with the workers is no longer possible. Please increase the limit using ulimit -n in the shell or change the sharing strategy by calling torch.multiprocessing.se t_sharing_strategy('file_system') at the beginning of your code
1、os.environ[‘CUDA_VISIBLE_DEVICES’] = arg.cuda_visible_device报错
os.environ['CUDA_VISIBLE_DEVICES'] = arg.cuda_visible_device这句报错的时候,挪到下面这两句前面。
import torch
import torch.nn as nn
2、查看显卡使用情况
nvidia-smi // 查看显卡使用情况
3、zipfile.BadZipFile: File is not a zip file
正常情况下是文件路径错误/文件格式错误/文件损坏,这里有可能是数据集处理时候出现错误,重新生成.npz文件即可。
4、AttributeError: module ‘numpy’ has no attribute ‘int’.

将np.int替换成int,将np.float32替换成float。
或将np.int替换成np.int32,np.float32不变。
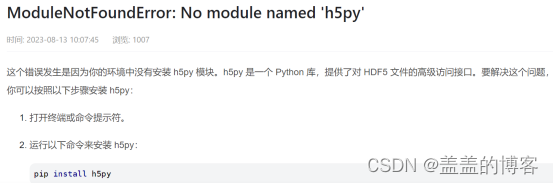
5、ModuleNotFoundError:No module named xxx
2)

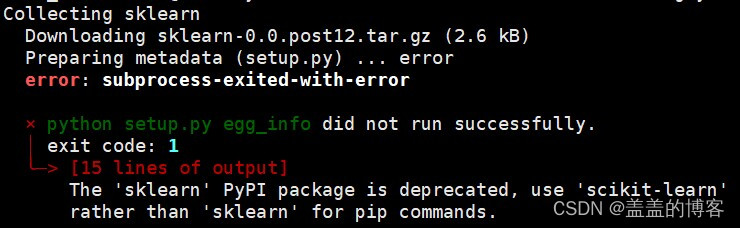
pip install scikit-learn
3)
ModuleNotFoundError: No module named 'yaml'
pip install pyyaml
6、循环导包的问题
解决办法:将导包在步骤里面执行,将init的导包冲突的挪到其他执行到的步骤中去
7、将conda环境中的Python降版本
查看已安装的python版本
conda list python
创建新的python环境
conda create --name new_env python=3.8
激活新的python环境
conda active new_env
安装依赖包
conda install --file requirements.txt
查看python版本
python -- verson
8、pytorch
查看pytorch版本
pip3 show torch
降低pytorch版本
pip install torch==1.11.0+cu113 -f https://download.pytorch.org/whl/torch_stable.html
9、tensorboardX
查看TensorBoardX版本
pip show tensorboardX
10、raise ParserError
可能是config文件里的缩进问题。
11、apex
ImportError: cannot import name ‘UnencryptedCookieSessionFactoryConfig’ from ‘pyramid.session’ (unknown location)
解决方法:
版本不对,或者说pip之后的包就不是一个东西,先用pip 卸载掉apex然后从nVidia官网上下载:
pip uninstall apex
git clone https://github.com/NVIDIA/apex
cd apex
python setup.py install
12、GPU compute capability(算力)和CUDA版本冲突问题
RuntimeError: CUDA error: no kernel image is available for execution on the device CUDA kernel errors might be asynchronously reported at some other API call,so the stacktrace below might be incorrect.For debugging consider passing CUDA_LAUNCH_BLOCKING=1.
GeForce RTX 3090 with CUDA capability sm_86 is not compatible with the current PyTorch installation. The current PyTorch install supports CUDA capabilities sm_37 sm_50 sm_60 sm_61 sm_70 sm_75 compute_37.
大概意思是说当前GPU的算力与当前版本的Pytorch依赖的CUDA算力不匹配(3090算力为8.6,而当前版本的pytorch依赖的CUDA算力仅支持3.7,5.0,6.0,6.1,7.0,7.5)
· 更换更高版本的CUDA或pytorch版本。注意pytorch版本和CUDA版本也要相匹配。
13、VSCode导入正确的包却无法解析
检查右下角的环境是否选对

14、RuntimeError: Unable to find a valid CUDNN algorithm to run convolution
减小batchsize
15、RuntimeError: Too many open files. Communication with the workers is no longer possible. Please increase the limit using ulimit -n in the shell or change the sharing strategy by calling torch.multiprocessing.se t_sharing_strategy(‘file_system’) at the beginning of your code
在前面加入以下代码:
import torch.multiprocessing
torch.multiprocessing.set_sharing_strategy('file_system')


 5649
5649


 被折叠的 条评论
为什么被折叠?
被折叠的 条评论
为什么被折叠?
 到【灌水乐园】发言


