


一、stm32制作流水灯
下载标准库
下载地址:
链接:: https://www.st.com/en/embedded-software/stm32-standard-peripheral-libraries.html
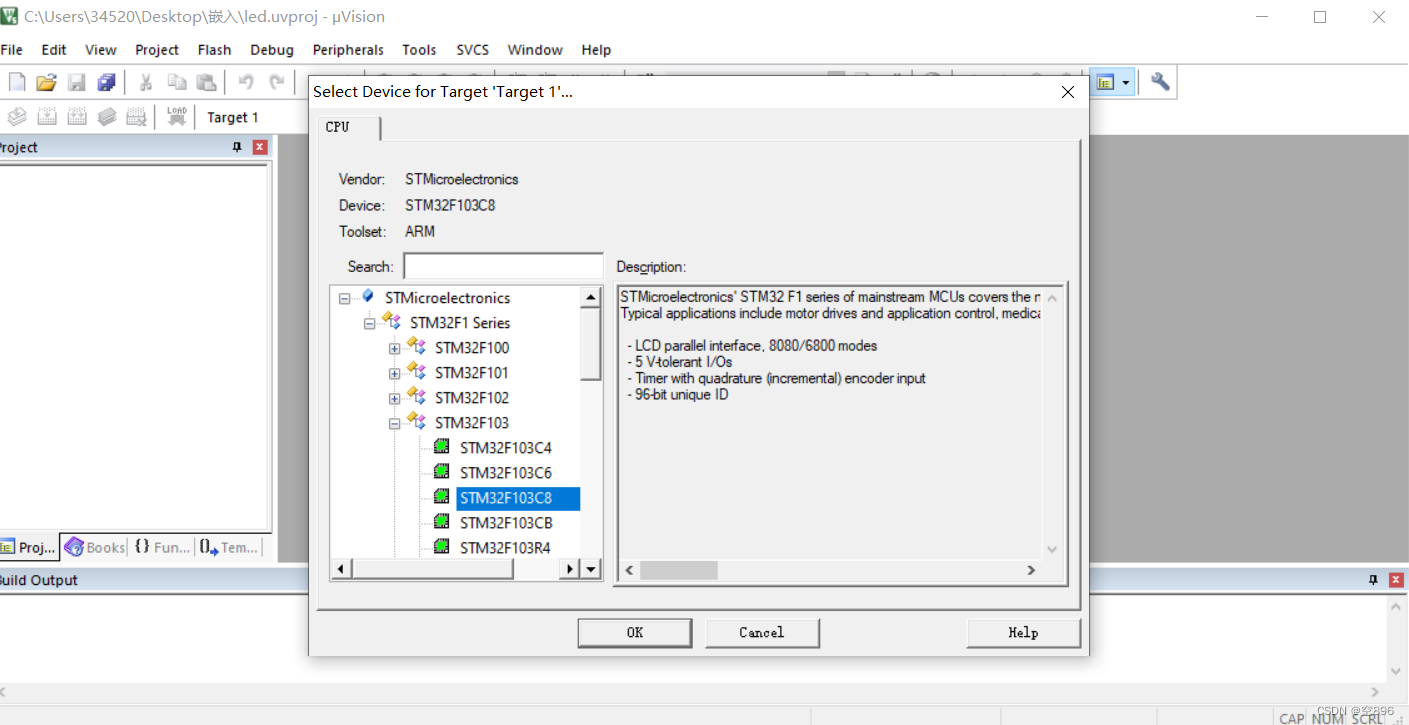
创建项目
芯片选择STM32F103C8
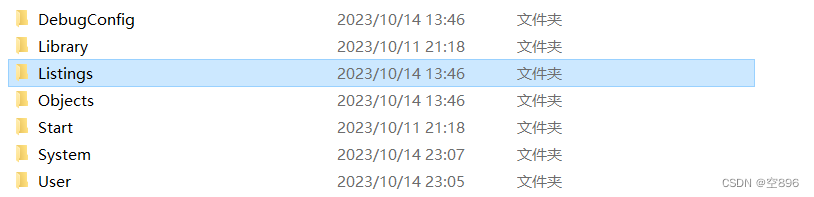
创建完成后将工程模版文件复制到项目所在文件夹中
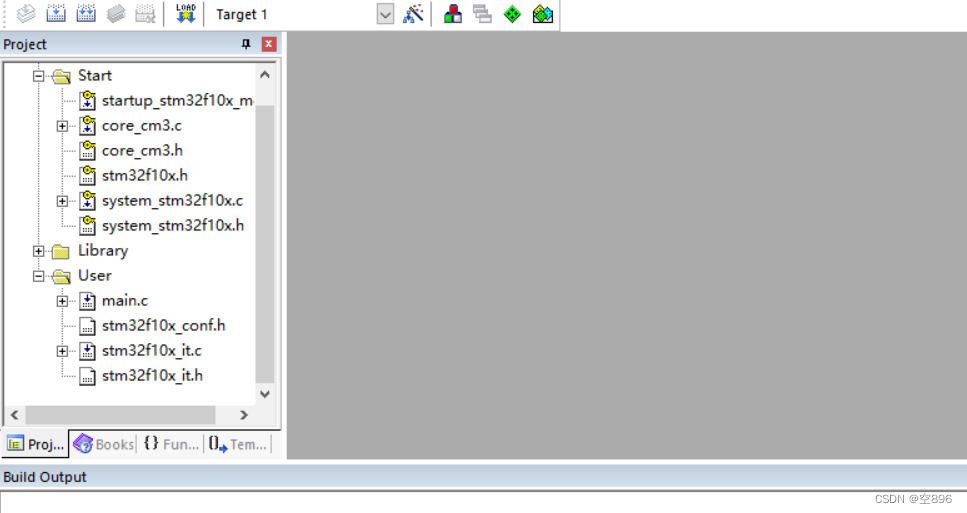
在keil中新建文件组,将模版文件添加到文件组下
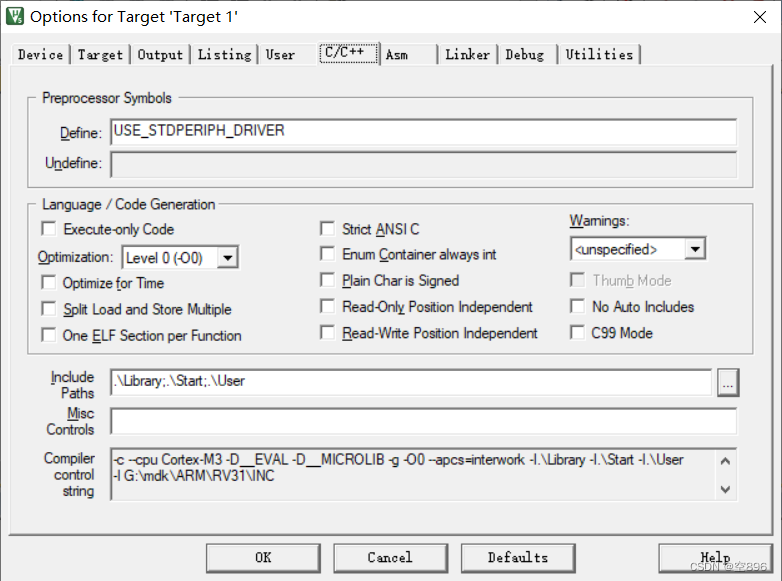
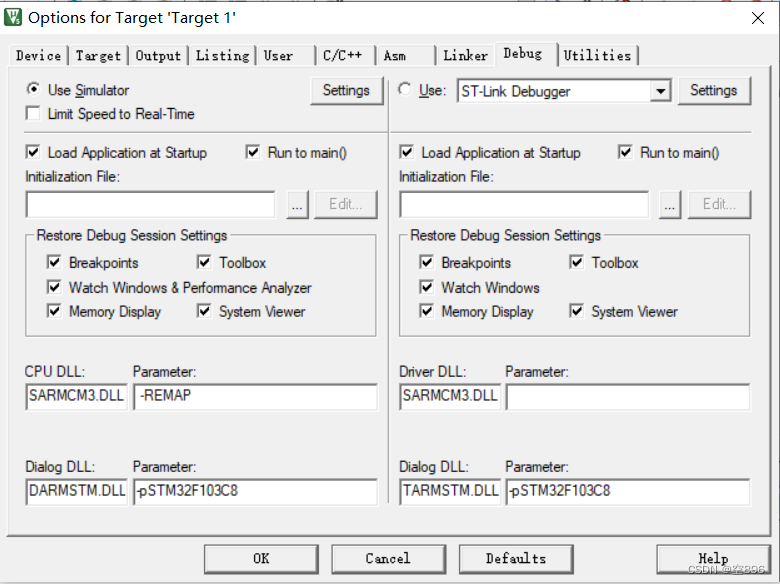
添加完成后点击魔术棒,点击C++ 设置,参照图片
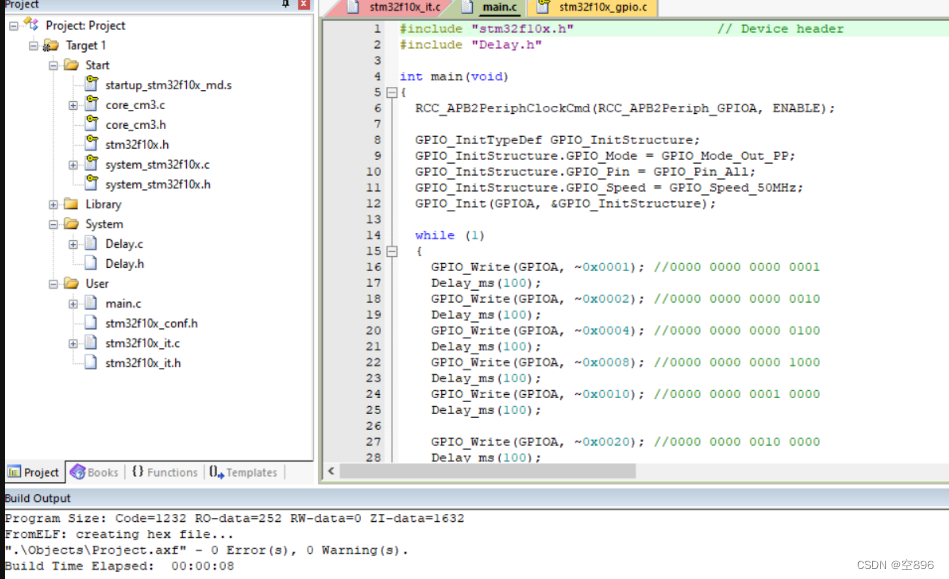
设置完成后添加主函数进行编译
代码如下
#include "stm32f10x.h"                  // Device header
#include "Delay.h"
int main(void)
{
	RCC_APB2PeriphClockCmd(RCC_APB2Periph_GPIOA, ENABLE);

	GPIO_InitTypeDef GPIO_InitStructure;
	GPIO_InitStructure.GPIO_Mode = GPIO_Mode_Out_PP;
	GPIO_InitStructure.GPIO_Pin = GPIO_Pin_All;
	GPIO_InitStructure.GPIO_Speed = GPIO_Speed_50MHz;
	GPIO_Init(GPIOA, &GPIO_InitStructure);

	while (1)
	{
		GPIO_Write(GPIOA, ~0x0001);	//0000 0000 0000 0001
		Delay_ms(1000);
		GPIO_Write(GPIOA, ~0x0002);	//0000 0000 0000 0010
		Delay_ms(1000);
		GPIO_Write(GPIOA, ~0x0004);	//0000 0000 0000 0100
		Delay_ms(1000);
  	    GPIO_Write(GPIOA, ~0x0008);	//0000 0000 0000 1000
		Delay_ms(1000);
		GPIO_Write(GPIOA, ~0x0010);	//0000 0000 0001 0000
		Delay_ms(1000);
		GPIO_Write(GPIOA, ~0x0020);	//0000 0000 0010 0000
		Delay_ms(1000);
		GPIO_Write(GPIOA, ~0x0040);	//0000 0000 0100 0000
		Delay_ms(1000);
		GPIO_Write(GPIOA, ~0x0080);	//0000 0000 1000 0000
		Delay_ms(1000);


		//GPIO_Write(GPIOA, ~0x0010);	//0000 0000 0000 1000
		//Delay_ms(2000);

	}
}
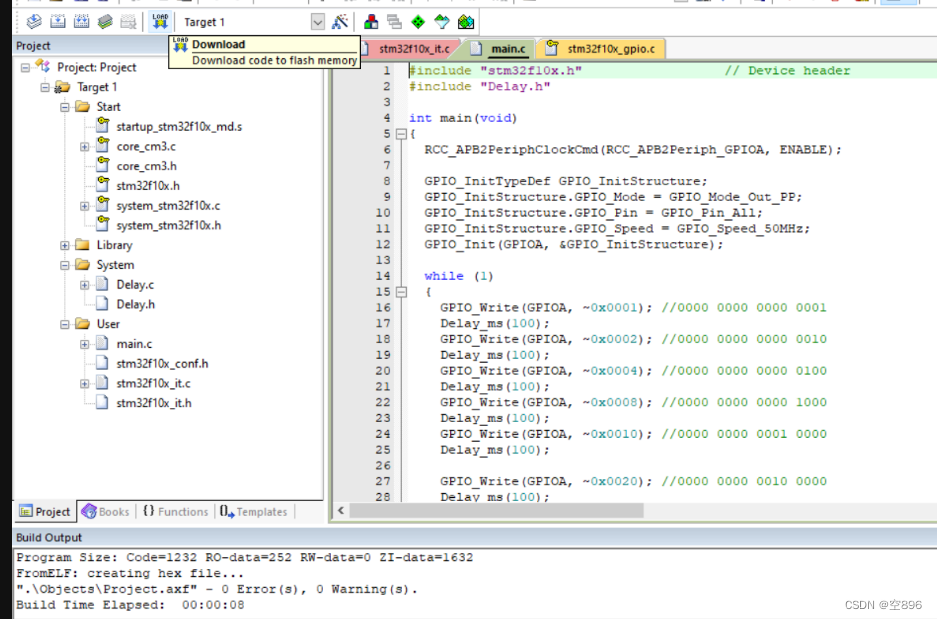
成功编译后准备烧录
烧录前要下载驱动,参考以下链接
http://t.csdnimg.cn/BPTuV
实物链接原理图:

点击download下载
实物效果
二、观察管脚的时序波形
点击魔法棒,在Debug界面调整设置
设置完成后进行仿真

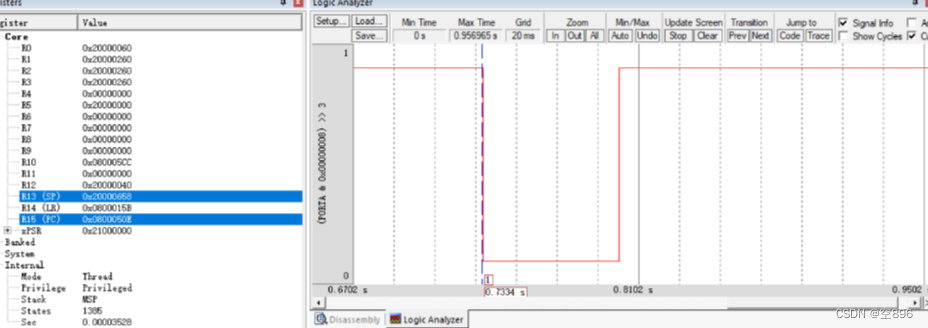
打开逻辑分析仪窗口
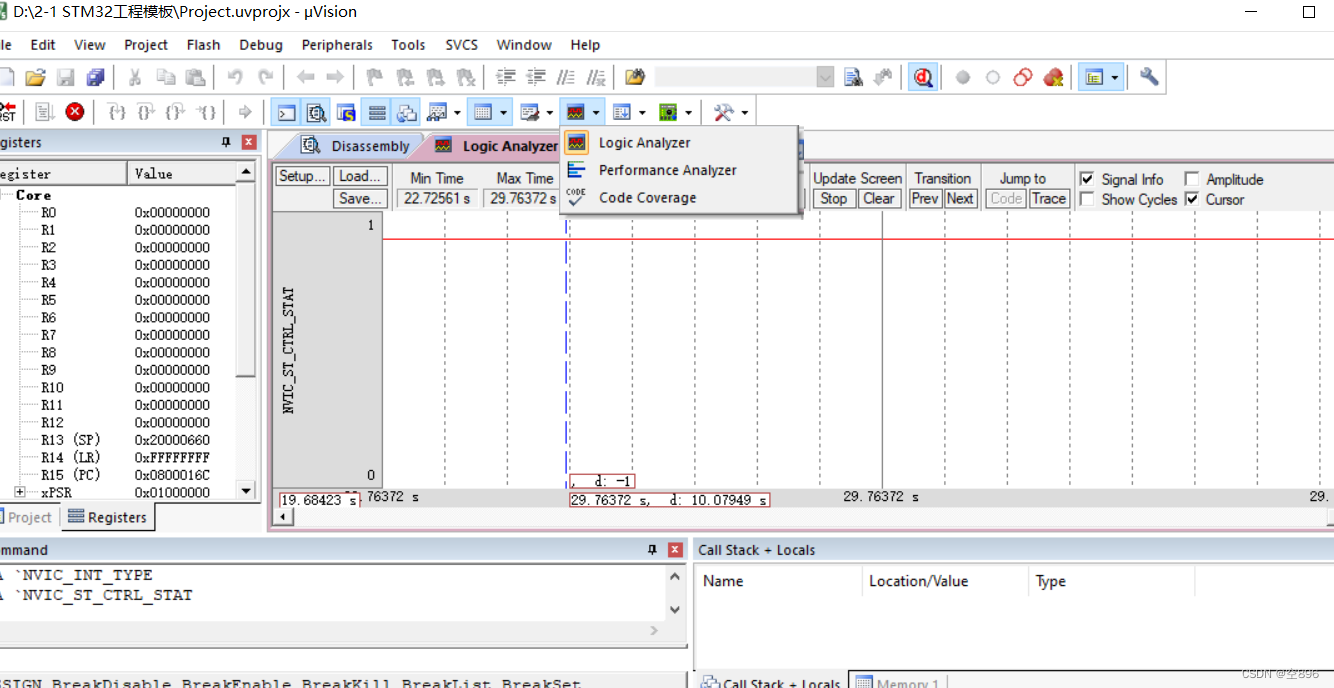
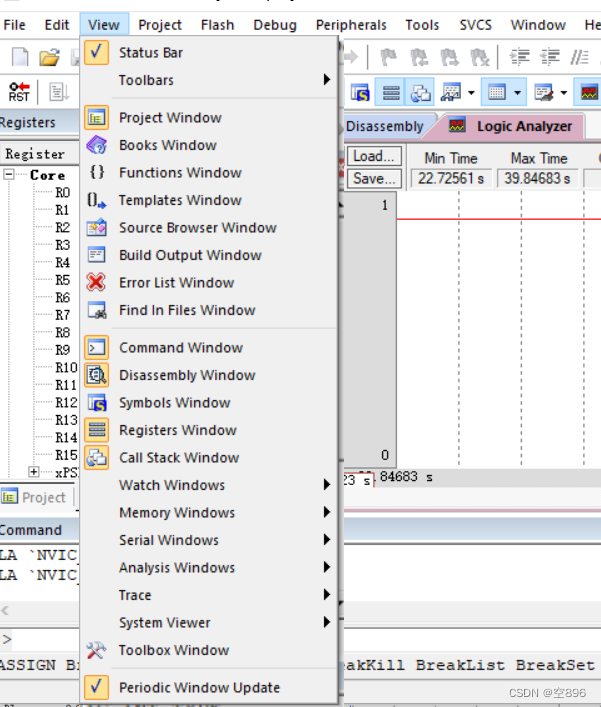
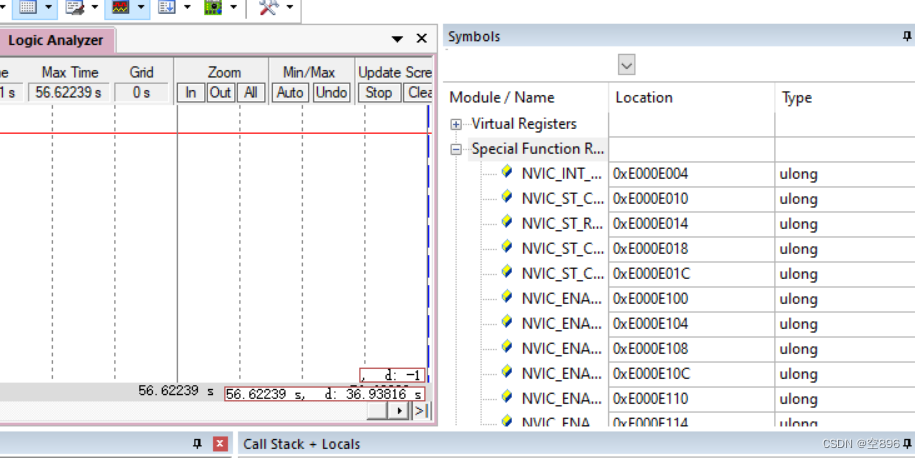
在view界面选择symbois window
在special function中选择要查看的引脚拖入逻辑分析仪中
点击setup,将display type设为bit
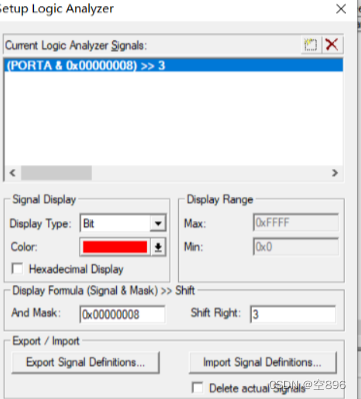
关闭界面后运行,即可查看引脚波形


 347
347

 被折叠的 条评论
为什么被折叠?
被折叠的 条评论
为什么被折叠?
 到【灌水乐园】发言


