


前言
安装docker和cvat的流程我这里就不赘述了,这样的教程还是挺多的,但是对于使用docker在cvat上部署自动标注算法的整个详细流程,网上可查到的资料可以说几乎没有,我在踩了几天的坑之后,摸索出来一套流程,现记录于此,方便自己也方便有需要的朋友查看。
step1. 拷贝yolov8项目
在github上git clone yolov8的项目,将其整个拷贝到我们的ubuntu系统中,比如我的yolov8的项目就放在这个路径下:
step2. 创建yolov8的本地镜像
这一步需要我们写一个Dockerfile来创建v8项目的本地镜像,这样我们在cvat里构建项目的时候就可以将我们的main.py和main_handler.py与我们的源代码项目关联起来,这样我们就可以自由的import我们所需要的项目中的类和方法了(即使不在v8的项目路径下)。这个Dockerfile需要放在yolov8项目的主目录下,那么这个Dockerfile应该怎么写呢?这里我给出了一个我的一个模板:

这里的FROM 的意思就是我们所需要映射的v8的环境镜像,没有环境我们是运行不了代码的,FROM后面的地址可以在这个网站上进行拉取:ultralytics,我们点击这里的copy即可复制命令:

在这一步有可能有很多小伙伴无法成功拉取,多半是因为没有设置一个合适的源,我们在终端中进入 etc/docker/daemon.json中(如果没有这个就创建一个),然后添加以下内容:
{
  "registry-mirrors": ["https://docker.1panel.live"]
}
或者:
{
    "registry-mirrors": [
            "https://docker.211678.top",
            "https://docker.1panel.live",
            "https://hub.rat.dev",
            "https://docker.m.daocloud.io",
            "https://do.nark.eu.org",
            "https://dockerpull.com",
            "https://dockerproxy.cn",
            "https://docker.awsl9527.cn"
      ]
}
然后我们保存一下,然后重启一下docker服务:
systemctl restart docker
然后将终端打开,将镜像拉到我们本地,然后我们可以通过在终端输入指令:docker images 来查看我们的镜像是否pull下来:

可以看到我们已经拉好了这个镜像,此时我们回到刚才我们创建好Dockerfile的那个路径下,这里我的Dockerfile名称为Dockerfile_cvat,名字是什么不重要:

然后我们在这个路径下打开一个终端,输入指令:
docker build -t yolov8_seg -f Dockerfile_cvat .
即可创建一个本地的项目镜像了。同样我们可以使用docker images指令来查看是否生成成功。
step3. 在cvat中构建我们的工作空间
进入cvat/serverless/pytorch 路径下,然后新建一个叫yolov8的文件夹,然后在里面再新建一个叫nuclio的文件夹,这里面新建一个function-gpu.yaml的文件:

然后便是准备我们的main.py了,cvat会在工作空间的这个py脚本中寻找init_context方法和handler方法(前者用来初始化模型等,后者用来推理并返回cvat可以接收的结果)。以下是我的v8 seg的推理代码:
import cv2
import torch
import numpy as np
import torch.nn.functional as F
from ultralytics.data.augment import LetterBox
from ultralytics.nn.autobackend import AutoBackend
import glob
import json
import base64
from PIL import Image
import io

def convert_mask_to_polygon(mask, original_image):
    contours = None
    mask_h, mask_w = mask.shape[0], mask.shape[1]
    img_h, img_w = original_image.shape[0], original_image.shape[1]
    h_ratio, w_ratio = mask_h / img_h, mask_w / img_w
    mask = cv2.resize(mask, (img_w, img_h))

    if int(cv2.__version__.split('.')[0]) > 3:
        # contours = cv2.findContours(mask, cv2.RETR_EXTERNAL, cv2.CHAIN_APPROX_TC89_KCOS)[0]
        contours = cv2.findContours(mask, cv2.RETR_EXTERNAL, cv2.CHAIN_APPROX_SIMPLE)[0]

    else:
        # contours = cv2.findContours(mask, cv2.RETR_EXTERNAL, cv2.CHAIN_APPROX_TC89_KCOS)[1]
        contours = cv2.findContours(mask, cv2.RETR_EXTERNAL, cv2.CHAIN_APPROX_SIMPLE)[1]

    contours = max(contours, key=lambda arr: arr.size)
    if contours.shape.count(1):
        contours = np.squeeze(contours)
    if contours.size < 3 * 2:
        raise Exception('Less then three point have been detected. Can not build a polygon')

    polygon = []
    for point in contours:
        polygon.append(np.array([int(point[0]), int(point[1])]))

    return np.array(polygon)

def preprocess_letterbox(image):
    letterbox = LetterBox(new_shape=640, stride=32, auto=True)
    image = letterbox(image=image)
    image = (image[..., ::-1] / 255.0).astype(np.float32)  # BGR to RGB, 0 - 255 to 0.0 - 1.0
    image = image.transpose(2, 0, 1)[None]  # BHWC to BCHW (n, 3, h, w)
    image = torch.from_numpy(image)
    return image


def preprocess_warpAffine(image, dst_width=640, dst_height=640):
    scale = min((dst_width / image.shape[1], dst_height / image.shape[0]))
    ox = (dst_width - scale * image.shape[1]) / 2
    oy = (dst_height - scale * image.shape[0]) / 2
    M = np.array([
        [scale, 0, ox],
        [0, scale, oy]
    ], dtype=np.float32)

    img_pre = cv2.warpAffine(image, M, (dst_width, dst_height), flags=cv2.INTER_LINEAR,
                             borderMode=cv2.BORDER_CONSTANT, borderValue=(114, 114, 114))
    IM = cv2.invertAffineTransform(M)

    # cv2.namedWindow("pshow", cv2.WINDOW_NORMAL)
    # cv2.imshow("pshow", img_pre)
    # cv2.waitKey(0)

    img_pre = (img_pre[..., ::-1] / 255.0).astype(np.float32)
    img_pre = img_pre.transpose(2, 0, 1)[None]
    img_pre = torch.from_numpy(img_pre)

    return img_pre, IM


def iou(box1, box2):
    def area_box(box):
        return (box[2] - box[0]) * (box[3] - box[1])

    left = max(box1[0], box2[0])
    top = max(box1[1], box2[1])
    right = min(box1[2], box2[2])
    bottom = min(box1[3], box2[3])
    cross = max((right - left), 0) * max((bottom - top), 0)
    union = area_box(box1) + area_box(box2) - cross
    if cross == 0 or union == 0:
        return 0
    return cross / union


def NMS(boxes, iou_thres):
    remove_flags = [False] * len(boxes)

    keep_boxes = []
    for i, ibox in enumerate(boxes):
        if remove_flags[i]:
            continue

        keep_boxes.append(ibox)
        for j in range(i + 1, len(boxes)):
            if remove_flags[j]:
                continue

            jbox = boxes[j]
            if (ibox[5] != jbox[5]):
                continue
            if iou(ibox, jbox) > iou_thres:
                remove_flags[j] = True
    return keep_boxes


def postprocess(pred, conf_thres=0.25, iou_thres=0.45):
    # 输入是模型推理的结果,即8400个预测框
    # 1,8400,116 [cx,cy,w,h,class*80,32]
    boxes = []
    for item in pred[0]:
        cx, cy, w, h = item[:4]
        label = item[4:-32].argmax()
        confidence = item[4 + label]
        if confidence < conf_thres:
            continue
        left = cx - w * 0.5
        top = cy - h * 0.5
        right = cx + w * 0.5
        bottom = cy + h * 0.5
        boxes.append([left, top, right, bottom, confidence, label, *item[-32:]])

    boxes = sorted(boxes, key=lambda x: x[4], reverse=True)

    return NMS(boxes, iou_thres)


def crop_mask(masks, boxes):
    # masks -> n, 160, 160  原始 masks
    # boxes -> n, 4         检测框,映射到 160x160 尺寸下的
    n, h, w = masks.shape
    x1, y1, x2, y2 = torch.chunk(boxes[:, :, None], 4, 1)  # x1 shape(n,1,1)
    r = torch.arange(w, device=masks.device, dtype=x1.dtype)[None, None, :]  # rows shape(1,1,w)
    c = torch.arange(h, device=masks.device, dtype=x1.dtype)[None, :, None]  # cols shape(1,h,1)

    return masks * ((r >= x1) * (r < x2) * (c >= y1) * (c < y2))


def process_mask(protos, masks_in, bboxes, shape, upsample=False):
    # protos   -> 32, 160, 160 分割头输出
    # masks_in -> n, 32        检测头输出的 32 维向量,可以理解为 mask 的权重
    # bboxes   -> n, 4         检测框
    # shape    -> 640, 640     输入网络中的图像 shape
    # unsample 一个 bool 值,表示是否需要上采样 masks 到图像的原始形状
    c, mh, mw = protos.shape  # CHW
    ih, iw = shape
    # 矩阵相乘 nx32 @ 32x(160x160) -> nx(160x160) -> sigmoid -> nx160x160
    masks = (masks_in.float() @ protos.float().view(c, -1)).sigmoid().view(-1, mh, mw)  # CHW

    downsampled_bboxes = bboxes.clone()
    downsampled_bboxes[:, 0] *= mw / iw
    downsampled_bboxes[:, 2] *= mw / iw
    downsampled_bboxes[:, 3] *= mh / ih
    downsampled_bboxes[:, 1] *= mh / ih

    masks = crop_mask(masks, downsampled_bboxes)  # CHW
    if upsample:
        masks = F.interpolate(masks[None], shape, mode='bilinear', align_corners=False)[0]  # CHW
    return masks.gt_(0.5)


def hsv2bgr(h, s, v):
    h_i = int(h * 6)
    f = h * 6 - h_i
    p = v * (1 - s)
    q = v * (1 - f * s)
    t = v * (1 - (1 - f) * s)

    r, g, b = 0, 0, 0

    if h_i == 0:
        r, g, b = v, t, p
    elif h_i == 1:
        r, g, b = q, v, p
    elif h_i == 2:
        r, g, b = p, v, t
    elif h_i == 3:
        r, g, b = p, q, v
    elif h_i == 4:
        r, g, b = t, p, v
    elif h_i == 5:
        r, g, b = v, p, q

    return int(b * 255), int(g * 255), int(r * 255)


def random_color(id):
    h_plane = (((id << 2) ^ 0x937151) % 100) / 100.0
    s_plane = (((id << 3) ^ 0x315793) % 100) / 100.0
    return hsv2bgr(h_plane, s_plane, 1)


def init_context(context):
    context.logger.info("Init context... 0%")

    model_path = "best_vessel.pt"
    model = AutoBackend(weights=model_path)
    context.user_data.model = model
    context.logger.info("Init context... 100%")

def handler(context, event):
    results = []
    context.logger.info("Run yolov8 model")
    data = event.body
    buf = io.BytesIO(base64.b64decode(data["image"]))
    # threshold = float(data.get("threshold", 0.5))
    # context.user_data.model.conf = threshold
    img = Image.open(buf)
    # img.save('output_123.jpg', 'JPEG')
    img = np.array(img.convert('RGB'))
    img = cv2.cvtColor(img, cv2.COLOR_RGB2BGR)
    # # img_pre = preprocess_letterbox(img)
    img_pre, IM = preprocess_warpAffine(img)
    names = context.user_data.model.names
    result = context.user_data.model(img_pre)

    output0 = result[0].transpose(-1, -2)  # 1,8400,116 检测头输出
    output1 = result[1][2][0]  # 32,160,160 分割头输出

    pred = postprocess(output0)
    det_num = len(pred)
    if det_num == 0:
        results.append({
            "confidence": str(0.0),
            "label": "plaque",
            "type": "polygon",
            "points": [0,0,0,0,0,0],
        })
    else:
        pred = torch.from_numpy(np.array(pred).reshape(-1, 38))

        masks = process_mask(output1, pred[:, 6:], pred[:, :4], img_pre.shape[2:], True)

        boxes = np.array(pred[:, :6])
        lr = boxes[:, [0, 2]]
        tb = boxes[:, [1, 3]]
        boxes[:, [0, 2]] = IM[0][0] * lr + IM[0][2]
        boxes[:, [1, 3]] = IM[1][1] * tb + IM[1][2]

        # draw mask
        h, w = img.shape[:2]
        for i, mask in enumerate(masks):
            mask = mask.cpu().numpy().astype(np.uint8)  # 640x640
            mask_resized = cv2.warpAffine(mask, IM, (w, h), flags=cv2.INTER_LINEAR)  # 1080x810

            #---------------------------
            #   得到轮廓的点,并且可视化分割轮廓
            #---------------------------
            mask_polygon = convert_mask_to_polygon(mask_resized, img)
            # cv2.polylines(img, [mask_polygon], True, (0, 255, 0), 2)
            l = mask_polygon.ravel().tolist()

            results.append({
                "confidence": str(boxes[i][4]),
                "label": names.get(int(boxes[i][5]), "unknown"),
                "type": "polygon",
                "points": l,
            })

    return context.Response(body=json.dumps(results), headers={}, content_type='application/json', status_code=200)
这是我的nuclio工作空间的内容,包含了上述所提到的function-gpu.yaml,main.py还有模型的权重:

最后我们cd到cvat/serverless路径下,然后打开终端,输入指令:
./deploy_gpu.sh pytorch/yolov8/plaquedetect/nuclio/
然后就会在cvat的nuclio中构建我们自动标注的功能,在终端会显示这个结果说明我们构建成功了:

然后我们打开nuclio的网页端可以看到已经是绿色 running的状态了:

然后我们进入cvat的主界面就可以开始自动标注啦~~~~
step4. 检查我们的本地镜像是否成功
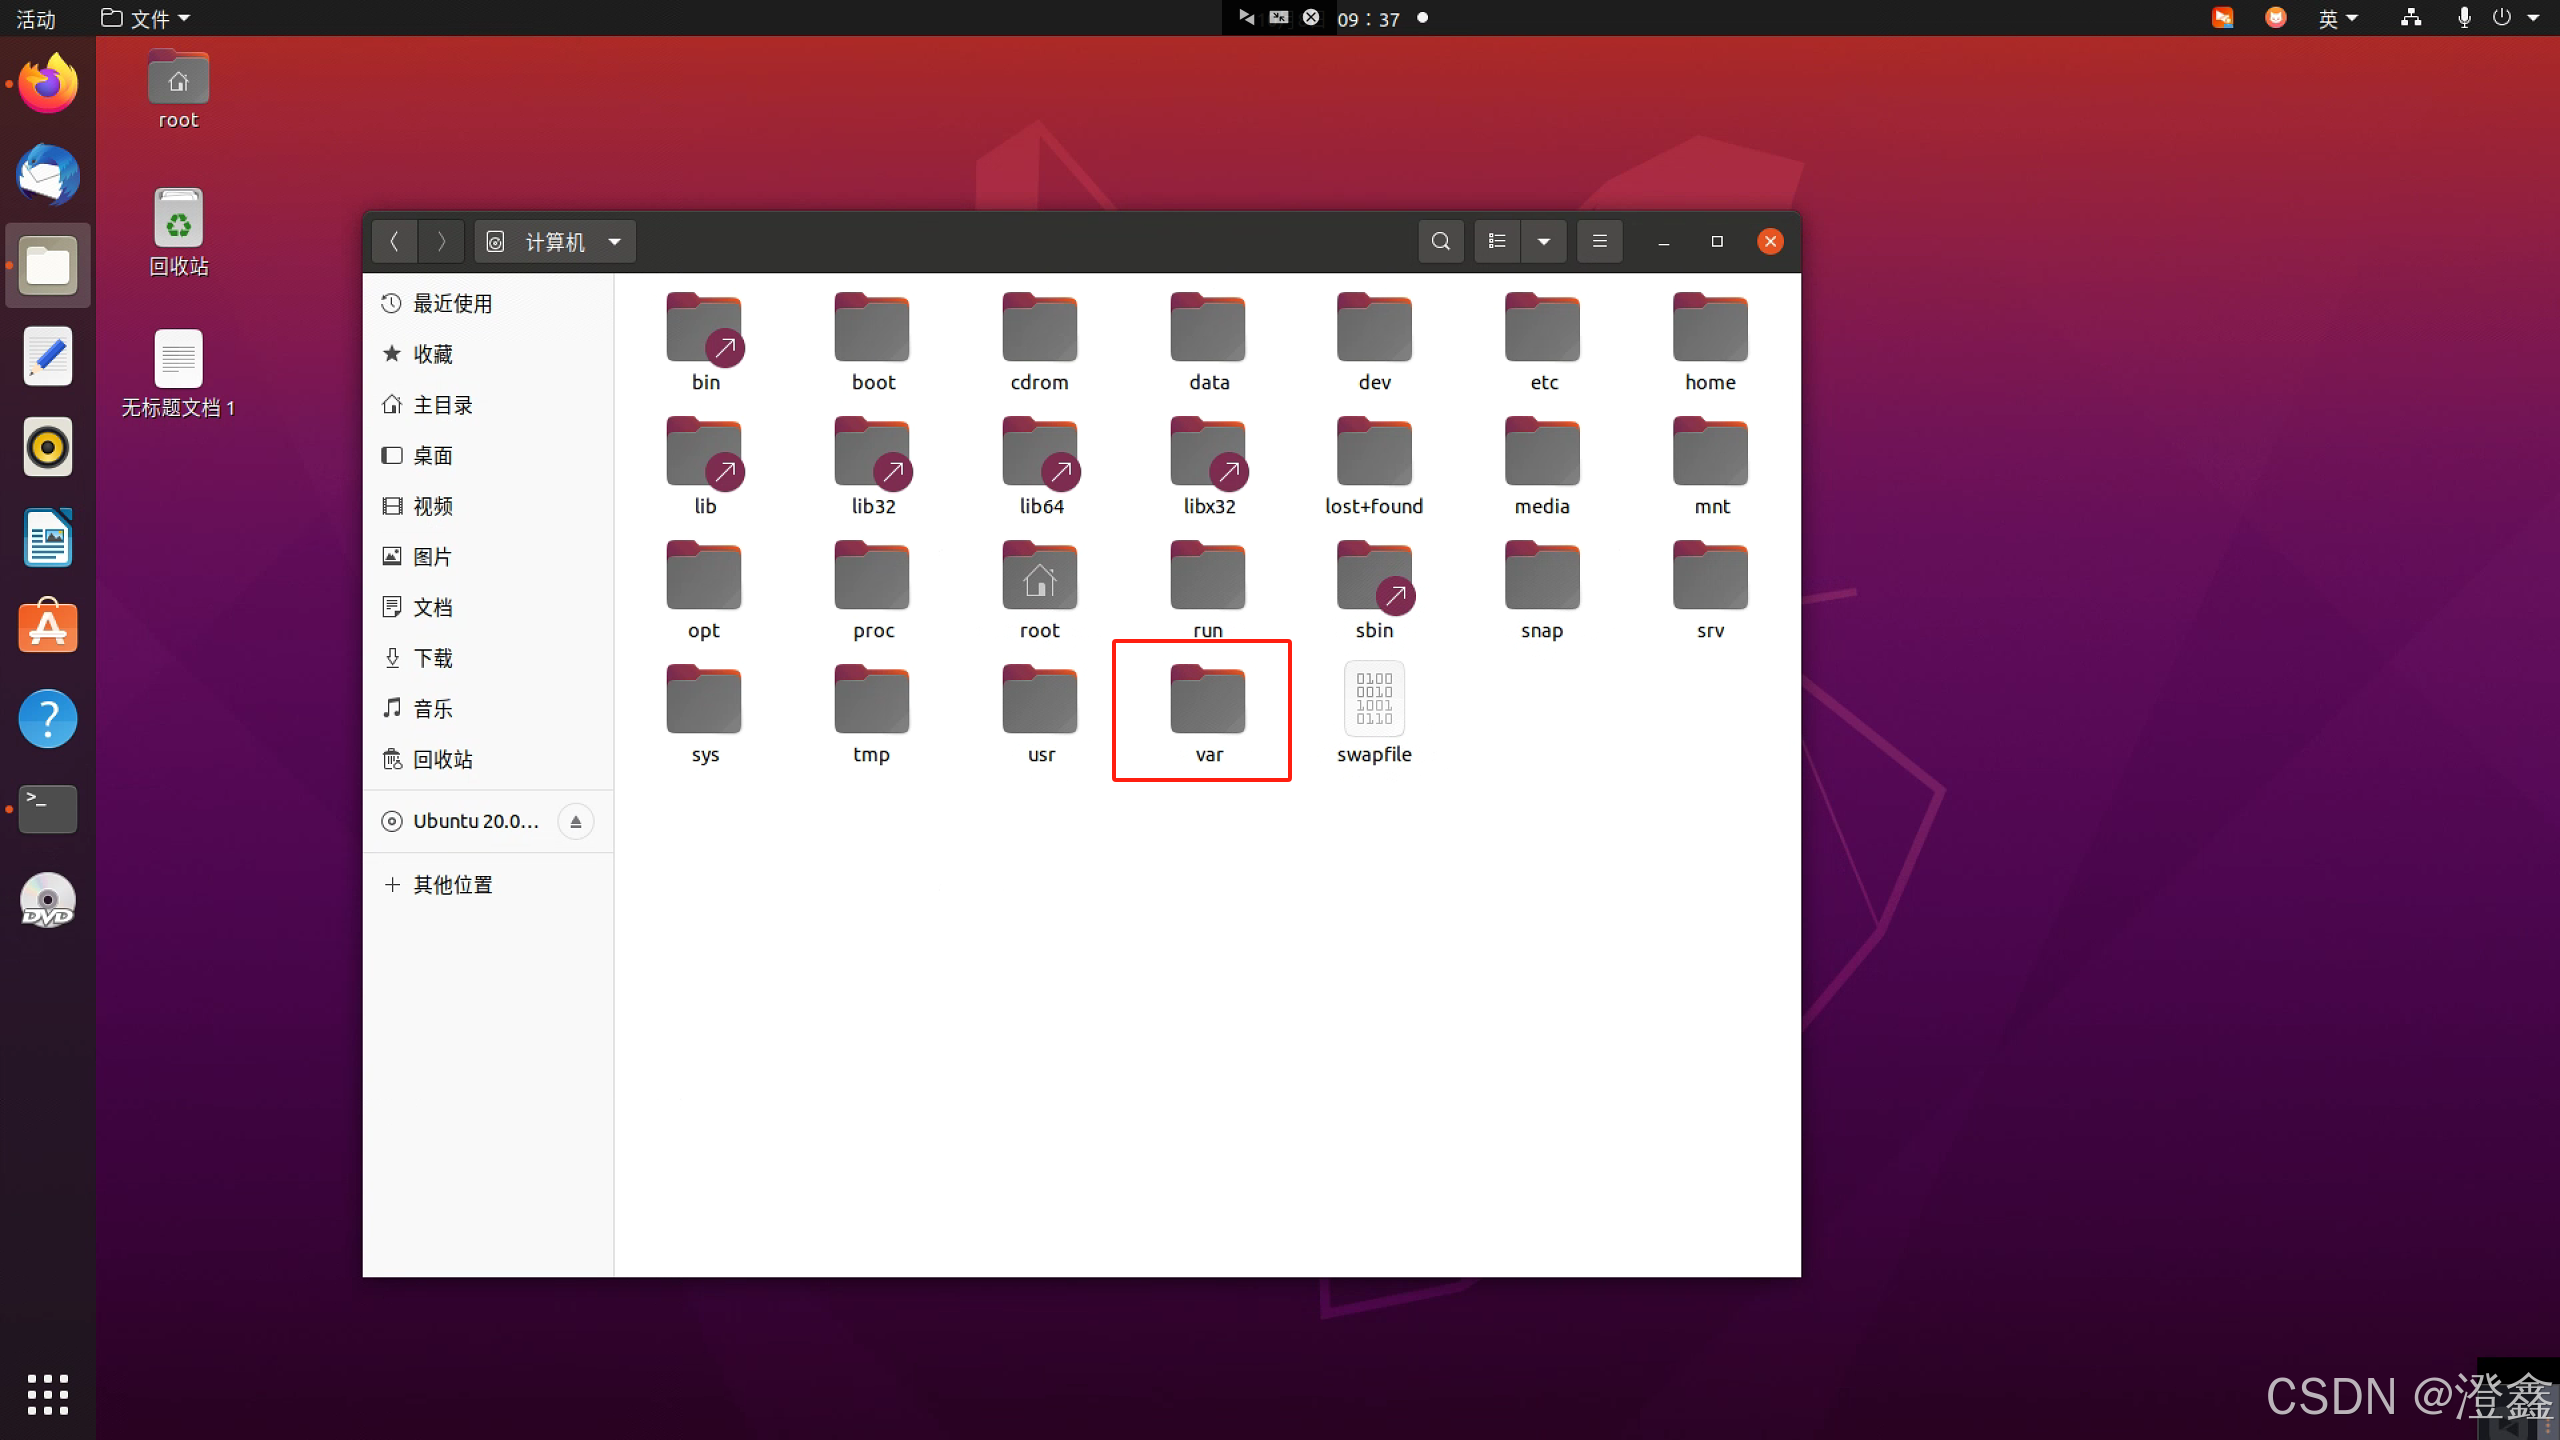
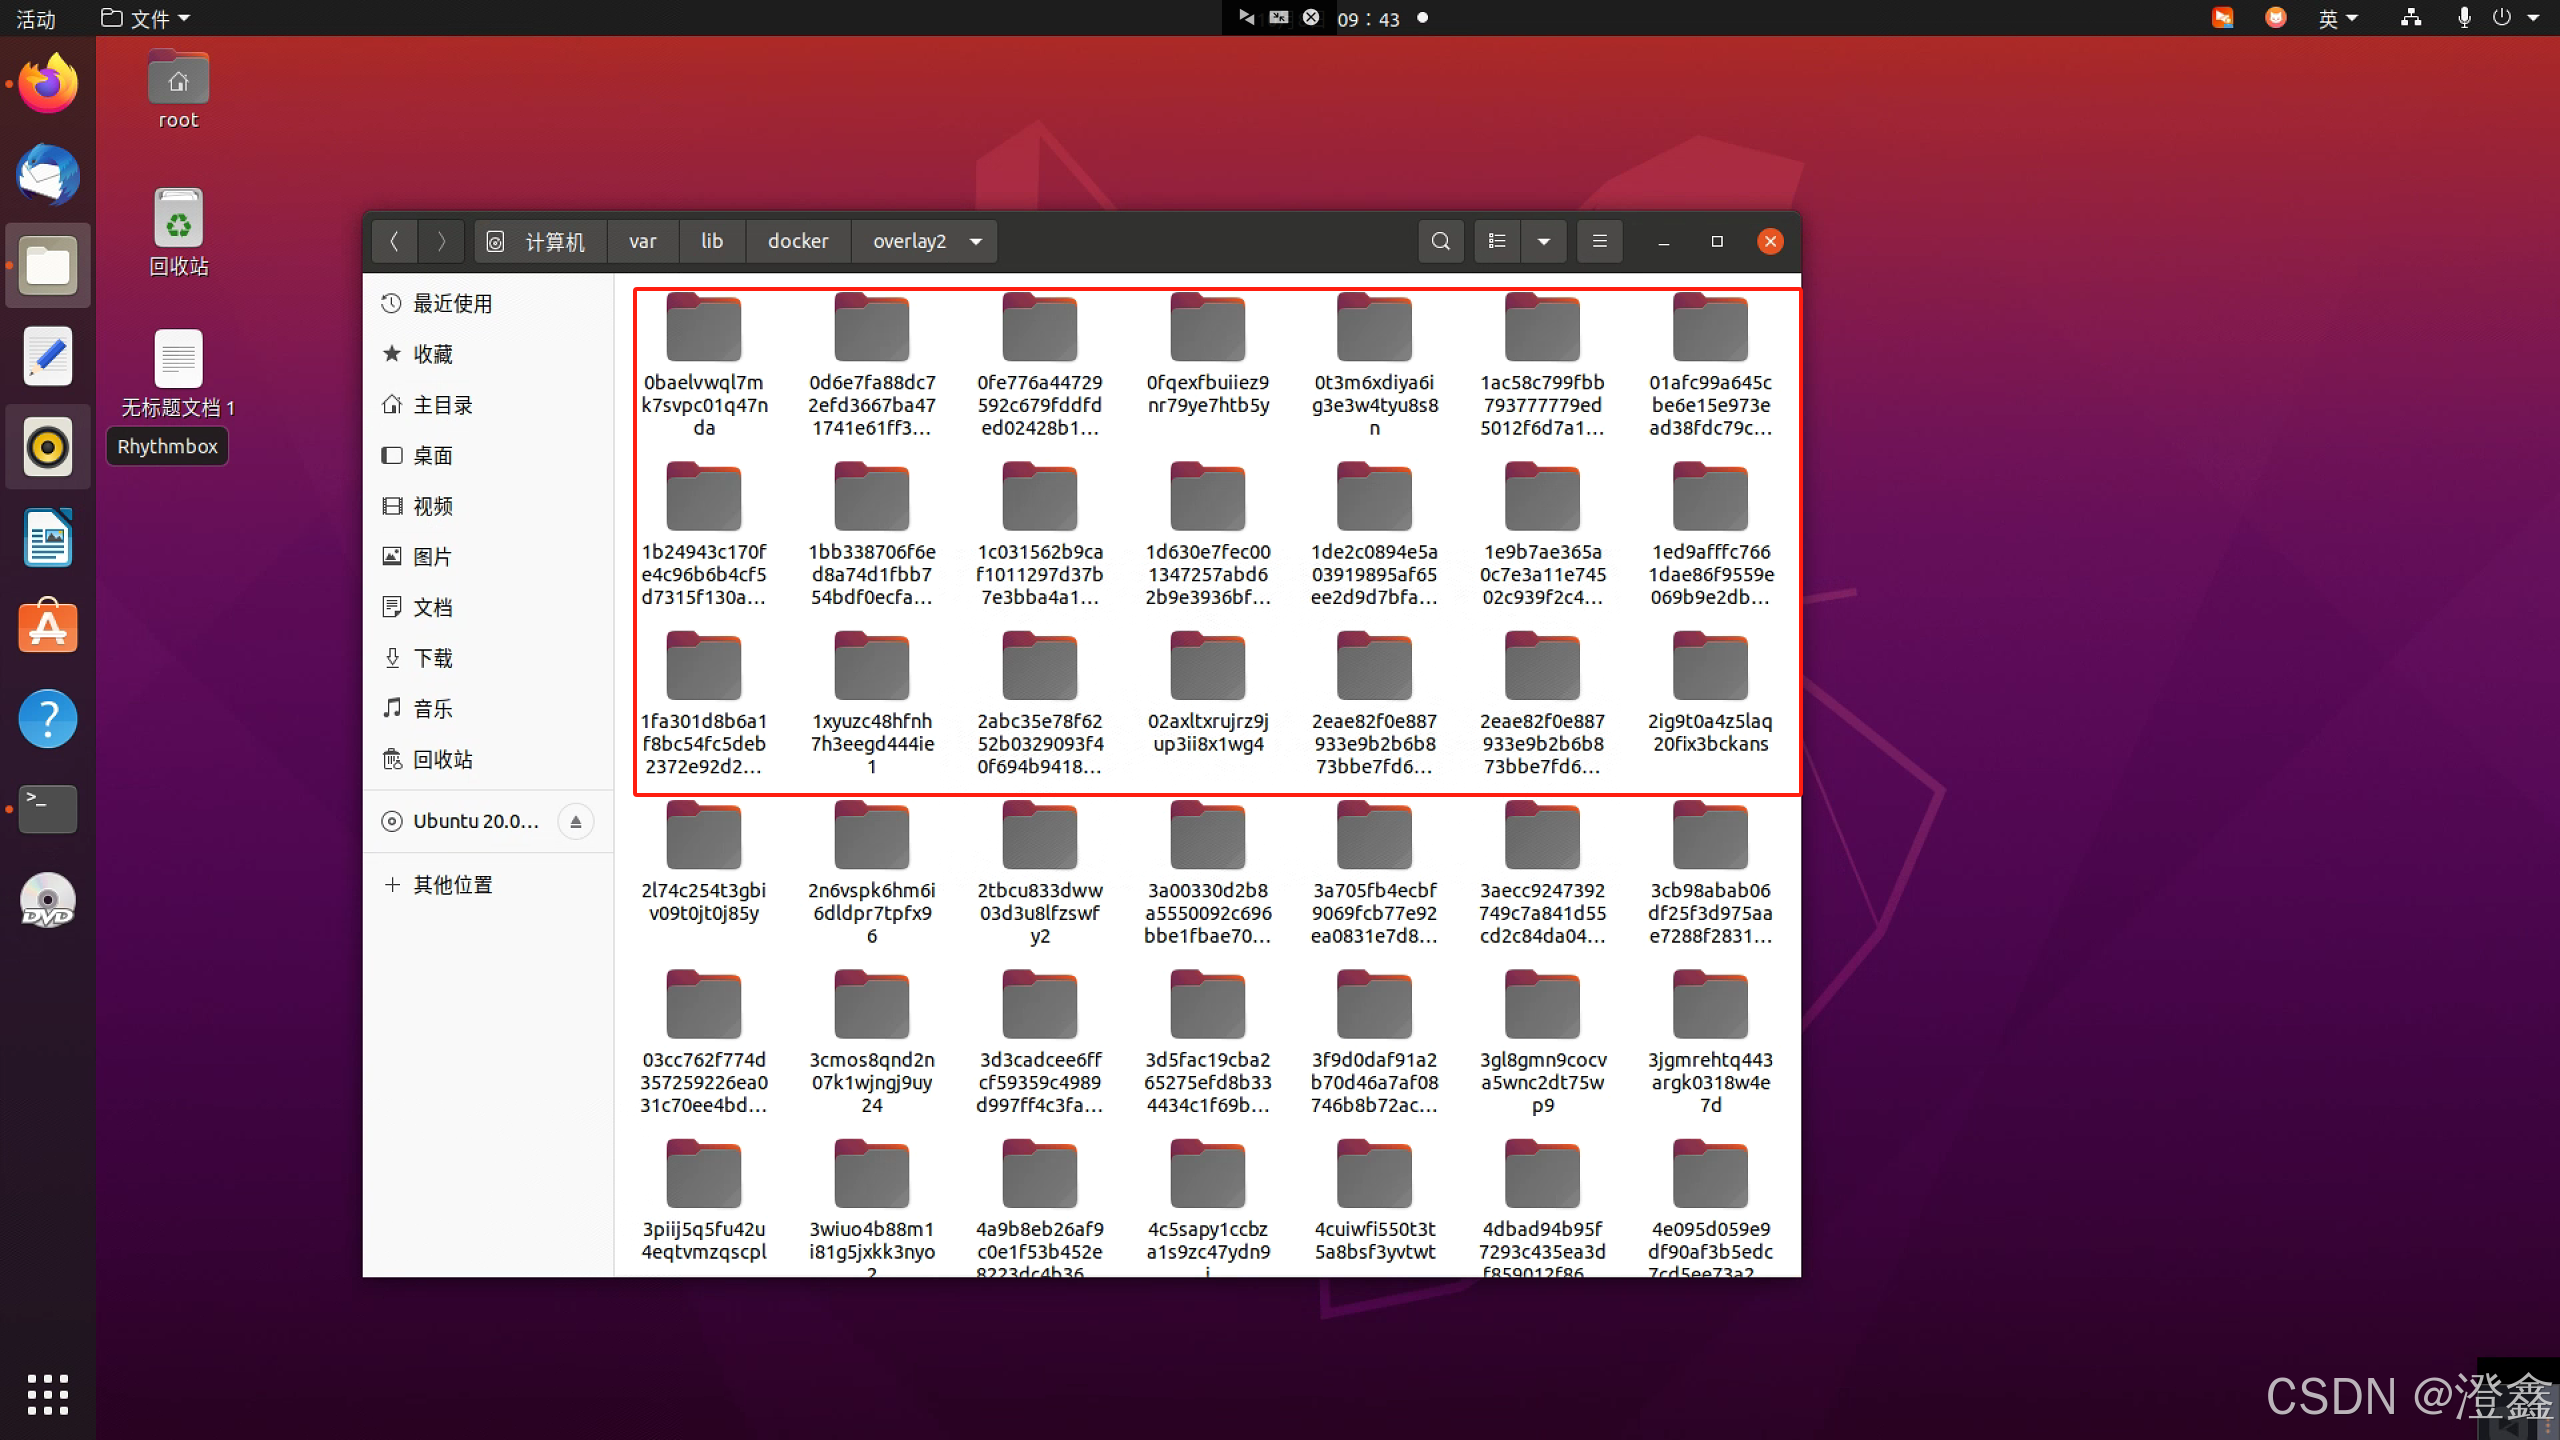
这一步我们可以查看一下我们在step2和step3的时候构建的本地镜像,我们点击其他位置——>var——>docker——>overlay2,然后我们可以在搜索中查找我们本地项目中的文件名称,如果能够找到这个文件路径即说明我们的本地镜像搭建成功。(由于docker中的镜像名称都是一些乱码,因此我们无法通过镜像名称来查找,如下图2)


 974
974

 被折叠的 条评论
为什么被折叠?
被折叠的 条评论
为什么被折叠?
 到【灌水乐园】发言


