


参考文章:https://www.runoob.com/docker/docker-install-mysql.html
参考文章:https://blog.csdn.net/BThinker/article/details/123471514
系统环境:
腾讯云
Ubuntu22.04-Docker24-ZVGG
广州 | 广州六区
入门型
CPU - 2核 内存 - 4GB
系统盘 - SSD云硬盘 60GiB
流量包 - 500GB/月(带宽:5Mbps)
镜像:
Ubuntu22.04-Docker24
Docker基础镜像
Ubuntu Server 22.04 LTS 64bit
费用:165第一年,后面740/年。(估计我用1年就重新找优惠买)
下载镜像
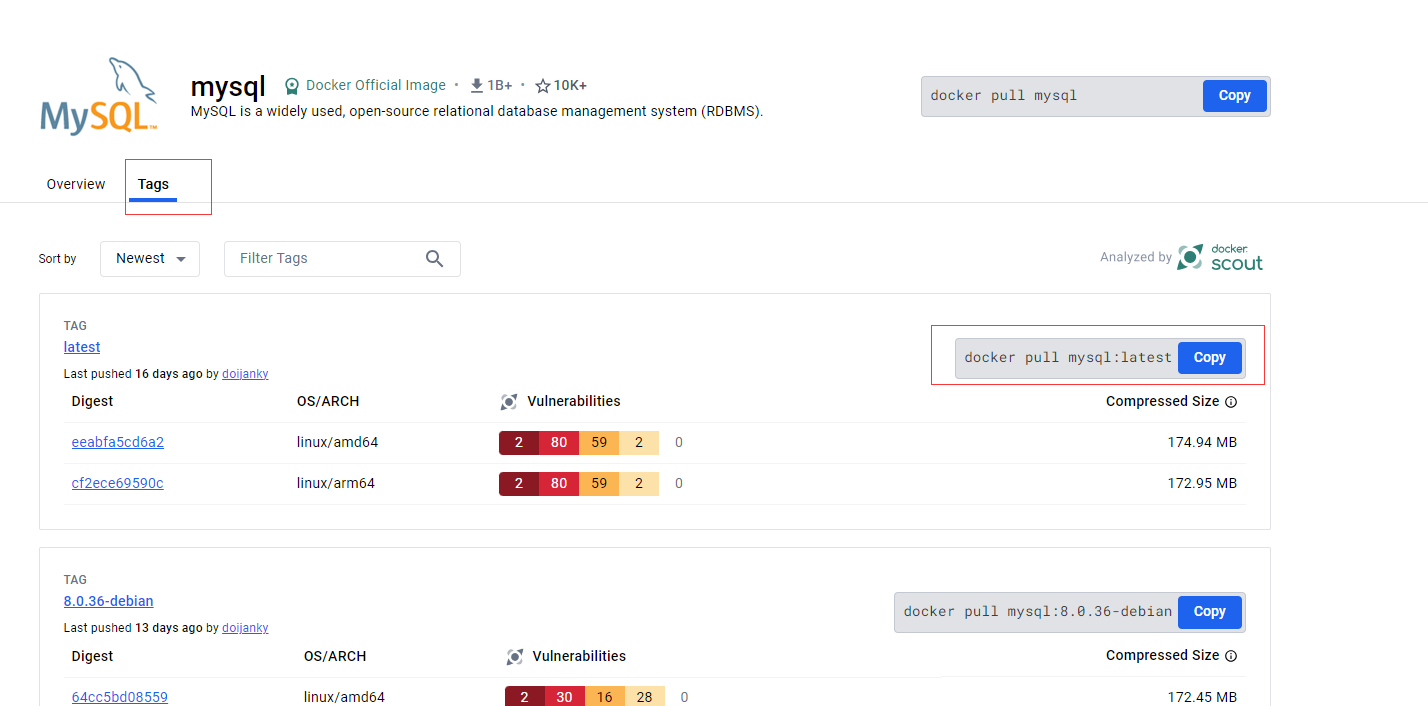
首先,到docker hub中查看可选择mysql的版本信息以及对应的拉取语句。
或者使用docker search mysql 查询可使用版本
lighthouse@VM-20-14-ubuntu:~$ sudo docker search mysql
NAME                            DESCRIPTION                                     STARS     OFFICIAL   AUTOMATED
mysql                           MySQL is a widely used, open-source relation…   14961     [OK]
mariadb                         MariaDB Server is a high performing open sou…   5709      [OK]
percona                         Percona Server is a fork of the MySQL relati…   165       [OK]
phpmyadmin                      phpMyAdmin - A web interface for MySQL and M…   227       [OK]
bitnami/mysql                   Bitnami MySQL Docker Image                      110                  [OK]
bitnami/mysqld-exporter                                                         6
cimg/mysql                                                                      3
ubuntu/mysql                    MySQL open source fast, stable, multi-thread…   61
rapidfort/mysql                 RapidFort optimized, hardened image for MySQL   25
rapidfort/mysql8-ib             RapidFort optimized, hardened image for MySQ…   9
google/mysql                    MySQL server for Google Compute Engine          25                   [OK]
bitnamicharts/mysql                                                             0
elestio/mysql                   Mysql, verified and packaged by Elestio         0
rapidfort/mysql-official        RapidFort optimized, hardened image for MySQ…   9
hashicorp/mysql-portworx-demo                                                   0
databack/mysql-backup           Back up mysql databases to... anywhere!         111
linuxserver/mysql               A Mysql container, brought to you by LinuxSe…   41
mirantis/mysql                                                                  0
docksal/mysql                   MySQL service images for Docksal - https://d…   0
linuxserver/mysql-workbench                                                     55
vitess/mysqlctld                vitess/mysqlctld                                1                    [OK]
eclipse/mysql                   Mysql 5.7, curl, rsync                          1                    [OK]
drupalci/mysql-5.5              https://www.drupal.org/project/drupalci         3                    [OK]
drupalci/mysql-5.7              https://www.drupal.org/project/drupalci         0
datajoint/mysql                 MySQL image pre-configured to work smoothly …   2                    [OK]
lighthouse@VM-20-14-ubuntu:~$
这里我选择使用8.3.0的mysql(拍脑袋选的)
lighthouse@VM-20-14-ubuntu:~$ sudo docker pull mysql:8.3.0
8.3.0: Pulling from library/mysql
9a5c778f631f: Pull complete
9e77c3a95bf2: Pull complete
8b279a2086e0: Pull complete
c8bfbcde7882: Pull complete
d35b074b68ec: Pull complete
beea5014e6af: Pull complete
dc3791a61558: Pull complete
52f9323b9f0e: Pull complete
7f7391eab49b: Pull complete
8d2f04b287ee: Pull complete
Digest: sha256:9d1c923e5f66a89607285ee2641f8a53430a1ccd5e4a62b35eb8a48b74b9ff48
Status: Downloaded newer image for mysql:8.3.0
docker.io/library/mysql:8.3.0
lighthouse@VM-20-14-ubuntu:~$ docker search mysql
查看本地镜像信息
lighthouse@VM-20-14-ubuntu:~$ sudo docker images
REPOSITORY   TAG       IMAGE ID       CREATED        SIZE
mysql        8.3.0     019814493c7a   2 months ago   632MB
创建运行
参考文章:https://juejin.cn/post/6883656638146805767
参考文章:https://blog.csdn.net/weixin_44000070/article/details/121560921
下面先创建一个新的 Docker 网络,多个容器链接到同一个bridge上面,从而通过containerName:port通信。
docker network create -d bridge my-net
-d参数指定 Docker 网络类型,有bridge ,overlay。其中overlay网络类型用于 Swarm mode。
使用docker network ls查看已有网络。
lighthouse@VM-20-14-ubuntu:~$ sudo docker network ls
NETWORK ID     NAME      DRIVER    SCOPE
55b1ad248473   bridge    bridge    local
3a281b8c85a6   host      host      local
c9ace923363d   my-net    bridge    local
aab2f4380e3c   none      null      local
lighthouse@VM-20-14-ubuntu:~$
使用docker inspect my-net查看该bridge信息。
使用docker network connect [NetworkName] [Containers]连接已有容器
测试通信(在任意同一网络中的容器)
root@d0bace7909cf:/# ping mysql
PING mysql (172.18.0.3) 56(84) bytes of data.
64 bytes from mysql.my-net (172.18.0.3): icmp_seq=1 ttl=64 time=0.451 ms
64 bytes from mysql.my-net (172.18.0.3): icmp_seq=2 ttl=64 time=0.086 ms
64 bytes from mysql.my-net (172.18.0.3): icmp_seq=3 ttl=64 time=0.107 ms
64 bytes from mysql.my-net (172.18.0.3): icmp_seq=4 ttl=64 time=0.101 ms
64 bytes from mysql.my-net (172.18.0.3): icmp_seq=5 ttl=64 time=0.105 ms
64 bytes from mysql.my-net (172.18.0.3): icmp_seq=6 ttl=64 time=0.097 ms
运行容器创建
docker run -e TZ=Asia/Shanghai --name mysql -d -p 33406:3306 --restart unless-stopped --network my-net -v /home/melody/项目工程/mysql/data:/var/lib/mysql -v /home/melody/项目工程/mysql/log:/var/log/mysql -e MYSQL_ROOT_PASSWORD=123456 mysql:8.3.0
参数解释
| 命令 | 描述 |
|---|---|
| docker run | 创建一个新的容器 , 同时运行这个容器 |
| –name mysql | 启动容器的名字 |
| -d | 后台运行 |
| -p 33406:3306 | 将容器的 3306 (后面那个) 端口映射到主机的 3306 (前面那个) 端口 |
| –restart unless-stopped | 容器重启策略 |
| –network my-net | 容器重启策略 |
| -v /mydata/mysql/log:/var/log/mysql | 将日志文件夹挂载到主机 |
| -v /mydata/mysql/data:/var/lib/mysql | 将mysql储存文件夹挂载到主机 |
| -v /mydata/mysql/conf:/etc/mysql | 将配置文件夹挂载到主机 |
| -e MYSQL_ROOT_PASSWORD=root | 设置 root 用户的密码 |
| mysql:8.3.0 | 启动哪个版本的 mysql (本地镜像的版本) |
| \ | shell 命令换行符 |
注意 : 命令中所有 冒号 前面的是主机配置 , 冒号 后面的是mysql容器配置 。
–restart unless-stopped : 在docker重启时重启当前容器。但不包含docker重启时已停止的容器。
如果是要自定义config,需要先将原来的config文件从容器中导出,然后修改后在挂载。不能直接空文件夹挂载。
查看Mysql是否运行
使用docker ps参看正在运行的容器中是否有mysql的
lighthouse@VM-20-14-ubuntu:~$ sudo docker ps
CONTAINER ID   IMAGE         COMMAND                  CREATED          STATUS          PORTS                                                  NAMES
48669adfa49d   mysql:8.3.0   "docker-entrypoint.s…"   20 seconds ago   Up 19 seconds   0.0.0.0:3306->3306/tcp, :::3306->3306/tcp, 33060/tcp   mysql
lighthouse@VM-20-14-ubuntu:~$
本机可以通过 root 和密码 123456 访问 MySQL 服务。
首先进入容器中
docker exec -it mysql /bin/bash
登陆mysqlmysql -h localhost -u root -p
lighthouse@VM-20-14-ubuntu:~$ sudo docker exec -it mysql /bin/bash
bash-4.4# mysql -h localhost -u root -p
Enter password:
Welcome to the MySQL monitor.  Commands end with ; or \g.
Your MySQL connection id is 8
Server version: 8.3.0 MySQL Community Server - GPL

Copyright (c) 2000, 2024, Oracle and/or its affiliates.

Oracle is a registered trademark of Oracle Corporation and/or its
affiliates. Other names may be trademarks of their respective
owners.

Type 'help;' or '\h' for help. Type '\c' to clear the current input statement.

mysql>
关闭root远程登陆
直接使用root用户远程访问的话容易有爆破的风险(测试时候弄了个,然后被爆破了)
收到以下信息
All your data is backed up. You must pay 0.0121 BTC to 1tpwVPxbRNtQuzKonhzdEsJL8n562uwAr In 48 hours, your data will be publicly disclosed and deleted. (more information: go to http://iplis.ru/data02)
还好是空的,不过删除之前的所有数据后,重新创建容器,修改的端口号,同时按照下面把root的远程登陆关闭。这样就不用管root的密码了。
mysql> use mysql;
Reading table information for completion of table and column names
You can turn off this feature to get a quicker startup with -A

Database changed
mysql> select host,user from  user ;
+-----------+------------------+
| host      | user             |
+-----------+------------------+
| %         | root             |
| localhost | mysql.infoschema |
| localhost | mysql.session    |
| localhost | mysql.sys        |
| localhost | root             |
+-----------+------------------+
5 rows in set (0.00 sec)

mysql> delete from user where user = "root" and host="%";
Query OK, 1 row affected (0.01 sec)

mysql> select host,user from  user ;
+-----------+------------------+
| host      | user             |
+-----------+------------------+
| localhost | mysql.infoschema |
| localhost | mysql.session    |
| localhost | mysql.sys        |
| localhost | root             |
+-----------+------------------+
4 rows in set (0.00 sec)

mysql> exit
Bye
bash-4.4# exit
exit
lighthouse@VM-20-14-ubuntu:~$ sudo docker restart mysql
mysql
lighthouse@VM-20-14-ubuntu:~$ sudo docker exec -it mysql /bin/bash
bash-4.4#  use mysql;
bash: use: command not found
bash-4.4# mysql -h localhost -u root -p
Enter password:
Welcome to the MySQL monitor.  Commands end with ; or \g.
Your MySQL connection id is 8
Server version: 8.3.0 MySQL Community Server - GPL

Copyright (c) 2000, 2024, Oracle and/or its affiliates.

Oracle is a registered trademark of Oracle Corporation and/or its
affiliates. Other names may be trademarks of their respective
owners.

Type 'help;' or '\h' for help. Type '\c' to clear the current input statement.

mysql>
mysql> use mysql;
Reading table information for completion of table and column names
You can turn off this feature to get a quicker startup with -A

Database changed
mysql> select host,user from  user ;
+-----------+------------------+
| host      | user             |
+-----------+------------------+
| localhost | mysql.infoschema |
| localhost | mysql.session    |
| localhost | mysql.sys        |
| localhost | root             |
+-----------+------------------+
4 rows in set (0.00 sec)

mysql>
创建一个可以远程访问的root级别的用户
// 创建用户
mysql> CREATE USER 'newuser'@'%' IDENTIFIED BY '123456';  // 把%换成localhost为本地账户
Query OK, 0 rows affected (0.02 sec)

// 授予权限
mysql> GRANT ALL PRIVILEGES ON *.* TO 'newuser'@'%' WITH GRANT OPTION;  // WITH GRANT OPTION表示该用户可以将自己的权限授予其他用户
Query OK, 0 rows affected (0.02 sec)

mysql> FLUSH PRIVILEGES;
Query OK, 0 rows affected (0.00 sec)


 2731
2731


 被折叠的 条评论
为什么被折叠?
被折叠的 条评论
为什么被折叠?
 到【灌水乐园】发言


