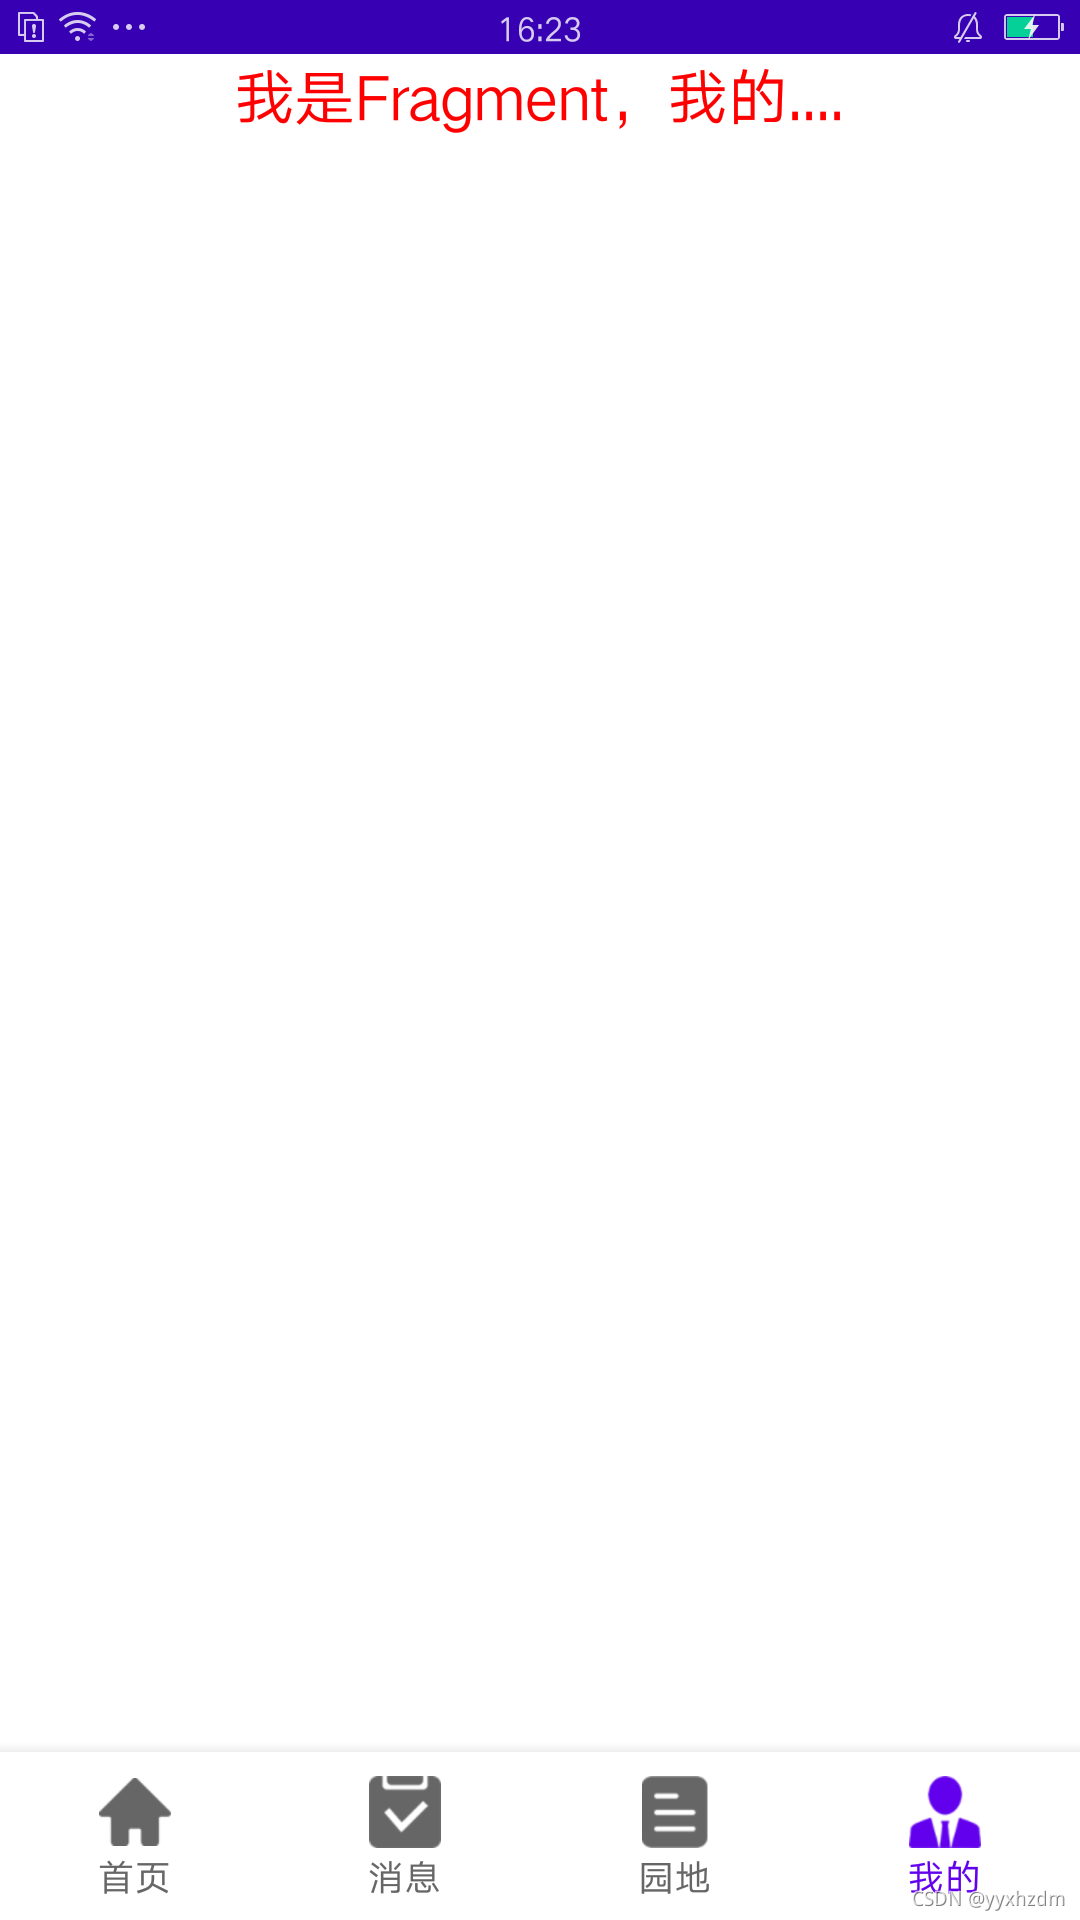
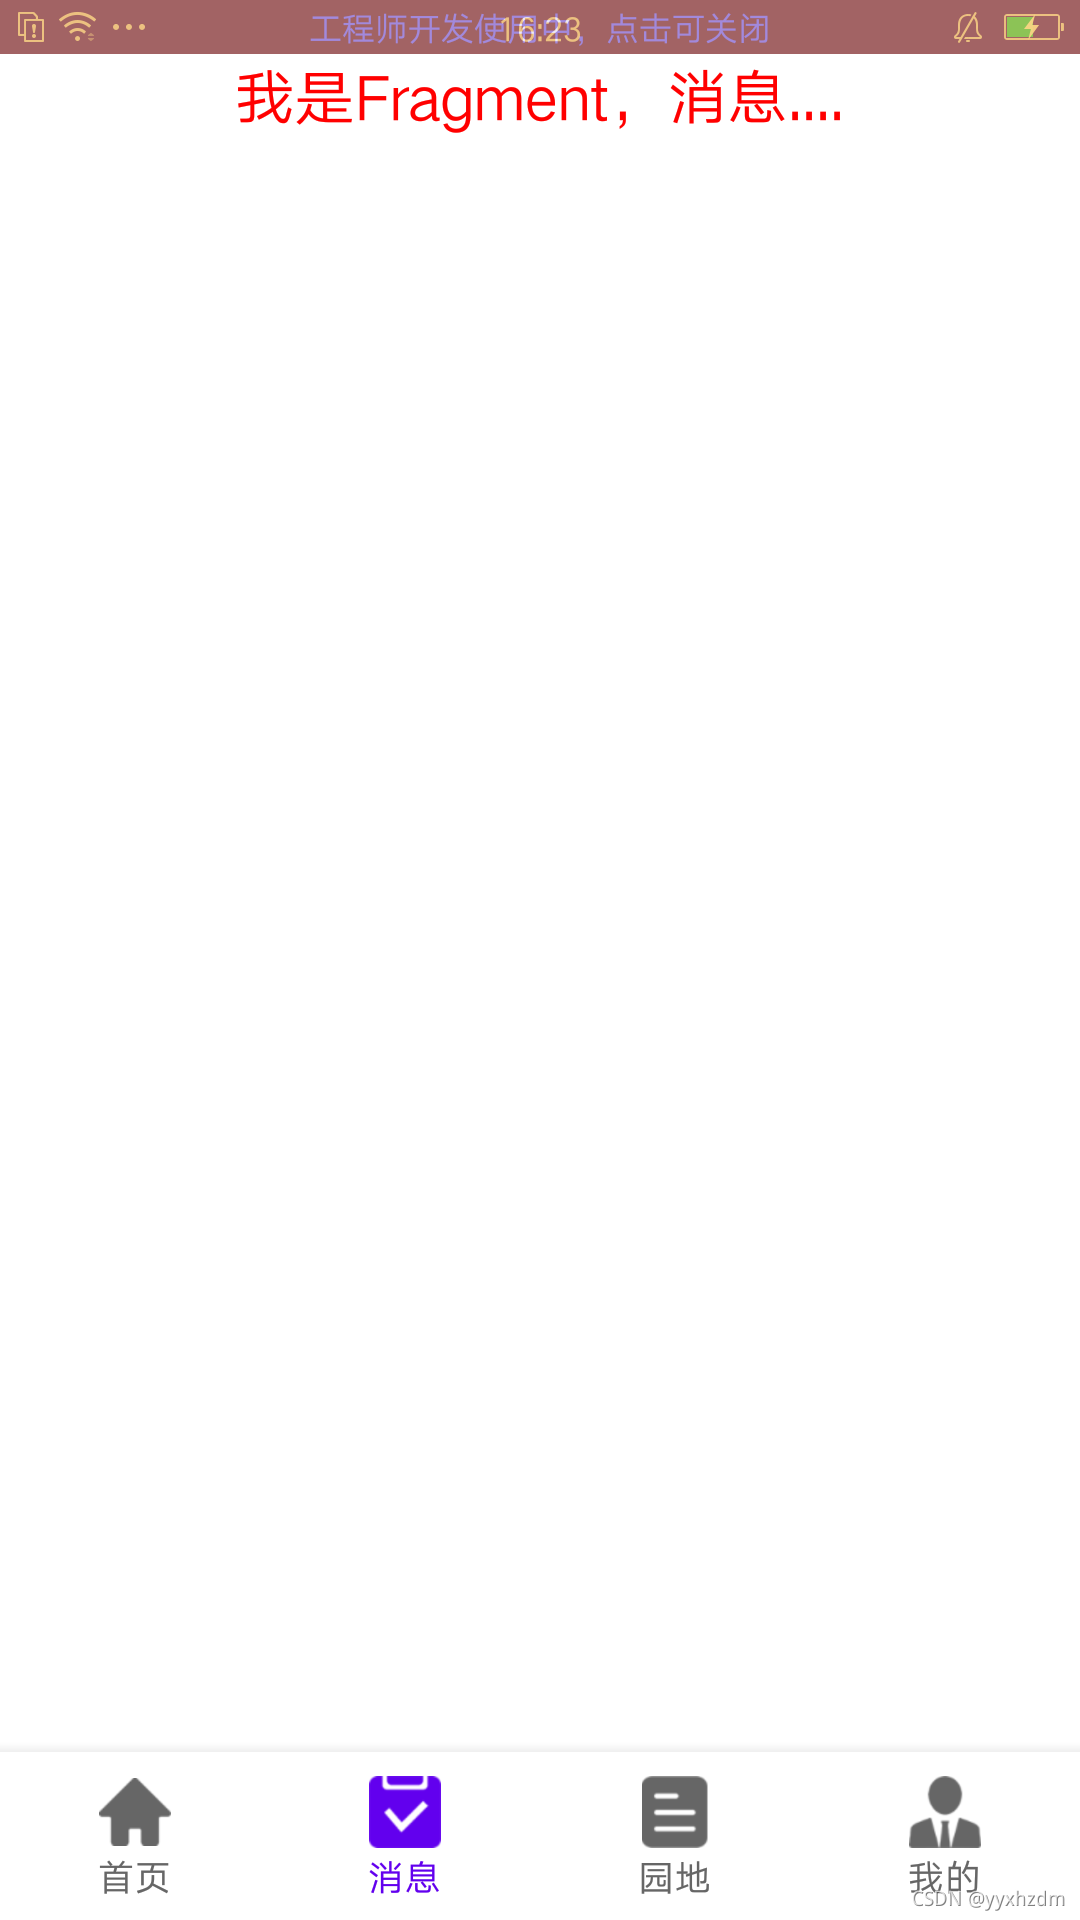
Android使用Viewpager2+Fragment+BottomNavigationView实现底部菜单栏的切换模块的样式。

效果图:

实现步骤:

1.首先在app的builde文件中引用ViewPager2

implementation 'androidx.viewpager2:viewpager2:1.0.0-alpha01'

2.添加首页的布局xml

<?xml version="1.0" encoding="utf-8"?>
<RelativeLayout xmlns:android="http://schemas.android.com/apk/res/android"
    android:layout_width="match_parent"
    android:layout_height="match_parent">

    <androidx.viewpager2.widget.ViewPager2
        android:id="@+id/mainViewPager"
        android:layout_width="match_parent"
        android:layout_height="match_parent"
        android:layout_above="@+id/navigationView" />

    <com.google.android.material.bottomnavigation.BottomNavigationView
        android:id="@+id/navigationView"
        android:layout_width="match_parent"
        android:layout_height="wrap_content"
        android:layout_alignParentBottom="tru

  • 1
    点赞
  • 4
    收藏
    觉得还不错? 一键收藏
  • 打赏
    打赏
  • 1
    评论
实现 ViewPager2+TabLayout+Fragment 实现页面切换,需要以下步骤: 1. 在 XML 布局文件中定义 ViewPager2 和 TabLayout,并将它们嵌套在一个父布局中。 ```xml <androidx.constraintlayout.widget.ConstraintLayout android:layout_width="match_parent" android:layout_height="match_parent"> <com.google.android.material.tabs.TabLayout android:id="@+id/tab_layout" android:layout_width="match_parent" android:layout_height="wrap_content" app:tabMode="scrollable" app:tabGravity="center"/> <androidx.viewpager2.widget.ViewPager2 android:id="@+id/view_pager" android:layout_width="match_parent" android:layout_height="0dp" app:layout_constraintTop_toBottomOf="@id/tab_layout" app:layout_constraintBottom_toBottomOf="parent"/> </androidx.constraintlayout.widget.ConstraintLayout> ``` 2. 创建 Fragment,并实现 ViewPager2 的适配器。 ```kotlin class MyFragmentAdapter(fragmentActivity: FragmentActivity) : FragmentStateAdapter(fragmentActivity) { private val fragmentList = listOf( FirstFragment(), SecondFragment(), ThirdFragment() ) override fun getItemCount() = fragmentList.size override fun createFragment(position: Int) = fragmentList[position] } ``` 3. 在 Activity 或 Fragment 中,初始化 ViewPager2 和 TabLayout,并将适配器设置给 ViewPager2。 ```kotlin val viewPager: ViewPager2 = findViewById(R.id.view_pager) val tabLayout: TabLayout = findViewById(R.id.tab_layout) val adapter = MyFragmentAdapter(this) viewPager.adapter = adapter TabLayoutMediator(tabLayout, viewPager) { tab, position -> tab.text = "Tab ${position + 1}" }.attach() ``` 这样就可以实现 ViewPager2+TabLayout+Fragment 实现页面切换了。注意,TabLayoutMediator 是用来关联 TabLayout 和 ViewPager2 的,它的第一个参数是 TabLayout,第二个参数是 ViewPager2,第三个参数是一个回调函数,用来设置 TabLayout 的标签文本。在最后一行调用 attach() 方法即可完成关联。

“相关推荐”对你有帮助么?

  • 非常没帮助
  • 没帮助
  • 一般
  • 有帮助
  • 非常有帮助
提交
评论 1
添加红包

请填写红包祝福语或标题

红包个数最小为10个

红包金额最低5元

当前余额3.43前往充值 >
需支付:10.00
成就一亿技术人!
领取后你会自动成为博主和红包主的粉丝 规则
hope_wisdom
发出的红包

打赏作者

yyxhzdm

你的鼓励是我创作的最大动力!!

¥1 ¥2 ¥4 ¥6 ¥10 ¥20
扫码支付:¥1
获取中
扫码支付

您的余额不足,请更换扫码支付或充值

打赏作者

实付
使用余额支付
点击重新获取
扫码支付
钱包余额 0

抵扣说明:

1.余额是钱包充值的虚拟货币,按照1:1的比例进行支付金额的抵扣。
2.余额无法直接购买下载,可以购买VIP、付费专栏及课程。

余额充值