


Games101-作业1-旋转与投影(含提高)
分析
主要用到:https://blog.csdn.net/zgynbnbnb/article/details/136645669?spm=1001.2014.3001.5501
https://blog.csdn.net/zgynbnbnb/article/details/136645240?spm=1001.2014.3001.5501
根据作业的说明,可以明确框架已经完成了MVP中的模型和视图变换,我们要做的是投影变换和绕z轴旋转矩阵。
这次作业框架知道main.cpp中流程是什么和每个接口的作用就可以了。
读完说明和main.cpp框架后,就知道这次作业只需要完成两个函数中矩阵的返回:
- 透视投影变换矩阵
get_projection_matrix - 旋转变换矩阵
get_model_matrix
注意:Eigen默认弧度制,但框架中接口函数参数提供的角为角度值,所以要先转换为弧度制。
透视投影矩阵
投影矩阵需要经过两步:
- 透视投影->正交投影(挤压)
- 正交投影->正则立方体
透视投影->正交投影
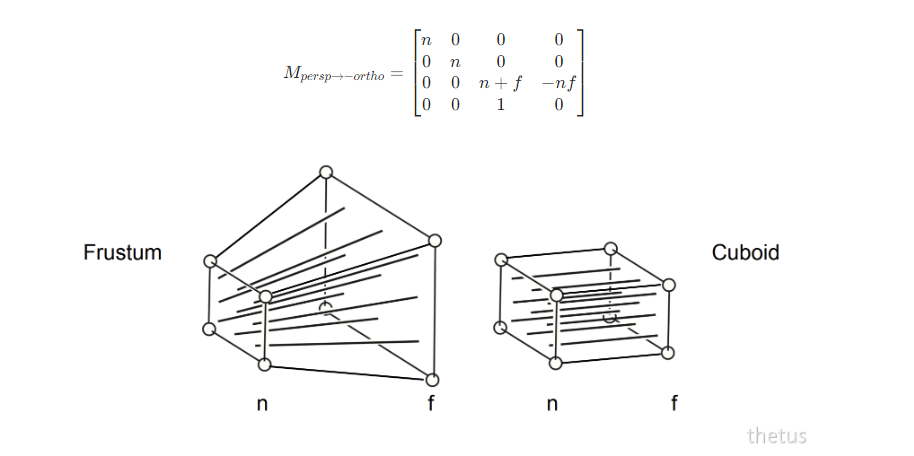
Eigen::Matrix4f Mpersp_orhtho;
Mpersp_orhtho << n, 0, 0, 0,
    0, n, 0, 0,
    0, 0, n + f, -n*f,
    0, 0, 1, 0;
正交投影->正则立方体
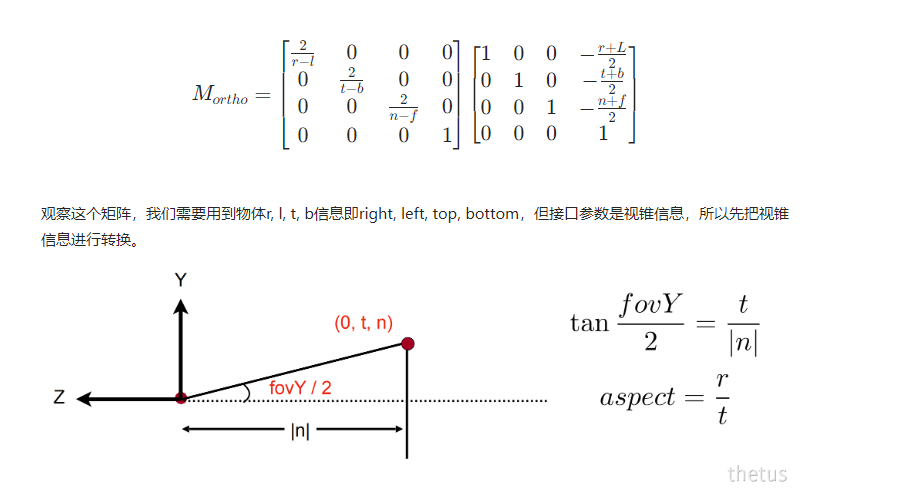
float fovY = eye_fov / 180 * MY_PI;// 角度转弧度
float t = tan(fovY / 2) * (-n), b = -t;// 朝向-z方向|n|
float r = aspect_ratio * t, l = -r;
注意:
- 经过视图变换,摄像机在原点,b=-t, l= -r
- 规定默认右手系,所以朝向-z轴,|n|=-n
转换之后,套入矩阵运算。
Eigen::Matrix4f Mortho, Mtrans, Mscale;
Mtrans << 1, 0, 0, -(r + l) / 2,
    0, 1, 0, -(t + b) / 2,
    0, 0, 1, -(n + f) / 2,
    0, 0, 0, 1;
Mscale << 2 / (r - l), 0, 0, 0,
    0, 2 / (t - b), 0, 0,
    0, 0, 2 / (n - f), 0,
    0, 0, 0, 1;
Mortho = Mscale * Mtrans;
最后返回投影矩阵
projection = Mortho * Mpersp_orhtho;
return projection;
全部代码
Eigen::Matrix4f get_projection_matrix(float eye_fov, float aspect_ratio,
                                      float zNear, float zFar)
{
// Students will implement this function
Eigen::Matrix4f projection = Eigen::Matrix4f::Identity();

// TODO: Implement this function
// Create the projection matrix for the given parameters.
// Then return it.

float n = zNear, f = zFar;

// 透视投影->正交投影  挤压
Eigen::Matrix4f Mpersp_orhtho;
Mpersp_orhtho << n, 0, 0, 0,
    0, n, 0, 0,
    0, 0, n + f, -n*f,
    0, 0, 1, 0;

// 正交投影->正则立方体
    // 将视锥信息为r,l,t,b
float fovY = eye_fov / 180 * MY_PI;// 角度转弧度
float t = tan(fovY / 2) * (-n), b = -t;// 朝向-z方向|n|
float r = aspect_ratio * t, l = -r;
    // 转换到正则立方体
Eigen::Matrix4f Mortho, Mtrans, Mscale;
Mtrans << 1, 0, 0, -(r + l) / 2,
    0, 1, 0, -(t + b) / 2,
    0, 0, 1, -(n + f) / 2,
    0, 0, 0, 1;
Mscale << 2 / (r - l), 0, 0, 0,
    0, 2 / (t - b), 0, 0,
    0, 0, 2 / (n - f), 0,
    0, 0, 0, 1;
Mortho = Mscale * Mtrans;

// 计算得到投影矩阵
projection = Mortho * Mpersp_orhtho;
return projection;
}
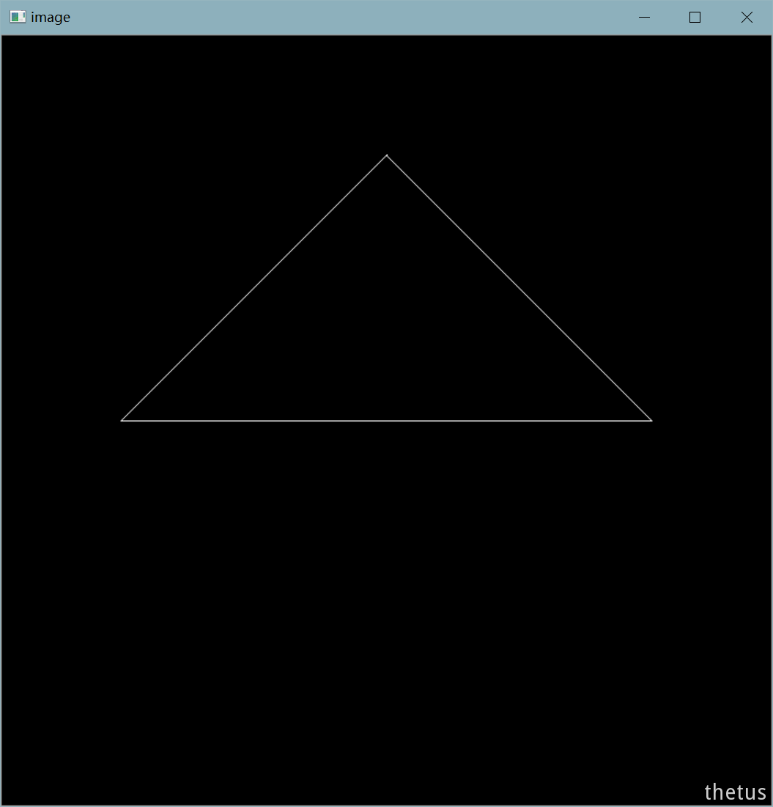
运行后的效果:
旋转矩阵

Eigen::Matrix4f get_model_matrix(float rotation_angle)
{
    Eigen::Matrix4f model = Eigen::Matrix4f::Identity();

    // TODO: Implement this function
    // Create the model matrix for rotating the triangle around the Z axis.
    // Then return it.

    float a = rotation_angle / 180 * MY_PI;
    model << cos(a), -sin(a), 0, 0,
        sin(a), cos(a), 0, 0,
        0, 0, 1, 0,
        0, 0, 0, 1;

    return model;
}
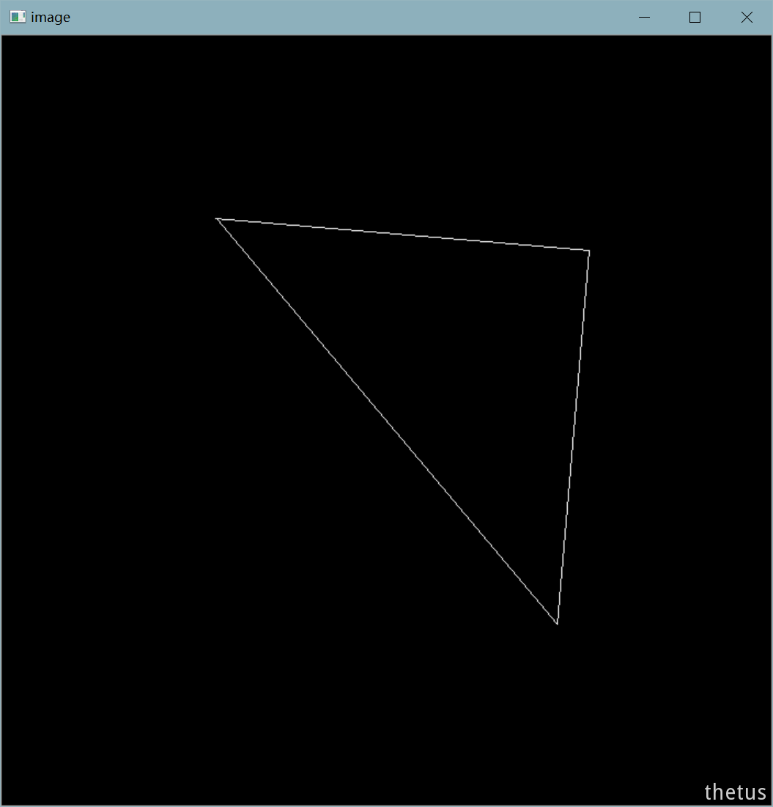
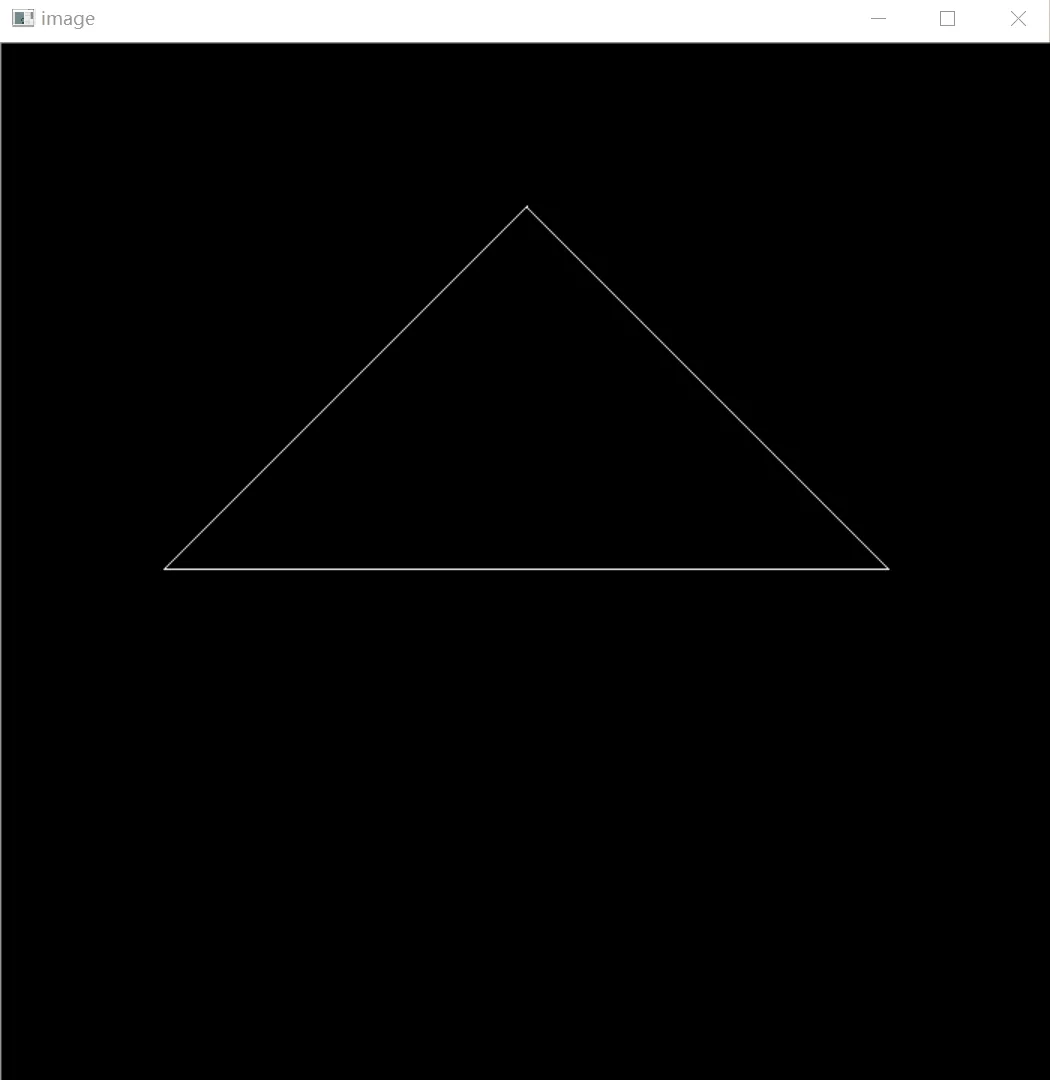
结果
按下A/D,绕z轴旋转。
提高
在main.cpp中添加一个函数,实现绕任意轴旋转。
绕任意轴旋转即课上提到的罗德里格斯旋转公式。
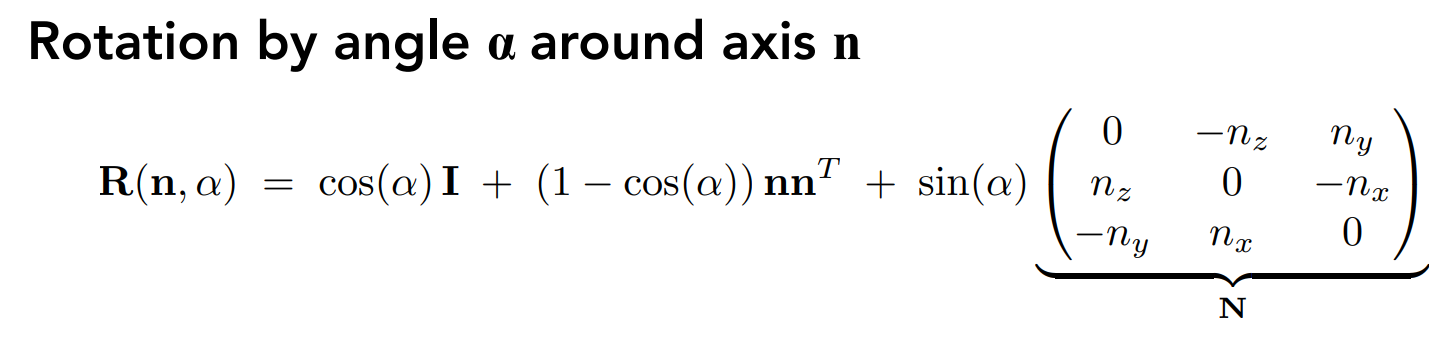
根据作业要求里的函数原型可以很容易写出这个函数。
Eigen::Matrix4f get_rotation(Vector3f axis, float angle)// 罗德里格斯任意轴旋转
{
    float a = angle / 180 * MY_PI;
    Eigen::Matrix4f I, N, rotation;
    Eigen::Vector4f n;
    Eigen::RowVector4f nt;

    n << axis.x(), axis.y(), axis.z(), 0;
    nt << axis.x(), axis.y(), axis.z(), 0;

    I = Eigen::Matrix4f::Identity();
    N << 0, -n.z(), n.y(), 0,
        n.z(), 0, -n.x(), 0,
        -n.y(), n.x(), 0, 0,
        0, 0, 0, 1;

    rotation = cos(a) * I + (1 - cos(a)) * n * nt + sin(a) * N;
    rotation(3, 3) = 1;//非齐次坐标的公式应用在齐次坐标上时记得运算完成后把矩阵的右下角改为1,否则会导致图形比例错误
    return rotation;
}
最开始没加倒数第二行,运行出来三角形比例是错的,查了加上的。
然后就是对这个矩阵进行应用,
在main函数中,每帧进行model投影-view投影-projection投影,而旋转应该应用在model投影阶段,所以直接把绕轴旋转和绕任意轴旋转的矩阵相乘再set_model即可。
    Eigen::Matrix4f m = get_rotation(axis, rangle) * get_model_matrix(angle);
    r.set_model(m);
    r.set_view(get_view_matrix(eye_pos));
    r.set_projection(get_projection_matrix(45, 1, 0.1, 50));
main函数代码
int main(int argc, const char** argv)
{
    float angle = 0;
    bool command_line = false;
    std::string filename = "output.png";

    float rangle = 0;
    Vector3f axis;
    int mod = 0;

    if (argc >= 3) {
        command_line = true;
        angle = std::stof(argv[2]); // -r by default
        if (argc == 4) {
            filename = std::string(argv[3]);
        }
        else
            return 0;
    }

    rst::rasterizer r(700, 700);

    Eigen::Vector3f eye_pos = {0, 0, 5};

    std::vector<Eigen::Vector3f> pos{{2, 0, -2}, {0, 2, -2}, {-2, 0, -2}};

    std::vector<Eigen::Vector3i> ind{{0, 1, 2}};

    auto pos_id = r.load_positions(pos);
    auto ind_id = r.load_indices(ind);

    int key = 0;
    int frame_count = 0;

    if (command_line)
    {
        r.clear(rst::Buffers::Color | rst::Buffers::Depth);

        r.set_model(get_model_matrix(angle));
        r.set_view(get_view_matrix(eye_pos));
        r.set_projection(get_projection_matrix(45, 1, 0.1, 50));

        r.draw(pos_id, ind_id, rst::Primitive::Triangle);
        cv::Mat image(700, 700, CV_32FC3, r.frame_buffer().data());
        image.convertTo(image, CV_8UC3, 1.0f);

        cv::imwrite(filename, image);

        return 0;
    }

    std::cin >> axis.x() >> axis.y() >> axis.z();

    while (key != 27)
    {
        r.clear(rst::Buffers::Color | rst::Buffers::Depth);

        Eigen::Matrix4f m = get_rotation(axis, rangle) * get_model_matrix(angle);
        r.set_model(m);
        r.set_view(get_view_matrix(eye_pos));
        r.set_projection(get_projection_matrix(45, 1, 0.1, 50));

        r.draw(pos_id, ind_id, rst::Primitive::Triangle);// 进行mvp计算

        cv::Mat image(700, 700, CV_32FC3, r.frame_buffer().data());
        image.convertTo(image, CV_8UC3, 1.0f);
        cv::imshow("image", image);
        key = cv::waitKey(10);

        std::cout << "frame count: " << frame_count++ << '\n';
        // std::cout << get_rotation(axis, rangle) << std::endl << std::endl;
        // std::cout << get_model_matrix(angle) << std::endl << std::endl;
        // std::cout << rangle << std::endl;

        if (key == 'r')
            mod ^= 1;
        else if (key == 'a')
        {
            if (mod == 0)
                angle += 10;
            else
                rangle += 10;
        }
        else if (key == 'd')
        {
            if (mod == 0)
                angle -= 10;
            else
                rangle -= 10;
        }
    }

    return 0;
}
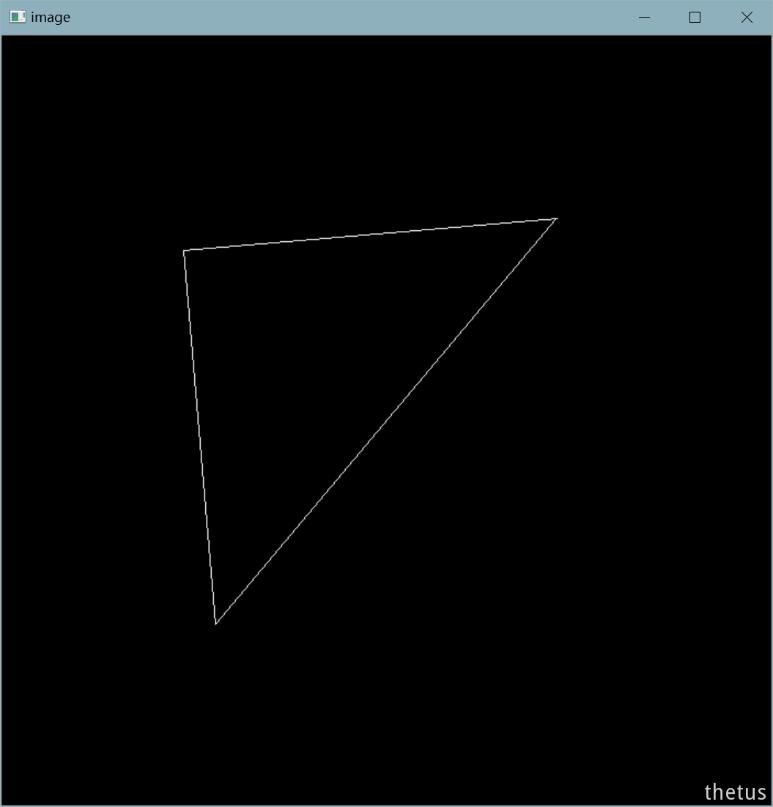
结果
问题
三角形超出光栅化区域数组越界,不知道怎么解决。
更新:改投影矩阵或者视口矩阵,把映射在屏幕的三角形缩小。


 666
666


 被折叠的 条评论
为什么被折叠?
被折叠的 条评论
为什么被折叠?
 到【灌水乐园】发言


