


使用diffusers 加载 LoRA,实现文生图功能。摘自 diffusers文档。
模型可以根据名称去modelscope找对应资源下载。使用的时候需要替换成具体路径。虽然modelscope和diffusers都使用了模型id,但是并不能通用。
不同的LoRA对应了不同的“trigger” words,在prompt中加入这个“trigger” words才能生成正确的结果。
比如使用了toy-face的LoRA模型,那么就要在prompt加入“toy face”。
基础应用
from diffusers import DiffusionPipeline
import torch

pipe_id = "stabilityai/stable-diffusion-xl-base-1.0"
pipe = DiffusionPipeline.from_pretrained(pipe_id, torch_dtype=torch.float16).to("cuda")

#模型下载
#from modelscope import snapshot_download
#model_dir = snapshot_download('SDXL-LoRA/CiroN2022-toy-face')
#加载lora
pipe.load_lora_weights("CiroN2022/toy-face", weight_name="toy_face_sdxl.safetensors", adapter_name="toy")
# 加入 “toy face”
prompt = "toy_face of a hacker with a hoodie"
lora_scale = 0.9
image = pipe(
    prompt, num_inference_steps=30, cross_attention_kwargs={"scale": lora_scale}, generator=torch.manual_seed(0)
).images[0]
image
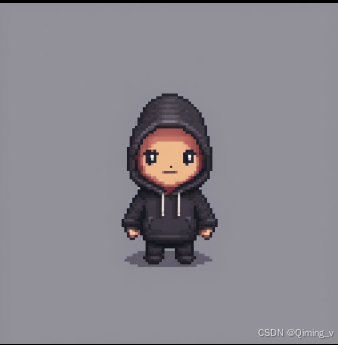
指定LoRA
可以再加载另一个模型,pipe.set_adapters() 函数确定使用哪个模型。不同的模型根据adapter_name来区分。
pipe.load_lora_weights("nerijs/pixel-art-xl", weight_name="pixel-art-xl.safetensors", adapter_name="pixel")
pipe.set_adapters("pixel")

prompt = "a hacker with a hoodie, pixel art"
image = pipe(
    prompt, num_inference_steps=30, cross_attention_kwargs={"scale": lora_scale}, generator=torch.manual_seed(0)
).images[0]
image
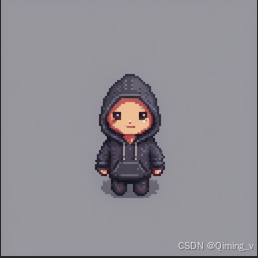
同时使用多个LoRA
也可以同时使用,adapter_weights设置不同的权重,prompt也应该包括全部的“trigger” words。
pipe.set_adapters(["pixel", "toy"], adapter_weights=[0.5, 1.0])
prompt = "toy_face of a hacker with a hoodie, pixel art"
image = pipe(
    prompt, num_inference_steps=30, cross_attention_kwargs={"scale": 1.0}, generator=torch.manual_seed(0)
).images[0]
image
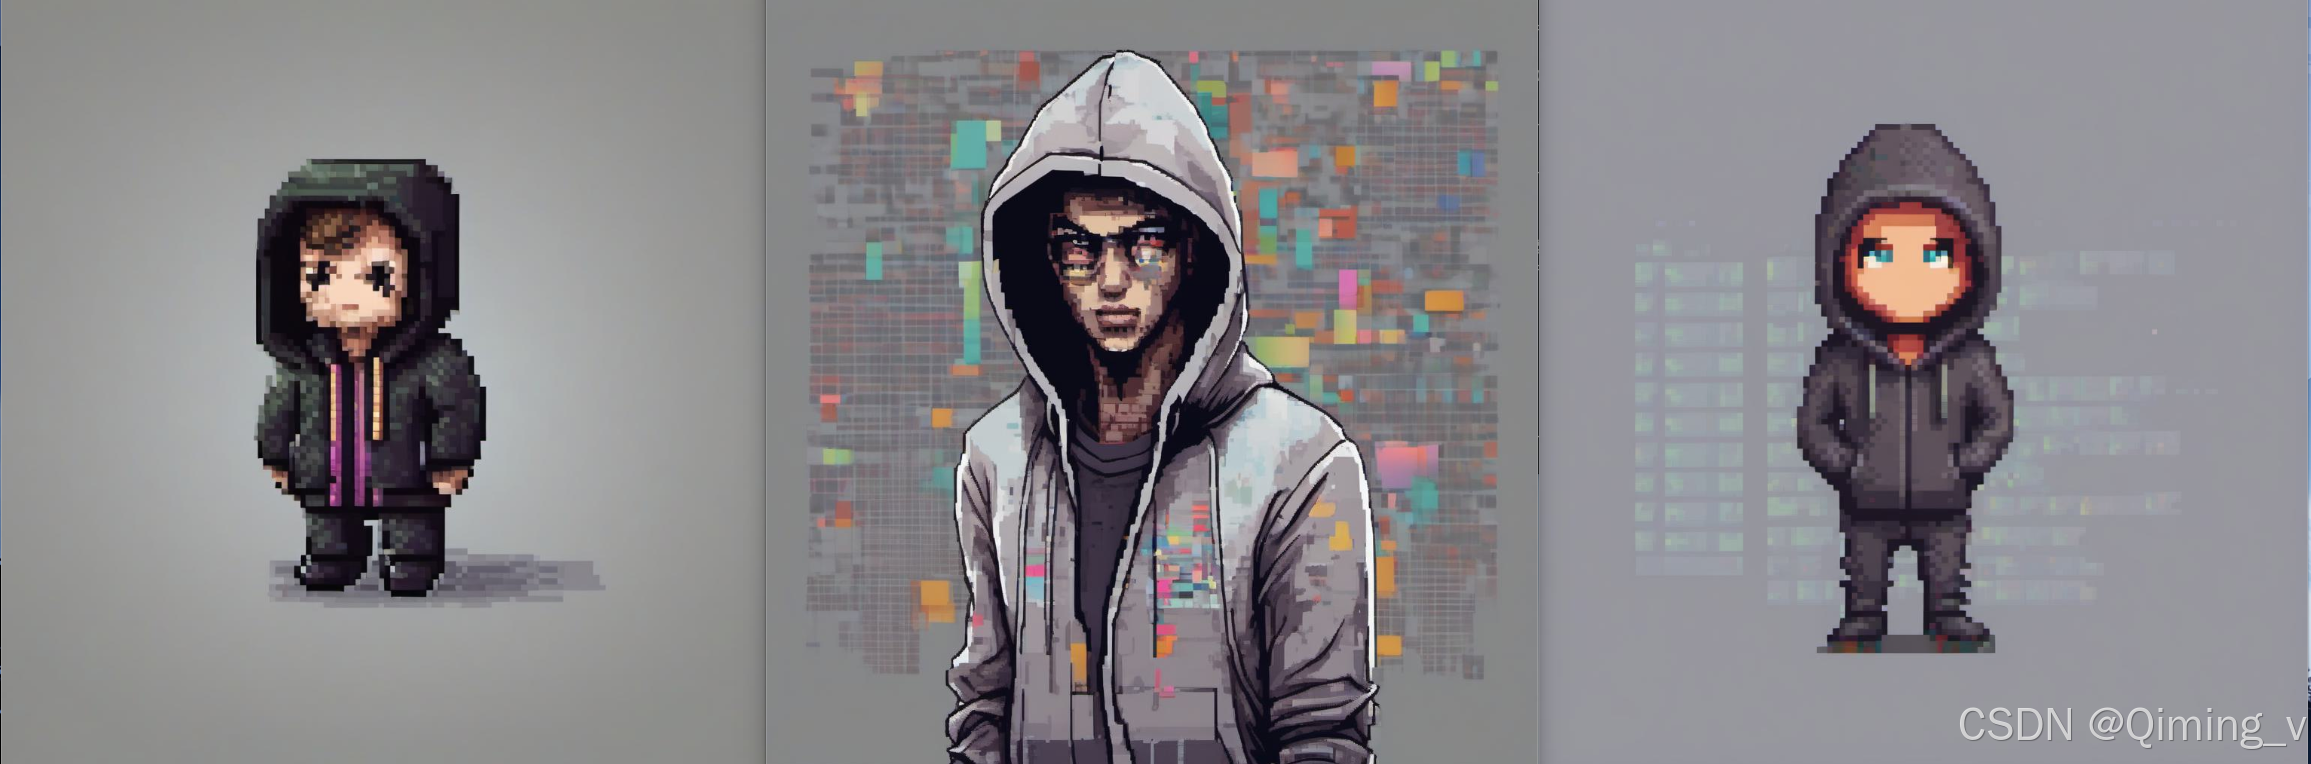
细节控制
更准确的控制LoRA的影响强度。unet一般包括down、mid、up,不同的部分对图片的细节、纹理、风格等影响不同。
pipe.enable_lora()  # enable lora again, after we disabled it above
prompt = "toy_face of a hacker with a hoodie, pixel art"
adapter_weight_scales = { "unet": { "down": 1, "mid": 0, "up": 0} }
pipe.set_adapters("pixel", adapter_weight_scales)
image = pipe(prompt, num_inference_steps=30, generator=torch.manual_seed(0)).images[0]
image
从左到右分别对应{ “down”: 1, “mid”: 0, “up”: 0},{ “down”: 0, “mid”: 1, “up”: 0},{ “down”: 0, “mid”: 0, “up”: 1}
更细粒度的控制。要根据具体的模型结构,不同的模型结构不同。
adapter_weight_scales_toy = 0.5
adapter_weight_scales_pixel = {
    "unet": {
        "down": 0.9,  # all transformers in the down-part will use scale 0.9
        # "mid"  # because, in this example, "mid" is not given, all transformers in the mid part will use the default scale 1.0
        "up": {
            "block_0": 0.6,  # all 3 transformers in the 0th block in the up-part will use scale 0.6
            "block_1": [0.4, 0.8, 1.0],  # the 3 transformers in the 1st block in the up-part will use scales 0.4, 0.8 and 1.0 respectively
        }
    }
}
pipe.set_adapters(["toy", "pixel"], [adapter_weight_scales_toy, adapter_weight_scales_pixel])
image = pipe(prompt, num_inference_steps=30, generator=torch.manual_seed(0)).images[0]
image
常用函数
#不使用
pipe.disable_lora()
#使用
pipe.enable_lora()
#正在使用的
pipe.get_active_adapters()
#列表
pipe.get_list_adapters()
#删除
pipe.delete_adapters("toy")


 2437
2437

 被折叠的 条评论
为什么被折叠?
被折叠的 条评论
为什么被折叠?
 到【灌水乐园】发言


