


c.backward()
print(‘end backward’.center(30, ‘-’))
输出:
--------begin backward--------
b.grad = tensor([0.2000, 0.2000, 0.2000, 0.2000, 0.2000])
a.grad = tensor([0.4000, 0.4000, 0.4000, 0.4000, 0.4000])
---------end backward---------
上述例子中我们使用`hook`对`tensor`的`grad`进行访问,没有使用`retain_grad`对信息进行保存。输出结果表明,`hook`执行的时间是在`backward`之间,从后往前依次执行,首先输出`b`的`grad`,然后输出`a`的`grad`,最后结束`backward`过程。


上述过程都没有对梯度信息进行改变,其实,如果`hook`函数的有返回值或者将输入参数`grad`原地进行修改的话,那么之后的梯度信息都会被改变,这一机制简直就是为梯度裁剪量身定制的。


如下例:
import torch
def hook(grad):
torch.clamp_(grad, min=0.5, max=0.2)
print(grad)
a = torch.ones(5).requires_grad_()
b = 2 * a
a.register_hook(hook)
b.register_hook(hook)
c = b.mean()
print(‘begin backward’.center(30, ‘-’))
c.backward()
print(‘end backward’.center(30, ‘-’))
输出:
--------begin backward--------
tensor([0.2000, 0.2000, 0.2000, 0.2000, 0.2000])
tensor([0.2000, 0.2000, 0.2000, 0.2000, 0.2000])
---------end backward---------
对比上一例可以发现`a`的梯度从`0.4`被裁剪到了`0.2`,这里使用的`clamp_`是直接原地修改,所以不需要返回值。


也可将上述例子中的`hook`更改为有返回值的函数,效果相同。


部分例子参考:https://zhuanlan.zhihu.com/p/662760483


#### 2. torch.nn.Module.register\_forward\_hook(hook\_func)


除了`register_hook`是对`tensor`操作的`hook`之外,其他的`hook`都是对`module`进行操作的,这里的`module`包括各种`layer`,例如:`Conv2d`, `Linear`等


`register_forward_hook`在执行`module`的`forward`函数之后执行,其函数签名为
def hook(module, inputs, outpus):
pass
>
> 注意:这里的`module`是当前被注册的`module`,`inputs`是执行`forward`之前的`inputs`,而`outputs`则是执行`forward`之后的`outputs` ,这么设计可能是为了方便读取执行之前的`intputs`。
>
>
>


如下例所示:
import torch
import torch.nn as nn
定义一个简单的模块
class MyModule(nn.Module):
def forward(self, x):
print(‘forward’.center(20, ‘-’))
return x * 2 # 假设这个模块简单地将输入乘以2
创建模块实例
module = MyModule()
定义一个hook函数,它接受输入和输出作为参数
def my_hook(module, input, output):
print(f"Input: {input}“)
print(f"Output: {output}”)
注册hook函数
module.register_forward_hook(my_hook)
创建一个输入张量
input_tensor = torch.tensor([1.0, 2.0, 3.0], requires_grad=True)
执行前向传播,这将触发hook函数的调用
output_tensor = module(input_tensor)
输出:
------forward-------
Input: (tensor([1., 2., 3.], requires_grad=True),)
Output: tensor([2., 4., 6.], grad_fn=)
从中我们可以看到,这里的`Input`还是执行`forward`之前的`input`,但是`outputs`是执行`forward`之后的`outputs`,从打印的`------forward-------`位置可以知道,这里的`forward`函数是在执行之后调用的`hook`。


我们可以使用`hook`实现`torchsummary`类似的功能,查看`resnet18`的各个层的输出情况,如下例
import torch
from torch import nn
from torchvision.models import resnet18
class Visualize(nn.Module):
def __init__(self, model) -> None:
super().init()
self.model = model
    # Register a hook for each layer
    for name, layer in self.model.named_children():
        # add a property dynamically
        layer.name = name
        # module.name is the newly added property
        layer.register_forward_hook(lambda module, inputs, outputs:
            print(f"{module.name}".ljust(10), '-->', f'{outputs.shape}'))

def forward(self, x):
    return self.model(x)
model = resnet18()
inputs = torch.randn(1, 3, 224, 224)
vis = Visualize(model)
output = vis(inputs)
输出:
conv1 --> torch.Size([1, 64, 112, 112])
bn1 --> torch.Size([1, 64, 112, 112])
relu --> torch.Size([1, 64, 112, 112])
maxpool --> torch.Size([1, 64, 56, 56])
layer1 --> torch.Size([1, 64, 56, 56])
layer2 --> torch.Size([1, 128, 28, 28])
layer3 --> torch.Size([1, 256, 14, 14])
layer4 --> torch.Size([1, 512, 7, 7])
avgpool --> torch.Size([1, 512, 1, 1])
fc --> torch.Size([1, 1000])
如果使用使用`apply`对`hook`进行注册,`apply`会递归地将model里面的所有layer都进行相同的操作,于是结果就和`for name, layer in self.model.named_modules()`类似。
import torch
from torch import nn
from torchvision.models import resnet18
def hook(module, inputs, outputs):
print(module.class.name.ljust(10), end=‘’)
print(outputs.shape)
def register(module):
if isinstance(module, nn.Conv2d):
module.register_forward_hook(hook)
model = resnet18()
inputs = torch.randn(1, 3, 224, 224)
这里的apply会递归地把所有层都遍历,因此register_forward_hook注册到的层
是所有的Conv2d,包括子层,子层中的子层…
model.apply(register)
outputs = model(inputs)
输出为:
Conv2d torch.Size([1, 64, 112, 112])
Conv2d torch.Size([1, 64, 56, 56])
Conv2d torch.Size([1, 64, 56, 56])
Conv2d torch.Size([1, 64, 56, 56])
Conv2d torch.Size([1, 64, 56, 56])
Conv2d torch.Size([1, 128, 28, 28])
Conv2d torch.Size([1, 128, 28, 28])
Conv2d torch.Size([1, 128, 28, 28])
Conv2d torch.Size([1, 128, 28, 28])
Conv2d torch.Size([1, 128, 28, 28])
Conv2d torch.Size([1, 256, 14, 14])
Conv2d torch.Size([1, 256, 14, 14])
Conv2d torch.Size([1, 256, 14, 14])
Conv2d torch.Size([1, 256, 14, 14])
Conv2d torch.Size([1, 256, 14, 14])
Conv2d torch.Size([1, 512, 7, 7])
Conv2d torch.Size([1, 512, 7, 7])
Conv2d torch.Size([1, 512, 7, 7])
Conv2d torch.Size([1, 512, 7, 7])
Conv2d torch.Size([1, 512, 7, 7])
`apply`将所有的`Conv2d`都注册了,所以输出了所有的`Conv2d`的输出`shape`。


#### 3.torch.nn.Module.register\_backward\_hook


在了解了前一个`hook`的用法之后,这个`hook`的作用也就不言而喻了,在`backward`之后执行,这里的`hook`函数签名如下
def hook_fn(module, grad_in, grad_out):
pass
输入参数包括三个,分别是`module`,`grad_in`和`grad_out`,其中,`grad_in`和`grad_out`分别指代当前模块的输入和输出的梯度信息,若`grad_in`和`grad_out`包括多个输入输出,则`grad_in`和`grad_out`以元组形式呈现。


现在使用会`register_backward_hook`爆出警告:
module.py:1352: UserWarning: Using a non-full backward hook when the forward contains multiple autograd Nodes is deprecated and will be removed in future versions. This hook will be missing some grad_input. Please use register_full_backward_hook to get the documented behavior.
warnings.warn("Using a non-full backward hook when the forward contains multiple autograd Nodes "
解决办法就是使用新的`hook`函数`register_full_backward_hook`,新的`hook`函数功能更加强大,不仅仅包括模块的输入输出梯度信息,还包括内部的一些其他变量的梯度信息,但是`register_backward_hook`和`register_full_backward_hook`两者之间的兼容性并不是很完美。


示例
import torch
from torch import nn
from torchvision.models import resnet18
def hook_fn(module, grad_in, grad_out):
# 当前module的输入和输出梯度
# 若module有多个输入,则grad_in为一个元组
# y = wx+b
print(module.class.name)
print(“------------Input Grad------------”)
# 容错处理,部分元组中的变量会是None
for grad in grad_in:
    try:
        print(grad.shape)
    except AttributeError:
        print ("None found for Gradient")

print("------------Output Grad------------")
for grad in grad_out:
    try:
        print(grad.shape)
    except AttributeError:
        print ("None found for Gradient")
print("\n")
net = resnet18()
for name, layer in net.named_children():
# 每一个大的子层都注册一个勾子函数
layer.register_backward_hook(hook_fn)
为了能够执行backward,构建一些虚拟的输入输出
dummy_inputs = torch.randn(10, 3, 224, 224)
dummy_labels = torch.randint(0, 1001, (10, ))
loss_fn = nn.CrossEntropyLoss()
y_hat = net(dummy_inputs)
loss = loss_fn(y_hat, dummy_labels)
loss.backward()
输出:
module.py:1352: UserWarning: Using a non-full backward hook when the forward contains multiple autograd Nodes is deprecated and will be removed in future versions. This hook will be missing some grad_input. Please use register_full_backward_hook to get the documented behavior.
warnings.warn("Using a non-full backward hook when the forward contains multiple autograd Nodes "
Linear
------------Input Grad------------
torch.Size([1000])
torch.Size([10, 512])
torch.Size([512, 1000])
------------Output Grad------------
torch.Size([10, 1000])
AdaptiveAvgPool2d
------------Input Grad------------
torch.Size([10, 512, 7, 7])
------------Output Grad------------
torch.Size([10, 512, 1, 1])
Sequential
------------Input Grad------------
torch.Size([10, 512, 7, 7])
------------Output Grad------------
torch.Size([10, 512, 7, 7])
Sequential
------------Input Grad------------
torch.Size([10, 256, 14, 14])
------------Output Grad------------
torch.Size([10, 256, 14, 14])
Sequential
------------Input Grad------------
torch.Size([10, 128, 28, 28])
------------Output Grad------------
torch.Size([10, 128, 28, 28])
Sequential
------------Input Grad------------
torch.Size([10, 64, 56, 56])
------------Output Grad------------
torch.Size([10, 64, 56, 56])
MaxPool2d
------------Input Grad------------
torch.Size([10, 64, 112, 112])
------------Output Grad------------
torch.Size([10, 64, 56, 56])
ReLU
------------Input Grad------------
torch.Size([10, 64, 112, 112])
------------Output Grad------------
torch.Size([10, 64, 112, 112])
BatchNorm2d
------------Input Grad------------
torch.Size([10, 64, 112, 112])
torch.Size([64])
torch.Size([64])
------------Output Grad------------
torch.Size([10, 64, 112, 112])
Conv2d
------------Input Grad------------
None found for Gradient
torch.Size([64, 3, 7, 7])
None found for Gradient
------------Output Grad------------
torch.Size([10, 64, 112, 112])
最上面是警告信息可以忽略,然后根据backward的路径,从后往前进行返回。


使用如下代码查看resnet18的层级情况:
for name, layer in net.named_children():
print(name)
输出:
conv1
bn1
relu
maxpool
layer1
layer2
layer3
layer4
avgpool
fc
可以看到这里的10个层对应上面hook函数返回的10个层。


综合以上两个部分,用一个示例演示同时构建前向和后向勾子函数:
import torch
import torch.nn as nn
前向钩子示例
def forward_hook(module, input, output):
print(“{} forward hook:”.format(module.class.name))
print(“Input:”, input)
print(“Output:”, output)
print(“”)
反向钩子示例
def backward_hook(module, grad_input, grad_output):
print(“{} backward hook:”.format(module.class.name))
print(“Gradient input:”)
for item in grad_input:
if item is not None:
print(item.shape)
print(“Gradient output:”)
for item in grad_output:
if item is not None:
print(item.shape)
print(“”)
示例模型
class SimpleModel(nn.Module):
def __init__(self):
super(SimpleModel, self).init()
self.fc1 = nn.Linear(10, 20)
self.fc2 = nn.Linear(20, 1)
def forward(self, x):
    x = torch.relu(self.fc1(x))
    x = self.fc2(x)
自我介绍一下,小编13年上海交大毕业,曾经在小公司待过,也去过华为、OPPO等大厂,18年进入阿里一直到现在。
深知大多数Python工程师,想要提升技能,往往是自己摸索成长或者是报班学习,但对于培训机构动则几千的学费,着实压力不小。自己不成体系的自学效果低效又漫长,而且极易碰到天花板技术停滞不前!
因此收集整理了一份《2024年Python开发全套学习资料》,初衷也很简单,就是希望能够帮助到想自学提升又不知道该从何学起的朋友,同时减轻大家的负担。


既有适合小白学习的零基础资料,也有适合3年以上经验的小伙伴深入学习提升的进阶课程,基本涵盖了95%以上前端开发知识点,真正体系化!
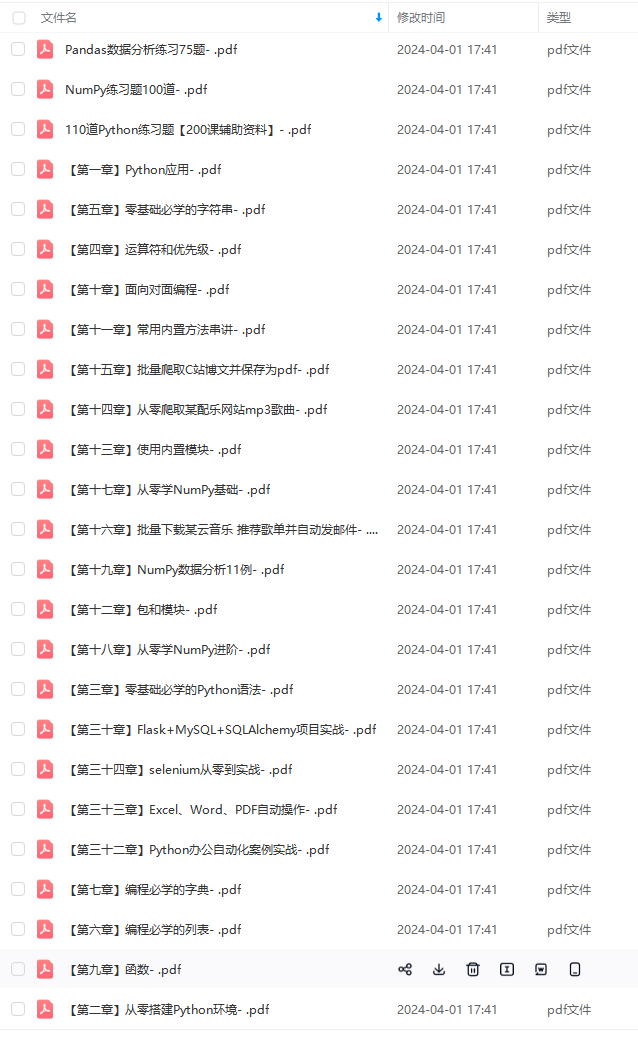
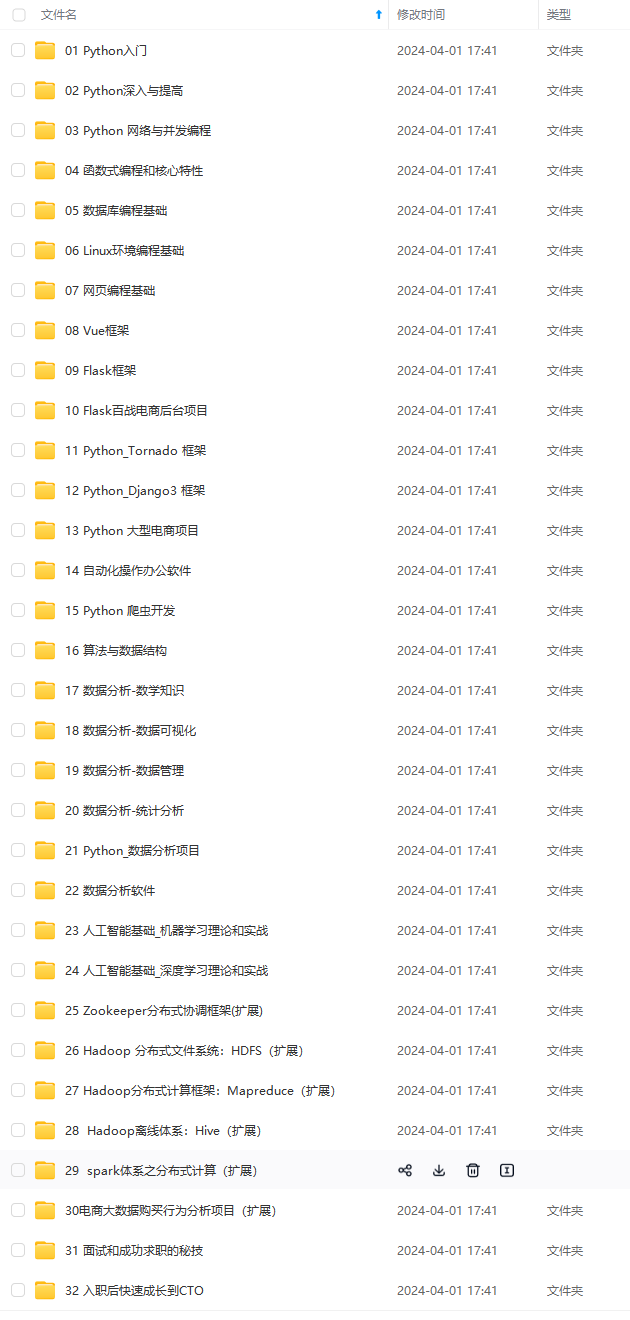
由于文件比较大,这里只是将部分目录大纲截图出来,每个节点里面都包含大厂面经、学习笔记、源码讲义、实战项目、讲解视频,并且后续会持续更新
如果你觉得这些内容对你有帮助,可以扫码获取!!!(备注:Python)
96333562)]
[外链图片转存中…(img-WJP17NQQ-1713696333564)]
[外链图片转存中…(img-hUPFNBKG-1713696333564)]
[外链图片转存中…(img-PehZFvjR-1713696333565)]
既有适合小白学习的零基础资料,也有适合3年以上经验的小伙伴深入学习提升的进阶课程,基本涵盖了95%以上前端开发知识点,真正体系化!
由于文件比较大,这里只是将部分目录大纲截图出来,每个节点里面都包含大厂面经、学习笔记、源码讲义、实战项目、讲解视频,并且后续会持续更新
如果你觉得这些内容对你有帮助,可以扫码获取!!!(备注:Python)


 598
598


 被折叠的 条评论
为什么被折叠?
被折叠的 条评论
为什么被折叠?
 到【灌水乐园】发言


