}
],
“buffers”: [
{
“byteLength”: 840,
“uri”: “BoxTextured0.bin”
}
]
}
下面我们来打造一个小型3D引擎来渲染它,其中的类名和作用保持和glTF中的一致,主要有Engine、Scene、Node、Mesh、Primitive、Material。
glTF模型解析
glTF模型的解析有一些开源库可以使用,这里我们使用tinygltf这个库,这个库挺好用的,很小巧,接入简单,我们先来看一下解析代码:
void Engine::loadGLTF(const std::string &path) {
tinygltf::TinyGLTF loader;
std::string err;
std::string warn;
loader.LoadASCIIFromFile(&model_, &err, &warn, path);
}
解析后会得到一个tinygltf::Model,里面的成员变量的名字和层级与glTF里的保持一致,用起来非常友好,并且还包括了bin数据读取、图片数据读取,而不仅仅是字段的解析,连数据都帮你读好了。
数据加载
有了model之后,我们来根据这个model里的数据创建相应的GL资源备用。
我们先来看buffer:
“buffers”: [
{
“byteLength”: 840,
“uri”: “BoxTextured0.bin”
}
]
在这个立方体模型中,只有一个buffer,我们来把它加载到GL buffer中去,也就是常说的vbo:
std::shared_ptr<std::vector>
Engine::buildBuffers(const tinygltf::Model &model) {
auto buffers = std::make_shared<std::vector>(model.buffers.size(), 0);
GL_CHECK(glGenBuffers(buffers->size(), buffers->data()));
for (auto i = 0; i < model.buffers.size(); ++i) {
GL_CHECK(glBindBuffer(GL_ARRAY_BUFFER, buffers->at(i)));
GL_CHECK(glBufferData(GL_ARRAY_BUFFER, model.buffers[i].data.size(),
model.buffers[i].data.data(), GL_STATIC_DRAW));
}
GL_CHECK(glBindBuffer(GL_ARRAY_BUFFER, 0));
return buffers;
}
这里vbo里装的就是这个glTF模型所有的数值数据了,包括顶点、纹理坐标、法向量、索引等都在这了。
接下来我们来加载纹理:
std::shared_ptr<std::vector>
Engine::buildTextures(const tinygltf::Model &model) {
auto textures = std::make_shared<std::vector>(model.textures.size());
GL_CHECK(glGenTextures(textures->size(), textures->data()));
for (auto i = 0; i < textures->size(); ++i) {
GL_CHECK(glBindTexture(GL_TEXTURE_2D, textures->at(i)));
const auto &texture = model.textures[i];
const auto &image = model.images[texture.source];
auto minFilter =
texture.sampler >= 0 && model.samplers[texture.sampler].minFilter != -1
? model.samplers[texture.sampler].minFilter
: GL_LINEAR;
auto magFilter =
texture.sampler >= 0 && model.samplers[texture.sampler].magFilter != -1
? model.samplers[texture.sampler].magFilter
: GL_LINEAR;
auto wrapS = texture.sampler >= 0 ? model.samplers[texture.sampler].wrapS
: GL_REPEAT;
auto wrapT = texture.sampler >= 0 ? model.samplers[texture.sampler].wrapT
: GL_REPEAT;
GL_CHECK(glTexImage2D(GL_TEXTURE_2D, 0, GL_RGBA, image.width, image.height,
0, GL_RGBA, image.pixel_type, image.image.data()));
GL_CHECK(glTexParameteri(GL_TEXTURE_2D, GL_TEXTURE_MIN_FILTER, minFilter));
GL_CHECK(glTexParameteri(GL_TEXTURE_2D, GL_TEXTURE_MAG_FILTER, magFilter));
GL_CHECK(glTexParameteri(GL_TEXTURE_2D, GL_TEXTURE_WRAP_S, wrapS));
GL_CHECK(glTexParameteri(GL_TEXTURE_2D, GL_TEXTURE_WRAP_T, wrapT));
if (minFilter == GL_NEAREST_MIPMAP_NEAREST ||
minFilter == GL_NEAREST_MIPMAP_LINEAR ||
minFilter == GL_LINEAR_MIPMAP_NEAREST ||
minFilter == GL_LINEAR_MIPMAP_LINEAR) {
GL_CHECK(glGenerateMipmap(GL_TEXTURE_2D));
}
}
GL_CHECK(glBindTexture(GL_TEXTURE_2D, 0));
return textures;
}
都是常规操作,没太多可说的,主要是把数据load到纹理上,并设置filter和wrap方式,这里需要注意的是glTF里有些字段是可以不配的,并且不配的时候tinygltf这个库也不会给你生成默认值,比如minFilter:
| Type | Description | Required | |
|---|---|---|---|
| magFilter | integer | Magnification filter. | No |
| minFilter | integer | Minification filter. | No |
| wrapS | integer | s wrapping mode. | No, default: 10497 |
| wrapT | integer | t wrapping mode. | No, default: 10497 |
tinygltf库注释:
// glTF 2.0 spec does not define default value for minFilter and
// magFilter. Set -1 in TinyGLTF(issue #186)
int minFilter =
-1; // optional. -1 = no filter defined. [“NEAREST”, “LINEAR”,
// “NEAREST_MIPMAP_LINEAR”, “LINEAR_MIPMAP_NEAREST”,
// “NEAREST_MIPMAP_LINEAR”, “LINEAR_MIPMAP_LINEAR”]
所以需要处理一下不配时候的情况,自己设置好默认值,否则可能会导致纹理渲染不出来。
至此我们的数值数据以及纹理数据就加载好了。
场景创建
下面我们来创建Scene,Scene里面有会包含Node,Node里又有Mesh,Mesh里有可以有好几个部分,每个部分是一个Primitive,这个层次关系是glTF规范里约定的。
创建所有场景:
void Engine::buildScenes() {
auto buffers = buildBuffers(model_);
auto textures = buildTextures(model_);
scenes_.resize(model_.scenes.size());
for (auto i = 0; i < model_.scenes.size(); ++i) {
scenes_[i] = buildScene(model_, i, buffers, textures);
}
}
std::shared_ptr
Engine::buildScene(const tinygltf::Model &model, unsigned int sceneIndex,
const std::shared_ptr<std::vector> &buffers,
const std::shared_ptr<std::vector> &textures) {
auto scene = std::make_sharedtriangle::Scene();
for (auto i = 0; i < model.scenes[sceneIndex].nodes.size(); ++i) {
scene->addNode(
buildNode(model, model.scenes[sceneIndex].nodes[i], buffers, textures));
}
return scene;
}
节点创建:
std::shared_ptr
Engine::buildNode(const tinygltf::Model &model, unsigned int nodeIndex,
const std::shared_ptr<std::vector> &buffers,
const std::shared_ptr<std::vector> &textures,
std::shared_ptr parent) {
auto node = std::make_shared(parent);
auto nodeMatrix = model.nodes[nodeIndex].matrix;
glm::mat4 matrix(1.0f);
if (nodeMatrix.size() == 16) {
matrix[0].x = nodeMatrix[0], matrix[0].y = nodeMatrix[1],
matrix[0].z = nodeMatrix[2], matrix[0].w = nodeMatrix[3];
matrix[1].x = nodeMatrix[4], matrix[1].y = nodeMatrix[5],
matrix[1].z = nodeMatrix[6], matrix[1].w = nodeMatrix[7];
matrix[2].x = nodeMatrix[8], matrix[2].y = nodeMatrix[9],
matrix[2].z = nodeMatrix[10], matrix[2].w = nodeMatrix[11];
matrix[3].x = nodeMatrix[12], matrix[3].y = nodeMatrix[13],
matrix[3].z = nodeMatrix[14], matrix[3].w = nodeMatrix[15];
} else {
if (model.nodes[nodeIndex].translation.size() == 3) {
glm::translate(matrix, glm::vec3(model.nodes[nodeIndex].translation[0],
model.nodes[nodeIndex].translation[1],
model.nodes[nodeIndex].translation[2]));
}
if (model.nodes[nodeIndex].rotation.size() == 4) {
matrix *= glm::mat4_cast(glm::quat(model.nodes[nodeIndex].rotation[3],
model.nodes[nodeIndex].rotation[0],
model.nodes[nodeIndex].rotation[1],
model.nodes[nodeIndex].rotation[2]));
}
if (model.nodes[nodeIndex].scale.size() == 3) {
glm::scale(matrix, glm::vec3(model.nodes[nodeIndex].scale[0],
model.nodes[nodeIndex].scale[1],
model.nodes[nodeIndex].scale[2]));
}
}
node->setMatrix(matrix);
if (model.nodes[nodeIndex].mesh >= 0) {
node->setMesh(
buildMesh(model, model.nodes[nodeIndex].mesh, buffers, textures));
}
for (auto &childNodeIndex : model.nodes[nodeIndex].children) {
node->addChild(buildNode(model, childNodeIndex, buffers, textures, node));
}
return node;
}
注意节点的变换即可以用matrix的方式给出,也可以用translation、 rotation、scale的方式给出:
Any node can define a local space transformation either by supplying a matrix property, or any of translation, rotation, and scale properties (also known as TRS properties). translation and scale are FLOAT_VEC3 values in the local coordinate system. rotation is a FLOAT_VEC4 unit quaternion value, (x, y, z, w), in the local coordinate system.
另外注意当以translation、 rotation、scale方式给出时,变换顺序是TRS,在shader里矩阵是左乘顶点,也就是说先做缩放变换,再做旋转变换,最后做平移变换。
节点里可以包含mesh、material,也可以是空节点,注意判断是否配置了。接着再对子节点继续递归创建。
下面来看Mesh的创建:
我们可以看到,Mesh是由Primitive组成的:
“meshes”: [
{
“primitives”: [
{
“attributes”: {
“NORMAL”: 1,
“POSITION”: 2,
“TEXCOORD_0”: 3
},
“indices”: 0,
“mode”: 4,
“material”: 0
}
],
“name”: “Mesh”
}
]
这个Primitive是什么东西呢?我们来看glTF文档的解释:
In glTF, meshes are defined as arrays of primitives. Primitives correspond to the data required for GPU draw calls. Primitives specify one or more attributes, corresponding to the vertex attributes used in the draw calls. Indexed primitives also define an indices property. Attributes and indices are defined as references to accessors containing corresponding data. Each primitive also specifies a material and a primitive type that corresponds to the GPU primitive type (e.g., triangle set).
可以把它认为是Mesh的一个组成部分,就是说一个大Mesh可以再细节成几个子部分,每个部分可以做为一次draw call的单位,当然也可以不分,像这个模型里就没有分,它只有一个Primitive。Primitive里描述了attribute的构成,以及通过indices来指定这些attribute的来源是什么,这个indices就是accessor的索引。
std::shared_ptr
Engine::buildMesh(const tinygltf::Model &model, unsigned int meshIndex,
const std::shared_ptr<std::vector> &buffers,
const std::shared_ptr<std::vector> &textures) {
auto meshPrimitives =
std::make_shared<std::vector<std::shared_ptr>>();
const auto &primitives = model.meshes[meshIndex].primitives;
auto vaos = std::make_shared<std::vector>(primitives.size());
GL_CHECK(glGenVertexArrays(vaos->size(), vaos->data()));
for (auto i = 0; i < primitives.size(); ++i) {
GL_CHECK(glBindVertexArray(vaos->at(i)));
meshPrimitives->push_back(
buildPrimitive(model, meshIndex, i, vaos, buffers, textures));
}
GL_CHECK(glBindVertexArray(0));
return std::make_shared(meshPrimitives);
}
std::shared_ptr
Engine::buildPrimitive(const tinygltf::Model &model, unsigned int meshIndex,
unsigned int primitiveIndex,
const std::shared_ptr<std::vector> &vaos,
const std::shared_ptr<std::vector> &buffers,
const std::shared_ptr<std::vector> &textures) {
const auto &primitive = model.meshes[meshIndex].primitives[primitiveIndex];
for (auto &attribute : preDefinedAttributes) {
const auto &attributeName = attribute.first;
const auto &attributeLocation = attribute.second;
const auto iterator = primitive.attributes.find(attributeName);
if (iterator == primitive.attributes.end()) {
continue;
}
const auto &accessor = model.accessors[(*iterator).second];
const auto &bufferView = model.bufferViews[accessor.bufferView];
const auto bufferIdx = bufferView.buffer;
GL_CHECK(glEnableVertexAttribArray(attributeLocation));
GL_CHECK(glBindBuffer(GL_ARRAY_BUFFER, buffers->at(bufferIdx)));
const auto byteOffset = accessor.byteOffset + bufferView.byteOffset;
GL_CHECK(glVertexAttribPointer(
attributeLocation, accessor.type, accessor.componentType, GL_FALSE,
bufferView.byteStride, (const GLvoid *)byteOffset));
}
std::shared_ptr meshPrimitive;
自我介绍一下,小编13年上海交大毕业,曾经在小公司待过,也去过华为、OPPO等大厂,18年进入阿里一直到现在。
深知大多数Android工程师,想要提升技能,往往是自己摸索成长或者是报班学习,但对于培训机构动则几千的学费,着实压力不小。自己不成体系的自学效果低效又漫长,而且极易碰到天花板技术停滞不前!
因此收集整理了一份《2024年Android移动开发全套学习资料》,初衷也很简单,就是希望能够帮助到想自学提升又不知道该从何学起的朋友,同时减轻大家的负担。

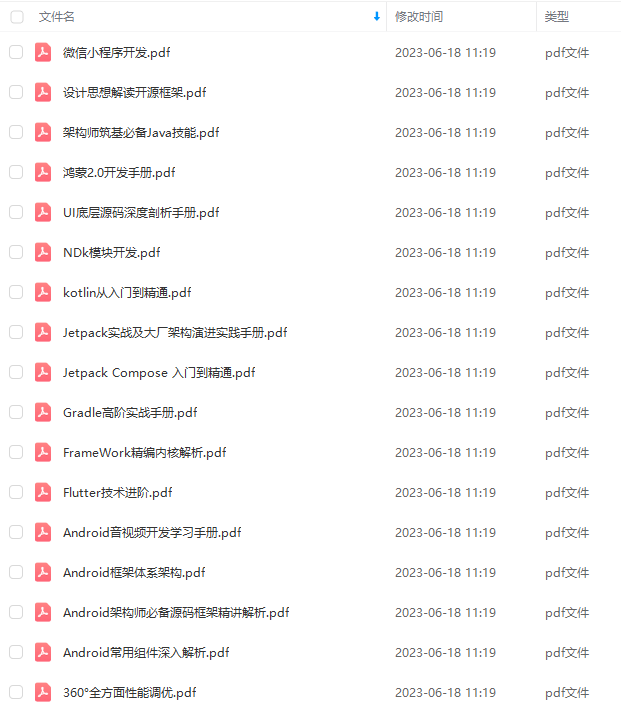
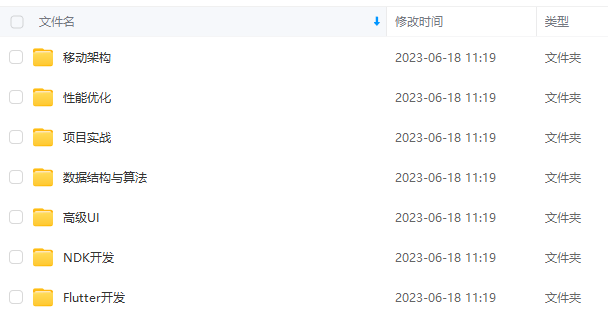
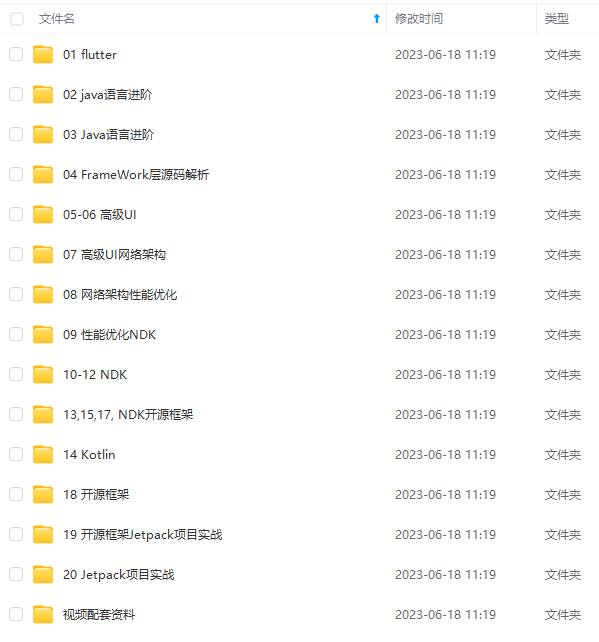
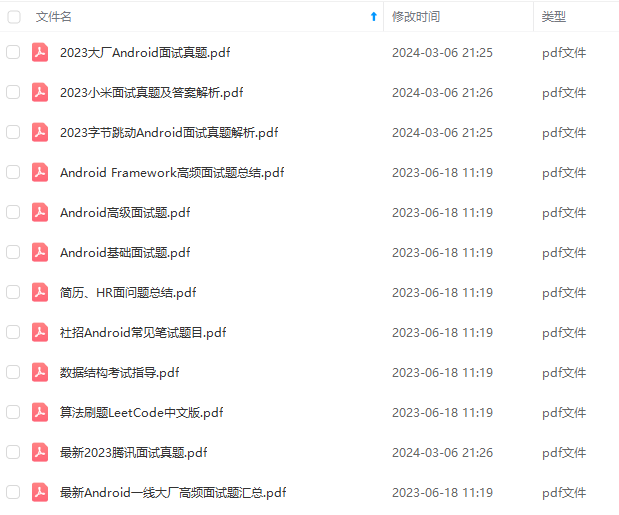
既有适合小白学习的零基础资料,也有适合3年以上经验的小伙伴深入学习提升的进阶课程,基本涵盖了95%以上Android开发知识点,真正体系化!
由于文件比较大,这里只是将部分目录大纲截图出来,每个节点里面都包含大厂面经、学习笔记、源码讲义、实战项目、讲解视频,并且后续会持续更新
如果你觉得这些内容对你有帮助,可以添加V获取:vip204888 (备注Android)

Android开发除了flutter还有什么是必须掌握的吗?
相信大多数从事Android开发的朋友们越来越发现,找工作越来越难了,面试的要求越来越高了
除了基础扎实的java知识,数据结构算法,设计模式还要求会底层源码,NDK技术,性能调优,还有会些小程序和跨平台,比如说flutter,以思维脑图的方式展示在下图;

一个人可以走的很快,但一群人才能走的更远。如果你从事以下工作或对以下感兴趣,欢迎戳这里加入程序员的圈子,让我们一起学习成长!
AI人工智能、Android移动开发、AIGC大模型、C C#、Go语言、Java、Linux运维、云计算、MySQL、PMP、网络安全、Python爬虫、UE5、UI设计、Unity3D、Web前端开发、产品经理、车载开发、大数据、鸿蒙、计算机网络、嵌入式物联网、软件测试、数据结构与算法、音视频开发、Flutter、IOS开发、PHP开发、.NET、安卓逆向、云计算
)收录**
一个人可以走的很快,但一群人才能走的更远。如果你从事以下工作或对以下感兴趣,欢迎戳这里加入程序员的圈子,让我们一起学习成长!
AI人工智能、Android移动开发、AIGC大模型、C C#、Go语言、Java、Linux运维、云计算、MySQL、PMP、网络安全、Python爬虫、UE5、UI设计、Unity3D、Web前端开发、产品经理、车载开发、大数据、鸿蒙、计算机网络、嵌入式物联网、软件测试、数据结构与算法、音视频开发、Flutter、IOS开发、PHP开发、.NET、安卓逆向、云计算


 4026
4026


 被折叠的 条评论
为什么被折叠?


