


results = model.val()
Perform object detection on an image using the model
使用模型对图像进行目标检测
results = model(‘https://ultralytics.com/images/bus.jpg’)
Export the model to ONNX format
将模型导出为ONNX格式
success = model.export(format=‘onnx’)
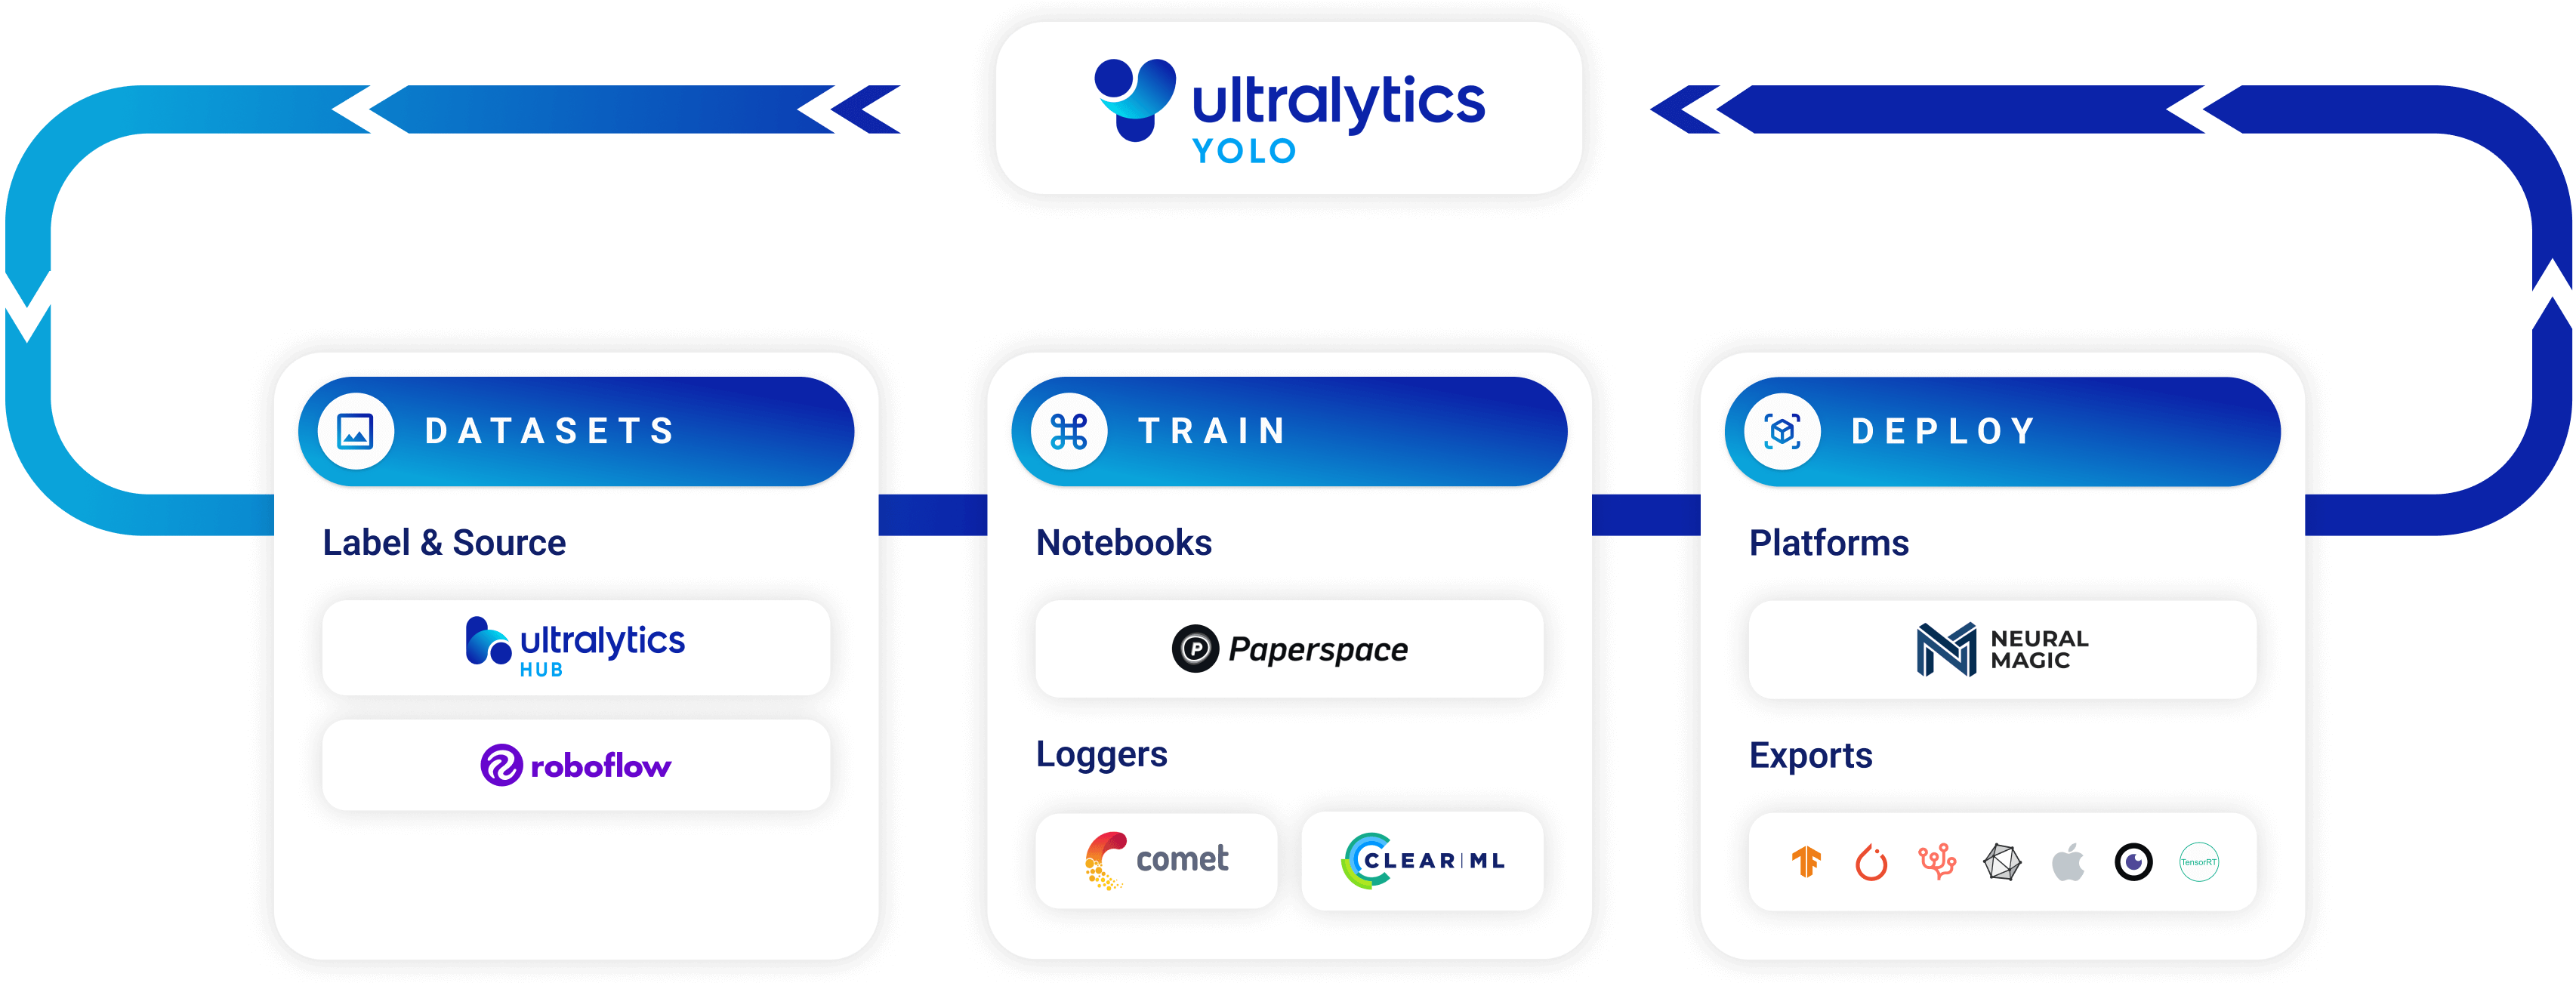
## 二、图像预测

在机器学习和计算机视觉领域,从可视数据中找出意义的过程被称为 "推理 "或 “预测”。
### 预测模式的主要功能
**1.返回一个包含 stream=False**
from ultralytics import YOLO
Load a model
加载模型
model = YOLO(‘yolov8n.pt’) # pretrained YOLOv8n model
Run batched inference on a list of images
在图像列表上运行批处理推理
results = model([‘im1.jpg’, ‘im2.jpg’]) # return a list of Results objects
Process results list
处理结果列表
for result in results:
boxes = result.boxes # Boxes object for bounding box outputs
# 用于边界框输出的边界框对象
masks = result.masks # Masks object for segmentation masks outputs
# 用于分割掩模输出的掩模对象
keypoints = result.keypoints # Keypoints object for pose outputs
# 用于姿势输出的关键点对象
probs = result.probs # Probs object for classification outputs
# 用于分类输出的概率对象
result.show() # display to screen
# 显示到屏幕
result.save(filename=‘result.jpg’) # save to disk
# 保存到磁盘
**2.返回一个带有 stream=True**
from ultralytics import YOLO
Load a model
model = YOLO(‘yolov8n.pt’) # pretrained YOLOv8n model
加载一个模型:使用预训练的YOLOv8n模型
Run batched inference on a list of images
results = model([‘im1.jpg’, ‘im2.jpg’], stream=True) # return a generator of Results objects
对图像列表进行批量推理:返回一个Results对象的生成器
Process results generator
for result in results:
boxes = result.boxes # Boxes object for bounding box outputs
masks = result.masks # Masks object for segmentation masks outputs
keypoints = result.keypoints # Keypoints object for pose outputs
probs = result.probs # Probs object for classification outputs
result.show() # display to screen
result.save(filename=‘result.jpg’) # save to disk
# 处理结果生成器:boxes表示边界框输出的Boxes对象
# masks表示分割掩模输出的Masks对象
# keypoints表示姿势输出的Keypoints对象
# probs表示分类输出的Probs对象
# 显示到屏幕
# 保存到磁盘
>
> 使用 stream=True 用于处理长视频或大型数据集,以有效管理内存。当 stream=False在这种情况下,所有帧或数据点的结果都会存储在内存中,这可能会迅速累加,并导致大量输入出现内存不足错误。与此形成鲜明对比的是 stream=True 利用生成器,它只将当前帧或数据点的结果保存在内存中,从而大大减少了内存消耗并防止出现内存不足的问题。
>
>
>


### 推理源


**1.图像**:在图像文件上运行推理。
from ultralytics import YOLO
Load a pretrained YOLOv8n model
加载预训练的YOLOv8n模型
model = YOLO(‘yolov8n.pt’)
Define path to the image file
定义图像文件的路径
source = ‘path/to/image.jpg’
Run inference on the source
在源图像上运行推理
results = model(source) # list of Results objects
results 是结果对象的列表
**2.截图**:以屏幕截图的形式对当前屏幕内容进行推理。
from ultralytics import YOLO
Load a pretrained YOLOv8n model
model = YOLO(‘yolov8n.pt’)
Define current screenshot as source
source = ‘screen’
Run inference on the source
results = model(source) # list of Results objects
**3.网址**:通过 URL 对远程托管的图像或视频进行推理。
from ultralytics import YOLO
Load a pretrained YOLOv8n model
model = YOLO(‘yolov8n.pt’)
Define remote image or video URL
source = ‘https://ultralytics.com/images/bus.jpg’
Run inference on the source
results = model(source) # list of Results objects
**4.PIL**:在使用Python Imaging Library (PIL) 打开的图像上运行推理。
from PIL import Image
from ultralytics import YOLO
Load a pretrained YOLOv8n model
model = YOLO(‘yolov8n.pt’)
Open an image using PIL
source = Image.open(‘path/to/image.jpg’)
Run inference on the source
results = model(source) # list of Results objects
**5.OpenCV**:在使用 OpenCV 读取的图像上运行推理。
import cv2
from ultralytics import YOLO
Load a pretrained YOLOv8n model
model = YOLO(‘yolov8n.pt’)
Read an image using OpenCV
source = cv2.imread(‘path/to/image.jpg’)
Run inference on the source
results = model(source) # list of Results objects
**6.numpy:在以 numpy 数组表示的图像上运行推理。**
import numpy as np
from ultralytics import YOLO
Load a pretrained YOLOv8n model
model = YOLO(‘yolov8n.pt’)
Create a random numpy array of HWC shape (640, 640, 3) with values in range [0, 255] and type uint8
创建一个随机的 numpy 数组,其形状为 (640, 640, 3),值在范围 [0, 255] 内,并且数据类型为 uint8
source = np.random.randint(low=0, high=255, size=(640, 640, 3), dtype=‘uint8’)
Run inference on the source
results = model(source) # list of Results objects
结果是 Results 对象的列表
**7.torch**:在以PyTorch tensor(张量) 表示的图像上运行推理。
import torch
from ultralytics import YOLO
Load a pretrained YOLOv8n model
model = YOLO(‘yolov8n.pt’)
Create a random torch tensor of BCHW shape (1, 3, 640, 640) with values in range [0, 1] and type float32
创建一个形状为 (1, 3, 640, 640) 的 BCHW 格式的随机张量,取值范围在 [0, 1],数据类型为 float32
source = torch.rand(1, 3, 640, 640, dtype=torch.float32)
Run inference on the source
results = model(source) # list of Results objects
**8.CSV**:对 CSV 文件中列出的一系列图像、URL、视频和目录进行推理。
import torch
from ultralytics import YOLO
Load a pretrained YOLOv8n model
model = YOLO(‘yolov8n.pt’)
Define a path to a CSV file with images, URLs, videos and directories
source = ‘path/to/file.csv’
Run inference on the source
results = model(source) # list of Results objects
**9.视频**:对视频文件进行推理通过使用 stream=True您可以创建一个结果对象生成器,以减少内存使用量。
from ultralytics import YOLO
Load a pretrained YOLOv8n model
model = YOLO(‘yolov8n.pt’)
Define path to video file
source = ‘path/to/video.mp4’
Run inference on the source
results = model(source, stream=True) # generator of Results objects
Results 对象的生成器
**10.目录**:对目录中的所有图像和视频进行推理。要同时捕获子目录中的图像和视频,请使用 glob 模式,即 path/to/dir/\*\*/\*.
from ultralytics import YOLO
Load a pretrained YOLOv8n model
model = YOLO(‘yolov8n.pt’)
Define path to directory containing images and videos for inference
source = ‘path/to/dir’
Run inference on the source
results = model(source, stream=True) # generator of Results objects
**11.glob全局匹配**:在所有与 glob 表达式匹配的图像和视频上运行推理,该表达式包括 \* 人物。
from ultralytics import YOLO
Load a pretrained YOLOv8n model
model = YOLO(‘yolov8n.pt’)
Define a glob search for all JPG files in a directory
定义一个用于在目录中查找所有 JPG 文件的 glob 搜索
source = ‘path/to/dir/*.jpg’
OR define a recursive glob search for all JPG files including subdirectories
或者定义一个包括子目录在内的递归 glob 搜索,以查找所有 JPG 文件
source = ‘path/to/dir/**/*.jpg’
Run inference on the source
results = model(source, stream=True) # generator of Results objects
**12.YouTube**:对 YouTube 视频进行推理通过使用 stream=True此外,您还可以创建一个结果对象生成器,以减少长视频的内存使用量。
from ultralytics import YOLO
Load a pretrained YOLOv8n model
model = YOLO(‘yolov8n.pt’)
Define source as YouTube video URL
source = ‘https://youtu.be/LNwODJXcvt4’
Run inference on the source
results = model(source, stream=True) # generator of Results objects
**13.Steams流**:使用 RTSP、RTMP、TCP 和 IP 地址协议对远程流媒体源进行推理。如果在一个 \*.streams 文本文件,则将运行批处理推理,即 8 个数据流将以 8 的批处理大小运行,否则单个数据流将以 1 的批处理大小运行。
from ultralytics import YOLO
Load a pretrained YOLOv8n model
model = YOLO(‘yolov8n.pt’)
Single stream with batch-size 1 inference
单个流,批处理大小为1的推理
source = ‘rtsp://example.com/media.mp4’ # RTSP, RTMP, TCP or IP streaming address
RTSP,RTMP,TCP或IP流地址
Multiple streams with batched inference (i.e. batch-size 8 for 8 streams)
多个流,批处理推理(例如,8个流的批处理大小为8)
source = ‘path/to/list.streams’ # *.streams text file with one streaming address per row
*.streams文本文件,每行一个流地址
Run inference on the source
results = model(source, stream=True) # generator of Results objects
### Working with Results
from ultralytics import YOLO
Load a pretrained YOLOv8n model
加载预训练的YOLOv8n模型
model = YOLO(‘yolov8n.pt’)
Run inference on an image
对一张图片进行推理
results = model(‘bus.jpg’) # list of 1 Results object
结果是一个Results对象的列表,其中包含1个对象
results = model([‘bus.jpg’, ‘zidane.jpg’]) # list of 2 Results objects
结果是一个Results对象的列表,其中包含2个对象
**1.Boxes**:oxes 对象可用于索引、操作和将边界框转换为不同格式。
from ultralytics import YOLO
Load a pretrained YOLOv8n model
model = YOLO(‘yolov8n.pt’)
Run inference on an image
results = model(‘bus.jpg’) # results list
View results
for r in results:
print(r.boxes) # print the Boxes object containing the detection bounding boxes
# 打印包含检测边界框的 Boxes 对象
**1.Masks**:Masks 对象可用于索引、操作和将掩码转换为线段。
from ultralytics import YOLO
Load a pretrained YOLOv8n-seg Segment model
model = YOLO(‘yolov8n-seg.pt’) # 加载预训练的 YOLOv8n-seg 分割模型
Run inference on an image
results = model(‘bus.jpg’) # 在一张图片上进行推理,返回结果列表
View results
for r in results:
print(r.masks) # 打印包含检测到的实例掩码的 Masks 对象
**3.Keypoints**:Keypoints 对象可用于索引、处理和归一化坐标。
from ultralytics import YOLO
Load a pretrained YOLOv8n-pose Pose model
加载预训练的 YOLOv8n-pose 姿势模型
model = YOLO(‘yolov8n-pose.pt’)
Run inference on an image
在一张图像上运行推理
results = model(‘bus.jpg’) # results list
View results
查看结果
for r in results:
print(r.keypoints) # print the Keypoints object containing the detected keypoints
# 打印包含检测到的关键点的 Keypoints 对象
**4.Probs**:Probs 对象可用于索引、获取 top1 和 top5 分类指数和分数。
from ultralytics import YOLO
Load a pretrained YOLOv8n-cls Classify model
加载预训练的 YOLOv8n-cls 分类模型
model = YOLO(‘yolov8n-cls.pt’)
Run inference on an image
在一张图片上进行推断
results = model(‘bus.jpg’) # results list
View results
查看结果
for r in results:
print(r.probs) # print the Probs object containing the detected class probabilities
# 打印包含检测到的类别概率的 Probs 对象
**5.OBB**:OBB 对象可用于索引、操作和将定向边界框转换为不同格式。
from ultralytics import YOLO
Load a pretrained YOLOv8n model
model = YOLO(‘yolov8n-obb.pt’)
Run inference on an image
results = model(‘bus.jpg’) # results list
View results
for r in results:
print(r.obb) # print the OBB object containing the oriented detection bounding boxes
# 打印包含定向检测边界框的 OBB 对象
### 绘制结果


"(《世界人权宣言》) plot() 方法中的 Results 对象,将检测到的对象(如边界框、遮罩、关键点和概率)叠加到原始图像上,从而实现预测的可视化。该方法以 NumPy 数组形式返回注释图像,便于显示或保存。
from PIL import Image # 导入PIL库中的Image模块
from ultralytics import YOLO # 导入YOLO模型的ultralytics库
Load a pretrained YOLOv8n model
model = YOLO(‘yolov8n.pt’) # 加载预训练的YOLOv8n模型
Run inference on ‘bus.jpg’
results = model([‘bus.jpg’, ‘zidane.jpg’]) # 对 ‘bus.jpg’ 运行推断,返回结果列表
Visualize the results
for i, r in enumerate(results):
# Plot results image
im_bgr = r.plot() # 获取结果图像的BGR顺序的numpy数组
im_rgb = Image.fromarray(im_bgr[…, ::-1]) # 转换为RGB顺序的PIL图像
# Show results to screen (in supported environments)
r.show()  # 在支持的环境中显示结果图像

# Save results to disk
r.save(filename=f'results{i}.jpg')  # 将结果保存到磁盘上,文件名为'results{i}.jpg'
### 线程安全推理


在不同线程并行运行多个YOLO 模型时,确保推理过程中的线程安全至关重要。线程安全推理可确保每个线程的预测都是独立的,不会相互干扰,从而避免出现竞赛条件,并确保输出结果的一致性和可靠性。


在多线程应用程序中使用YOLO 模型时,必须为每个线程实例化单独的模型对象,或使用线程本地存储以防止冲突:
from ultralytics import YOLO
from threading import Thread
def thread_safe_predict(image_path):
# Instantiate a new model inside the thread
# 在线程内实例化一个新的模型
local_model = YOLO(“yolov8n.pt”)
results = local_model.predict(image_path)
# Process results
# 处理结果
Starting threads that each have their own model instance
启动每个具有自己模型实例的线程
Thread(target=thread_safe_predict, args=(“image1.jpg”,)).start()
Thread(target=thread_safe_predict, args=(“image2.jpg”,)).start()
### 流媒体源 for-循环


Python 下面是一个使用 OpenCV (cv2)和YOLOv8 对视频帧进行推理。本脚本假定您已经安装了必要的软件包 (opencv-python 和 ultralytics).
import cv2
from ultralytics import YOLO
Load the YOLOv8 model 加载YOLOv8模型
model = YOLO(‘yolov8n.pt’)
Open the video file 打开视频文件
video_path = “path/to/your/video/file.mp4”
cap = cv2.VideoCapture(video_path)
Loop through the video frames 循环遍历视频帧
while cap.isOpened():
# Read a frame from the video 从视频中读取一帧
success, frame = cap.read()
if success:
    # Run YOLOv8 inference on the frame 在帧上运行YOLOv8推断
    results = model(frame)

    # Visualize the results on the frame 在帧上可视化结果
    annotated_frame = results[0].plot()

    # Display the annotated frame 显示带注释的帧
    cv2.imshow("YOLOv8 Inference", annotated_frame)

    # Break the loop if 'q' is pressed 如果按下 'q' 键,则中断循环
    if cv2.waitKey(1) & 0xFF == ord("q"):
        break
else:
    # Break the loop if the end of the video is reached 如果到达视频的末尾,则中断循环
    break
Release the video capture object and close the display window 释放视频捕获对象并关闭显示窗口
cap.release()
cv2.destroyAllWindows()
## 三、训练模型
训练深度学习模型包括向其输入数据并调整其参数,使其能够做出准确的预测。
### 使用示例
>
> epochs:次数
>
>
>
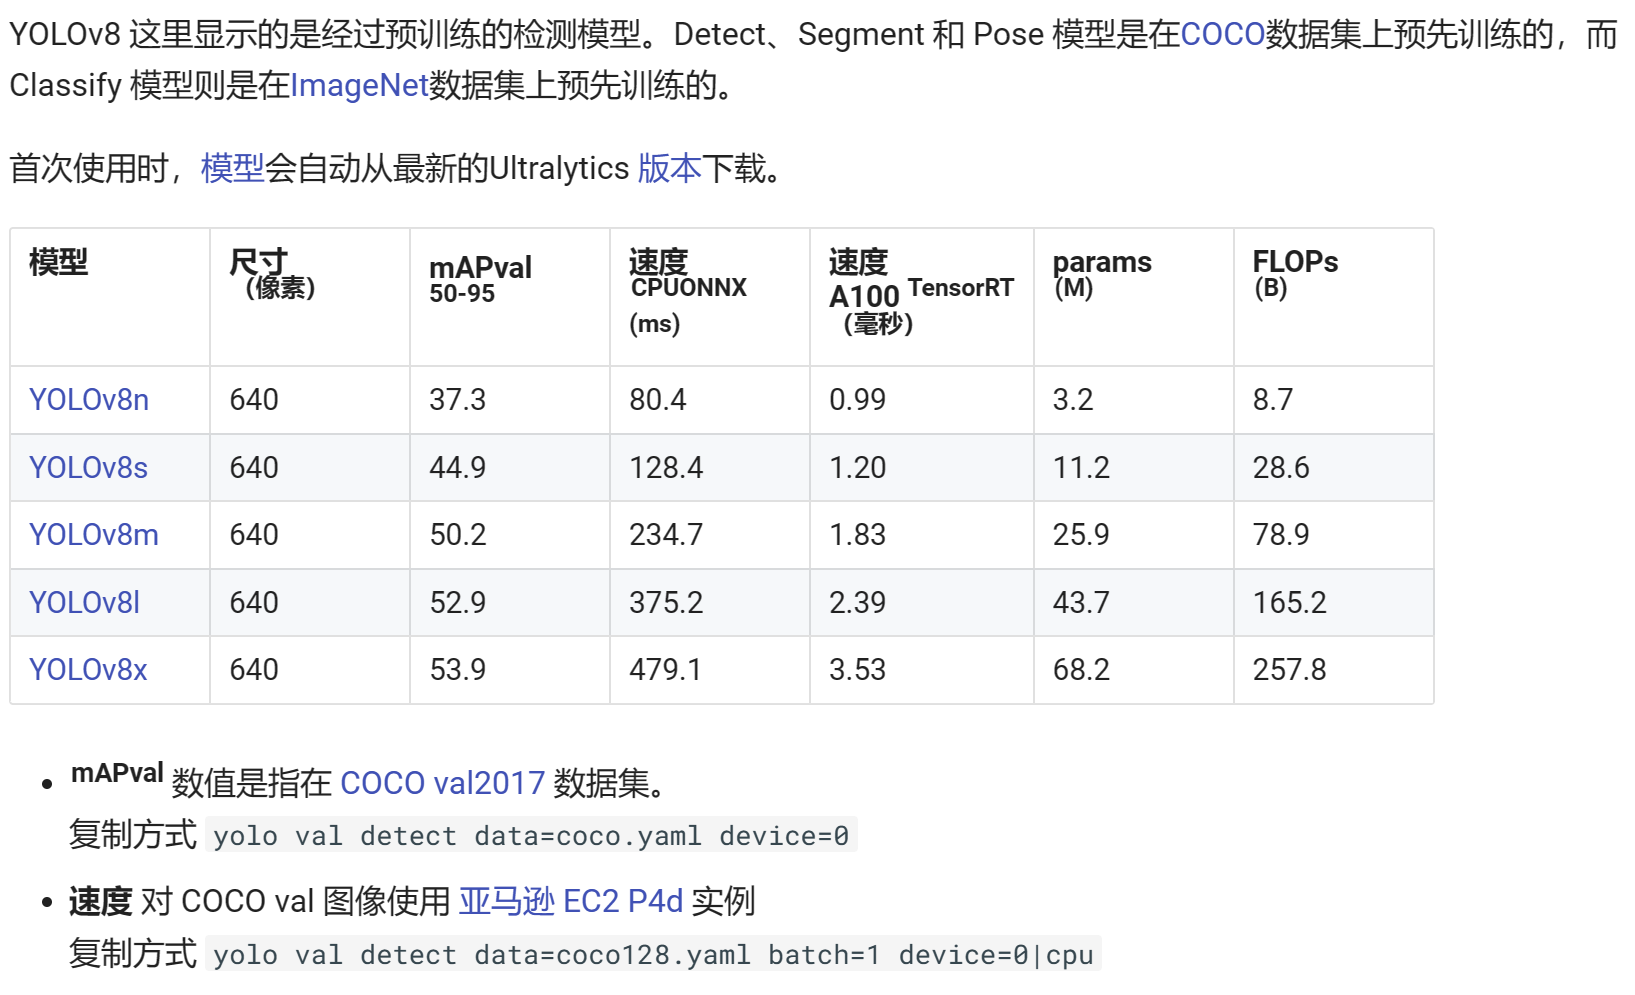
在图像大小为 640 的 COCO128 数据集上对YOLOv8n 进行 100 次训练。可以使用 device 参数。如果没有传递参数,GPU device=0 将被使用,否则 device=cpu 将被使用。
from ultralytics import YOLO
Load a model
model = YOLO(‘yolov8n.yaml’) # build a new model from YAML
model = YOLO(‘yolov8n.pt’) # load a pretrained model (recommended for training)
model = YOLO(‘yolov8n.yaml’).load(‘yolov8n.pt’) # build from YAML and transfer weights
从YAML文件构建并加载权重
Train the model
results = model.train(data=‘coco128.yaml’, epochs=100, imgsz=640)
**1.多 GPU 培训**:多 GPU 训练通过在多个 GPU 上分配训练负载,可以更有效地利用可用的硬件资源。该功能可通过Python API 和命令行界面使用。要启用多 GPU 训练,请指定要使用的 GPU 设备 ID。
from ultralytics import YOLO
Load a model
model = YOLO(‘yolov8n.pt’) # load a pretrained model (recommended for training)
Train the model with 2 GPUs
results = model.train(data=‘coco128.yaml’, epochs=100, imgsz=640, device=[0, 1])
**2.苹果 M1 和 M2 MPS 培训**:Ultralytics YOLO 机型中集成了对 Apple M1 和 M2 芯片的支持,现在可以在使用强大的 Metal Performance Shaders (MPS) 框架的设备上训练模型。MPS 提供了一种在苹果定制芯片上执行计算和图像处理任务的高性能方法。


要在 Apple M1 和 M2 芯片上启用训练,应在启动训练程序时指定 "mps "为设备。下面是一个示例,说明如何在Python 和通过命令行执行此操作:
from ultralytics import YOLO
Load a model
model = YOLO(‘yolov8n.pt’) # load a pretrained model (recommended for training)
Train the model with 2 GPUs
results = model.train(data=‘coco128.yaml’, epochs=100, imgsz=640, device=‘mps’)
**3.恢复中断的培训**:在使用深度学习模型时,从先前保存的状态恢复训练是一项至关重要的功能。这在各种情况下都能派上用场,比如当训练过程意外中断时,或者当你希望用新数据或更多的历时继续训练模型时。


恢复训练时,Ultralytics YOLO 会加载上次保存模型的权重,并恢复优化器状态、学习率调度器和历时编号。这样,您就可以从上次中断的地方无缝地继续训练过程。


Ultralytics YOLO 您可以通过设置 resume 参数 True 在调用 train 方法的路径,并指定 .pt 文件,其中包含经过部分训练的模型权重。
from ultralytics import YOLO
Load a model
model = YOLO(‘path/to/last.pt’) # load a partially trained model
Resume training
results = model.train(resume=True)
通过设置 resume=True,"… train 函数将使用存储在 "path/to/last.pt “文件中的状态,从中断处继续训练。如果 resume 参数被省略或设置为 False,”… train 功能将开始新的培训课程。
请记住,默认情况下,检查点会在每个纪元结束时保存,或者使用 save\_period 参数,因此您必须至少完成一个纪元才能恢复训练运行。
### Train Settings
YOLO 模型的训练设置包括训练过程中使用的各种超参数和配置。这些设置会影响模型的性能、速度和准确性。关键的训练设置包括批量大小、学习率、动量和权重衰减。此外,优化器、损失函数和训练数据集组成的选择也会影响训练过程。对这些设置进行仔细的调整和实验对于优化性能至关重要。
### 增强设置和超参数
增强技术通过在训练数据中引入可变性,帮助模型更好地泛化到未见数据中,对提高YOLO 模型的稳健性和性能至关重要。
### 记录
在训练YOLOv8 模型的过程中,您可能会发现跟踪模型在一段时间内的表现很有价值。这就是日志发挥作用的地方。Ultralytics’YOLO 支持三种类型的日志记录器:Comet 、ClearML 和 TensorBoard。
要使用记录仪,请从上面代码片段的下拉菜单中选择并运行。所选记录仪将被安装和初始化。
## 四、探索任务
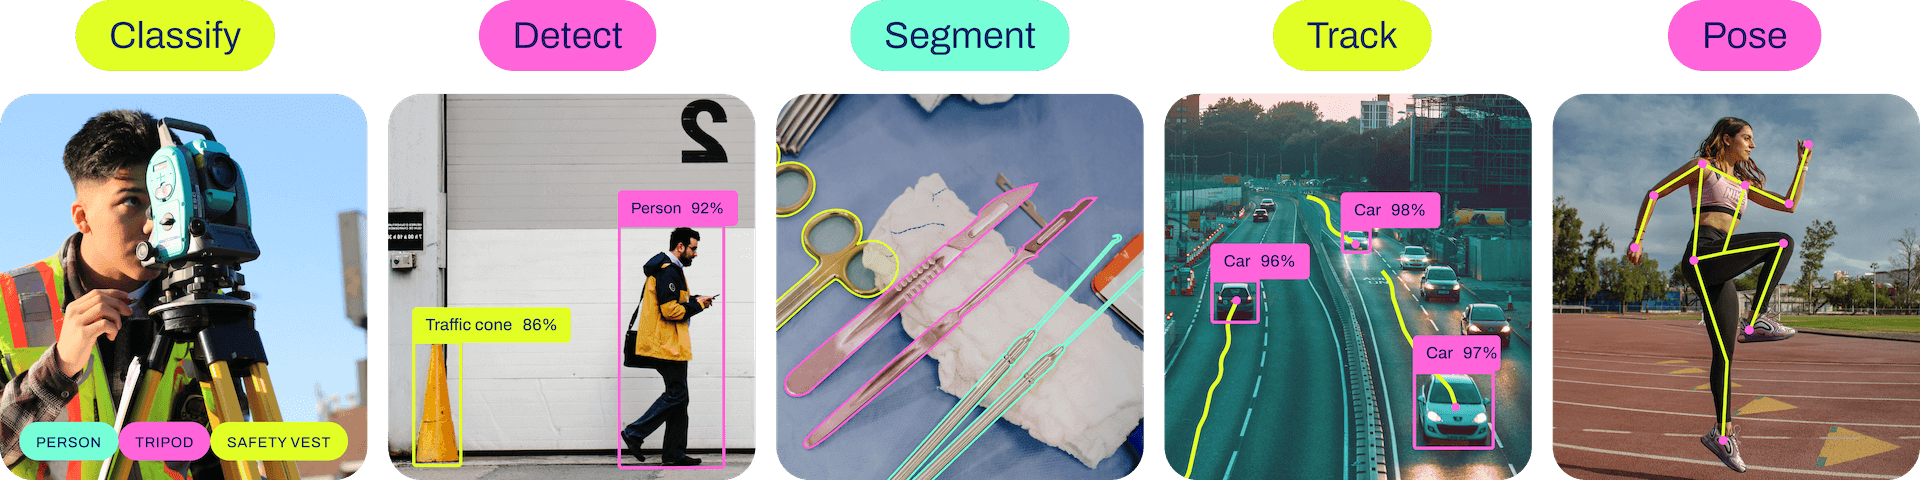
YOLOv8 是一个支持多种计算机视觉任务的人工智能框架。该框架可用于执行检测、分割、obb、分类和姿态估计。
### Detection - 检测
检测是YOLOv8 支持的主要任务。它包括检测图像或视频帧中的物体,并在其周围绘制边界框。YOLOv8 可在单幅图像或视频帧中高精度、高速度地检测多个物体。
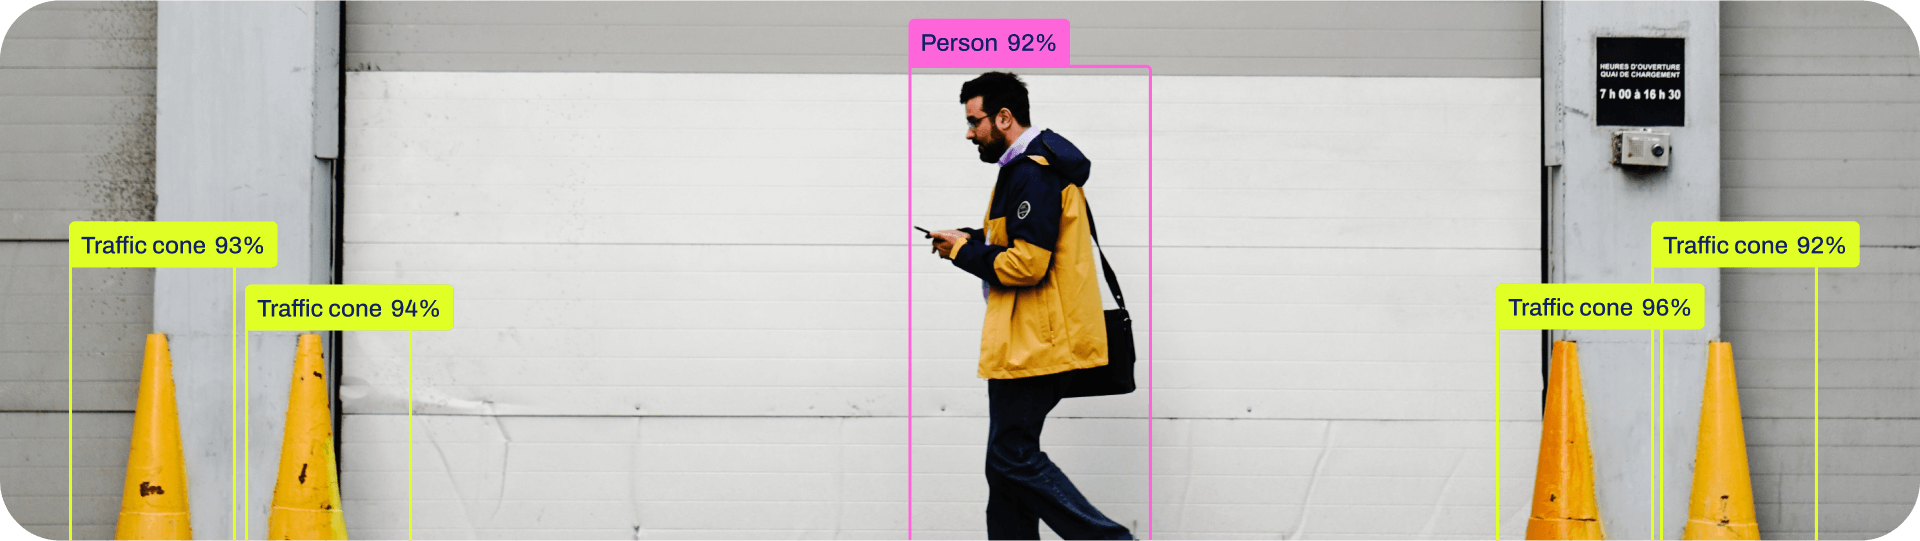
物体检测是一项涉及识别图像或视频流中物体的位置和类别的任务。
物体检测器的输出是一组包围图像中物体的边框,以及每个边框的类标签和置信度分数。如果您需要识别场景中感兴趣的物体,但又不需要知道物体的具体位置或确切形状,那么物体检测就是一个不错的选择。
**1.Models**-模型
**2.Train**-训练
from ultralytics import YOLO
Load a model
model = YOLO(‘yolov8n.yaml’) # build a new model from YAML
model = YOLO(‘yolov8n.pt’) # load a pretrained model (recommended for training)
model = YOLO(‘yolov8n.yaml’).load(‘yolov8n.pt’) # build from YAML and transfer weights
Train the model
results = model.train(data=‘coco128.yaml’, epochs=100, imgsz=640)
Dataset format


**3.Val**-验证
 在 COCO128 数据集上验证训练有素的YOLOv8n 模型的准确性。无需传递参数,因为 model 保留培训 data 和参数作为模型属性。
from ultralytics import YOLO
Load a model
model = YOLO(‘yolov8n.pt’) # load an official model 加载官方模型
model = YOLO(‘path/to/best.pt’) # load a custom model 加载自定义模型
Validate the model
metrics = model.val() # no arguments needed, dataset and settings remembered 验证模型,不需要参数,数据集和设置被记住
metrics.box.map # map50-95 平均精度(mean average precision)计算结果,考虑不同IoU阈值的mAP
metrics.box.map50 # map50 在50% IoU 阈值下的平均精度
metrics.box.map75 # map75 在75% IoU 阈值下的平均精度
metrics.box.maps # a list contains map50-95 of each category 包含每个类别的50%-95% IoU阈值下的平均精度列表
>
> metrics:指标
>
>
>


**4.Predict**-预测
 使用训练有素的YOLOv8n 模型对图像进行预测。
from ultralytics import YOLO
Load a model
model = YOLO(‘yolov8n.pt’) # load an official model
model = YOLO(‘path/to/best.pt’) # load a custom model
Predict with the model
results = model(‘https://ultralytics.com/images/bus.jpg’) # predict on an image
**5.Export**-输出
 将YOLOv8n 模型导出为不同格式,如ONNX,CoreML 等。
from ultralytics import YOLO
Load a model
model = YOLO(‘yolov8n.pt’) # load an official model
model = YOLO(‘path/to/best.pt’) # load a custom trained model
Export the model
model.export(format=‘onnx’)
### Segmentation - 分割
分割是一项根据图像内容将图像分割成不同区域的任务。每个区域根据其内容分配一个标签。这项任务在图像分割和医学成像等应用中非常有用。YOLOv8 使用 U-Net 架构的变体来执行分割。
实例分割比物体检测更进一步,它涉及识别图像中的单个物体,并将它们与图像的其他部分分割开来。
实例分割模型的输出是一组勾勒出图像中每个物体轮廓的遮罩或轮廓线,以及每个物体的类标签和置信度分数。当你不仅需要知道物体在图像中的位置,还需要知道它们的具体形状时,实例分割就非常有用了。
**1.Models**
**2.Train**
在图像大小为 640 的 COCO128-seg 数据集上训练YOLOv8n-seg,100 个历元。
from ultralytics import YOLO
Load a model
model = YOLO(‘yolov8n-seg.yaml’) # build a new model from YAML
model = YOLO(‘yolov8n-seg.pt’) # load a pretrained model (recommended for training)
model = YOLO(‘yolov8n-seg.yaml’).load(‘yolov8n.pt’) # build from YAML and transfer weights
Train the model
results = model.train(data=‘coco128-seg.yaml’, epochs=100, imgsz=640)
**3.Val**
 在 COCO128-seg 数据集上验证训练有素的YOLOv8n-seg 模型的准确性。无需传递参数,因为 model 保留培训 data 和参数作为模型属性。
from ultralytics import YOLO
Load a model
model = YOLO(‘yolov8n-seg.pt’) # load an official model
model = YOLO(‘path/to/best.pt’) # load a custom model
Validate the model
metrics = model.val() # no arguments needed, dataset and settings remembered
metrics.box.map # map50-95(B)
metrics.box.map50 # map50(B)
metrics.box.map75 # map75(B)
metrics.box.maps # a list contains map50-95(B) of each category
metrics.seg.map # map50-95(M)
metrics.seg.map50 # map50(M)
metrics.seg.map75 # map75(M)
metrics.seg.maps # a list contains map50-95(M) of each category
**自我介绍一下,小编13年上海交大毕业,曾经在小公司待过,也去过华为、OPPO等大厂,18年进入阿里一直到现在。**
**深知大多数Python工程师,想要提升技能,往往是自己摸索成长或者是报班学习,但对于培训机构动则几千的学费,着实压力不小。自己不成体系的自学效果低效又漫长,而且极易碰到天花板技术停滞不前!**
**因此收集整理了一份《2024年Python开发全套学习资料》,初衷也很简单,就是希望能够帮助到想自学提升又不知道该从何学起的朋友,同时减轻大家的负担。**
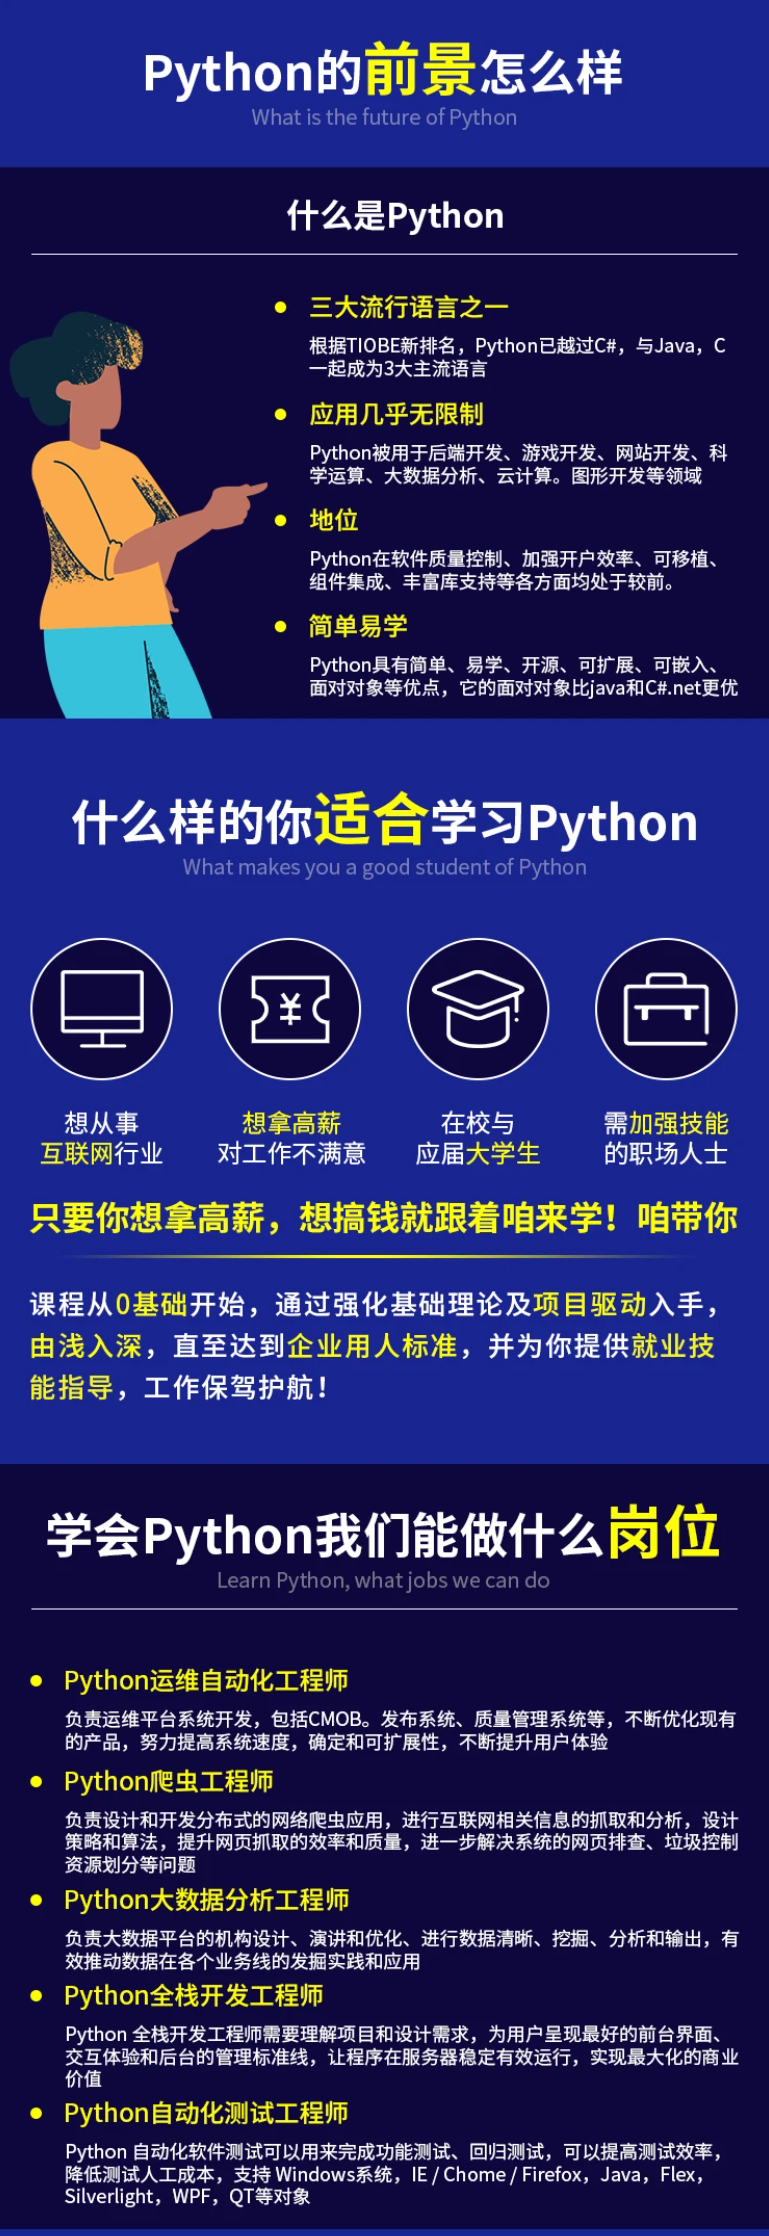
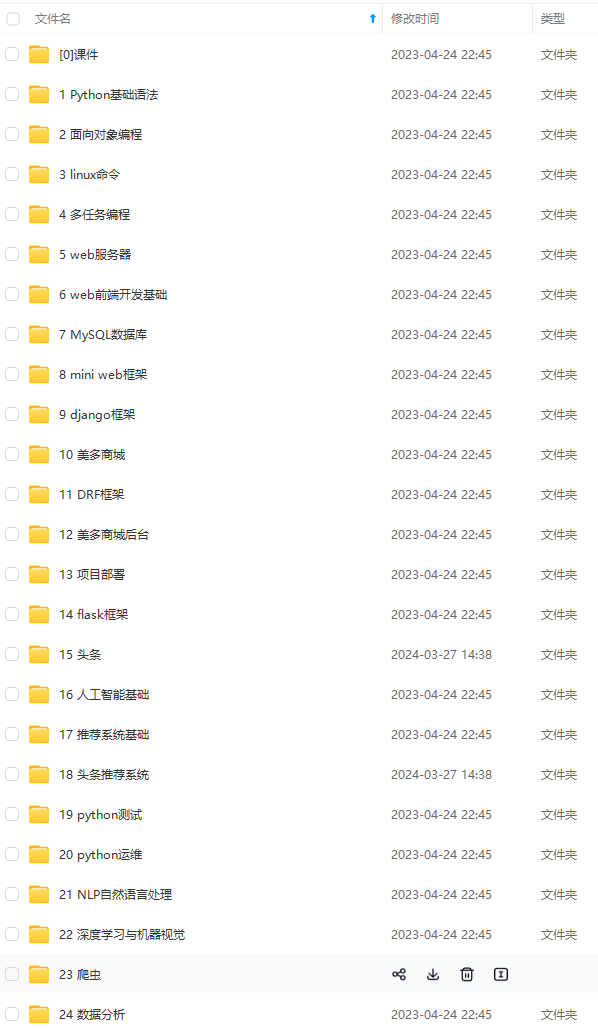
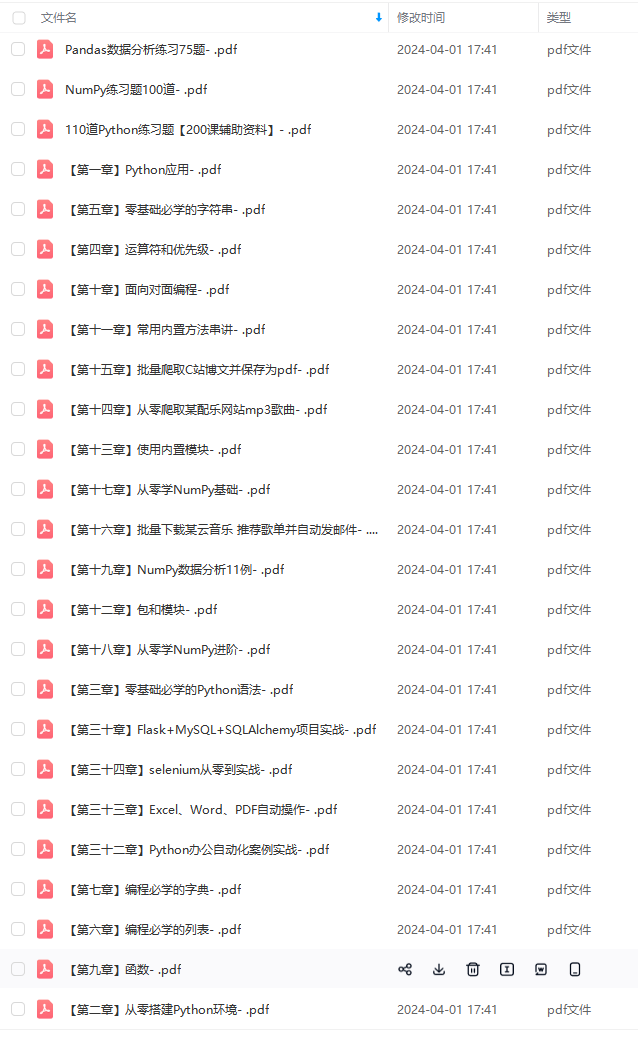
**既有适合小白学习的零基础资料,也有适合3年以上经验的小伙伴深入学习提升的进阶课程,基本涵盖了95%以上前端开发知识点,真正体系化!**
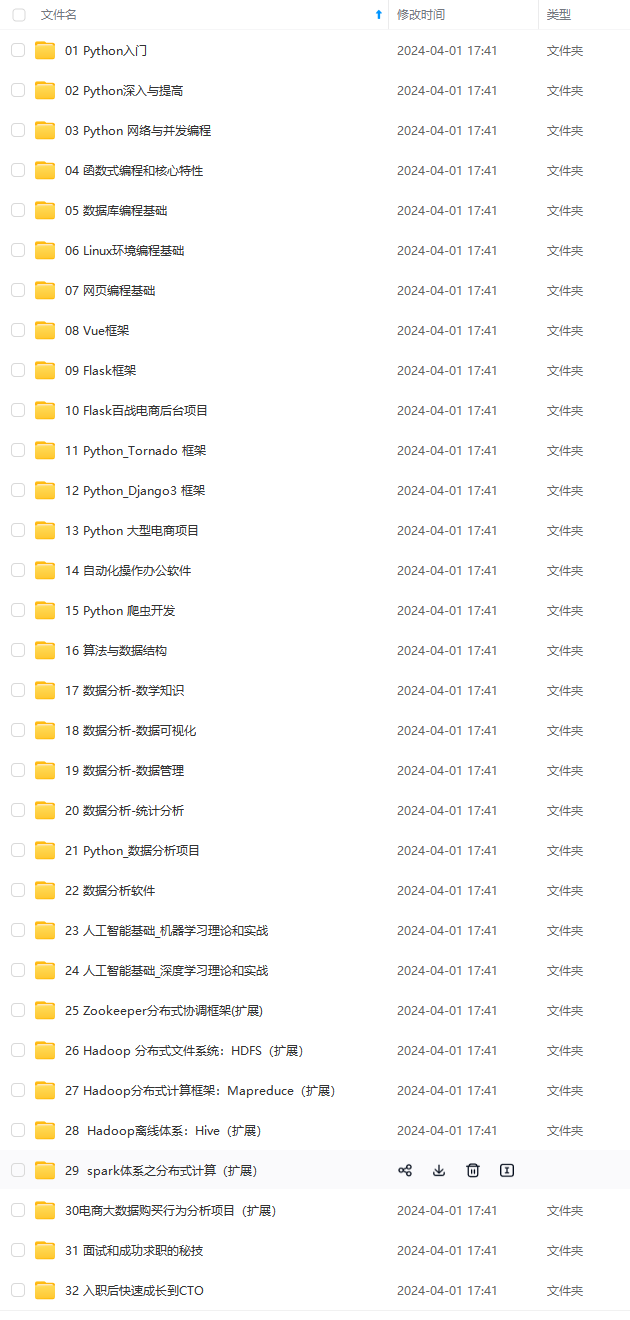
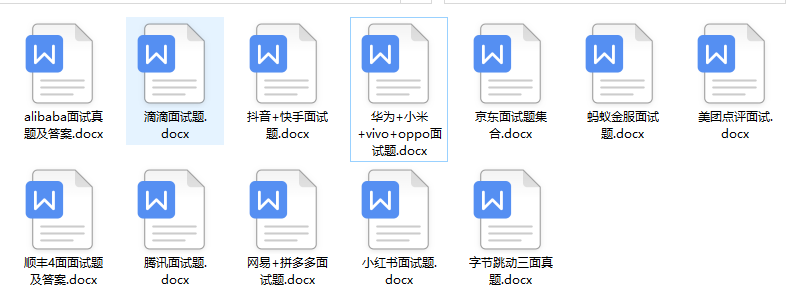
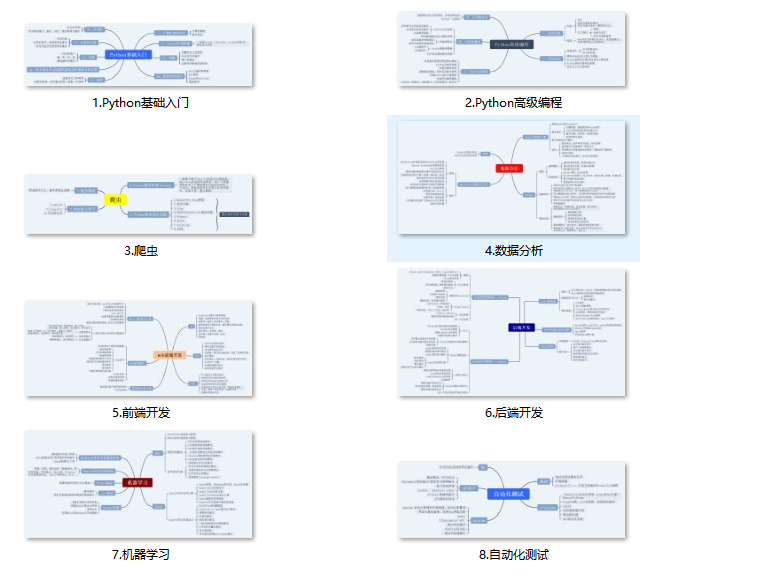
**由于文件比较大,这里只是将部分目录大纲截图出来,每个节点里面都包含大厂面经、学习笔记、源码讲义、实战项目、讲解视频,并且后续会持续更新**
**如果你觉得这些内容对你有帮助,可以扫码获取!!!(备注:Python)**
map50(M)
metrics.seg.map75 # map75(M)
metrics.seg.maps # a list contains map50-95(M) of each category
自我介绍一下,小编13年上海交大毕业,曾经在小公司待过,也去过华为、OPPO等大厂,18年进入阿里一直到现在。
深知大多数Python工程师,想要提升技能,往往是自己摸索成长或者是报班学习,但对于培训机构动则几千的学费,着实压力不小。自己不成体系的自学效果低效又漫长,而且极易碰到天花板技术停滞不前!
因此收集整理了一份《2024年Python开发全套学习资料》,初衷也很简单,就是希望能够帮助到想自学提升又不知道该从何学起的朋友,同时减轻大家的负担。
[外链图片转存中…(img-vvv0zwNq-1713708734409)]
[外链图片转存中…(img-4uULwW8M-1713708734410)]
[外链图片转存中…(img-ZZFaCEkO-1713708734410)]
[外链图片转存中…(img-ggl1Ku9z-1713708734411)]


既有适合小白学习的零基础资料,也有适合3年以上经验的小伙伴深入学习提升的进阶课程,基本涵盖了95%以上前端开发知识点,真正体系化!
由于文件比较大,这里只是将部分目录大纲截图出来,每个节点里面都包含大厂面经、学习笔记、源码讲义、实战项目、讲解视频,并且后续会持续更新
如果你觉得这些内容对你有帮助,可以扫码获取!!!(备注:Python)


 1690
1690

 被折叠的 条评论
为什么被折叠?
被折叠的 条评论
为什么被折叠?
 到【灌水乐园】发言


