


0 概述
早在寒假的时候,笔者就收集了许多插值算法和深度学习方法来组建一个自定义放大类型的图像超分辨处理软件,收录的算法包括简单的Nearest插值,Lanczos插值,复杂点的基于深度学习的有SRGAN等。用python的pkinter包实现了一个简单的用户交互界面。这里尝试使用Gradio框架来实现一个WebUi。
本篇文章主要记录笔者设计时的思路方法,出现的问题以及如何解决。不仅仅是简单的说明这个模块,文章的结构是从一个小的功能逐渐完善的过程,可以跳到最后,会提供完整的代码。
 https://blog.csdn.net/sinat_39620217/article/details/130343655
官方文档: https://www.gradio.app/docs/gradio/
目前已经导入的增强算法包括:Nearest,Bilinear,Bicubic,Lanczos,Swin-ir,Real-ESRGAN,Real-ESRGAN-Anime-6B,ESRGAB, VDSR
完整的项目可以访问以下github:wangxinyang27/Extension2.5 (github.com)
1 简单示例
以下是一个简单的示例:
import gradio as gr
def greet(name):
return "Hello " + name + "!"
demo = gr.Interface(fn=greet, inputs="text", outputs="text")
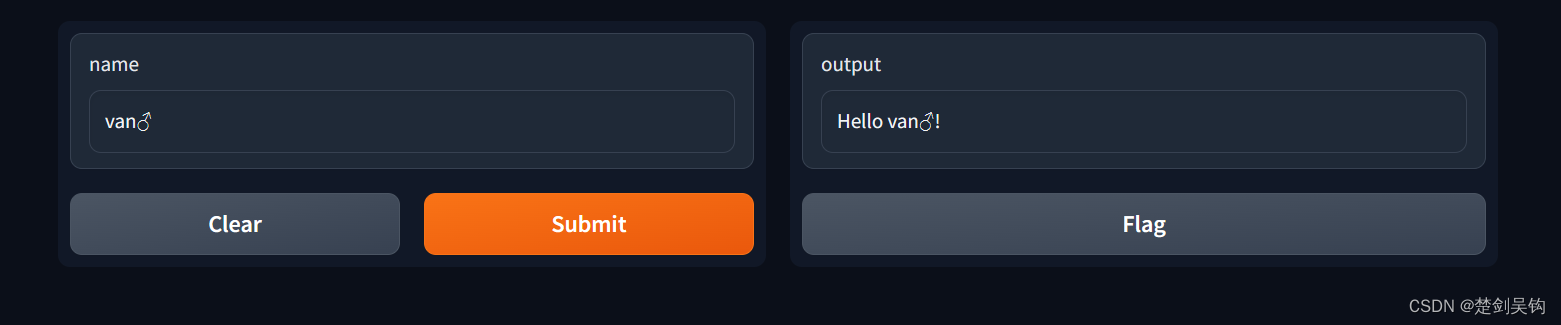
demo.launch()执行代码后的效果,会出现一个可以访问的网址
![]()
在name下面的文本框中随便输入一句,点击submit,就回得到下图的输出。如果出现了error,肯可能是版本的问题。最开始笔者使用的python3.7,因为gradio要求大于等于3.7。后来使用了python3.9就解决了问题(直接安装gradio不需要指定版本)。
2 图像的上传和保存
以下是一个简单的示例:
import gradio as gr

def fn(image):
    return image

demo = gr.Interface(
    fn,
    inputs='image',
    outputs='image'
)
demo.launch()
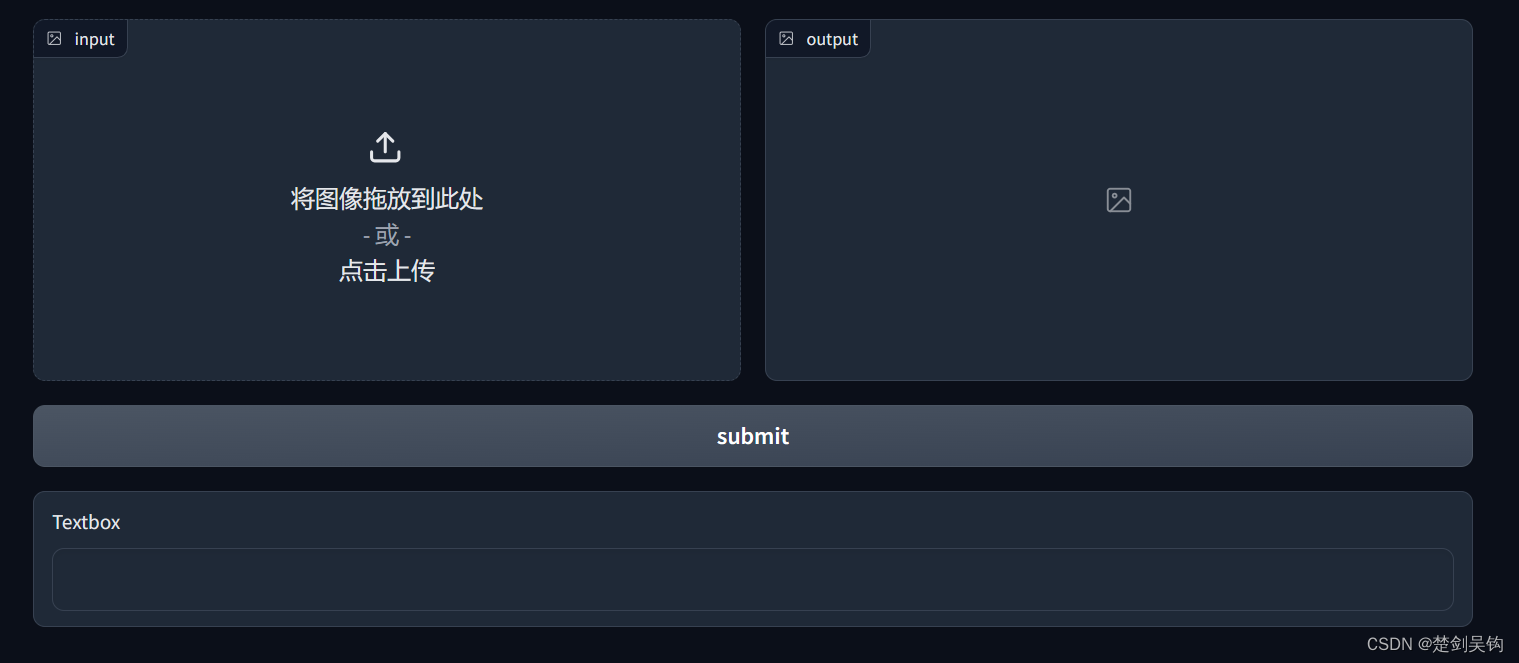
对于gr.Interface(),它实现一个简单的页面交互,输入输出的类型都是图像类型,在页面中我们会看到两个图像栏,输入的图像栏可以上传图像并显示,点击submit,将会执行fn函数,直接返回输入的图像作为输出,呈现在输出的图像栏上,如下图所示:
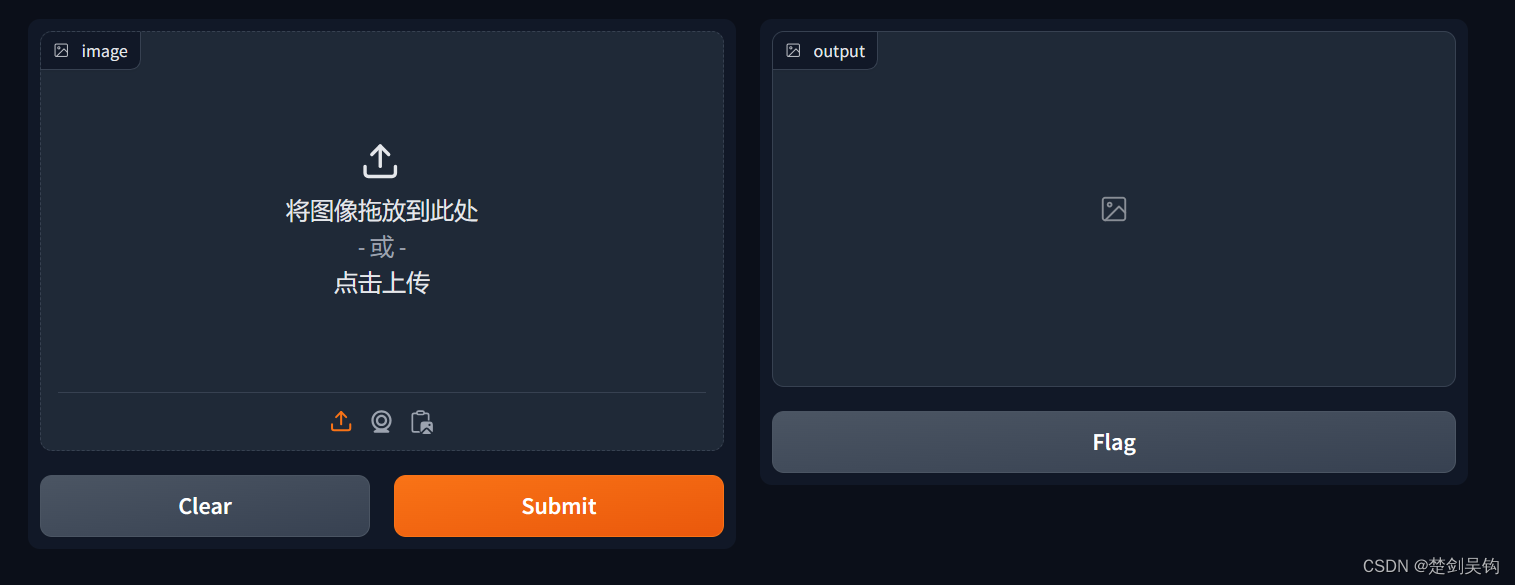
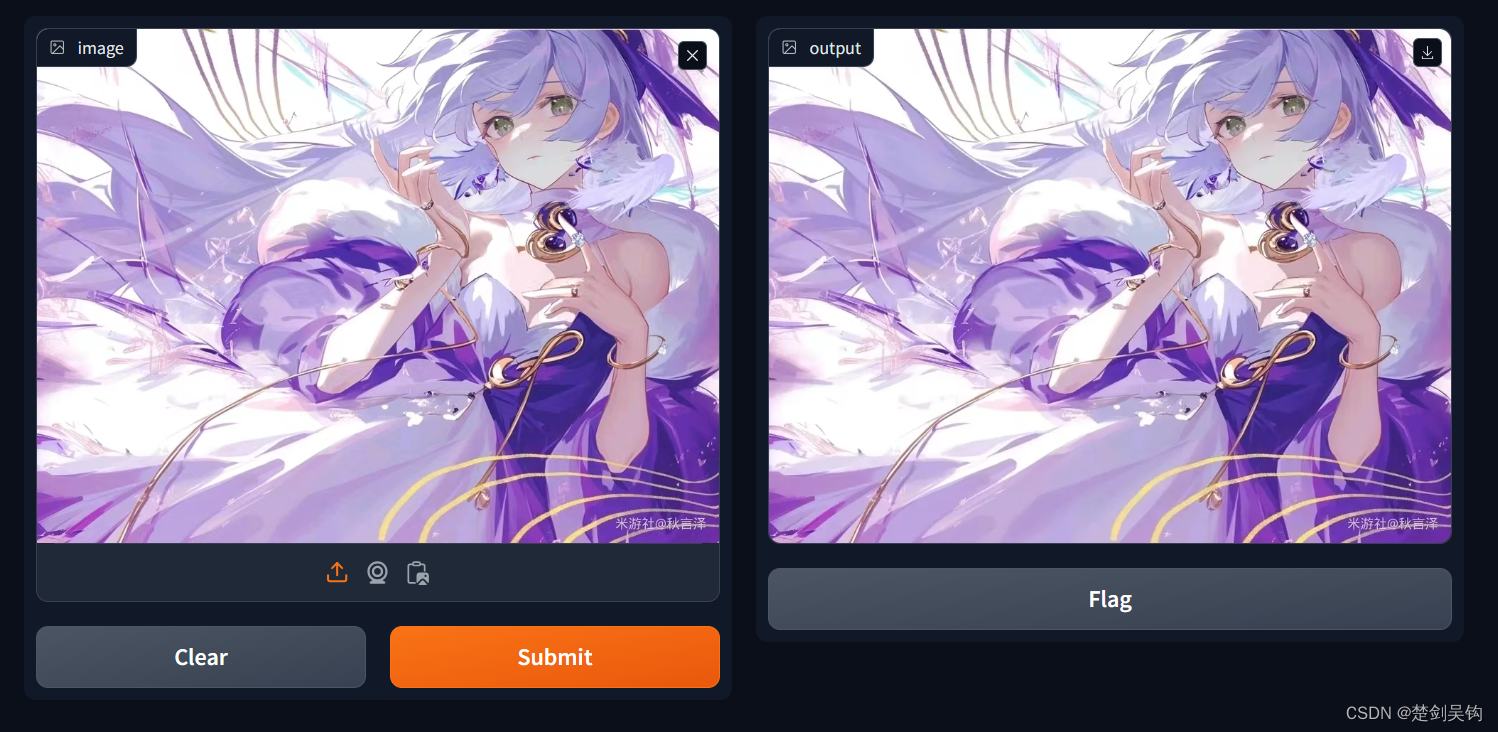
输出图像框的右上角有一个保存按钮,不过很遗憾,它保存的图像类型是webp类型的,我们希望上传的是png或者jpg类型,保存的就是png或者jpg类型。
组件:gradio.Image()
创建一个图像组件,该组件可用于上传图像(作为输入)或显示图像(作为输出),它可以代替上述代码中,参数 inputs 和 outputs 的值,并且实现更多灵活的功能。
在这里我们可以通过指定参数format来指定保存时的格式:
outputs=gr.Image(format='png')这样从浏览器保存的图像就会是指定的格式:

3 简单的插值算法
这里先试用最近邻插值算法(Neraest)来实现图像放大,代码如下:
import gradio as gr
from PIL import Image

def nearest_neighbor_interpolation(image, scale_factor):
    width, height = image.size
    new_width = int(width * scale_factor)
    new_height = int(height * scale_factor)

    # Create a new image with the new dimensions
    new_image = Image.new("RGB", (new_width, new_height))

    # Calculate the scale factors for mapping old coordinates to new coordinates
    scale_x = width / new_width
    scale_y = height / new_height

    for i in range(new_height):
        for j in range(new_width):
            # Map new coordinates to old coordinates
            x = int(j * scale_x)
            y = int(i * scale_y)
            # Set the pixel value in the new image to the value of the nearest neighbor in the old image
            new_image.putpixel((j, i), image.getpixel((x, y)))

    return new_image


def fn(x):
    y = nearest_neighbor_interpolation(x, 4)
    return y

demo = gr.Interface(
    fn,
    inputs=gr.Image(type='pil'),
    outputs=gr.Image(format='png')
)
demo.launch()
这里定义了最近邻插值算法的函数,函数的输入类型是PIL.Image类型,于是我们需要在gr.Interface中指定inputs输入函数前转化为的类型:
inputs=gr.Image(type='pil'),输入输出图像的分辨率如下(放大倍数为4):

4 图像信息的补充
我们希望上传图片时能够输出图像的一些信息,比如图像的分辨率,以及放大后目标图像的分辨率。这里我们开始使用 gr.Blocks() 来同时实现多个功能,这里实现下章节2图像上传和保存的功能,代码如下所示:
import gradio as gr
def fn_image(x):
return x
with gr.Blocks() as demo:
with gr.Row():
image_input = gr.Image(label="input", type='pil', sources=["upload"])
image_output = gr.Image(label="output", format="png")
image_button = gr.Button("submit")
image_button.click(fn=fn_image, inputs=image_input, outputs=image_output)
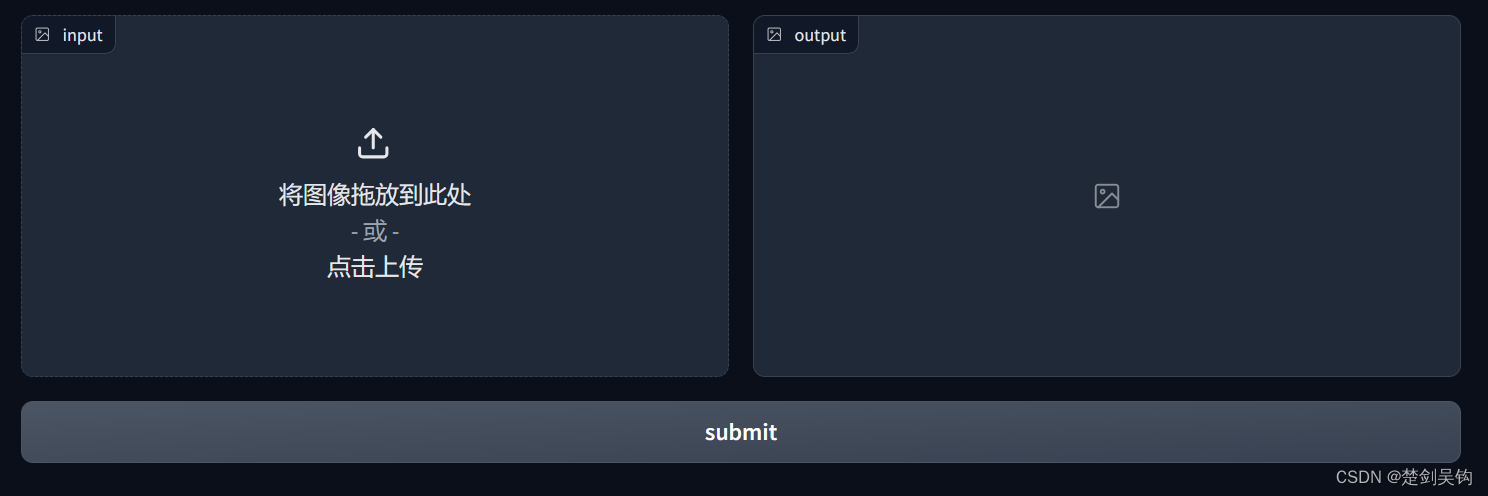
demo.launch()这里第一个gr.Image()的参数source表示输入图像的来源,可以是上传“upload”,“clipboard”等,这里只设置为“upload”是为了使图像输入输出呈现时对称(可以看章节2的图,输入图下面有三个选项)。另外,with gr.Row()使得里面的组件按横排列。gr_Button()定义一个按钮组件,接下来的一行代码定义当按钮点击时触发的动作,即函数fn_image直接返回输入,跟章节2差不多。最总的效果如下所示。

我们可以追加组件,比如一个文本框gr.TextBox(),我们希望当图片上传到页面上时,文本框会立即显示图像的信息。这里我们监听的对象是输入图像,也就是
image_input = gr.Image(label="input", type='pil', sources=["upload"])gr.Image的是事件监听选择gr.Image.upload(fn, ···),fn是监听到上传图像时,触发的函数,于是我们可以让函数把输入图像转为输入,读出输入图像的信息。因为输入图像设置了type="pil",所以传递到函数中,输入的类型就是pil.Image,因此可以使用.size来访问图像的宽和高,作为输出给到文本框,即:
image_message = gr.Textbox()
image_input.upload(fn_txt, image_input, image_message)
def fn_txt(x):
return x.size完整的代码如下:
import gradio as gr
def fn_image(x):
return x
def fn_txt(x):
    return x.size
with gr.Blocks() as demo:
with gr.Row():
image_input = gr.Image(label="input", type='pil', sources=["upload"])
image_output = gr.Image(label="output", format="png")
image_button = gr.Button("submit")
image_button.click(fn=fn_image, inputs=image_input, outputs=image_output)
image_message = gr.Textbox()
image_input.upload(fn_txt, image_input, image_message)
demo.launch()效果如下:
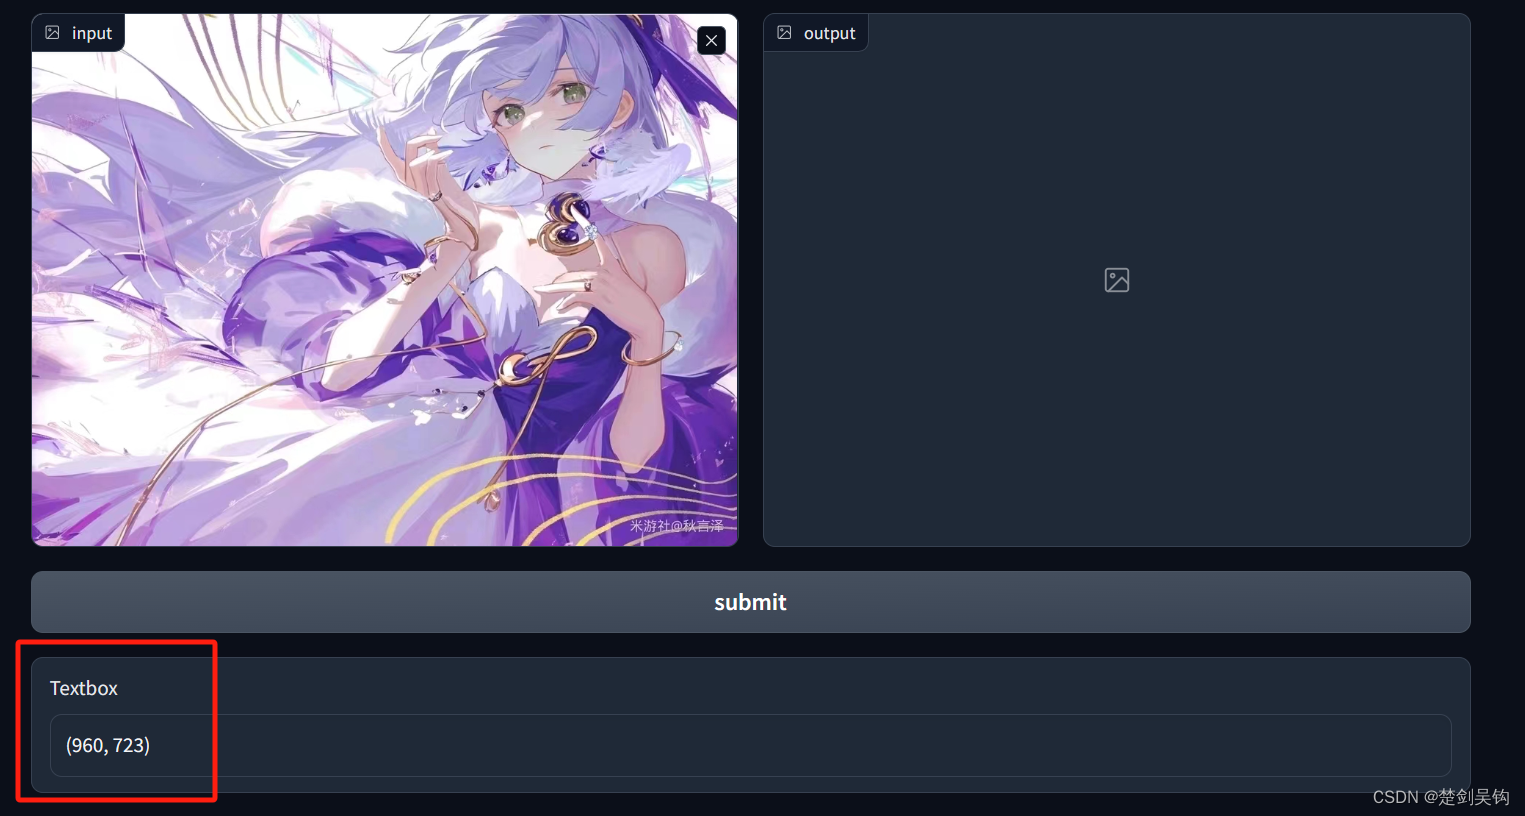
这里有点问题,当清除图像后,即输入图像右上角的“X”,文本显示的数据依然存在,我们希望在清除图像时这些信息也会随之清除。我们可以写一个返回空字符的函数,在输入图像清空时触发。监听事件为gr.Image.upload(fn, ···):
def fn_txt_upload(x):
    return x.size

def fn_txt_clear(x):
    return ""
image_message = gr.Textbox()
image_input.upload(fn_txt_upload, image_input, image_message)
image_input.clear(fn_txt_clear,image_input, image_message)5 可选择插值算法
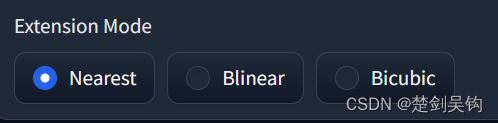
我们想提供多种插值算法供使用,这里我们使用组件gr.Radio(),这是一个单选框。
radio = gr.Radio(
["Nearest", "Blinear", "Bicubic"], label="Extension Mode"
) 
我们需要监听作出选择的动作,使用gr.Radio.change(fn...)进行监听,即当选项发生改变时,就会执行函数fn。我们设置一个全局变量mode,在fn中,我们根据选项来设置mode的值。
mode = "Nearest"
def fn_mode(choice):
global mode
mode = choiceradio = gr.Radio(
["Nearest", "Bilinear", "Bicubic"], label="Extension Mode"
)
radio.change(fn_mode, inputs=radio)完整的代码为:
import gradio as gr
import PIL.Image as pil_image
def nearest_interpolation(image):
w, h = image.size
rw, rh = w * 4, h * 4
return image.resize((rw, rh), pil_image.NEAREST)
def bilinear_interpolation(image):
w, h = image.size
rw, rh = w * 4, h * 4
return image.resize((rw, rh), pil_image.BILINEAR)
def bicubic_interpolation(image):
w, h = image.size
rw, rh = w * 4, h * 4
return image.resize((rw, rh), pil_image.BICUBIC)
def fn_txt_upload(x):
return x.size
def fn_txt_clear(x):
return ""
def fn_image(x):
if mode == "Nearest":
return nearest_interpolation(x)
elif mode == "Bilinear":
return bilinear_interpolation(x)
elif mode == "Bicubic":
return bicubic_interpolation(x)
mode = "Nearest"
def fn_mode(choice):
global mode
mode = choice
# print(mode)
with gr.Blocks() as demo:
with gr.Row():
image_input = gr.Image(label="input", type='pil', sources=["upload"])
image_output = gr.Image(label="output", format="png")
image_message = gr.Textbox()
image_input.upload(fn_txt_upload, image_input, image_message)
image_input.clear(fn_txt_clear,image_input, image_message)
radio = gr.Radio(
        ["Nearest", "Bilinear", "Bicubic"], label="Extension Mode"
    )
radio.change(fn_mode, inputs=radio)
image_button = gr.Button("submit")
image_button.click(fn=fn_image, inputs=image_input, outputs=image_output)
demo.launch()
6 图像信息的补充(2)
至此,基本的功能逻辑已经实现完毕,接下来是一些外观的优化和算法的补充等等。
章节4中,我们用一个简陋的文本框输出了输入图像的宽和高,这里我们将美化一下。我们引入了滑块gr.Slider(),希望滑块的值不能通过鼠标的拖动等改变,而是当上传图像时,自动更新为图像的宽和高对应的值。这里跟gr.TextBox()一样,当事件监听的输出为滑块组件是,函数返回的值便会作为滑块的值,利用这点我们可以达到目的。对同一个事件(比如这里的上传图像)进行监听,触发后执行多个任务是可行的。滑块的定义和监听代码:
# 滑块,用来表示图像的宽和高
with gr.Column():
    image_width = gr.Slider(
            min_width=0, maximum=8192, label="width", step=1
    )
    image_height = gr.Slider(
            min_width=0, maximum=8192, label="height", step=1
    )
    # 上传图像时更新滑块的位置,表示图像的宽和高
    image_input.upload(fn_upload_width, inputs=image_input, outputs=image_width)
    image_input.upload(fn_upload_height, inputs=image_input, outputs=image_height)

    # 清空图像时把滑块的位置都置零
    image_input.clear(fn_clear_width, outputs=image_width)
    image_input.clear(fn_clear_height, outputs=image_height)
监听触发函数:
def fn_upload_width(image):
    # 上传图像时更新滑块表示图像的宽
    return image.size[0]

def fn_upload_height(image):
    # 上传图像时更新滑块表示图像的高
    return image.size[1]

def fn_clear_width():
    # 清空图像时把滑块表示的宽的值置零
    return 0

def fn_clear_height():
    # 清空图像时把滑块表示的高的值置零
    return 0
完整代码:
import gradio as gr
import PIL.Image as pil_image

def nearest_interpolation(image):
    # 最近邻插值
    w, h = image.size
    rw, rh = w * 4, h * 4
    return image.resize((rw, rh), pil_image.NEAREST)

def bilinear_interpolation(image):
    # 双线性插值
    w, h = image.size
    rw, rh = w * 4, h * 4
    return image.resize((rw, rh), pil_image.BILINEAR)

def bicubic_interpolation(image):
    # 双三次插值
    w, h = image.size
    rw, rh = w * 4, h * 4
    return image.resize((rw, rh), pil_image.BICUBIC)

def fn_image(x):
    # 根据放大模型执行图像增强
    if mode == "Nearest":
        return nearest_interpolation(x)
    elif mode == "Bilinear":
        return bilinear_interpolation(x)
    elif mode == "Bicubic":
        return bicubic_interpolation(x)

mode = "Nearest"
def fn_mode(choice):
    # 放大模式的选择
    global mode
    mode = choice
    # print(mode)

def fn_upload_width(image):
    # 上传图像时更新滑块表示图像的宽
    return image.size[0]

def fn_upload_height(image):
    # 上传图像时更新滑块表示图像的高
    return image.size[1]

def fn_clear_width():
    # 清空图像时把滑块表示的宽的值置零
    return 0

def fn_clear_height():
    # 清空图像时把滑块表示的高的值置零
    return 0

with gr.Blocks() as demo:
    # 输入输出图像框
    with gr.Row():
        image_input = gr.Image(label="input", type='pil', sources=["upload"])
        image_output = gr.Image(label="output", format="png")
    # 滑块,用来表示图像的宽和高
    with gr.Column():
        image_width = gr.Slider(
            min_width=0, maximum=8192, label="width", step=1
        )
        image_height = gr.Slider(
            min_width=0, maximum=8192, label="height", step=1
        )

    # 上传图像时更新滑块的位置,表示图像的宽和高
    image_input.upload(fn_upload_width, inputs=image_input, outputs=image_width)
    image_input.upload(fn_upload_height, inputs=image_input, outputs=image_height)
    # 清空图像时把滑块的位置都置零
    image_input.clear(fn_clear_width, outputs=image_width)
    image_input.clear(fn_clear_height, outputs=image_height)
    # 选择放大模式的单选框
    radio = gr.Radio(
        ["Nearest", "Bilinear", "Bicubic"], label="Extension Mode"
    )
    # 单选框的值改变时,随之更改放大模式
    radio.change(fn_mode, inputs=radio)
    # 执行按键
    image_button = gr.Button("submit")
    # 执行图像放大
    image_button.click(fn=fn_image, inputs=image_input, outputs=image_output)

demo.launch()
效果:
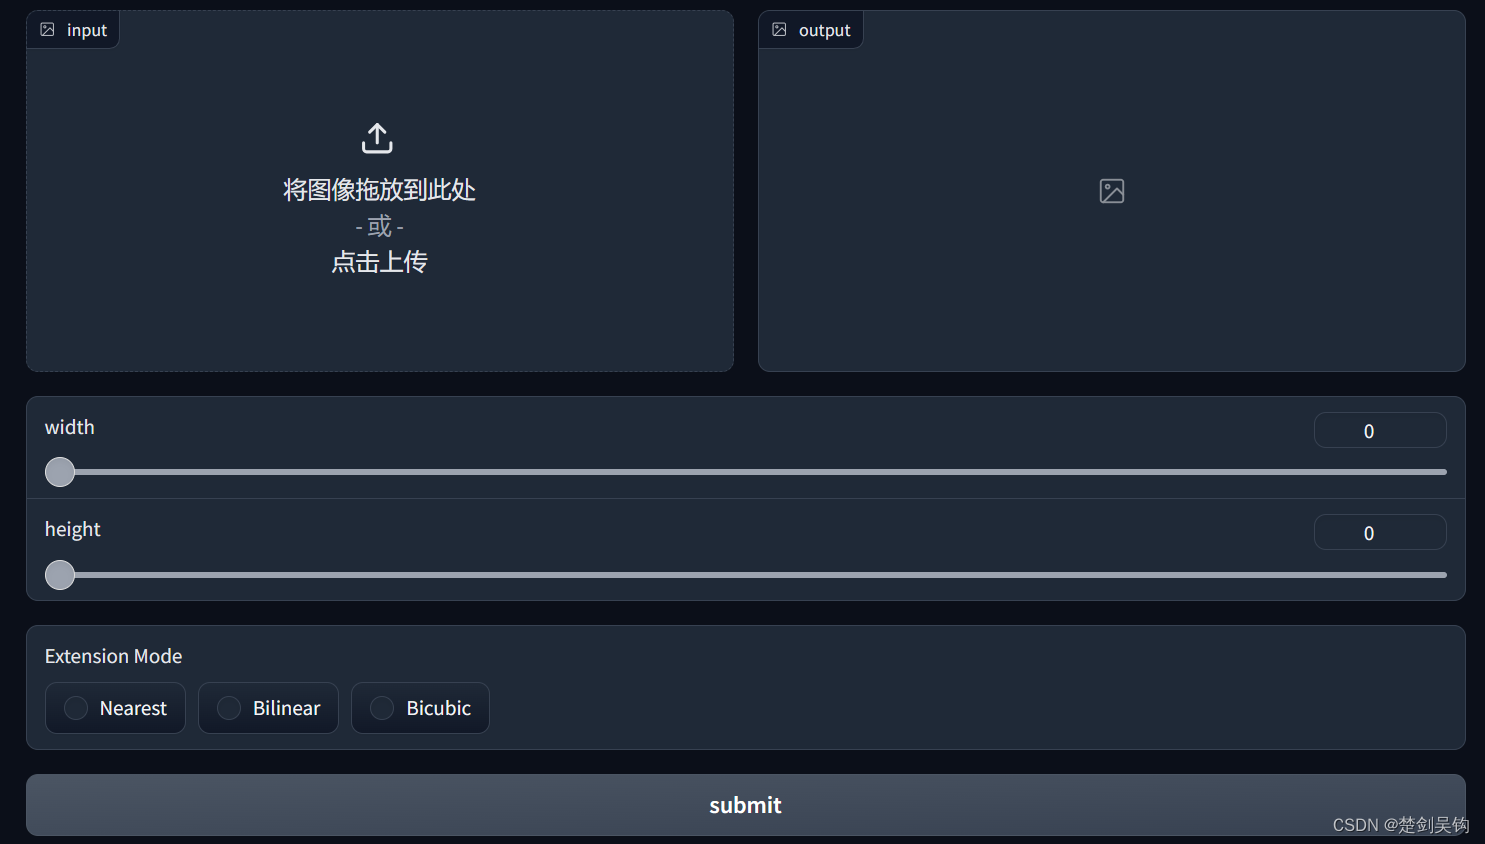
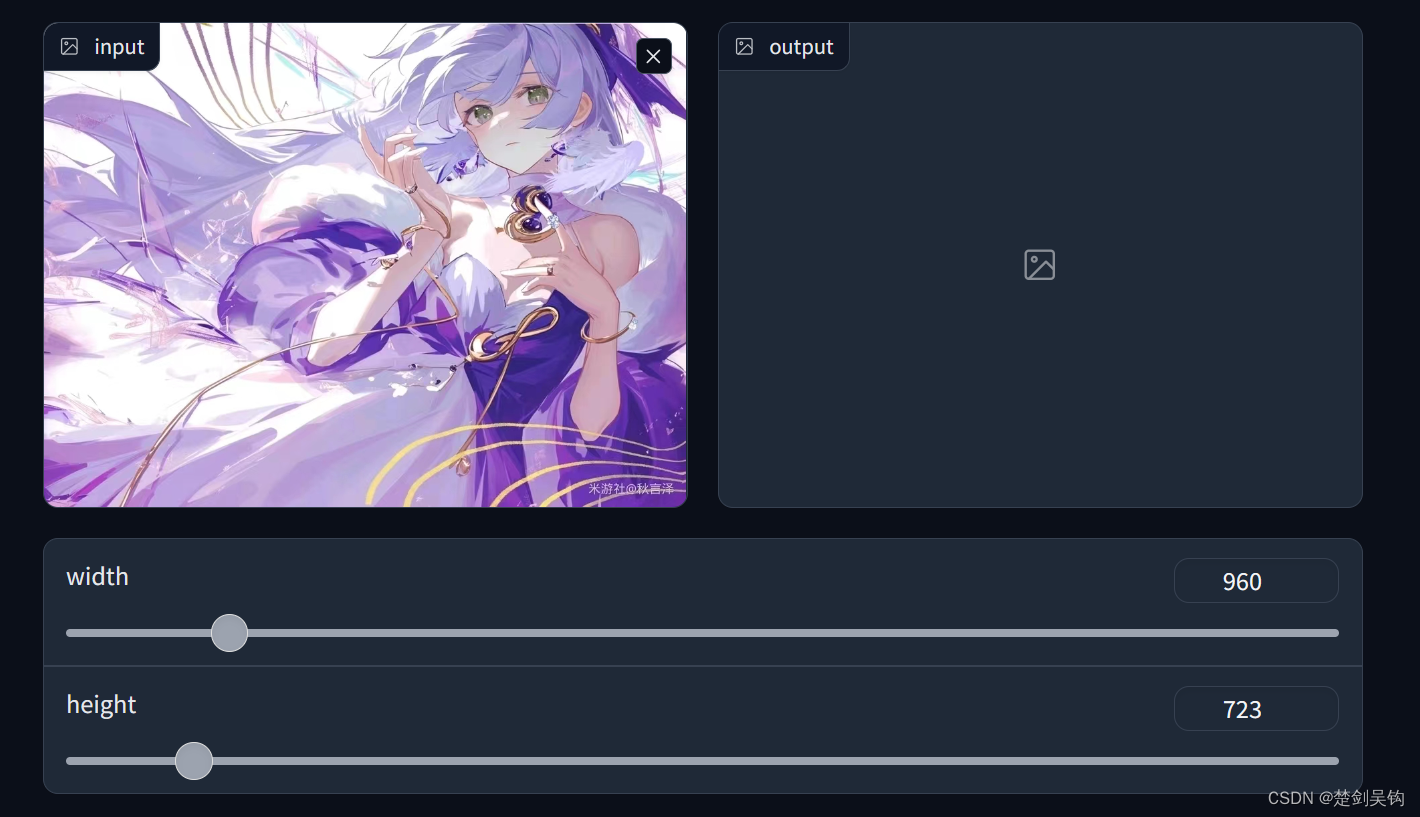
这里图像上传和清空时会有一小段的加载,这里就暂时不管了。另外,滑块不希望人为的调节,只接收上传或清除图像时自动调节,我们可以在定义滑块时参数中指定 interactive=False
image_width = gr.Slider(
    min_width=0, maximum=8192, label="width", step=1, interactive=False
)
7 模型选择设置默认值
这里我们希望给单选框设置一个默认值,即进入网页后就默认选中其中一个,这里比较简单,在定义单选框的时参数中指定value,这里设置为“Nearest”,加上前面代码中,指定全局变量mode的默认值为"Nearest",这两者要相同。
mode = "Nearest"radio = gr.Radio(
["Nearest", "Bilinear", "Bicubic"], label="Extension Mode", value="Nearest"
)
8 补充
8.1 裁剪和拼接
深度学习算法对电脑的配置有一点要求,笔者的电脑只有2G的显存,因此,我将输入的图像裁 剪为最大512x512的大小。爆显存的位置主要就是模型处理的地方,因此流程就是裁剪为多张子图,依次通过模型处理子图,将处理好的子图拼接。这里可能会对裁剪位置的像素有一点影响,但影响不大,笔者也没有去研究。裁剪完的图像会暂存在“temp”目录下,通过模型处理后的子图会暂存在“temp1”目录下,最后拼接完成输出图像后这两个目录会自动删除。以下是裁剪和拼接的代码,裁剪代码的输入是pil.imgae类型的图像,输出是“temp”目录;拼接代码的输入是“temp1”目录,输出是pil.image类型的图像。
def crop_images(img, output_dir):
    os.makedirs(output_dir, exist_ok=True)
    filename = "image.png"
    # 创建输出目录
    # 为了保证不爆gpu,裁剪到最大512*512的小块若干个
    idx = 1  # 衡量划分的块数
    while True:
        if img.height / idx <= 512:
            break
        idx += 1
    height_count = idx
    idx = 1

    while True:
        if img.width / idx <= 512:
            break
        idx += 1
    width_count = idx

    batch_height = img.height // height_count
    batch_width = img.width // width_count

    if img.height / height_count > batch_height:
        batch_height += 1
    if img.width / width_count > batch_width:
        batch_width += 1

    cropped_img = []

    for i in range(0, width_count):
        for j in range(0, height_count):
            print(i*batch_width,
                  j*batch_height,
                  min((i+1) * batch_width, img.width),
                  min((j+1) * batch_height, img.height),
                  )
            cropped_img.append(img.crop((i*batch_width,
                                         j*batch_height,
                                         min((i+1)*batch_width, img.width),
                                         min((j+1)*batch_height, img.height))
                                        )
                               )
    # 保存裁剪后的图像
    prefix, suffix = filename.split(".")
    print("output", output_dir)
    print(os.getcwd())
    for i in range(len(cropped_img)):
        output_path = os.path.join(output_dir, prefix + "{}.".format(i+1001) + suffix)
        print(output_path)
        cropped_img[i].save(output_path)
        print(f"Image {filename} cropped and saved to {output_path}")

    return (img.height, img.width, height_count, width_count), filename
def stitch_images(input_dir, batch_size):
# 创建输出目录
h, w, hc, wc = batch_size
# 存储所有图像对象
images = []
# 遍历输入目录中的所有PNG图片
total_height, total_width = 0, 0
for filename in os.listdir(input_dir):
if filename.endswith(".png"):
# 打开图像并添加到列表中
img_path = os.path.join(input_dir, filename)
img = Image.open(img_path)
images.append(img)
total_width, total_height = w * 4, h * 4
# 创建一个新的空白图像
stitched_img = Image.new("RGBA", (total_width, total_height))
# 拼接图像
y_offset = 0
x_offset = 0
print("总大小({},{})".format(total_height, total_width))
for img in images:
stitched_img.paste(img, (x_offset, y_offset))
print("当前左上角:{},{}, 子块大小:{},{}".format(x_offset, y_offset, img.height, img.width))
y_offset += img.height
if y_offset >= total_height:
y_offset = 0
x_offset += img.width
return stitched_img8.2 深度学习算法
这里展示Swin-ir算法的大致导入过程
要注意把输入输出路径设置为“temp”目录和“temp1”目录,这里笔者还把终端命令的参数直接写为默认值,直接执行main函数,避免了运行终端命令的操作。
parser.add_argument('--folder_lq', type=str, default='temp', help='input low-quality test image folder')cv2.imwrite(f'{save_dir}/{imgname}(SwinIR).png', output)def swinir_extension(image):
batch_size, _ = crop_images(image, "temp")
swinir_main()
out = stitch_images("temp1", batch_size)
shutil.rmtree('temp')
shutil.rmtree('temp1')
return out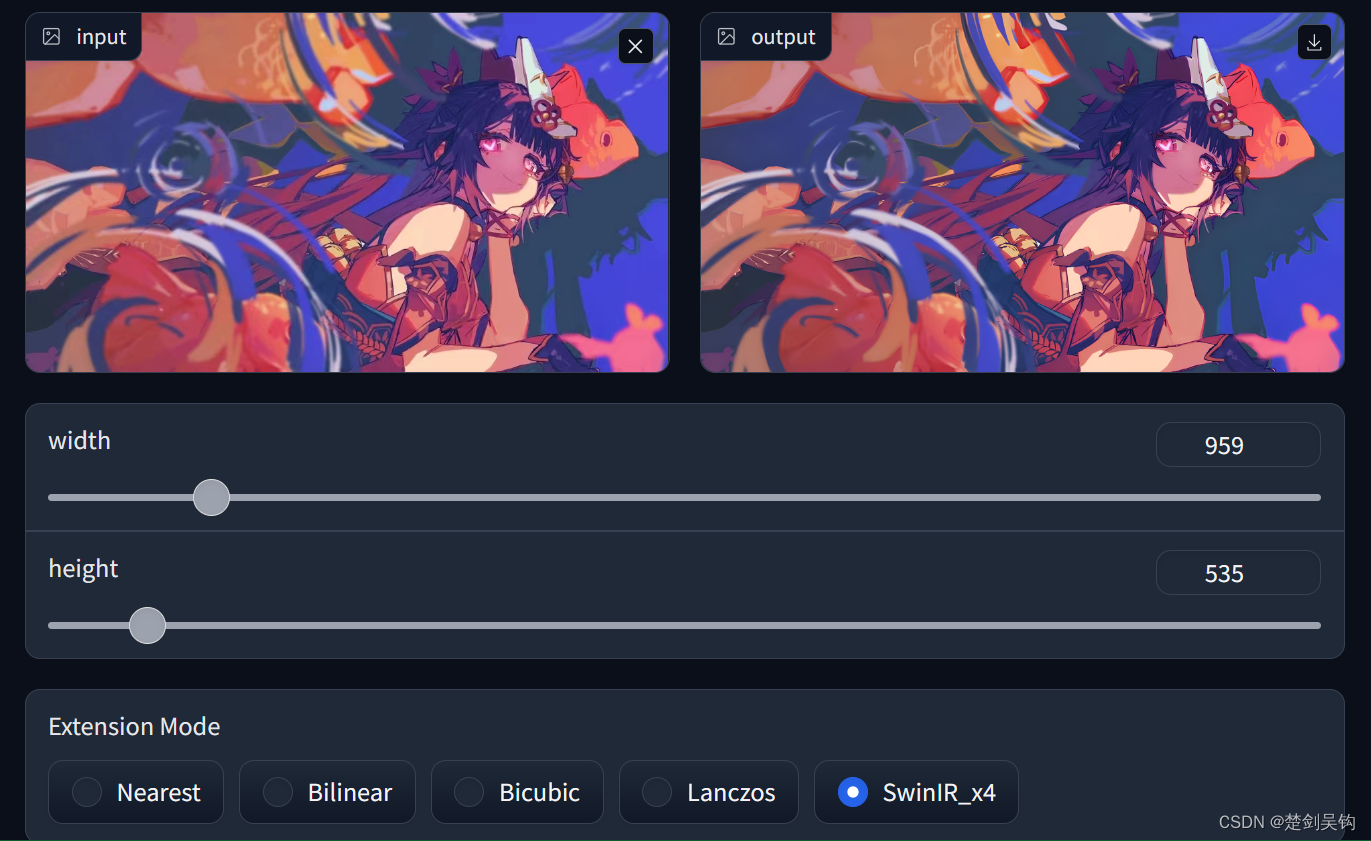
运行的时间较长,大概200s,这个看电脑配置。
把这些算法的目录放到Gradio项目中是,一些导入包的代码可能会出错,这里需要修改,在前面加上该算法项目的名字,这个问题在Real-ESRGAN算法中比较多,笔者通过慢慢试错找到的所有问题。
from realesrgan import RealESRGANerfrom Real_ESRGAN_master.realesrgan import RealESRGANer


 666
666

 被折叠的 条评论
为什么被折叠?
被折叠的 条评论
为什么被折叠?
 到【灌水乐园】发言


