


 本文详细介绍了如何在STM32CubeMX中配置TIM1定时器,包括时钟源、预分频、计数周期的设置,以及如何通过定时时间触发回调函数实现LED控制,如流水灯效果。
1. 定时器使用流程
1.1 ST32CubeMX 设置
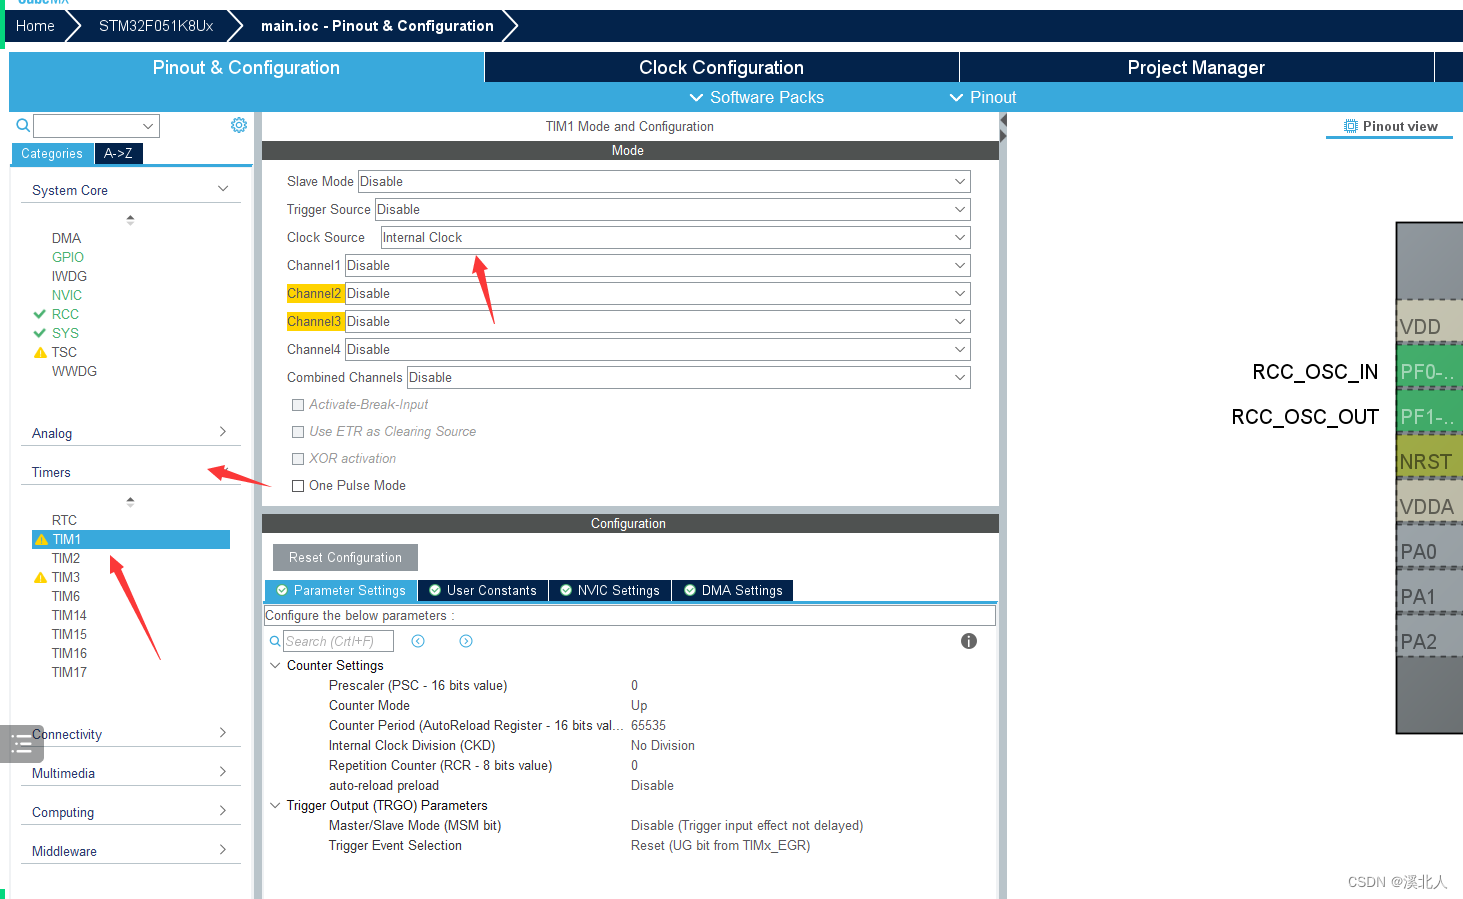
1.1.0 选择定时器
--> TIM1
1.1.1 Clock Source
--> Internal Clock
1.1.2 Prescaler
--> 预分频系数
1.1.3 Counter Period
-- > 重装值
1.1.4 Prescaler 和 Counter Period 计算公式
定时时间(s) = (预分频系数+1) * (重装值 + 1)/ 系统时钟主频(48MHZ)
1.2 程序
1.2.1 打开定时器1
HAL_TIM_Base_Start_IT(&htim1); // htim1 -->定时器1
1.2.2 定时时间
定时时间已经在STM32cubemx中设置好了
1.2.3 回调函数
在STM32Cubemx中已经指定好了到达时间会调用到对应的函数
1.2.4.实现回调函数
函数实现流水灯功能, 定时器1触发后点亮led, 定时器1触发后熄灭led
/* Private user code ---------------------------------------------------------*/
/* USER CODE BEGIN 0 */

uint16_t arr_led[3] = {
	GPIO_PIN_0,
	GPIO_PIN_1,
	GPIO_PIN_2
};

uint16_t all_leds = GPIO_PIN_0 | GPIO_PIN_1 | GPIO_PIN_2;

// call back function
void HAL_TIM_PeriodElapsedCallback(TIM_HandleTypeDef *htim)
{
	static int i = 0;

	//check if timer 1
	if(htim == &htim1)
	{
			printf("timer 1 trigged\r\n");

			i = i % 3;
			HAL_GPIO_WritePin(GPIOB, arr_led[i], GPIO_PIN_RESET ); // led on

		i++;
			HAL_TIM_Base_Start_IT(&htim2);
			HAL_TIM_Base_Stop_IT(&htim1);

	}
	else if(htim == &htim2)
	{
		printf("timer 2 trigged\r\n");
					//HAL_GPIO_TogglePin(GPIOB, GPIO_PIN_0 | GPIO_PIN_1 | GPIO_PIN_2);
			HAL_GPIO_WritePin(GPIOB, all_leds, GPIO_PIN_SET); // led off

					HAL_TIM_Base_Start_IT(&htim1);
			HAL_TIM_Base_Stop_IT(&htim2);

	}


//	HAL_UART_Transmit	(&huart1, "Hello World\r\n", size, 3000);


}

/* USER CODE END 0 */


 1585
1585


 被折叠的 条评论
为什么被折叠?
被折叠的 条评论
为什么被折叠?
 到【灌水乐园】发言


