


这里写自定义目录标题
环境记录
- 笔记本: MSI GE63 Raider RGB 8SG-040CN
- CPU: i7-8750H
- GPU: RTX 2080
- 系统: Win10 专业版
- 显卡驱动: 496.76
- Python: 3.7.13
- Pytorch: 1.10.1
- CUDA: 10.2
- cuDNN: 8.3.1
- MMCV: 1.5.1
- mmdetection: 2.24.1
Step1: 环境配置
安装Anaconda, CUDA, cuDNN
教程很多,不细说了,假设已经能跑成功PyTorch代码了。
创建Conda环境
conda create --name mmdet python=3.7
conda activate mmdet
安装PyTorch
conda install pytorch==1.10.1 torchvision==0.11.2 torchaudio==0.10.1 cudatoolkit=10.2 -c pytorch
查看CUDA版本:
nvcc -V
nvcc: NVIDIA (R) Cuda compiler driver
Copyright (c) 2005-2019 NVIDIA Corporation
Built on Wed_Oct_23_19:32:27_Pacific_Daylight_Time_2019
Cuda compilation tools, release 10.2, V10.2.89
查看cuDNN版本:
进入C:\Program Files\NVIDIA GPU Computing Toolkit\CUDA\v10.2\include
找到cudnn_version.h打开就可以看到
#ifndef CUDNN_VERSION_H_
#define CUDNN_VERSION_H_

#define CUDNN_MAJOR 8
#define CUDNN_MINOR 3
#define CUDNN_PATCHLEVEL 1
cuDNN版本即为8.3.1
安装MSVC编译器
如果是CUDA10.2的话,这里只能安装Visual Studio 2015到Visual Studio 2019之间的版本,我这里是安装的Visual Studio 2019 下载链接 安装Community版就行。
如果是CUDA10.2的话
Visual Studio 2022 亲测不行,后面编译会报错!!!
Visual Studio 2022 亲测不行,后面编译会报错!!!
Visual Studio 2022 亲测不行,后面编译会报错!!!
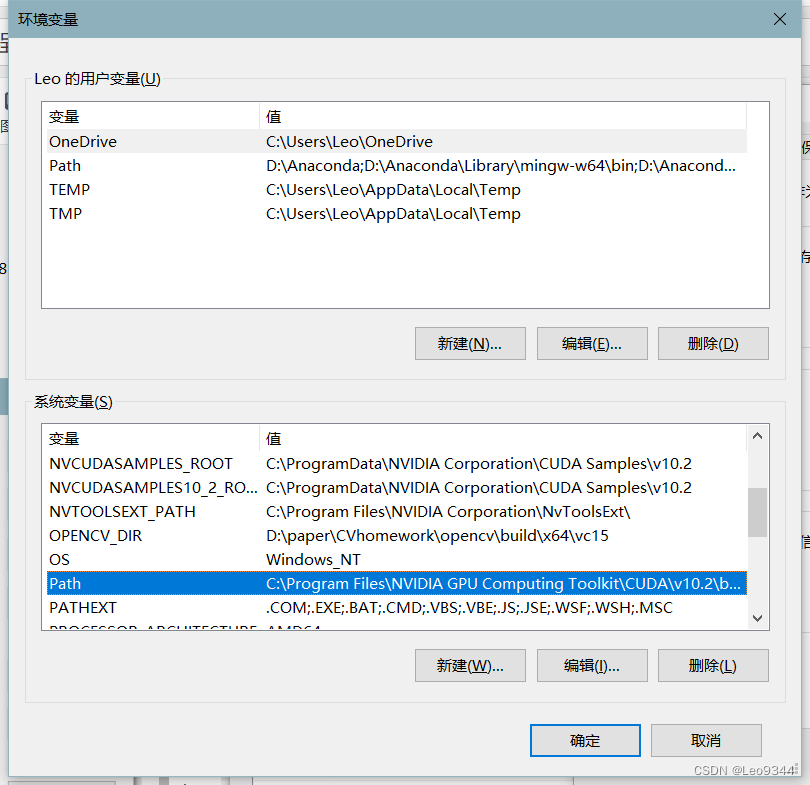
安装好后配置环境变量:
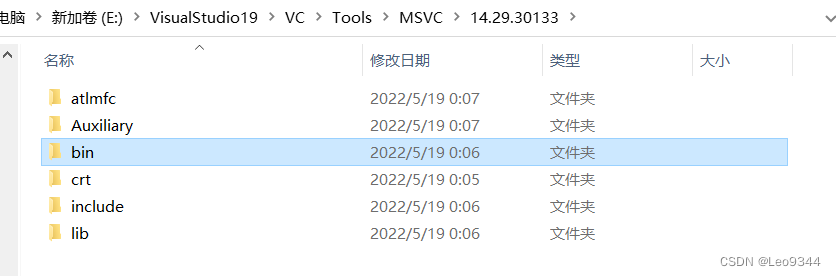
找到Visual Studio安装文件夹,我这里是在E盘安装的:
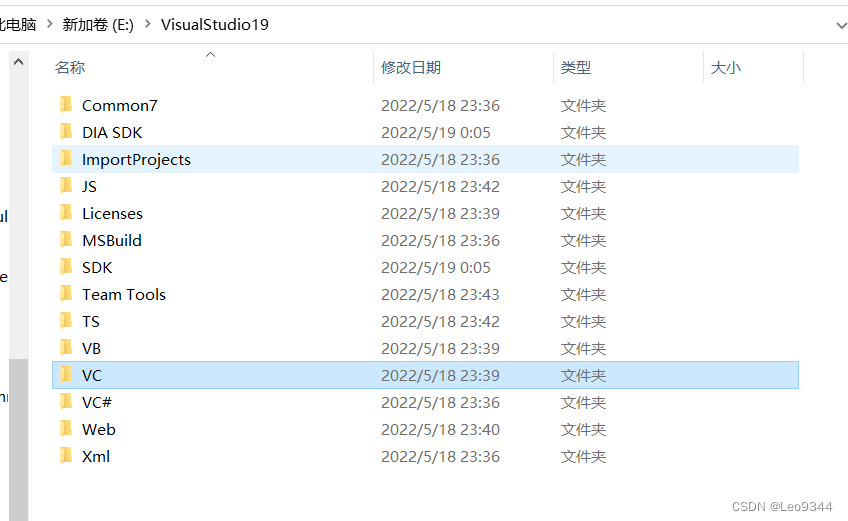
找到并进入VC文件夹

找到并进入Tools文件夹:
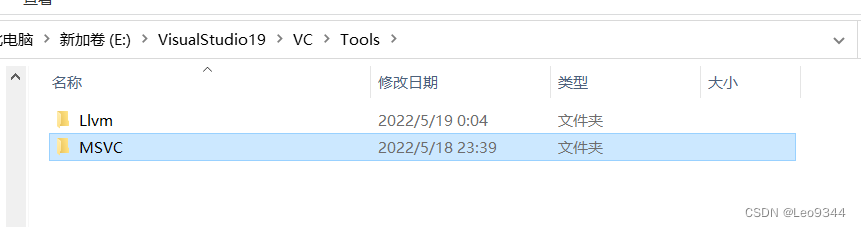
进入MSVC文件夹
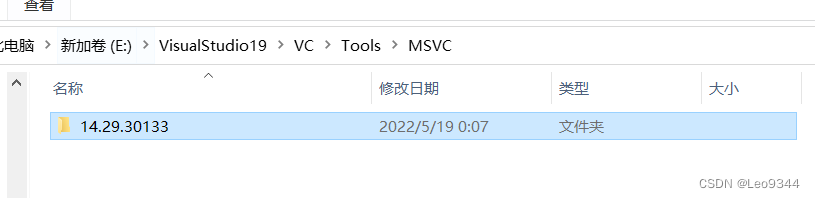
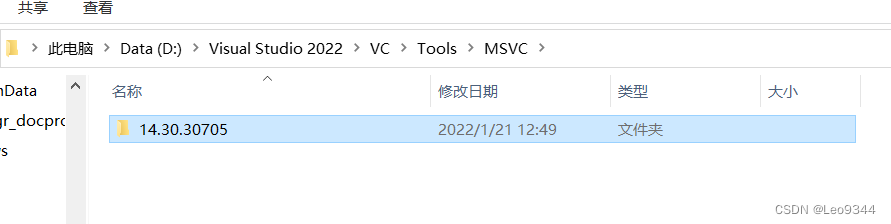
进入14.29.30133文件夹,这里因版本而异,数字可能不一样,点进去就行
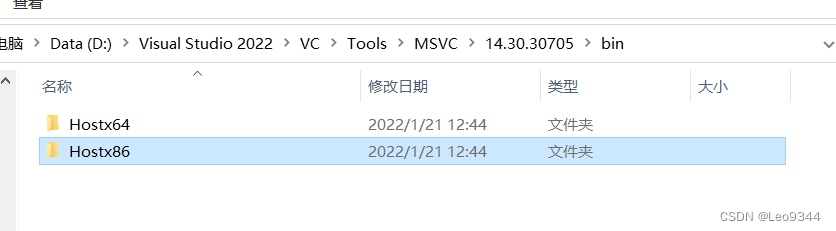
进入bin文件夹
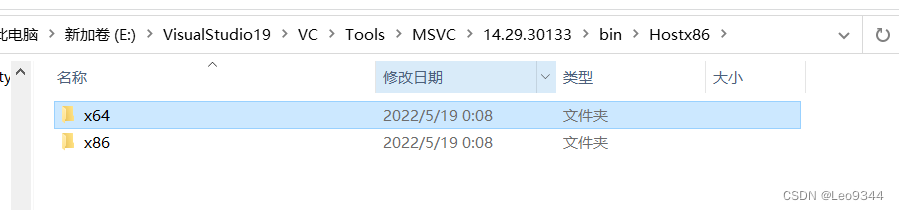
进入Hostx86文件夹
进入x64文件夹
找到cl.exe
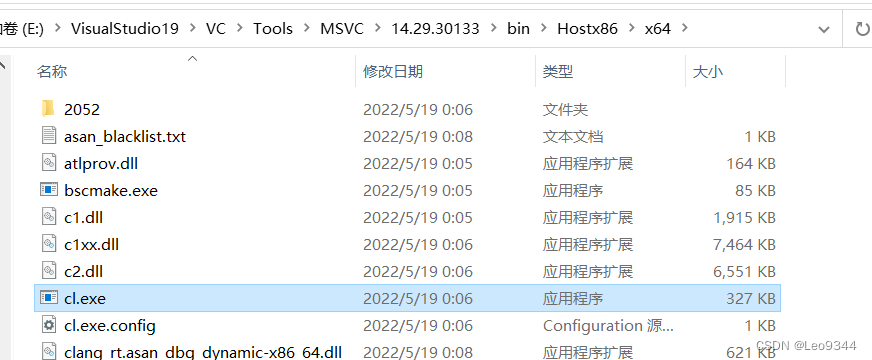
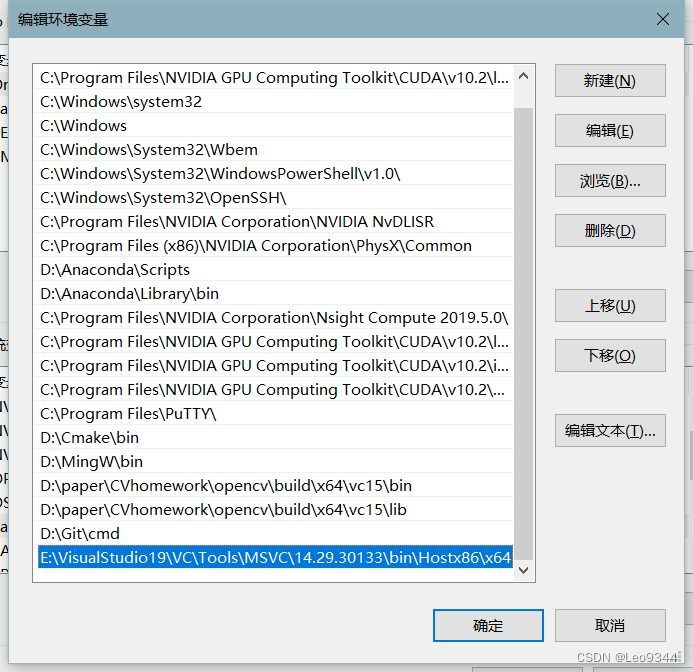
把之前的文件夹路径加入到环境变量里:
例如我的路径是
E:\VisualStudio19\VC\Tools\MSVC\14.29.30133\bin\Hostx86\x64
加入系统Path中
注:默认安装Visual Studio的话路径是
C:\Program Files (x86)\Microsoft Visual Studio\2019\Community\VC\Tools\MSVC\14.27.29110\bin\Hostx86\x64
测试
命令行中输入cl,输入如下即为配置成功。
C:\Users\Leo>cl
用于 x64 的 Microsoft (R) C/C++ 优化编译器 19.29.30145 版
版权所有(C) Microsoft Corporation。保留所有权利。

用法: cl [ 选项... ] 文件名... [ /link 链接选项... ]
安装mmcv-full
从Github上 clone 下来
conda activate mmdet
git clone https://github.com/open-mmlab/mmcv.git
# git checkout v1.2.0 # 如果你需要装特定版本
cd mmcv
pip3 install -r requirements.txt
查TORCH_CUDA_ARCH_LIST
命令行cd到C:\Program Files\NVIDIA GPU Computing Toolkit\CUDA\v11.1\extras\demo_suite
运行deviceQuery.exe
C:\Program Files\NVIDIA GPU Computing Toolkit\CUDA\v10.2\extras\demo_suite>deviceQuery.exe
deviceQuery.exe Starting...

 CUDA Device Query (Runtime API) version (CUDART static linking)

Detected 1 CUDA Capable device(s)

Device 0: "NVIDIA GeForce RTX 2080"
  CUDA Driver Version / Runtime Version          11.5 / 10.2
  CUDA Capability Major/Minor version number:    7.5
  Total amount of global memory:                 8192 MBytes (8589606912 bytes)
  (46) Multiprocessors, ( 64) CUDA Cores/MP:     2944 CUDA Cores
  GPU Max Clock rate:                            1590 MHz (1.59 GHz)
  Memory Clock rate:                             7001 Mhz
  Memory Bus Width:                              256-bit
  L2 Cache Size:                                 4194304 bytes
  Maximum Texture Dimension Size (x,y,z)         1D=(131072), 2D=(131072, 65536), 3D=(16384, 16384, 16384)
  Maximum Layered 1D Texture Size, (num) layers  1D=(32768), 2048 layers
  Maximum Layered 2D Texture Size, (num) layers  2D=(32768, 32768), 2048 layers
  Total amount of constant memory:               zu bytes
  Total amount of shared memory per block:       zu bytes
  Total number of registers available per block: 65536
  Warp size:                                     32
  Maximum number of threads per multiprocessor:  1024
  Maximum number of threads per block:           1024
  Max dimension size of a thread block (x,y,z): (1024, 1024, 64)
  Max dimension size of a grid size    (x,y,z): (2147483647, 65535, 65535)
  Maximum memory pitch:                          zu bytes
  Texture alignment:                             zu bytes
  Concurrent copy and kernel execution:          Yes with 2 copy engine(s)
  Run time limit on kernels:                     Yes
  Integrated GPU sharing Host Memory:            No
  Support host page-locked memory mapping:       Yes
  Alignment requirement for Surfaces:            Yes
  Device has ECC support:                        Disabled
  CUDA Device Driver Mode (TCC or WDDM):         WDDM (Windows Display Driver Model)
  Device supports Unified Addressing (UVA):      Yes
  Device supports Compute Preemption:            Yes
  Supports Cooperative Kernel Launch:            Yes
  Supports MultiDevice Co-op Kernel Launch:      No
  Device PCI Domain ID / Bus ID / location ID:   0 / 1 / 0
  Compute Mode:
     < Default (multiple host threads can use ::cudaSetDevice() with device simultaneously) >

deviceQuery, CUDA Driver = CUDART, CUDA Driver Version = 11.5, CUDA Runtime Version = 10.2, NumDevs = 1, Device0 = NVIDIA GeForce RTX 2080
Result = PASS

C:\Program Files\NVIDIA GPU Computing Toolkit\CUDA\v10.2\extras\demo_suite>
信息第二行的这个数就是TORCH_CUDA_ARCH_LIST要填的数
CUDA Capability Major/Minor version number: 7.5
编译安装mmcv-full
打开powershell,输入以下内容
#             ---设置MMCV要用的一些环境变量---
$env:MMCV_WITH_OPS = 1
$env:MAX_JOBS = 8 # 根据你可用CPU以及内存量进行设置
$env:TORCH_CUDA_ARCH_LIST="7.5" #这个因显卡而异,下面我会说怎么查
#-----------------------------------------------------------------
#---设置CUDA_HOME或者CUDA_PATH,如果之前装CUDA的时候弄过就不用写了---
$env:CUDA_HOME = "C:\Program Files\NVIDIA GPU Computing Toolkit\CUDA\v10.2\"
#或者
$env:CUDA_HOME = $env:CUDA_PATH_V10_2 # 如果 CUDA_PATH_V10_2 在CUDA安装#过程中已经设置好
#-----------------------------------------------------------------
conda activate mmdet # 激活环境
cd mmcv # 改变路径
python setup.py build_ext # 如果成功, cl 将会自动弹出来编译 flow_warp
python setup.py develop # 安装
pip show mmcv-full # 检查是否安装成功
pip list # 检查是否安装成功
注意TORCH_CUDA_ARCH_LIST这一项因机器而异,按照下面的内容查完再填
我的cmd不能直接输入类似$env:MMCV_WITH_OPS = 1这种命令,会报文件名、目录名或卷标语法不正确。
python setup.py build_ext和python setup.py develop耗时较长,耐心等待即可
验证
最后pip show完之后应该是这样的 只有mmcv-full没有mmcv
(mmdet) E:\mmcv>pip show mmcv-full
Name: mmcv-full
Version: 1.5.1
Summary: OpenMMLab Computer Vision Foundation
Home-page: https://github.com/open-mmlab/mmcv
Author: MMCV Contributors
Author-email: openmmlab@gmail.com
License: UNKNOWN
Location: e:\mmcv
Requires: addict, numpy, packaging, Pillow, pyyaml, yapf, regex
Required-by:

(mmdet) E:\mmcv>pip show mmcv
WARNING: Package(s) not found: mmcv
Step2:安装MMdetection
命令行输入:
pip install mmdet
即可
Step3:验证
命令行输入:
conda activate mmdet
git clone https://github.com/open-mmlab/mmdetection.git
cd mmdetection
pip install openmim
mim download mmdet --config faster_rcnn_r50_fpn_1x_coco --dest . #下载模型
弄好之后会下载一个faster_rcnn_r50_fpn_1x_coco_20200130-047c8118.pth
之后创建一个文件夹checkpoints,把上面的模型放到./checkpoints下
最后运行如下代码进行验证
from mmdet.apis import init_detector, inference_detector
import mmcv
config_file = 'configs/faster_rcnn/faster_rcnn_r50_fpn_1x_coco.py'
# download the checkpoint from model zoo and put it in `checkpoints/`
# url: https://download.openmmlab.com/mmdetection/v2.0/faster_rcnn/faster_rcnn_r50_fpn_1x_coco/faster_rcnn_r50_fpn_1x_coco_20200130-047c8118.pth
checkpoint_file = 'checkpoints/faster_rcnn_r50_fpn_1x_coco_20200130-047c8118.pth'
device = 'cuda:0'
# init a detector
model = init_detector(config_file, checkpoint_file, device=device)
# inference the demo image
result = inference_detector(model, 'demo/demo.jpg')
outImg=model.show_result(
'demo/demo.jpg',
result)
mmcv.imshow(outImg,'a')
print(result)
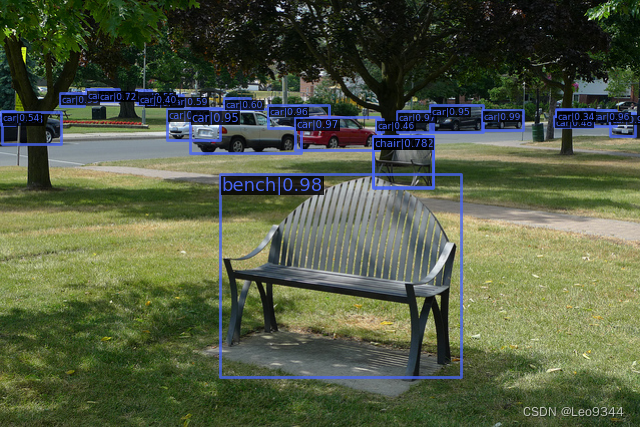
如果出现如下结果则安装成功:
踩坑/报错分享区
- 在
CUDA 10.2版本下,安装Visual Studio 2022后,运行python setup.py build_ext会报错,显示xxx is in - 一开始参考的 https://zhuanlan.zhihu.com/p/308281195 安装,之后不知道是1的原因,因此在评论区找到了 这个链接:https://www.zywvvd.com/notes/environment/cuda/windows-mmcv-1-3-13-install/windows-mmcv-1-3-13-install/ 进行安装,但是最后发现这样弄只能安装上
mmcv而非mmcv-full,最后验证的时候会报ModuleNotFoundError: No module named 'mmcv._flow_warp_ext' - 之后也尝试了https://mmdetection.readthedocs.io/en/v2.21.0/get_started.html里面的方法:
pip install mmcv-full=={mmcv_version} -f https://download.openmmlab.com/mmcv/dist/{cu_version}/{torch_version}/index.html
运行python setup.py build_ext会报错,可能也是1的原因,这个我没去验证。


 1万+
1万+


 被折叠的 条评论
为什么被折叠?
被折叠的 条评论
为什么被折叠?
 到【灌水乐园】发言


